主料:
豇豆,
300克
辅料:
胡萝卜,
1根
配料:
油适量,
盐适量胡萝卜炒豇豆的做法步骤
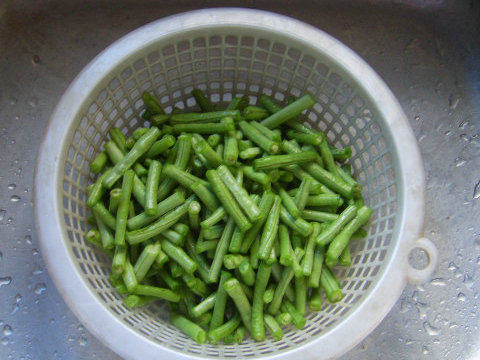
1.豇豆洗净,摘成小段。
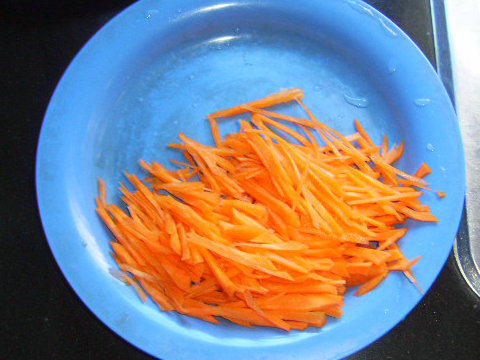
2.胡萝卜切成丝。
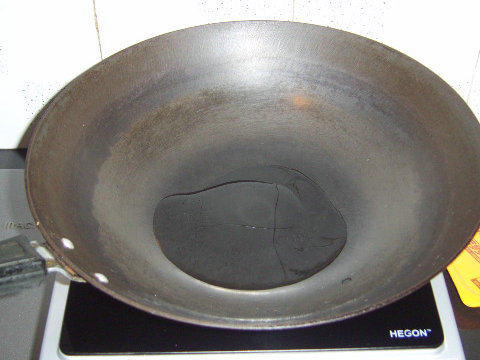
3.坐锅热油。
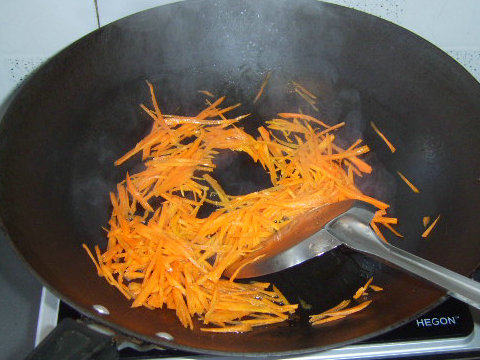
4.入胡萝卜丝翻炒。
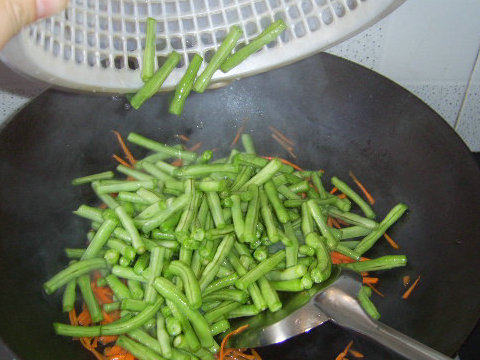
5.倒入豇豆段。
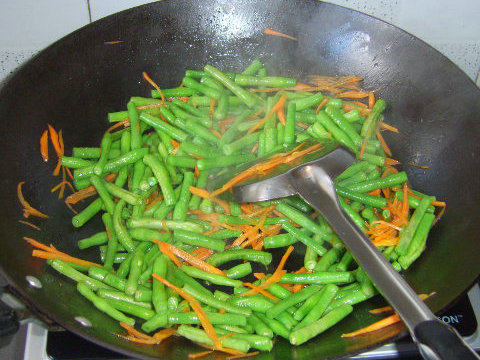
6.翻炒至豇豆全部变成绿色。
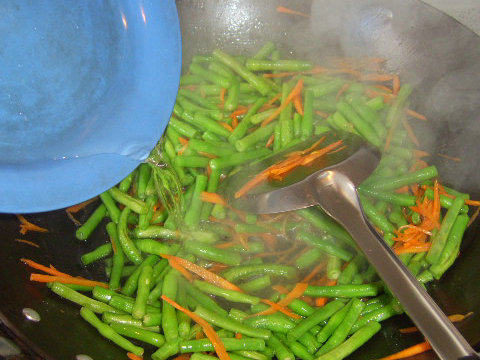
7.移入少量的水,盖上锅盖煮一会儿。
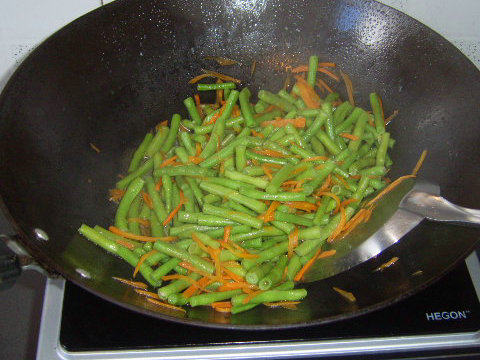
8.收干汤汁后,入调味料。
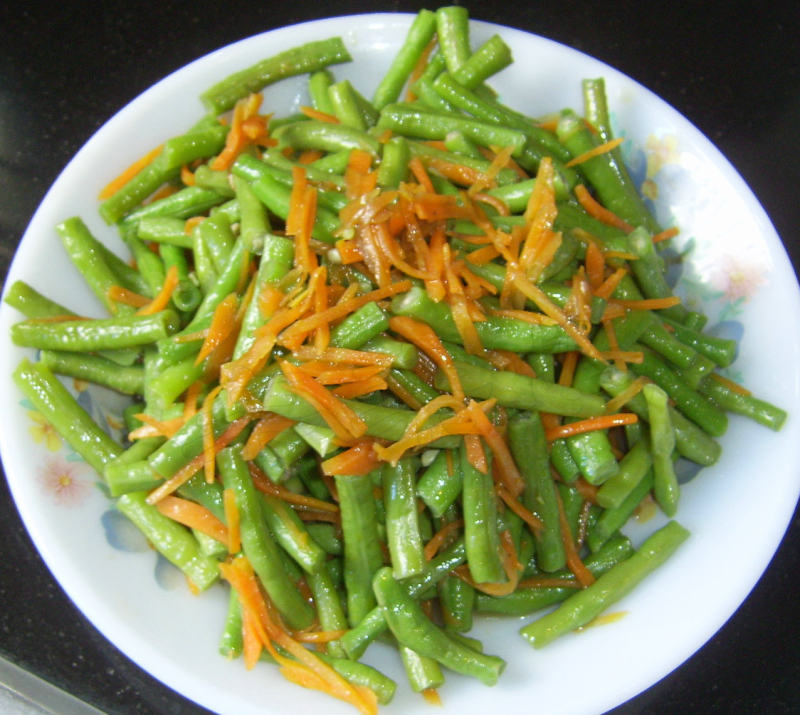
9.起锅装盆。
小窍门&温馨提示
豇豆一定要煮熟了吃,不能因为只要漂亮的色儿煮得生一些。
TAGS:
热菜 家常菜 老人 秋季食谱 农家菜 午餐 豇豆
免责声明:本站部分文章转载自网络,图文仅供行业学习交流使用,不做任何商业用途。文章仅代表原作者个人观点,其原创性及文章内容中图文的真实性、完整性等未经本站核实,仅供读者参考。
上一篇: 蒜蓉豇豆的做法,蒜蓉豇豆怎么做,蒜蓉豇豆的做法,蒜蓉豇豆凉拌的做法窍门,蒜蓉豇豆图片,蒜蓉豇豆角的做法大全
下一篇: 手擀菠菜面的做法,手擀菠菜面怎么做,手擀菠菜面的做法,手擀菠菜面图片,手擀菠菜面的介绍和宣传,手擀菠菜面门头图片
Deprecated: mysql_connect(): The mysql extension is deprecated and will be removed in the future: use mysqli or PDO instead in
/data/haozs.cc/xianguan.php on line
5
Deprecated: mysql_query(): The mysql extension is deprecated and will be removed in the future: use mysqli or PDO instead in
/data/haozs.cc/xianguan.php on line
7
