主料:
高筋面粉,
80克,
低筋面粉,
185克(水油皮用65克,油酥用120克),
糖,
80克(水油皮用30克,蛋挞液用50克),
猪油,
120克(水油皮用50克,油酥用70克),
水,
60克
辅料:
鸡蛋,
2个(只用蛋黄),
淡奶油,
100克,
牛奶,
50克蛋挞的做法步骤
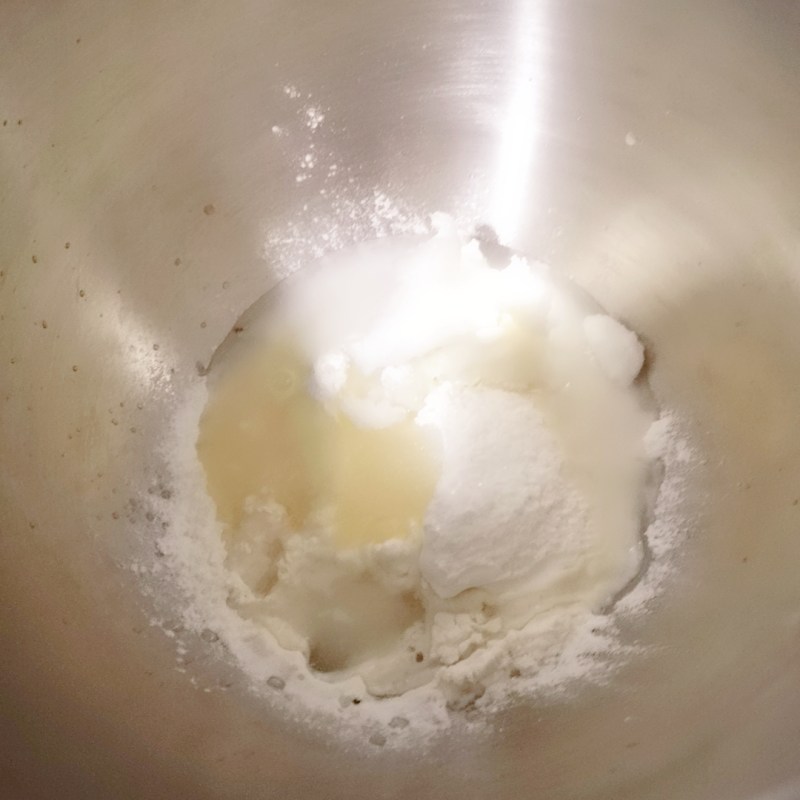
1.水油皮材料高筋粉80克+低筋粉65克+30克糖+猪油50克+60克水一起放入厨师机中。
2.搅拌均匀,至面团能出薄膜,团圆,盖上保鲜膜室温静置松弛20分钟。
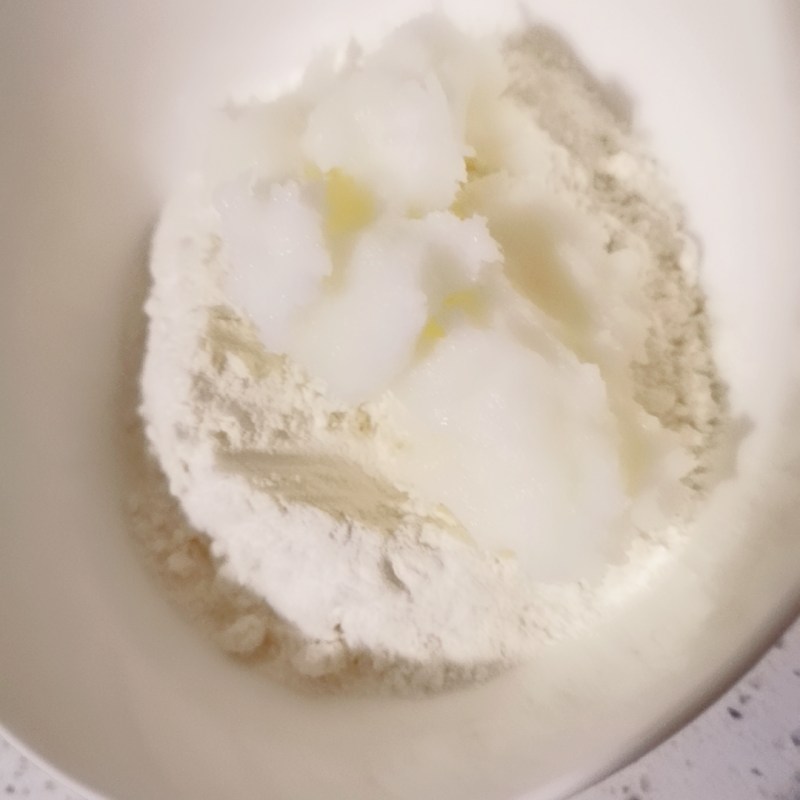
3.120克低筋面粉+70克猪油拌匀至无干粉,做成油酥
4.油酥就好了。
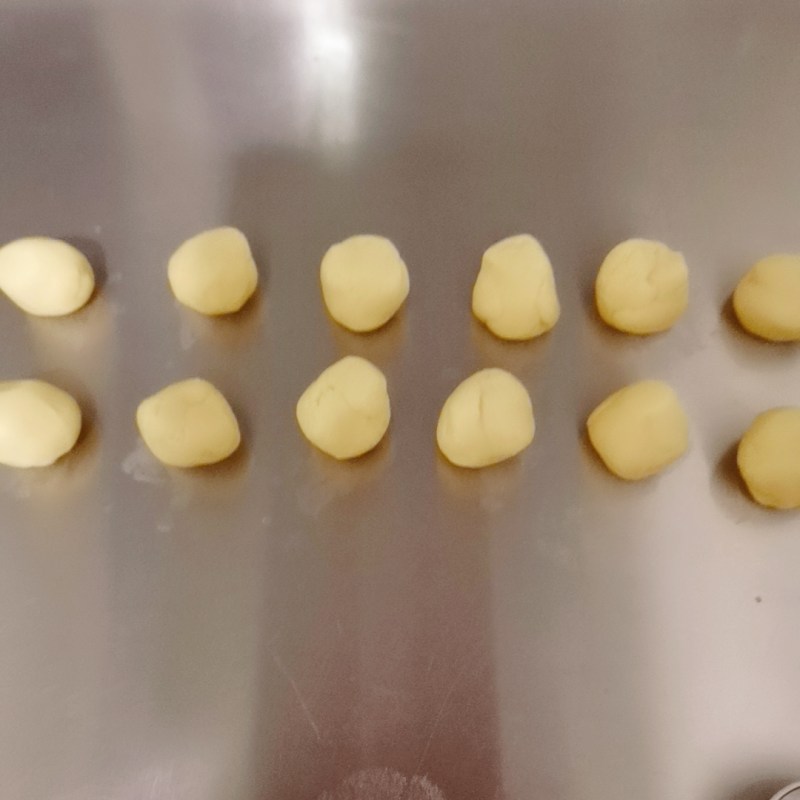
5.油酥分成均匀的12等分,盖上保鲜膜待用。
6.水油皮也分成均匀的12等分。
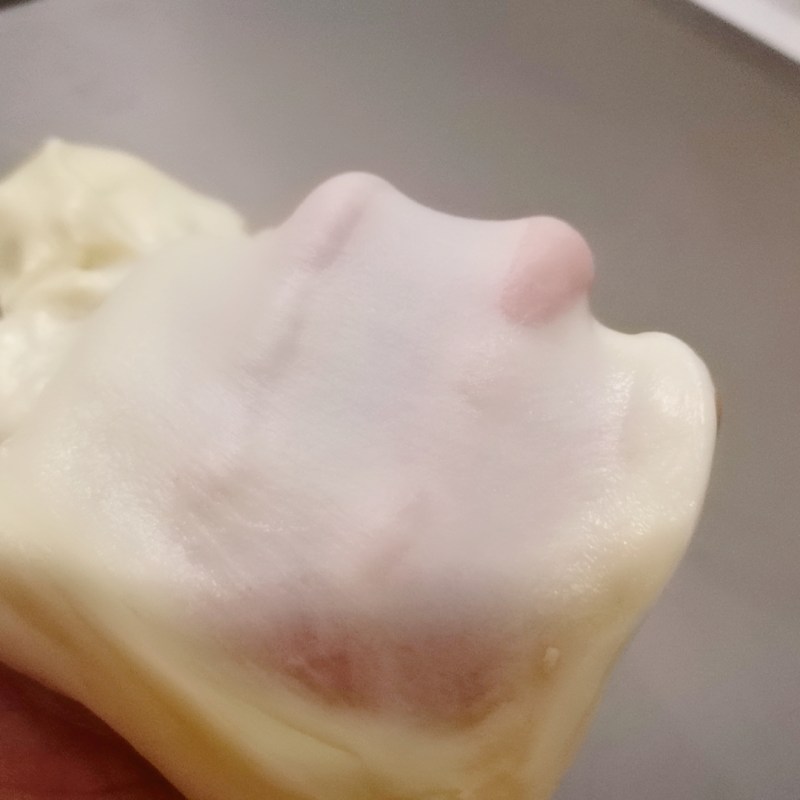
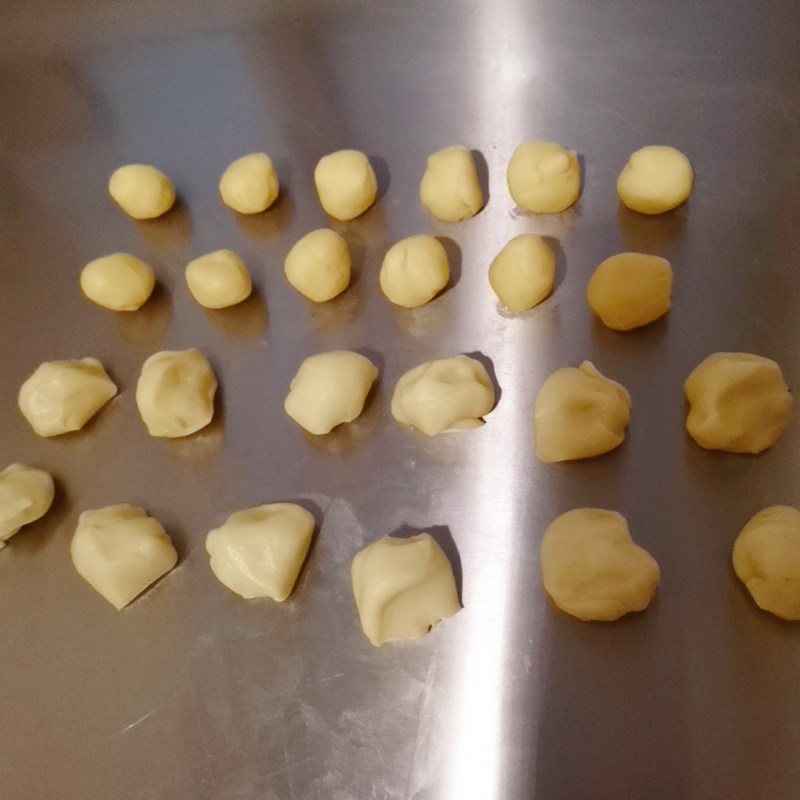
7.取出一个水油皮面团包入一个油酥面团。
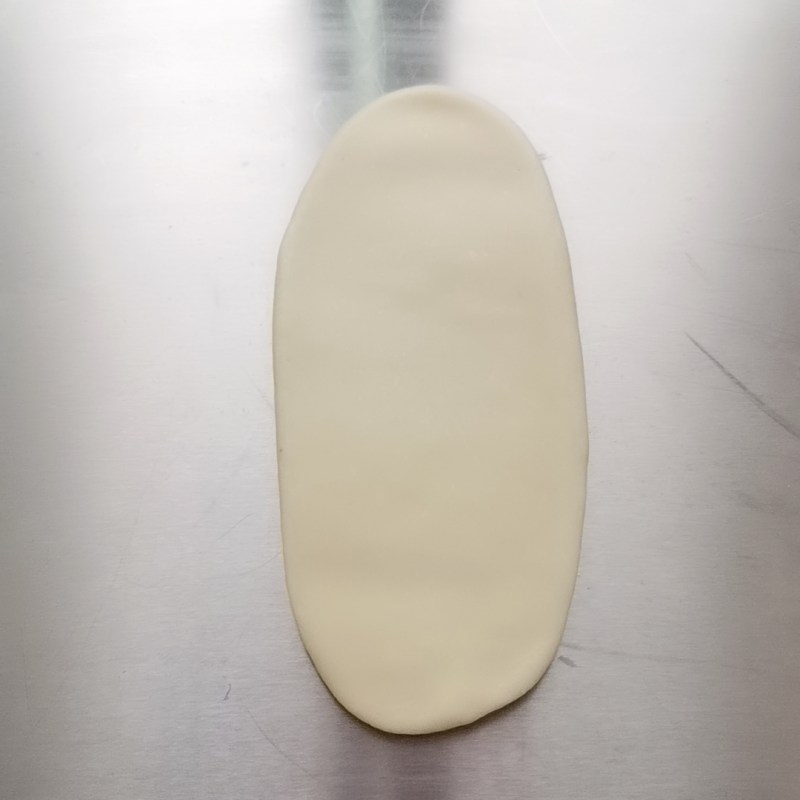
8.擀成长舌状。
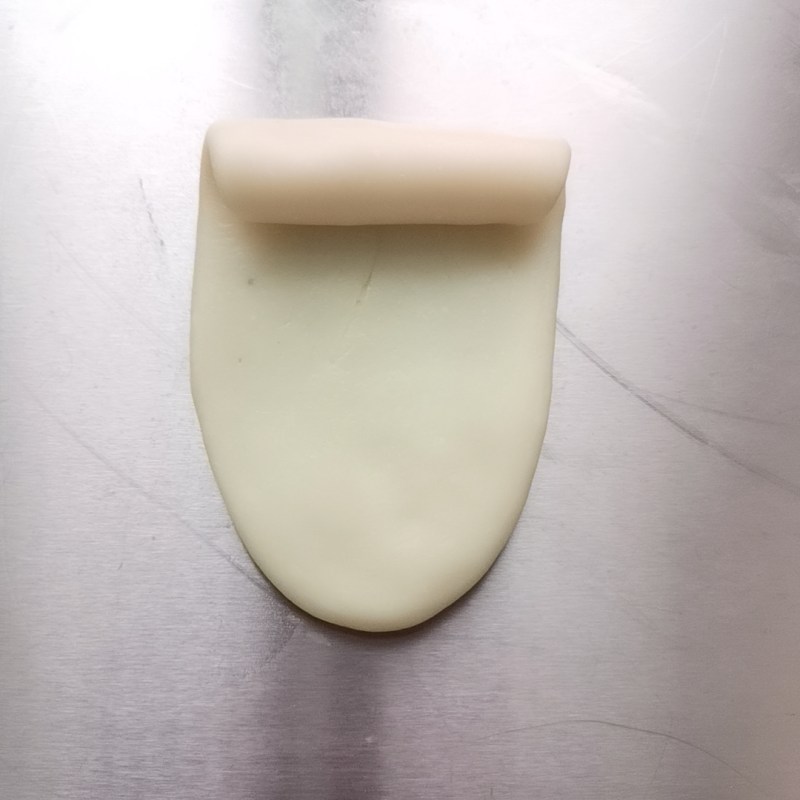
9.从上往下卷起。
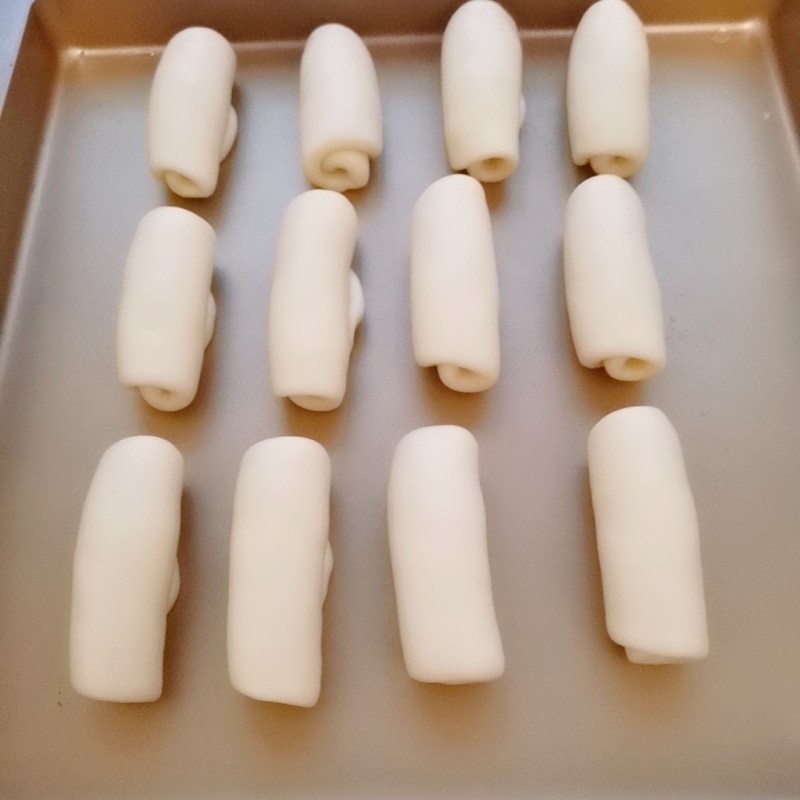
10.依次做完,摆入烤盘中,盖上保鲜膜,放入冰箱冷藏松弛20分钟。

11.时间结束后,取出一个面团。
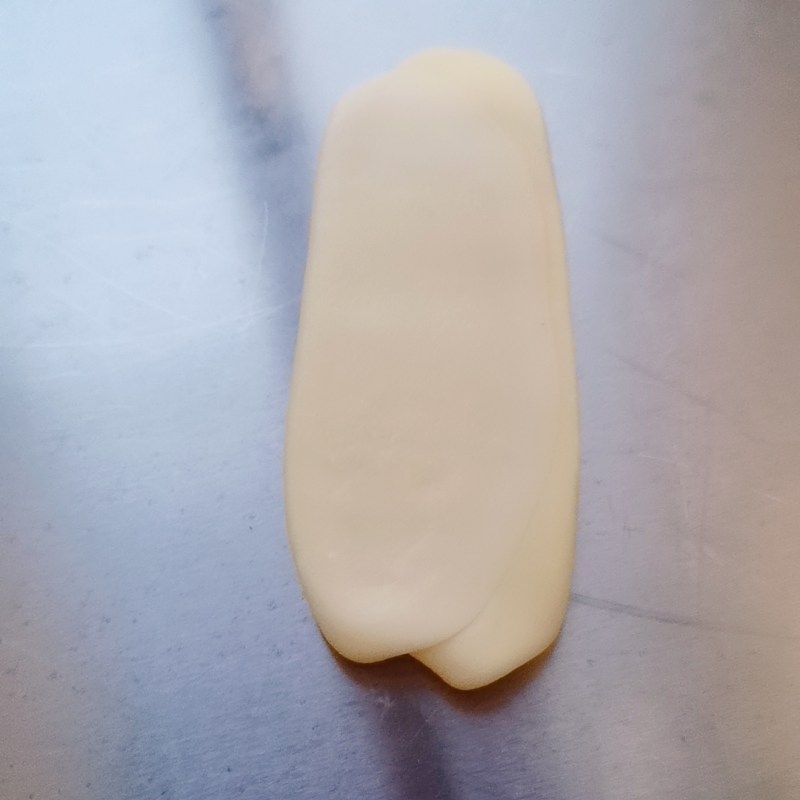
12.再次擀成长舌状(手法要轻,不能擀破了皮,以免破酥哦)。
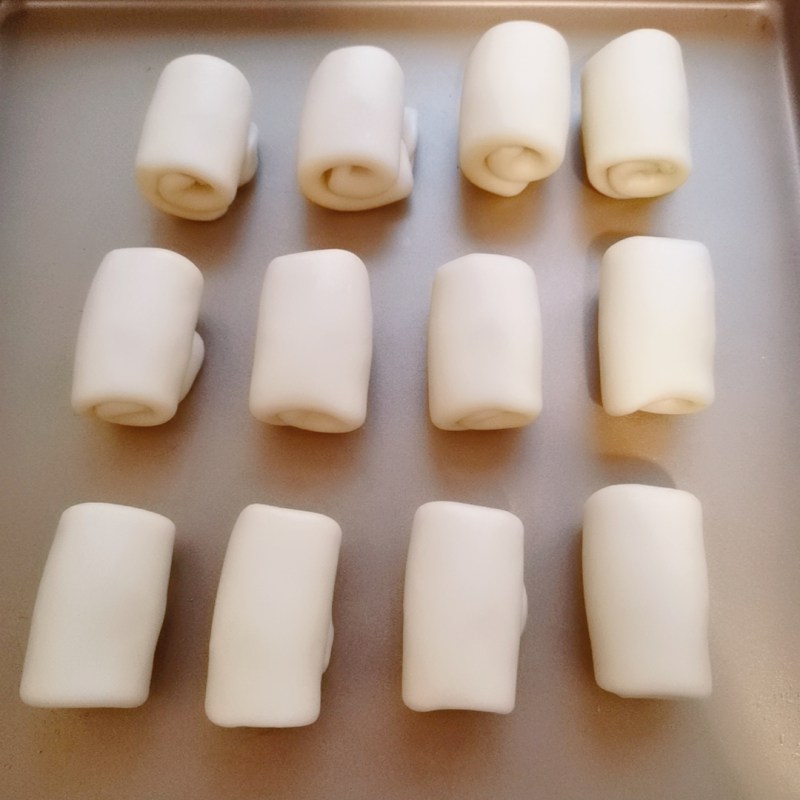
13.卷起,盖上保鲜膜,冰箱冷藏松弛20分钟,我这两步一共重复了5遍(擀开、卷起,冷藏松弛),可以使做出来的蛋挞层次更多。
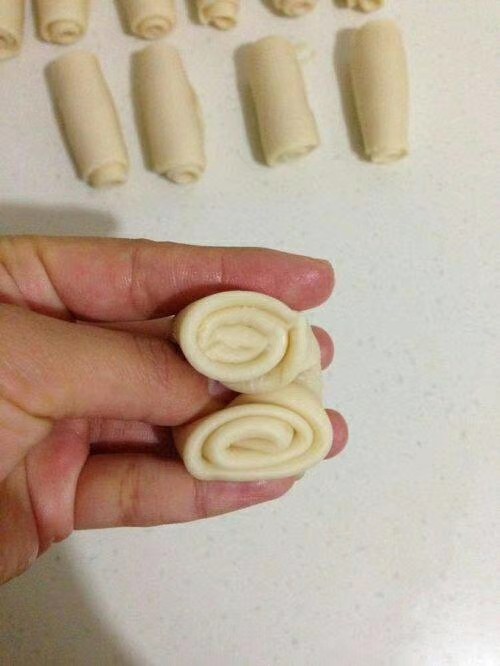
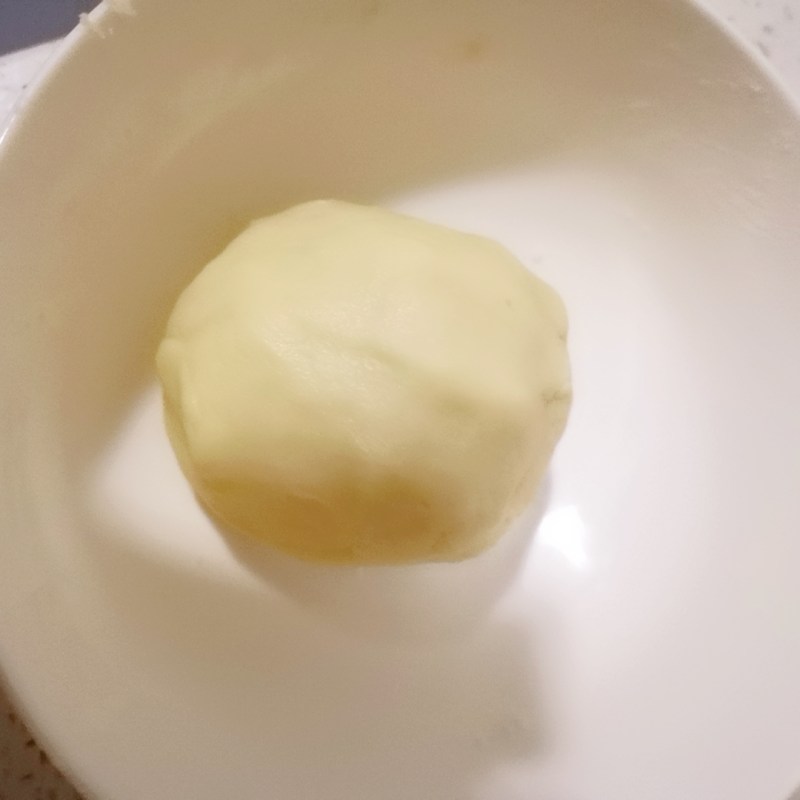
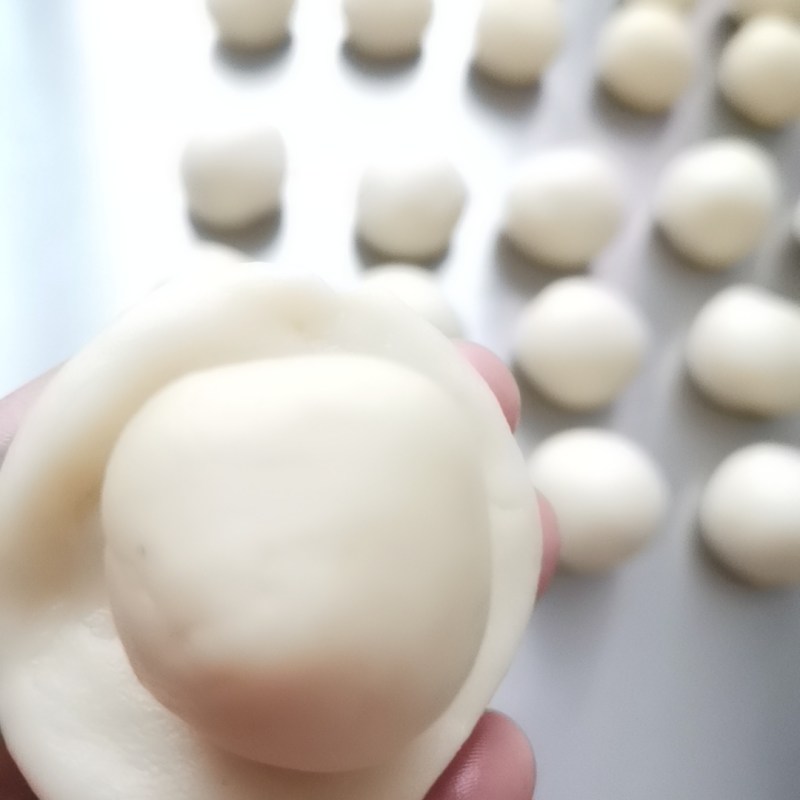
14.取出一个面团,对折。
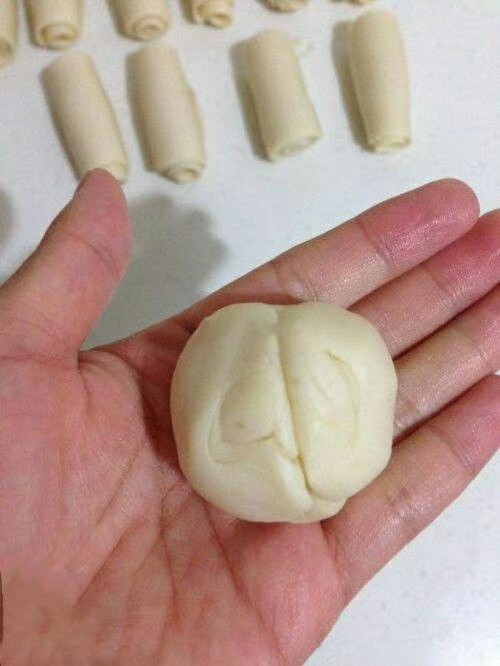
15.按扁成圆形。
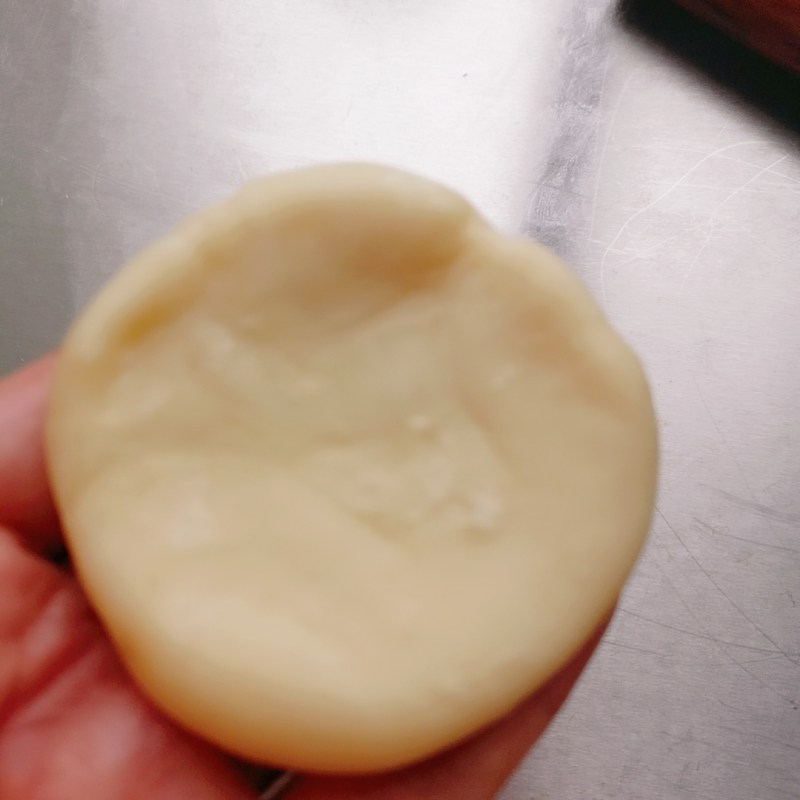
16.擀成圆形,蛋挞皮就好了。
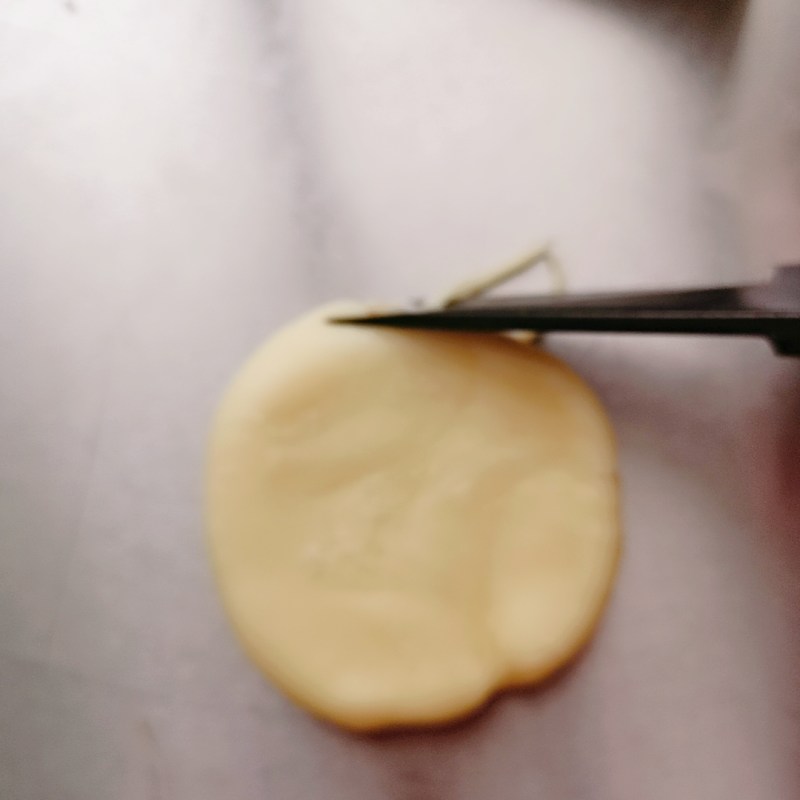
17.用剪刀剪掉一点点边边(这次由于是用了包裹法,所以要煎掉一点点,层次感会更直观)。
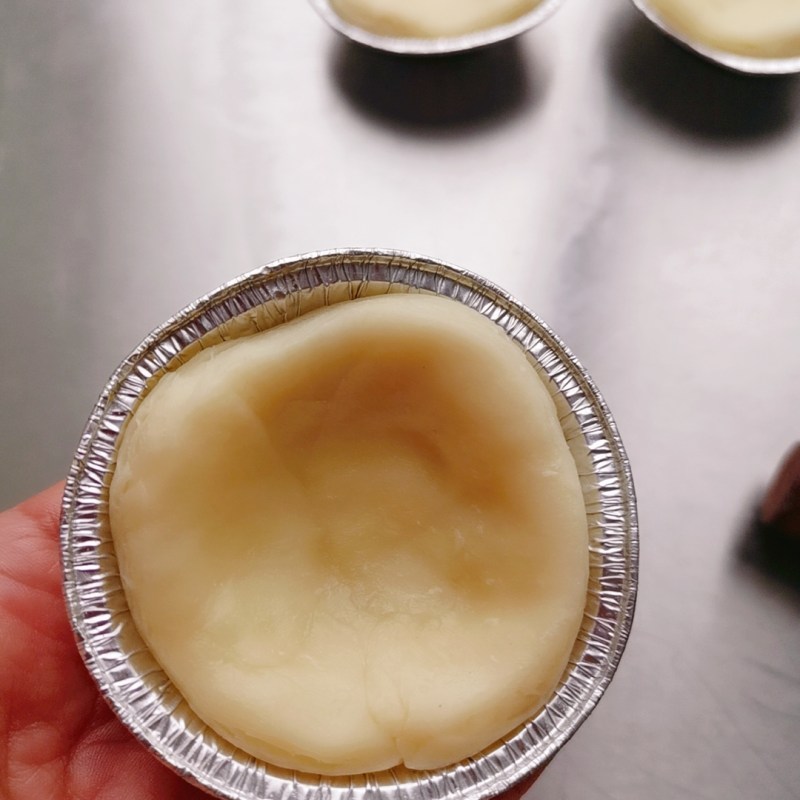
18.中间稍微按薄,放入蛋挞模中(锡纸的)。
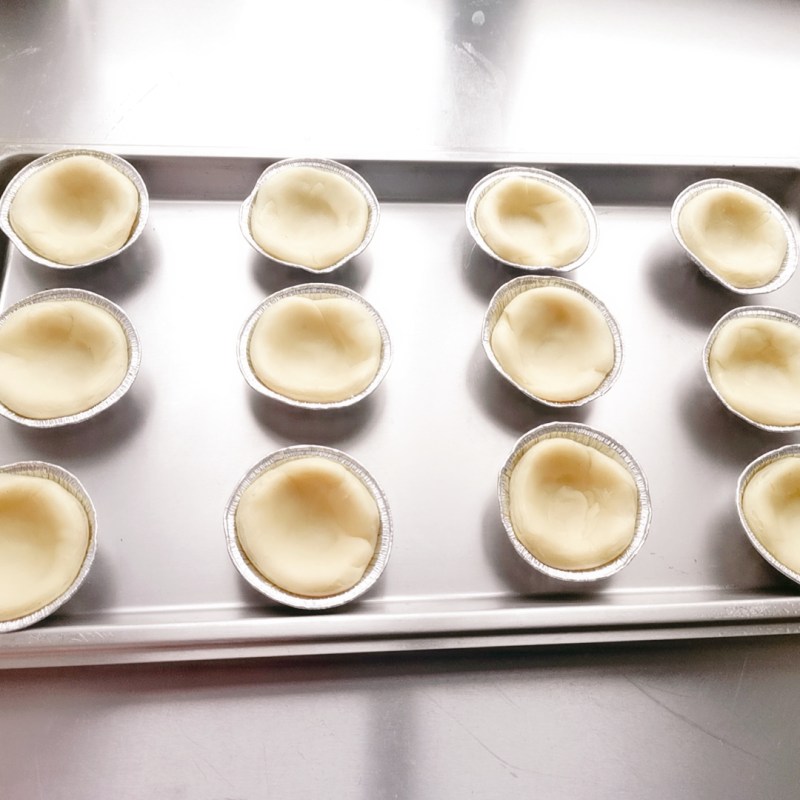
19.蛋挞皮尽量和蛋挞模贴切好。
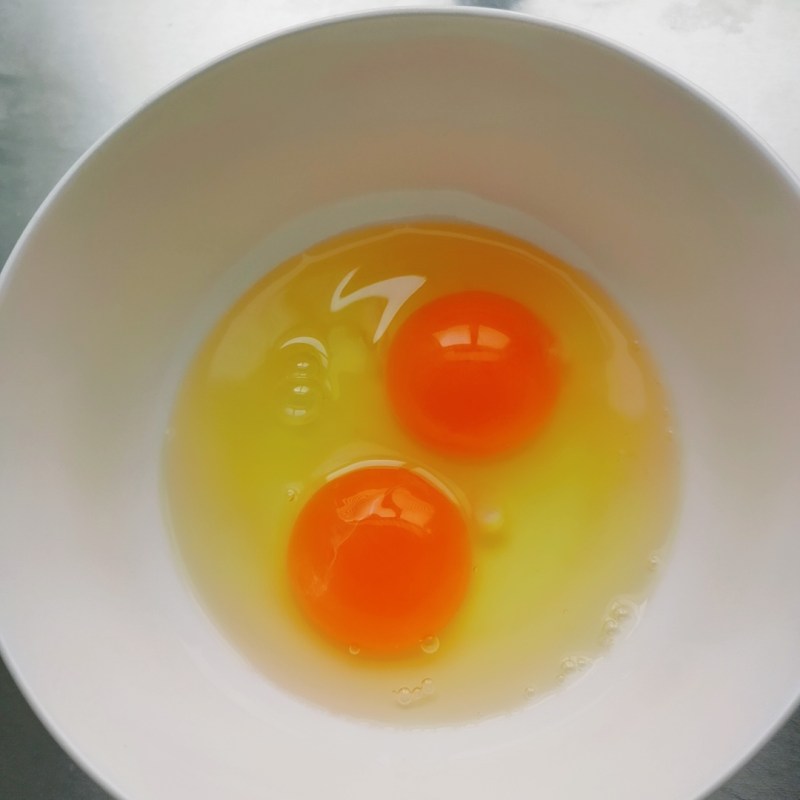
20.碗中磕入两个鸡蛋,只取蛋黄划散。
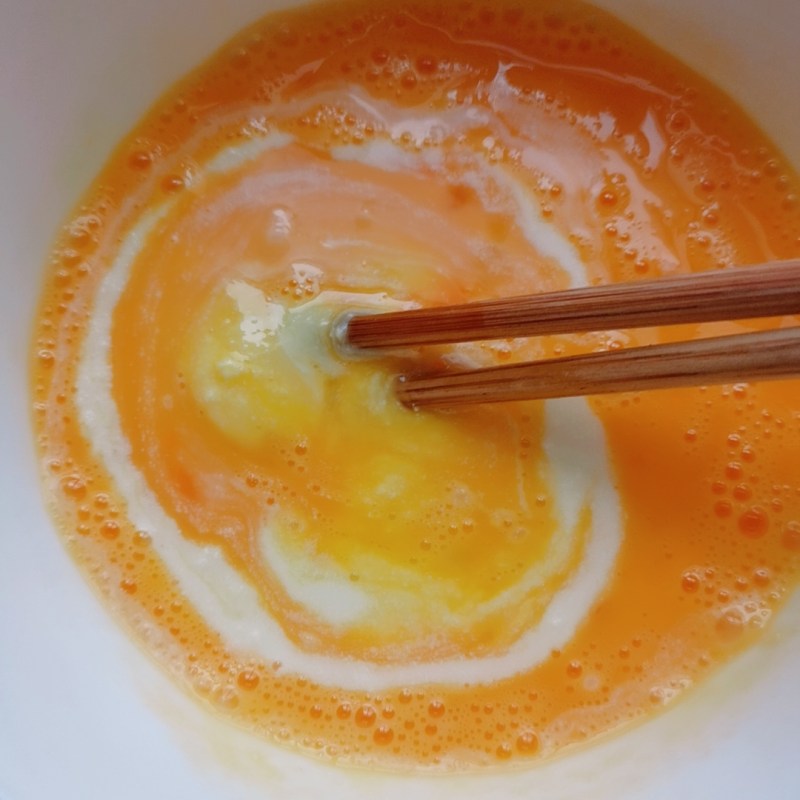
21.依次加入牛奶、淡奶油、糖。
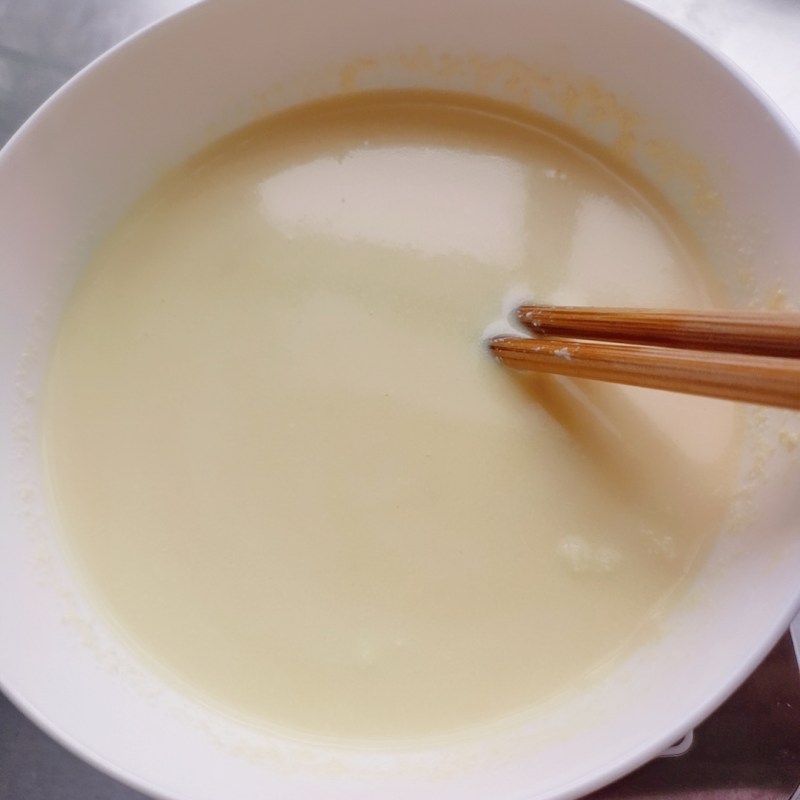
22.搅拌均匀至糖融化
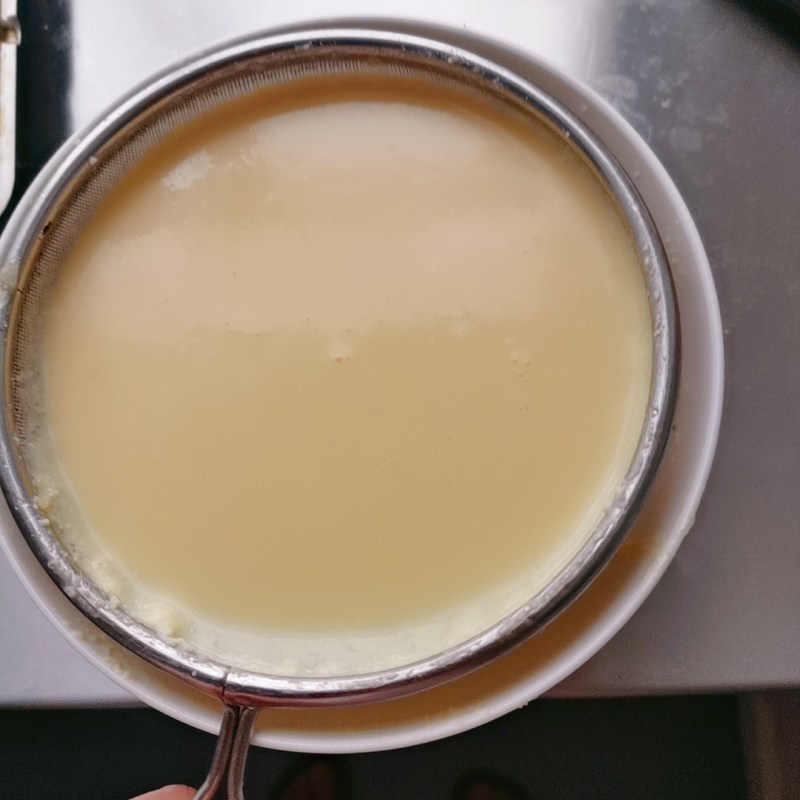
23.过滤两遍,蛋挞液就好了。
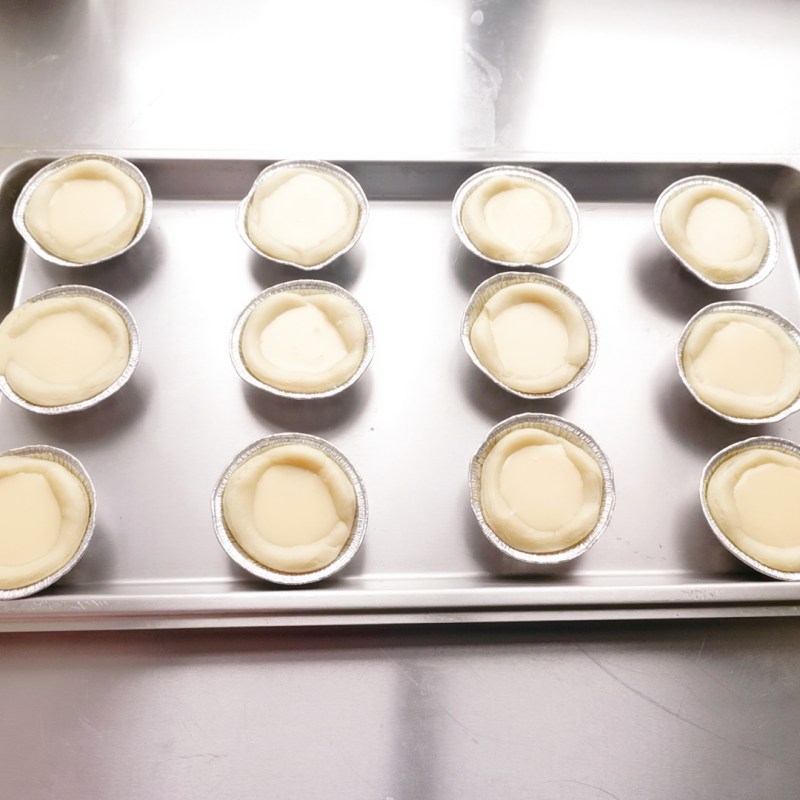
24.蛋挞液加入蛋挞皮中间。
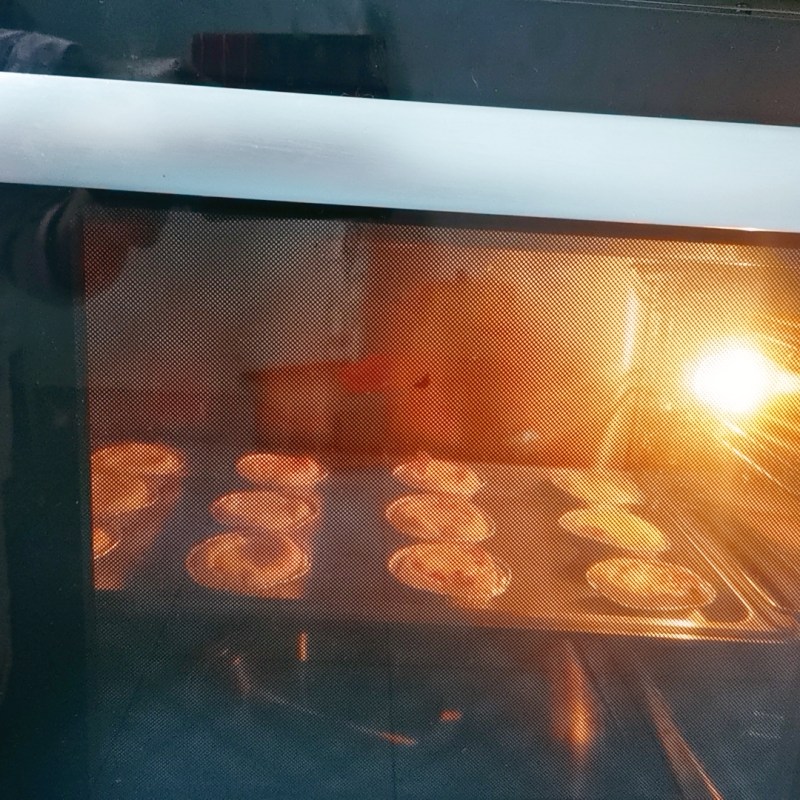
25.放入预热好的烤箱,200度,中层,烤25分钟即可,期间上色均匀后可以加盖锡纸。
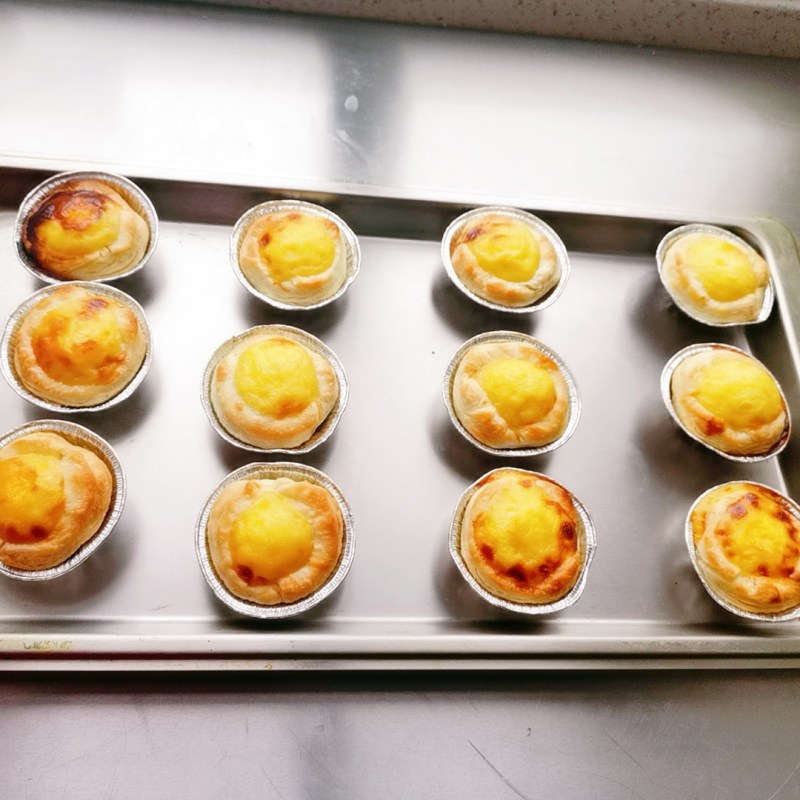
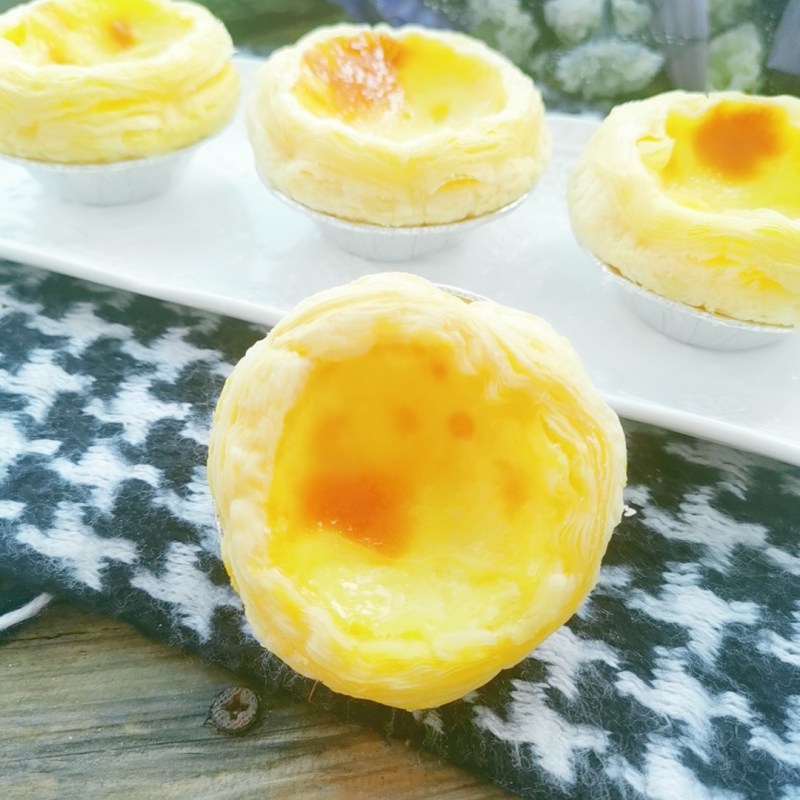
26.好了??,出炉了。
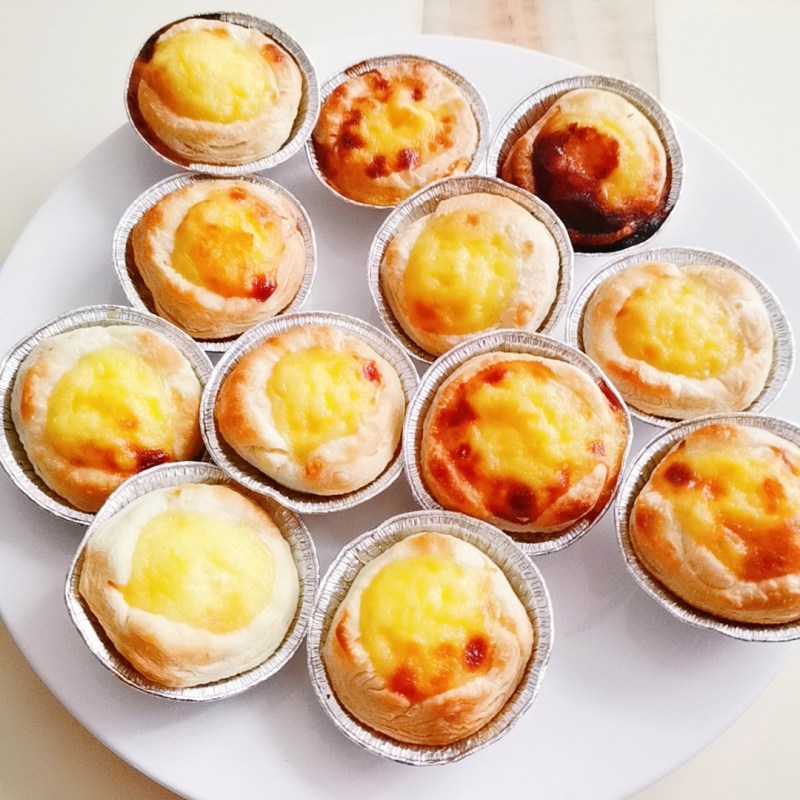
27.成品图。
28.成品图。
29.成品图。
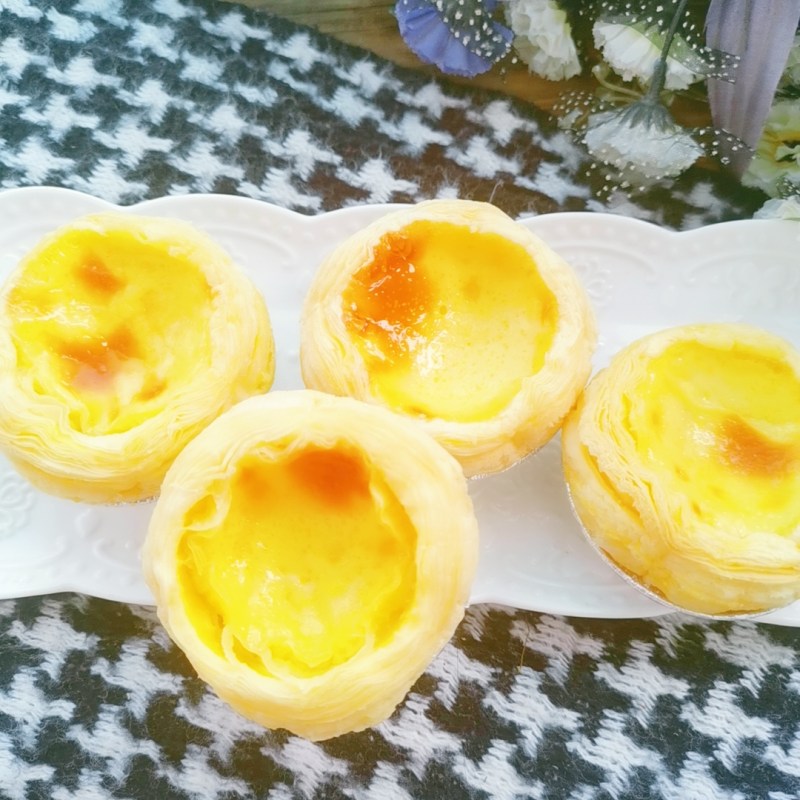
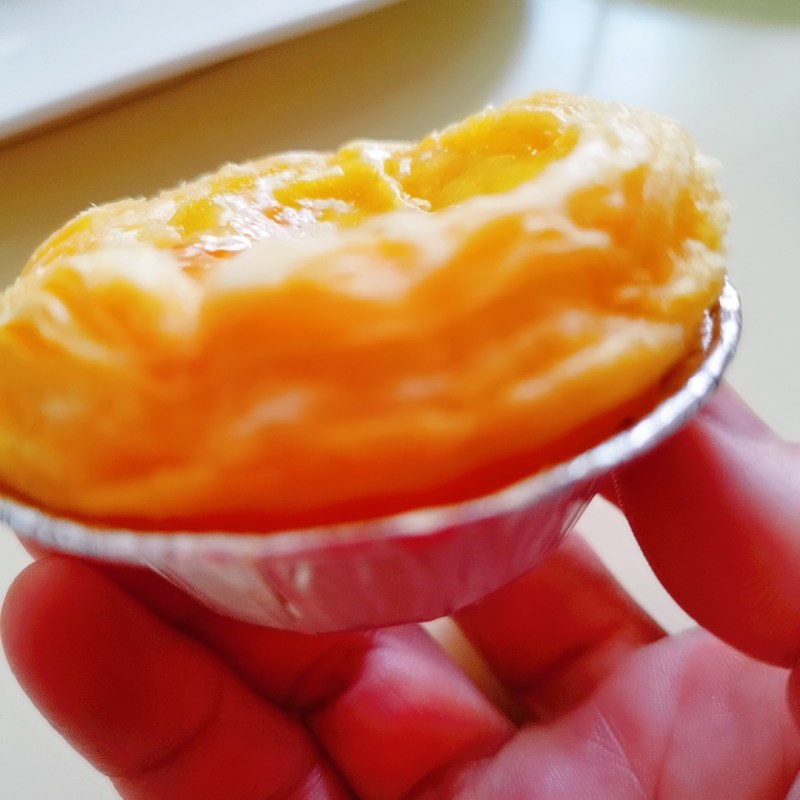
30.成品图。

31.成品图。
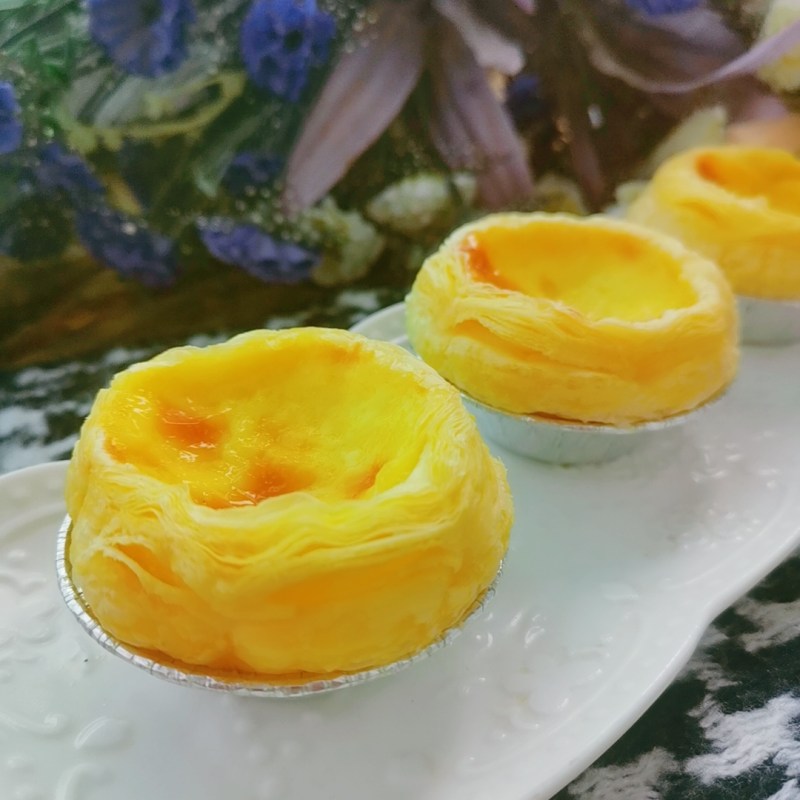
32.成品图。
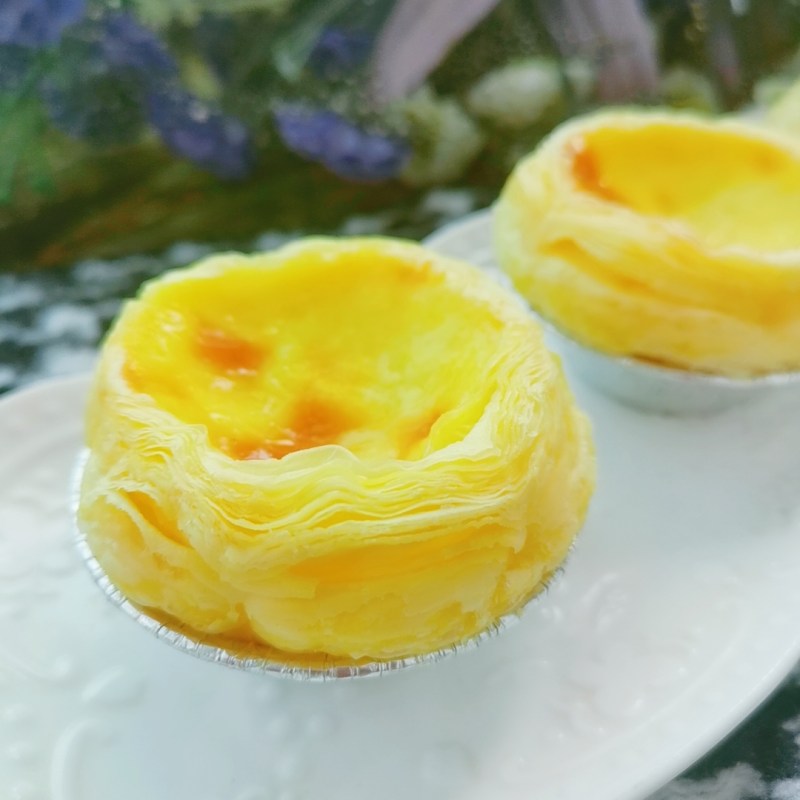
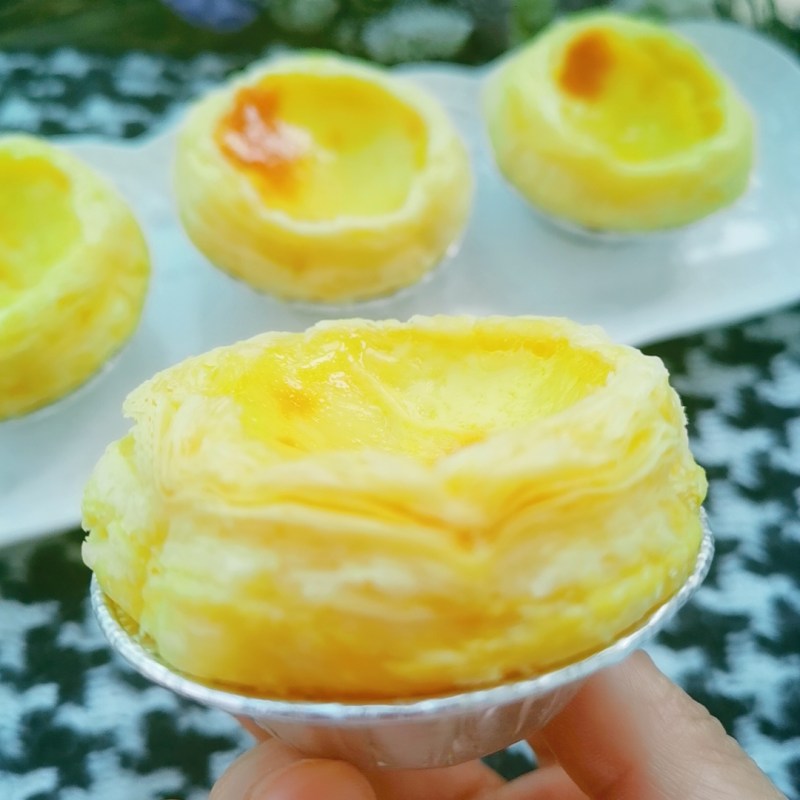
33.成品图。
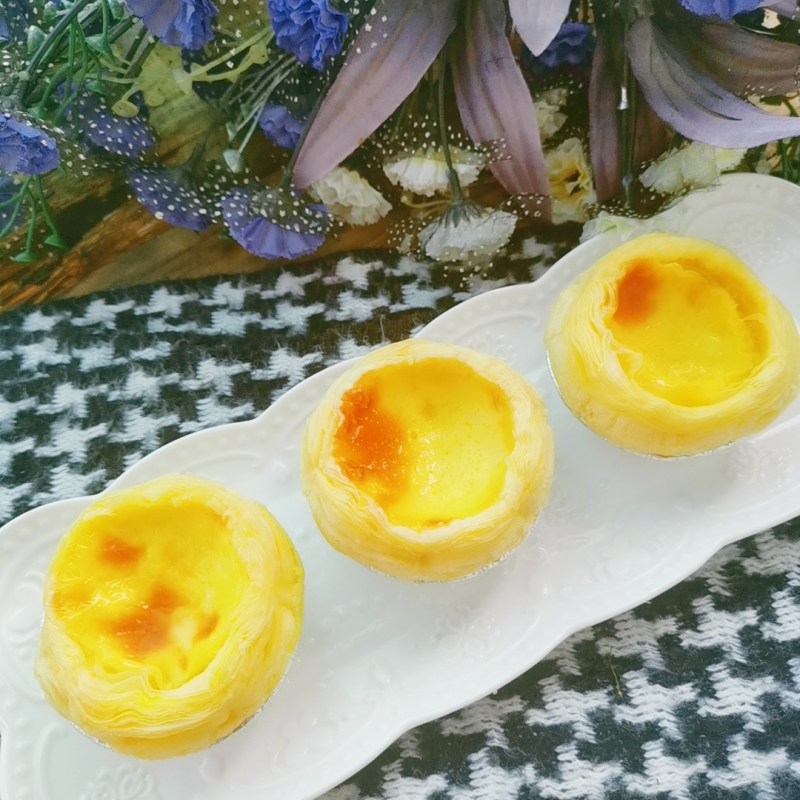
34.成品图。
35.成品图。
TAGS:
甜品 下午茶 其他菜系 高筋面粉
免责声明:本站部分文章转载自网络,图文仅供行业学习交流使用,不做任何商业用途。文章仅代表原作者个人观点,其原创性及文章内容中图文的真实性、完整性等未经本站核实,仅供读者参考。
上一篇: 家常土豆丝炒火腿肠的做法,家常土豆丝炒火腿肠怎么做,家常土豆丝炒火腿肠的做法,家常土豆丝炒火腿肠怎么做,土豆丝炒火腿肠的做法,火腿肠土豆丝炒饭
下一篇: 酱醋拌芦笋黄瓜的做法,酱醋拌芦笋黄瓜怎么做,酱醋拌芦笋黄瓜的做法,酱醋拌芦笋黄瓜怎么做,酱醋拌芦笋黄瓜丝的做法,竹笋拌黄瓜做法
Deprecated: mysql_connect(): The mysql extension is deprecated and will be removed in the future: use mysqli or PDO instead in
/data/haozs.cc/xianguan.php on line
5
Deprecated: mysql_query(): The mysql extension is deprecated and will be removed in the future: use mysqli or PDO instead in
/data/haozs.cc/xianguan.php on line
7
