油皮
低筋面粉,
200克,
猪油,
60克,
糖,
40克,
水,
100克油酥
低筋面粉,
120克,
猪油,
60克馅料
咸蛋黄,
12个,
豆沙馅,
120克蛋黄元宝酥的做法步骤
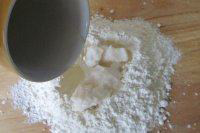
1.先和油皮:将糖放在水里溶化,再加入低筋面粉和猪油混合;
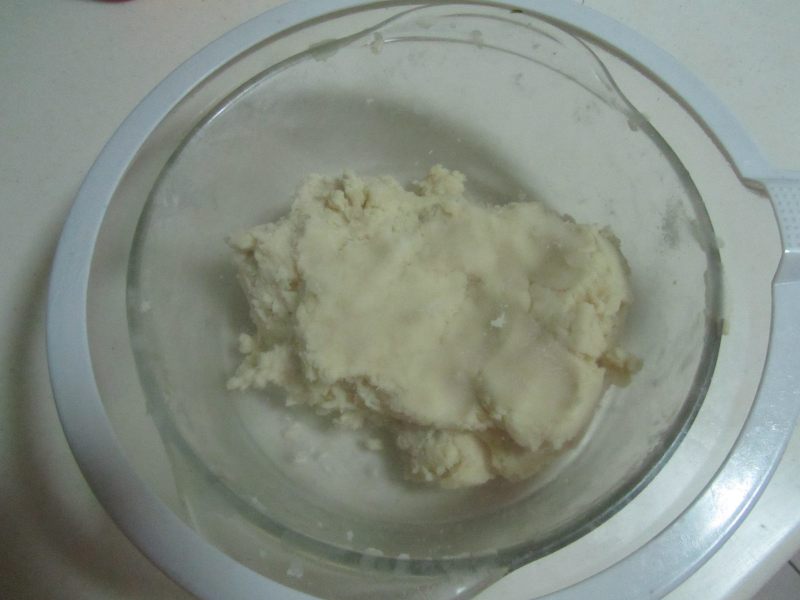
2. 再和油酥:将所有油酥材料混合;
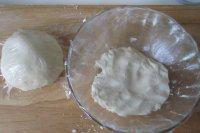
3. 和好的面团分别表面上盖上保鲜膜,松弛20分钟;
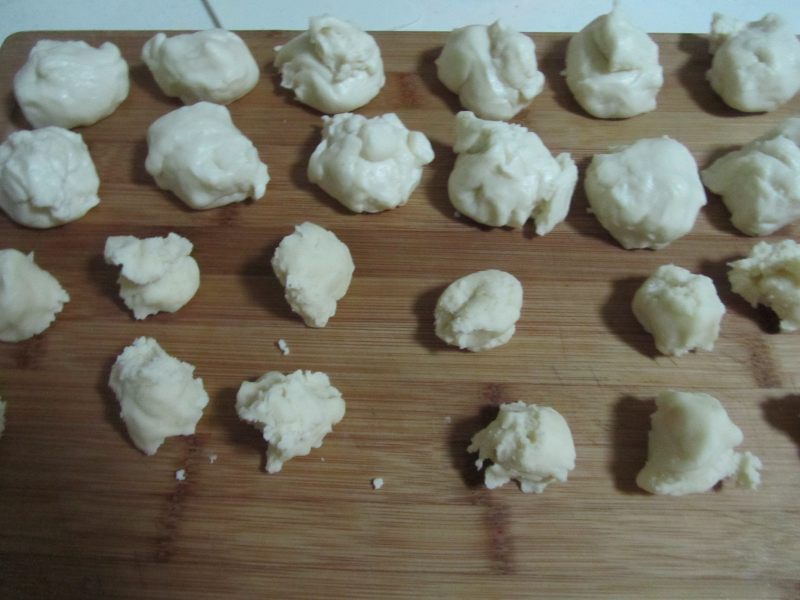
4.分割称量:将松弛好的油皮, 油酥各分成12小份;
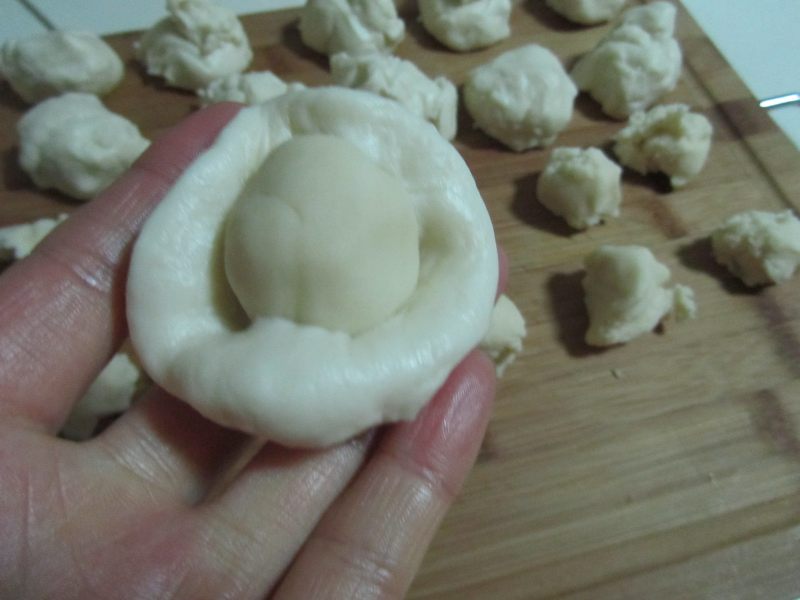
5.将油皮擀成圆形,将油酥团成球状放在中心;
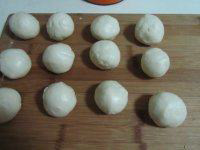
6.用油皮将油酥包裹起来成球状;
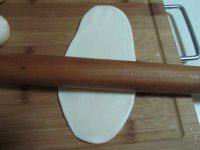
7. 将包好的油酥球整理成长方形, 用擀面杖将面团擀成长条状, 将它卷起来;
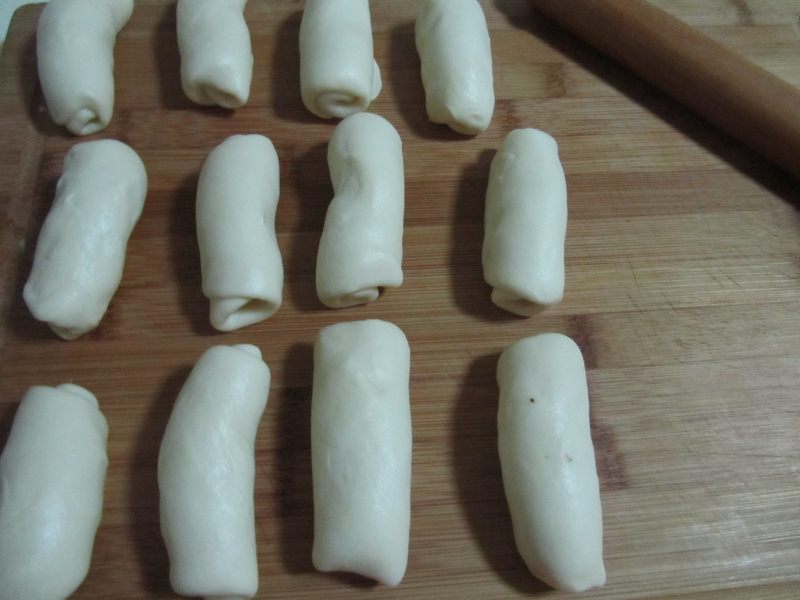
8..将横条转为竖条,将收口向上,压平,松弛15分钟;
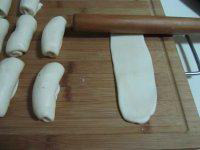
9. 再将长条面团收口向上再擀成长条状;
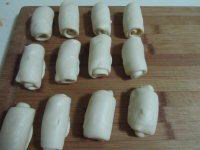
10.再卷起, 继续松弛十分钟;
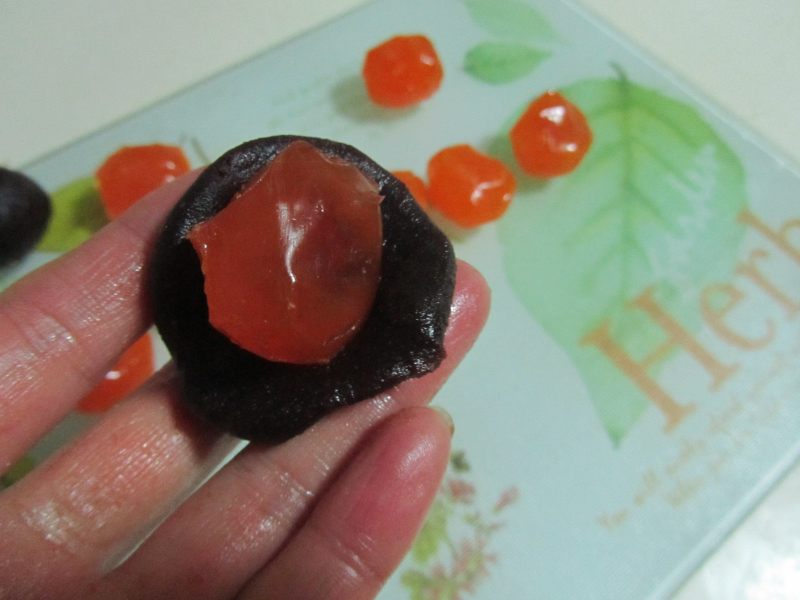
11.将豆沙馅按压成圆片, 包裹住咸蛋黄;
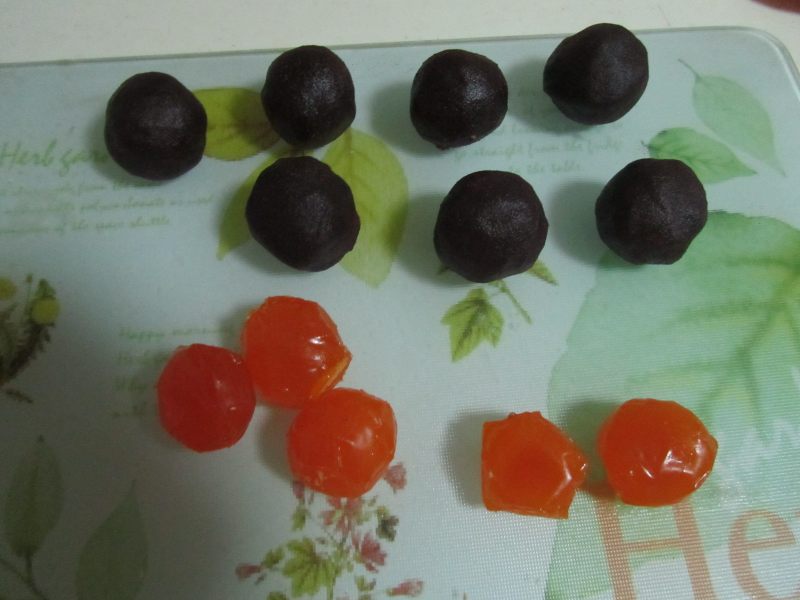
12.团成小球备用;
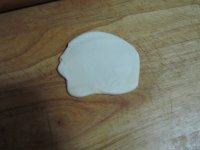
13. 将小面团还是收口朝上, 尽量擀成圆形;
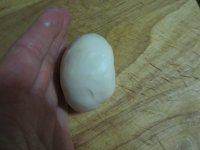
14.将蛋黄馅料包裹进去团成球形后,再用双手按压两边成椭圆长条;
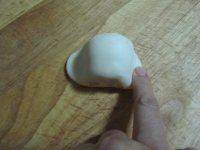
15.在两段分别按压出部分边角来;
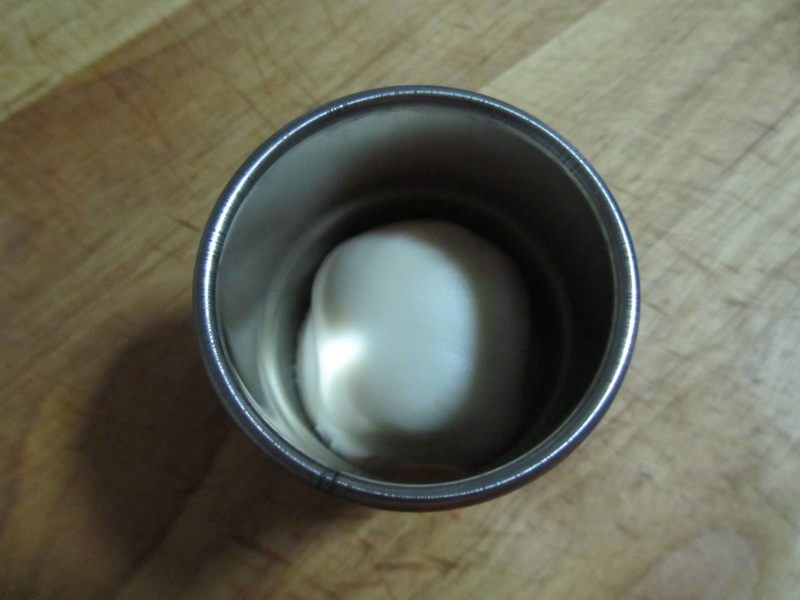
16. 再用适当大小的圆圈按压下去,突出元宝形;
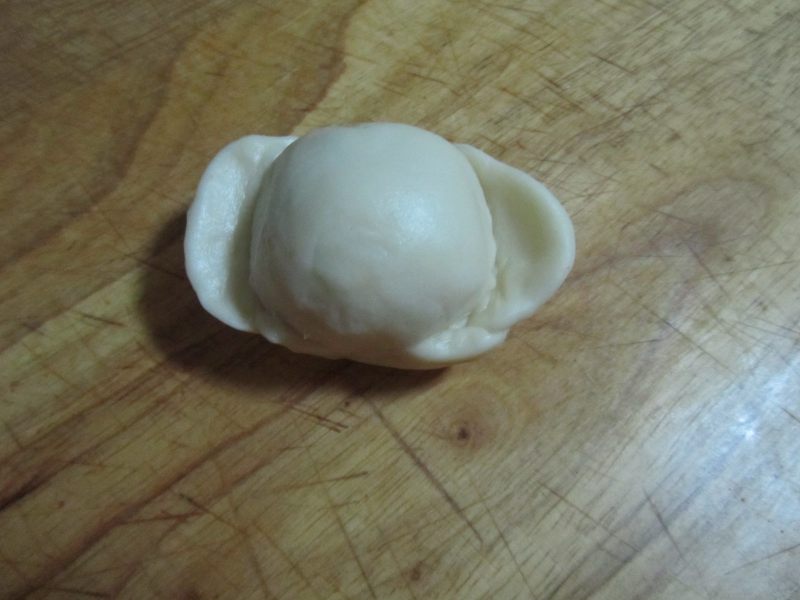
17. 再将两端往上翘,整理成元宝形;
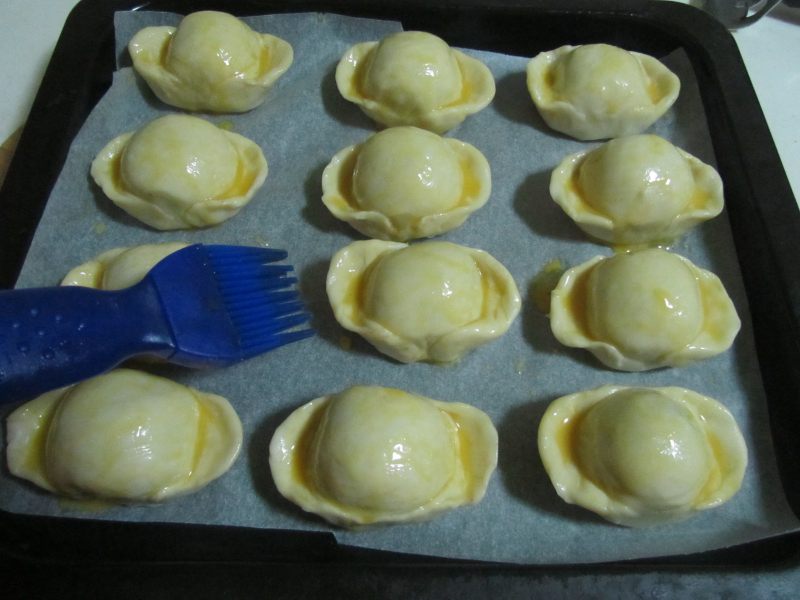
18. 表面上刷层蛋黄液,放入预热好的烤箱, 中层, 180度, 30分钟。
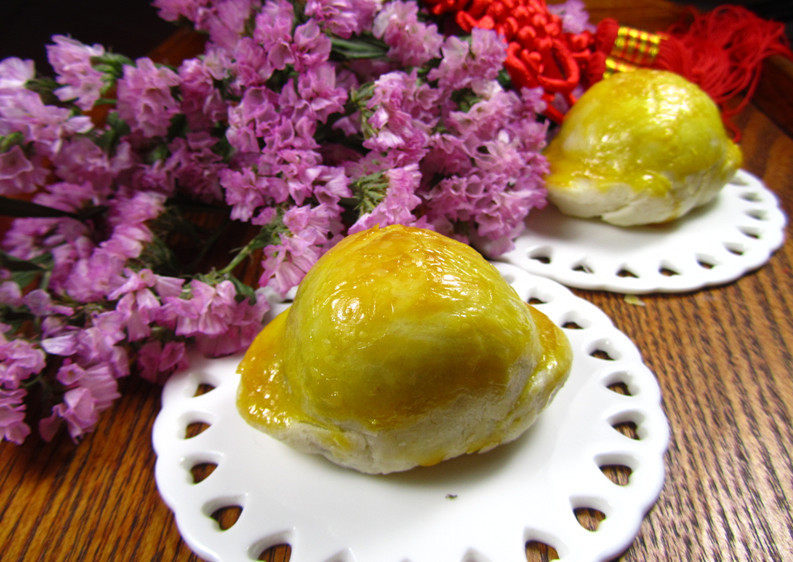
19.拿出来后,再在表面上刷层蛋黄,放入烤箱中两,三分钟,表面成金黄色即可。
20.切开成两半, 金黄色的蛋黄, 多层的酥皮就展现在眼前。
TAGS:
烘焙 其他菜系 低筋面粉
免责声明:本站部分文章转载自网络,图文仅供行业学习交流使用,不做任何商业用途。文章仅代表原作者个人观点,其原创性及文章内容中图文的真实性、完整性等未经本站核实,仅供读者参考。
上一篇: 玫瑰生煎
下一篇: 菠菜粉条炖肉的做法,菠菜粉条炖肉怎么做,菠菜粉条炖肉的做法,菠菜粉条炖肉图片,菠菜粉条炖肉丸,菠菜粉条炖肉怎么做
Deprecated: mysql_connect(): The mysql extension is deprecated and will be removed in the future: use mysqli or PDO instead in
/data/haozs.cc/xianguan.php on line
5
Deprecated: mysql_query(): The mysql extension is deprecated and will be removed in the future: use mysqli or PDO instead in
/data/haozs.cc/xianguan.php on line
7


