主料:
黄油,
60g,
鸡蛋,
2个,
消化饼,
60g(奥利奥或麦维他),
淡奶油,
35g,
芝士,
300g,
细砂糖,
60g
辅料:
柠檬汁,
30g,
蓝莓,
500g,
糖,
150g(果酱)蓝莓重芝士蛋糕的做法步骤
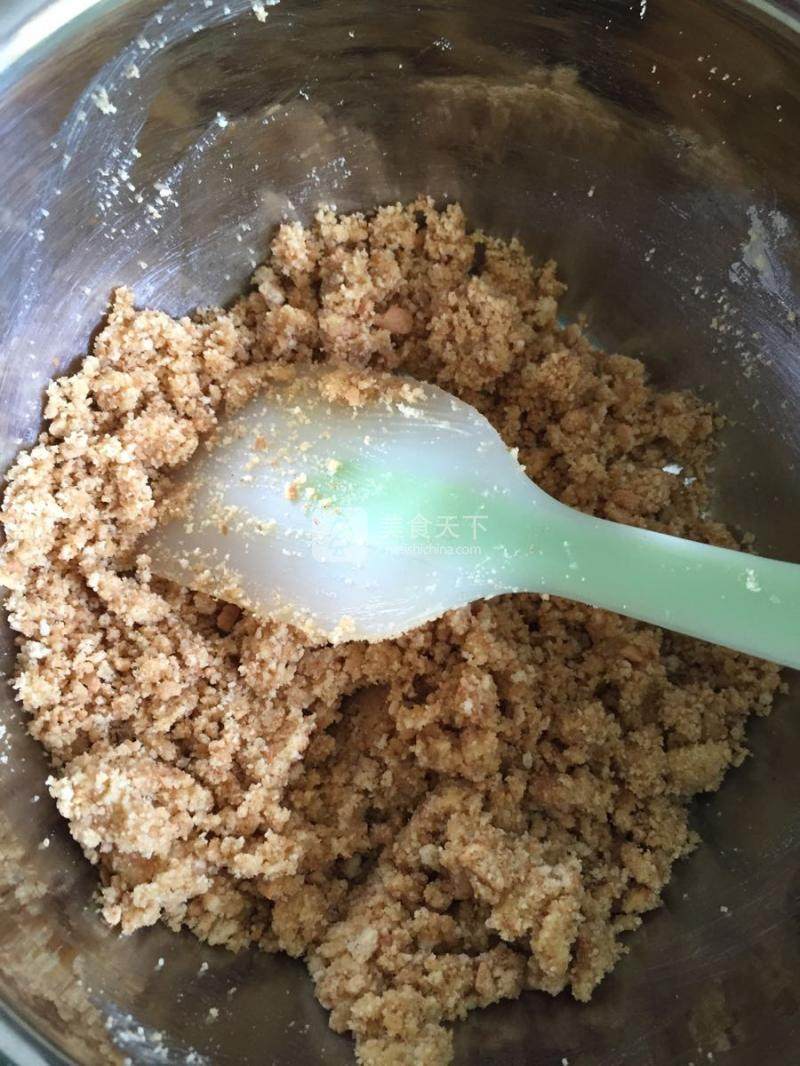
1.做饼底。黄油提前软化。消化饼擀碎,加入28g软化的黄油。
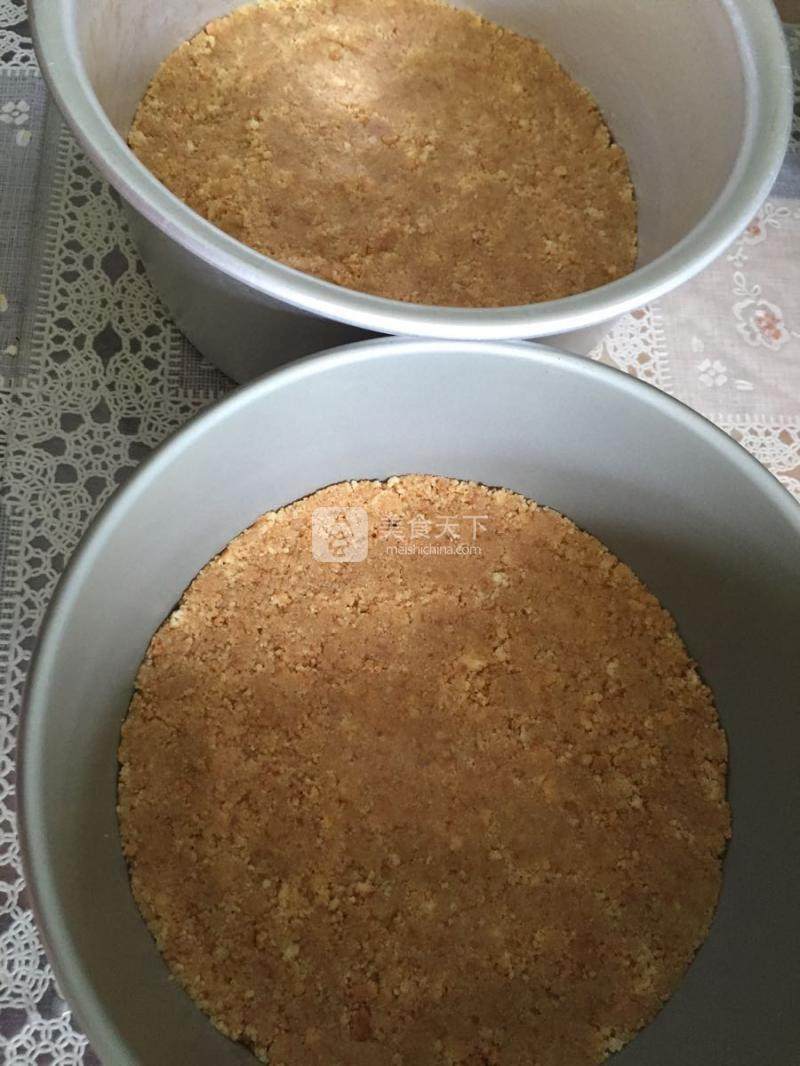
2.铺入蛋糕模底,用小勺子压平压实,放入冰箱定型。
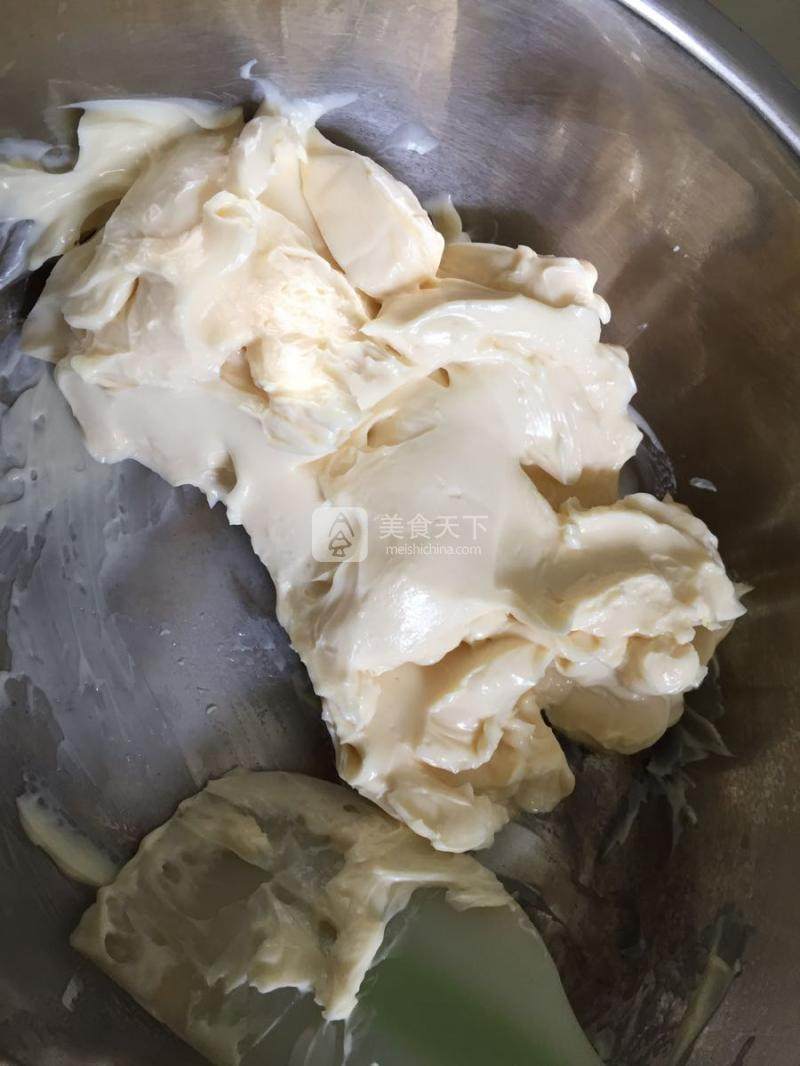
3.芝士提前软化,用打蛋器打软。
4.分2-3次加入细砂糖或糖粉,打匀。
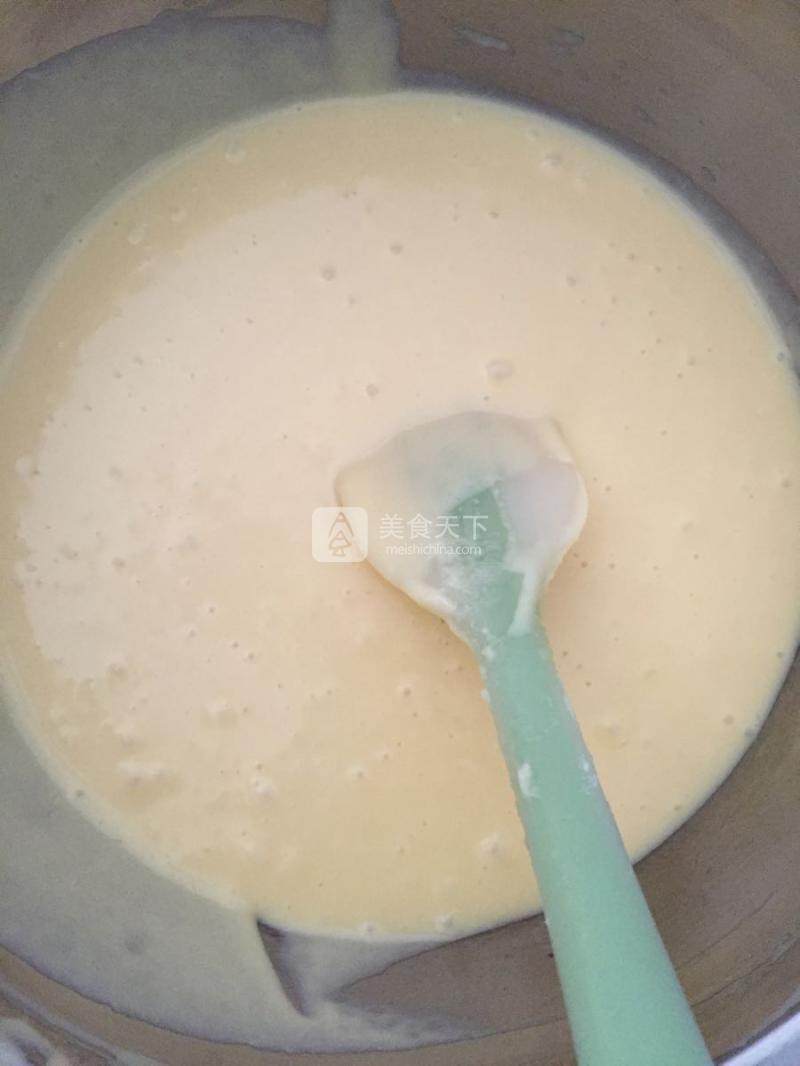
5.鸡蛋2个,先打散,再分2次倒入芝士糊内。用打蛋器低速打匀。全部材料融合就行了,别打太久。(烤箱上下火150度预热10分钟)
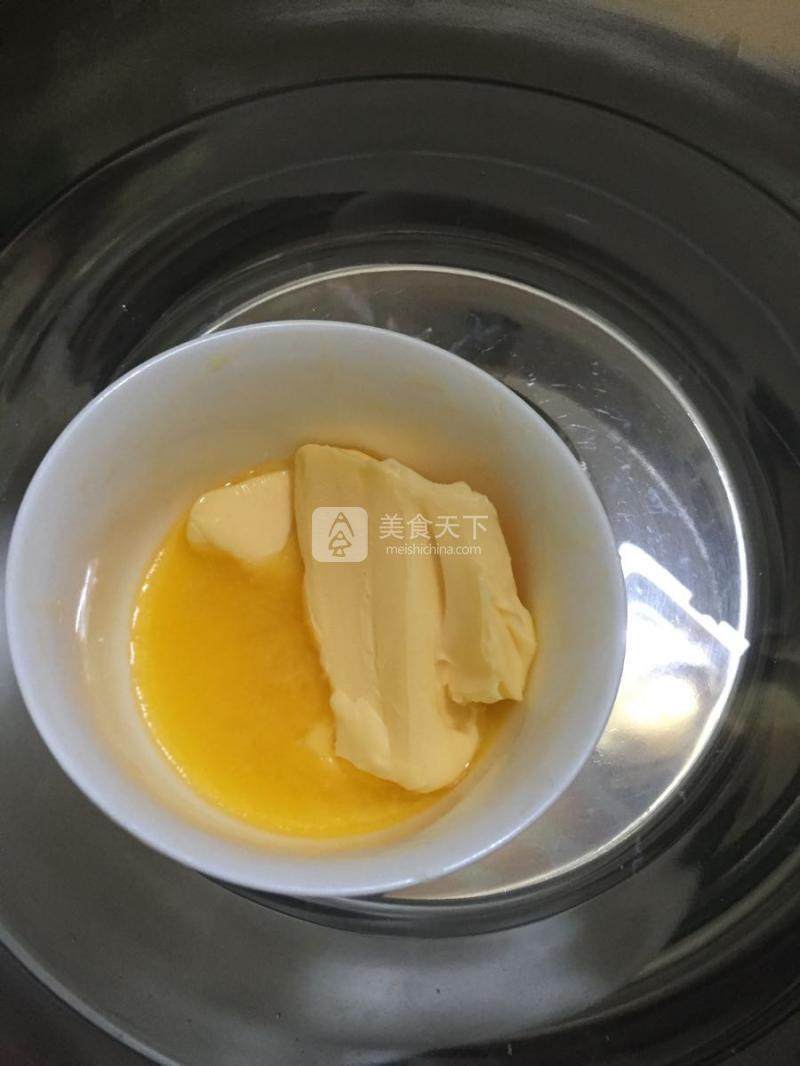
6.60g黄油隔热水融化
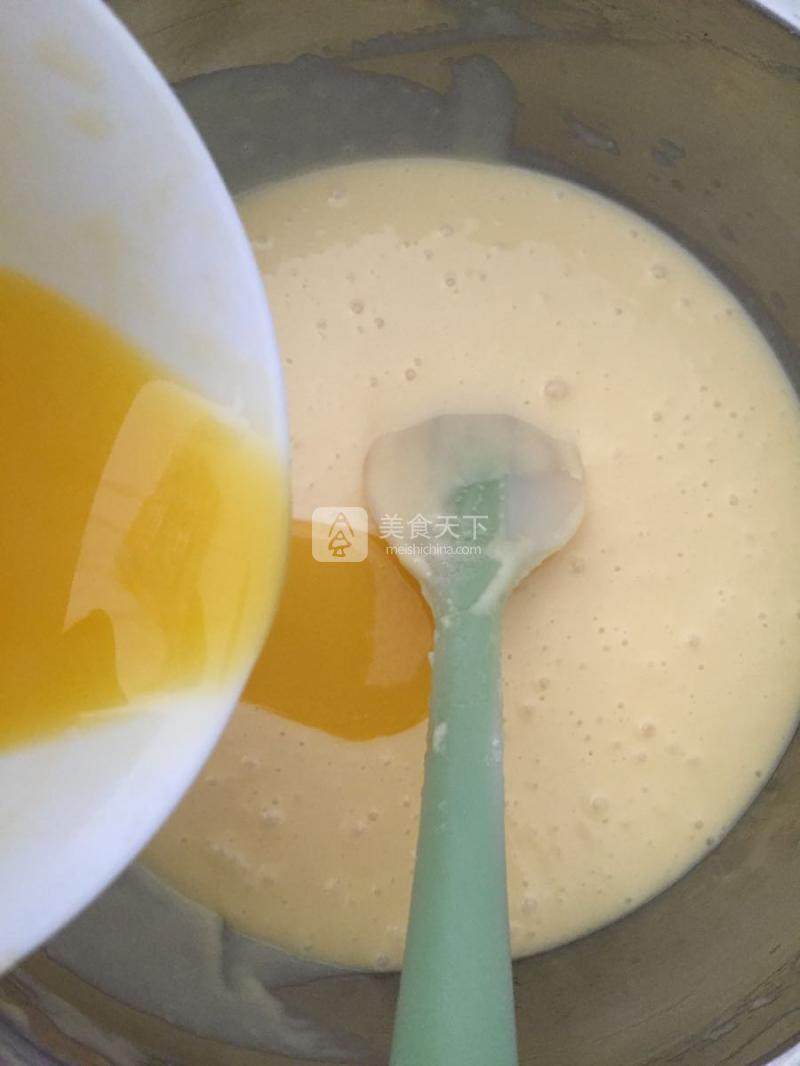
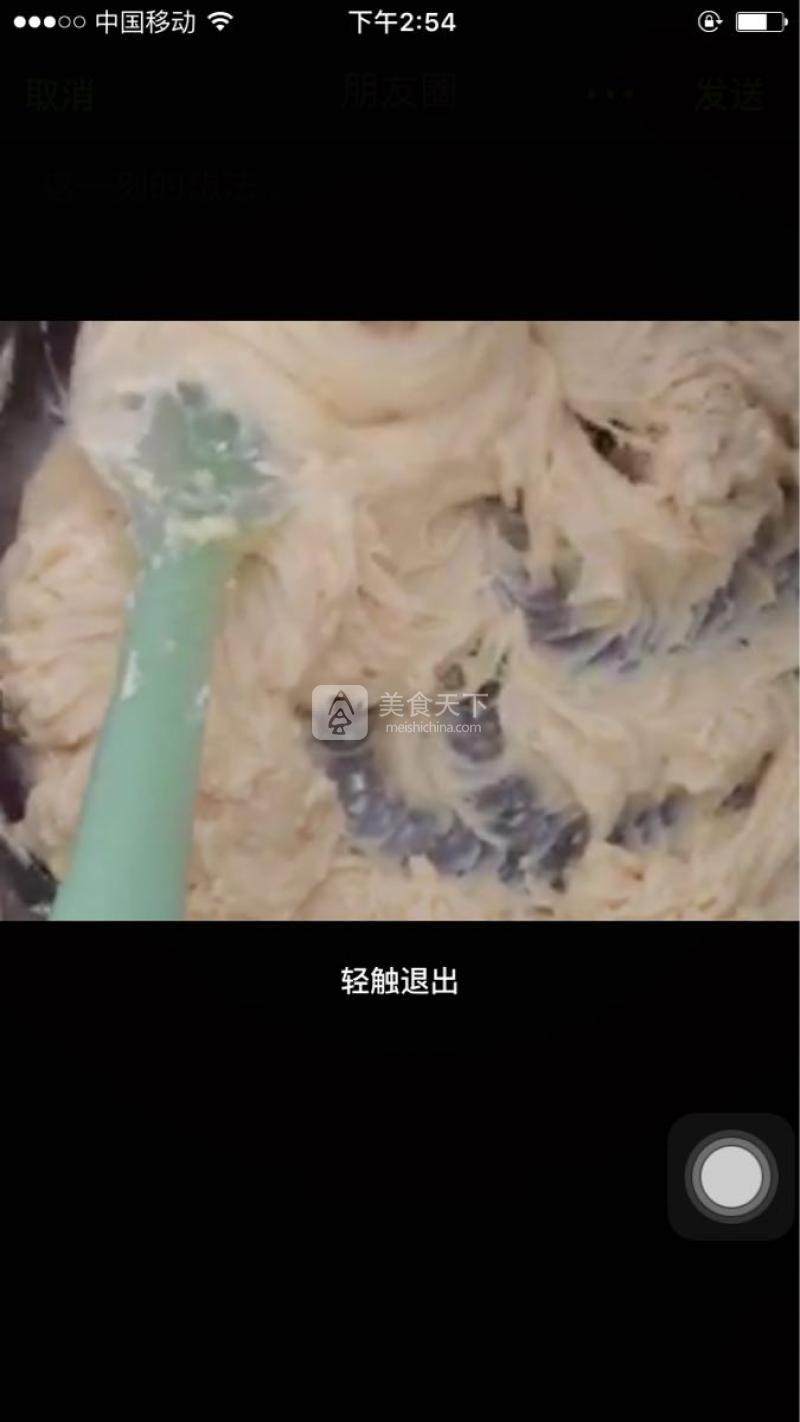
7.接下来,就不需要打蛋器了!——把融化的黄油倒入芝士糊中,用刮刀拌匀,直到黄油和芝士融合在一起。(因为鸡蛋黄含卵磷脂,所以可让黄油更好地和芝士糊融合在一起)
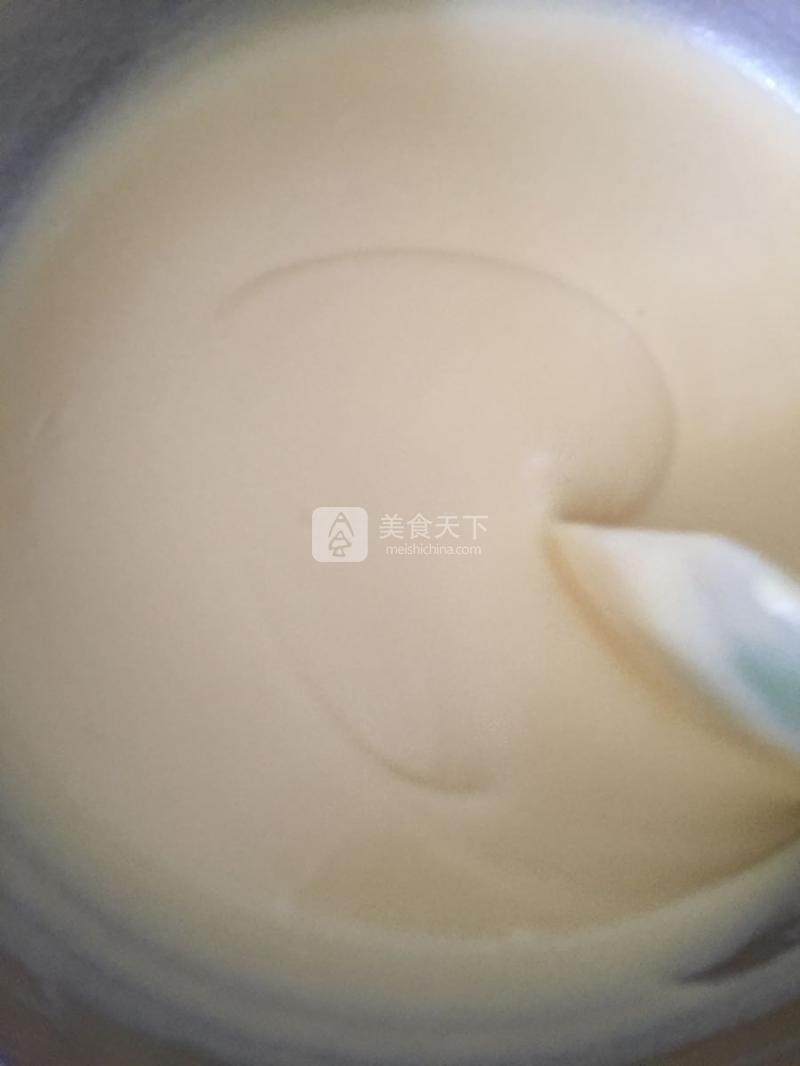
8.倒入35g淡奶油,用刮刀拌匀
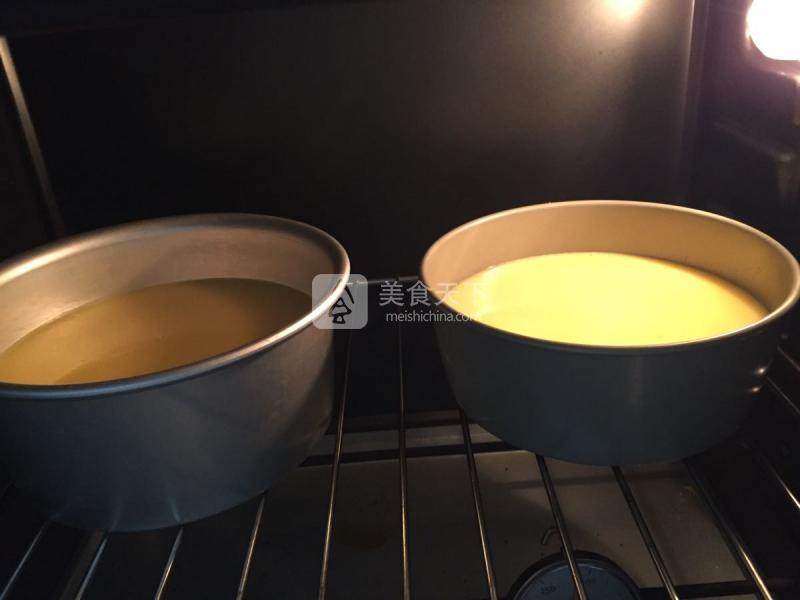
9.从冰箱取出有饼底的蛋糕模,把搅拌均匀的芝士糊,以离蛋糕模上方20cm左右的高度倒入蛋糕模内(防止产生太多气泡)。有气泡的话,就用牙签把气泡挑破。放入烤箱,上下火150度烤50分钟。
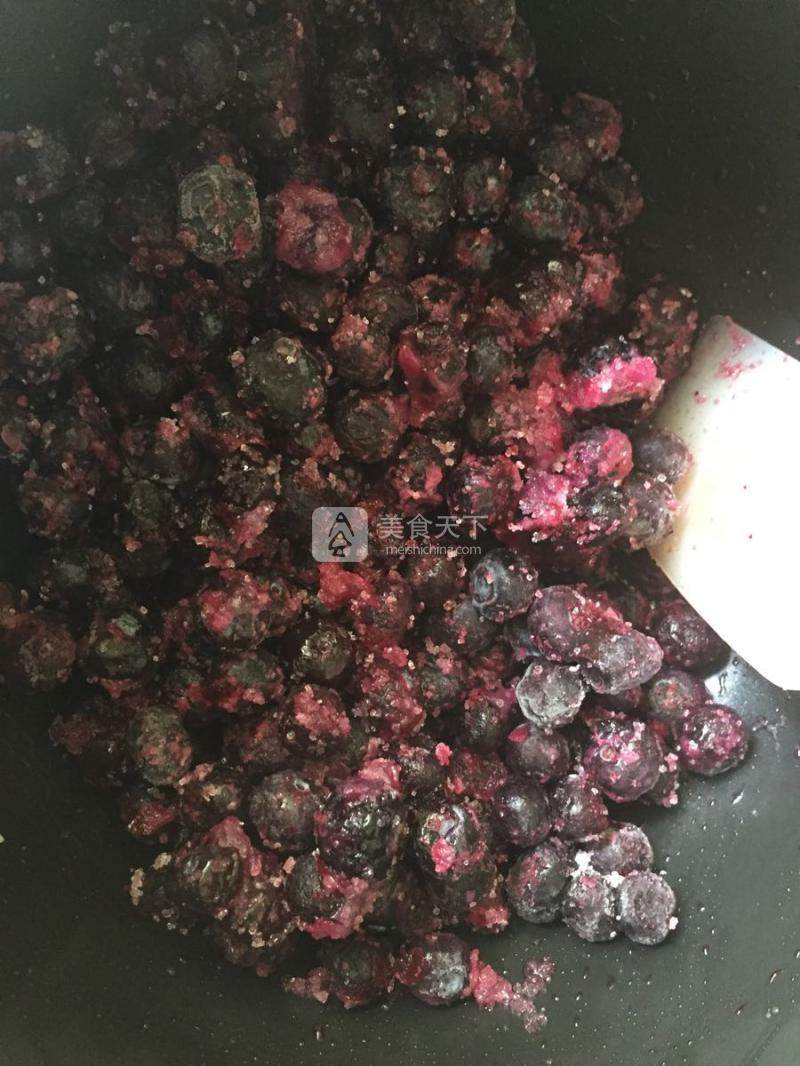
10.做果酱。蓝莓倒入不粘锅,加柠檬汁加糖混在一起,轻轻地拌,尽量别把蓝莓弄烂
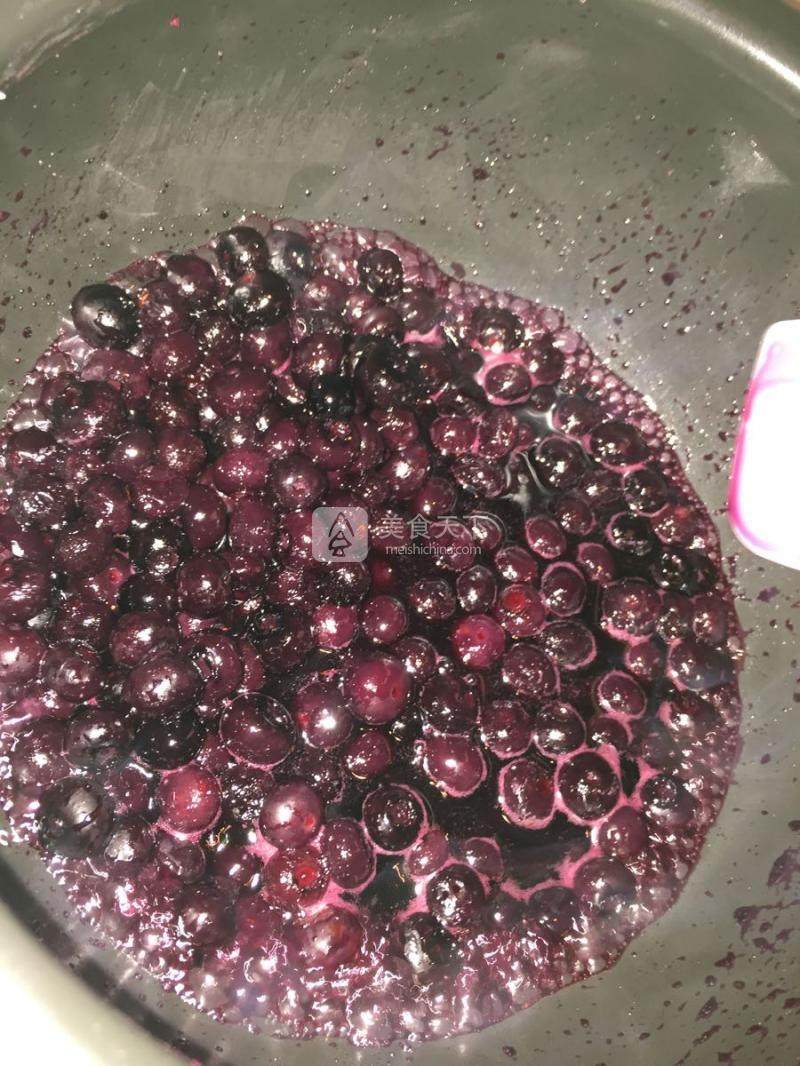
11.大火煮开。一边煮一边用硅胶刀搅拌,防止粘底。
12.煮开后,再转小火。

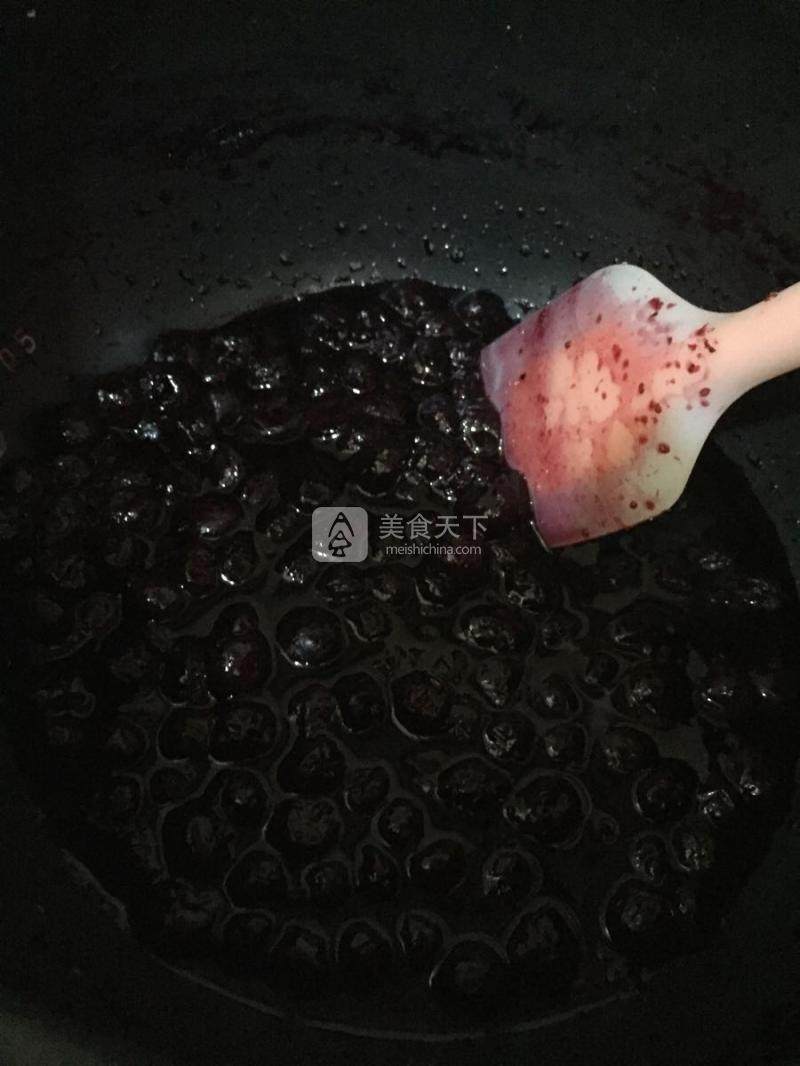
13.一直煮到“挂刀”(煮10-15分钟左右),关火,摊凉。
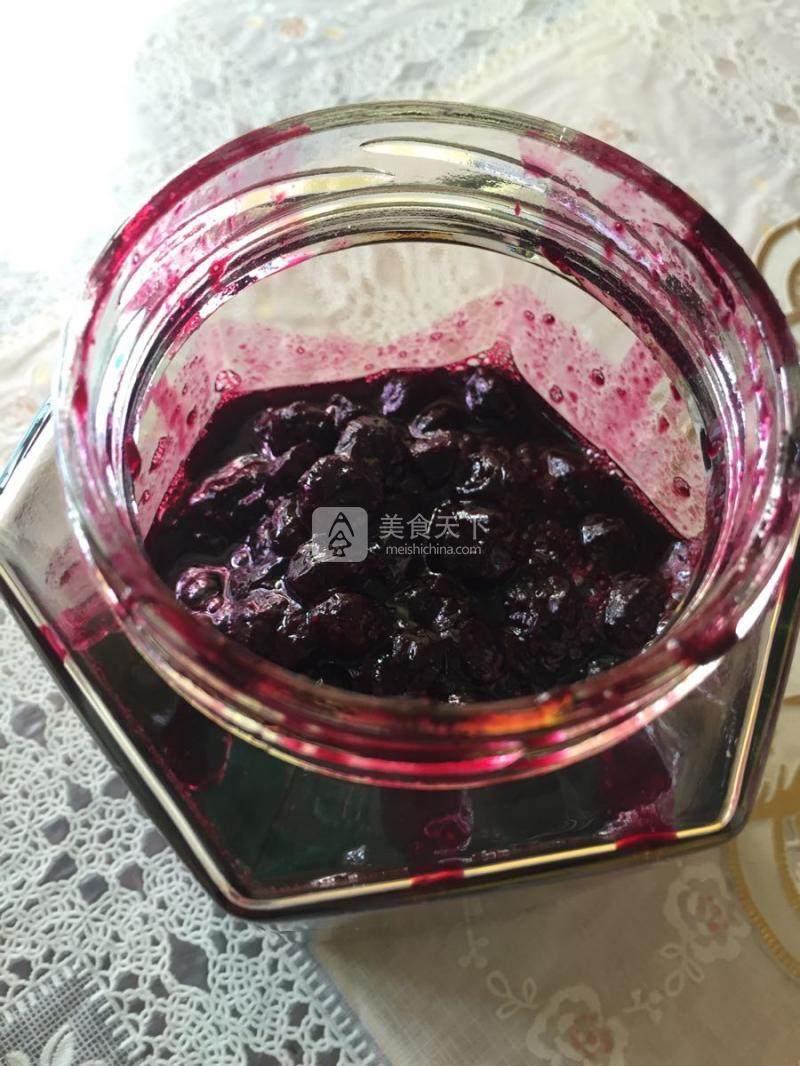
14.装入消毒容器
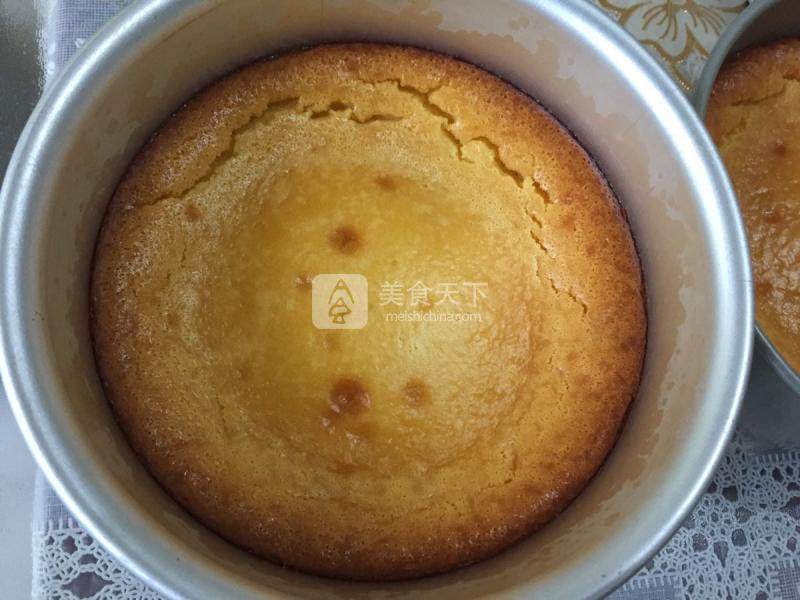
15.蛋糕烤好后,彻底摊凉
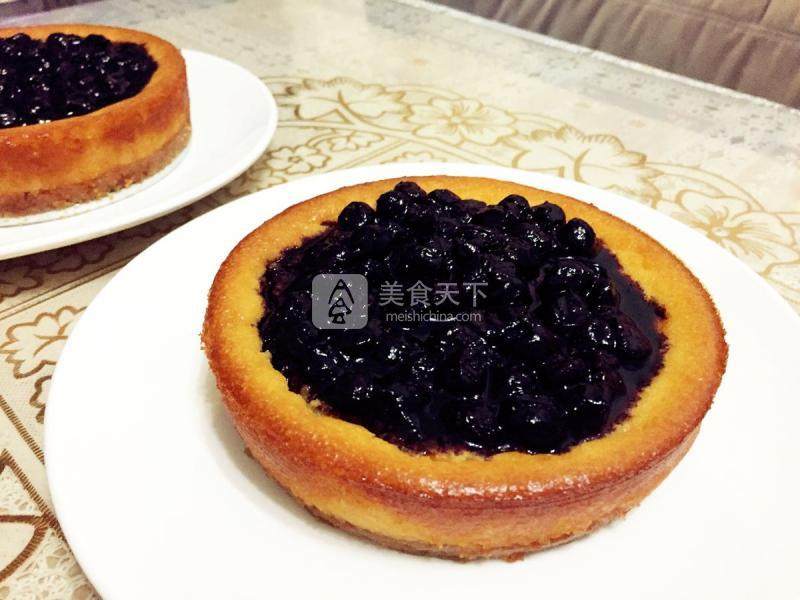
16.中间铺上果酱。放入冰箱冷藏4小时后再吃。
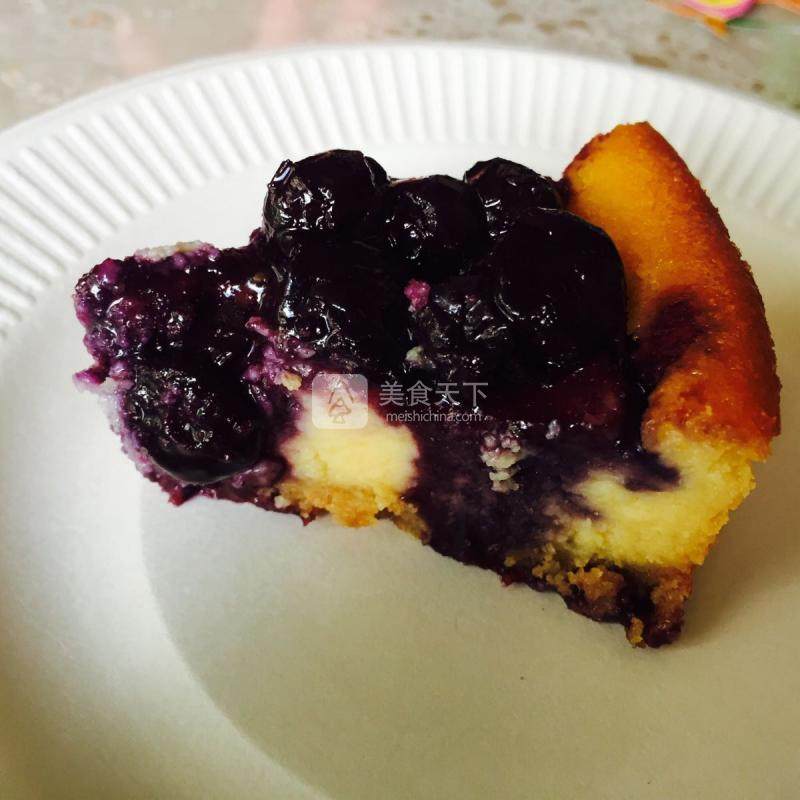
17.哇!~~口感很赞哦!!
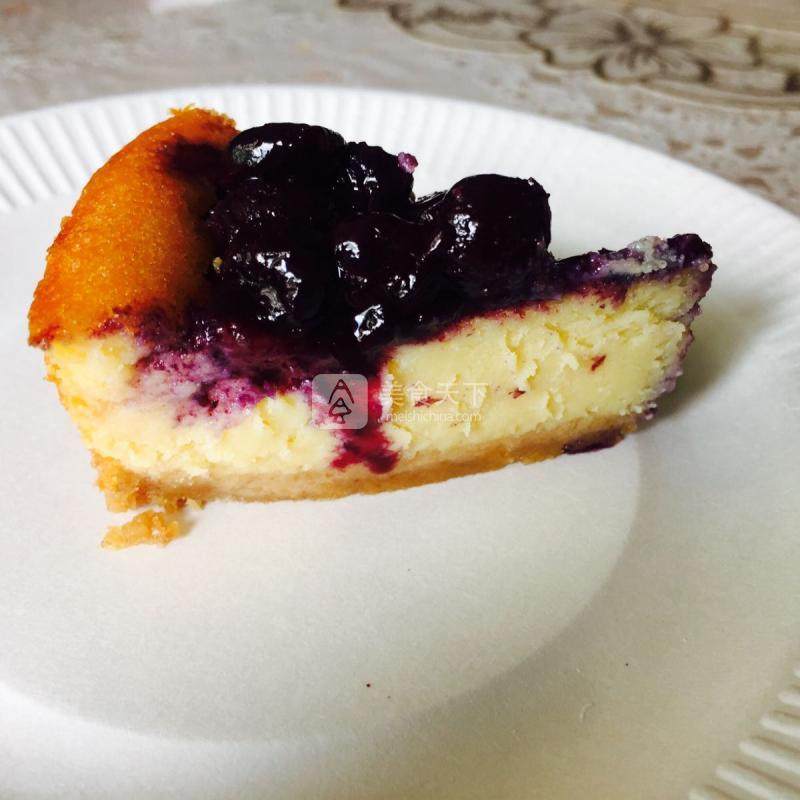
18.口水啊,,,止不住!!~
小窍门&温馨提示
果酱的量有点多,用量可以减半。剩余的酱可以做别的甜品。果酱放冰箱可存1个月。
TAGS:
烘焙 其他菜系 黄油
免责声明:本站部分文章转载自网络,图文仅供行业学习交流使用,不做任何商业用途。文章仅代表原作者个人观点,其原创性及文章内容中图文的真实性、完整性等未经本站核实,仅供读者参考。
上一篇: 韭菜素包子的做法,韭菜素包子怎么做,韭菜素包子蒸多久,韭菜素包子开锅多长时间熟,韭菜素包子馅的家常做法大全窍门,韭菜素包子馅的调料详细配方图片
下一篇: 凉拌香椿芽的做法,凉拌香椿芽怎么做,凉拌香椿芽怎么做好吃,凉拌香椿芽用焯水吗,凉拌香椿芽过夜了还能吃吗,凉拌香椿芽放醋吗
Deprecated: mysql_connect(): The mysql extension is deprecated and will be removed in the future: use mysqli or PDO instead in
/data/haozs.cc/xianguan.php on line
5
Deprecated: mysql_query(): The mysql extension is deprecated and will be removed in the future: use mysqli or PDO instead in
/data/haozs.cc/xianguan.php on line
7
