主料:
高筋面粉,
250g,
奶粉,
5g,
蜂蜜,
50g,
盐,
3g,
酵母,
3g,
水,
145g,
黄油,
5g
辅料:
鸡蛋液适量,
熟芝麻适量,
生菜适量,
沙拉酱适量猪肉排适量蜂蜜汉堡的做法步骤
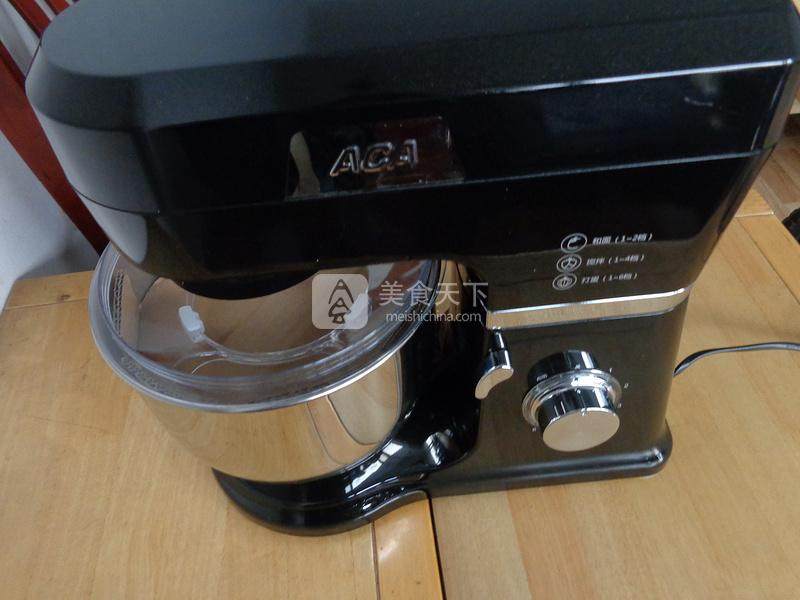
1.这是我使用的厨师机
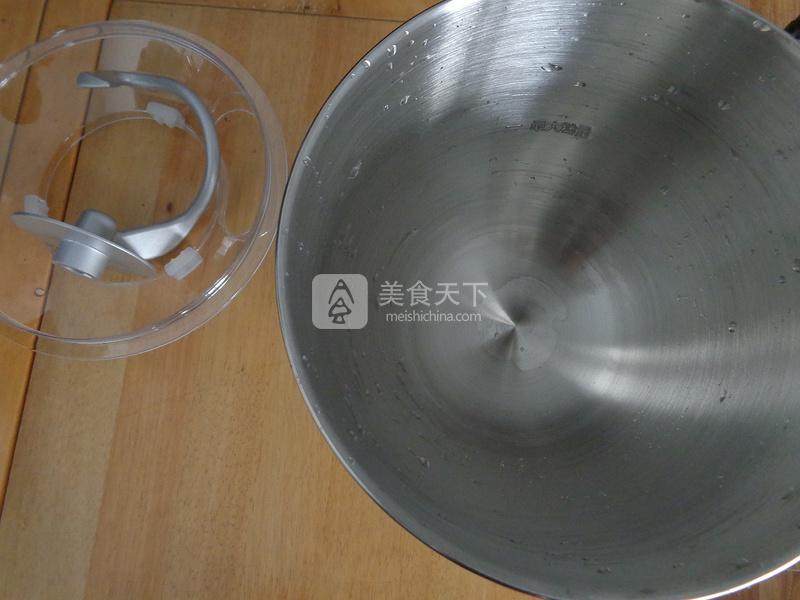
2.首次使用将用到的部件清洗干净
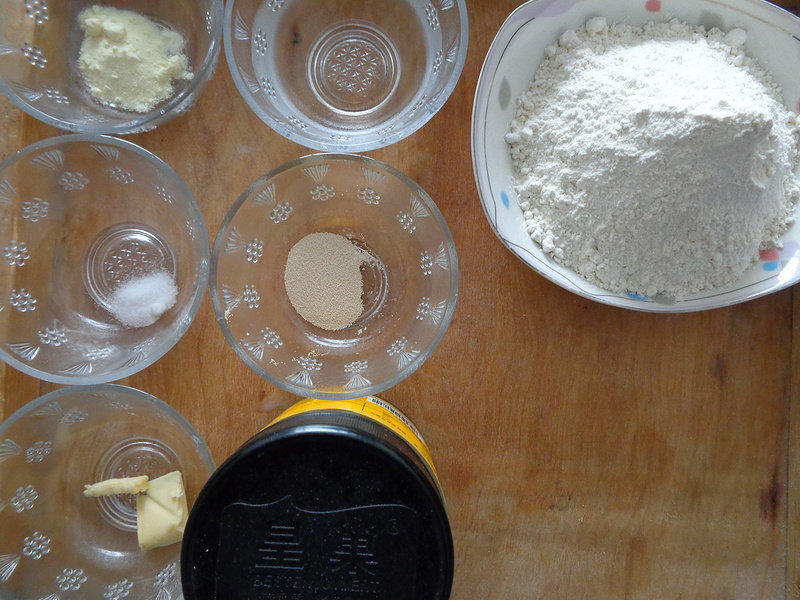
3.准备面包用料
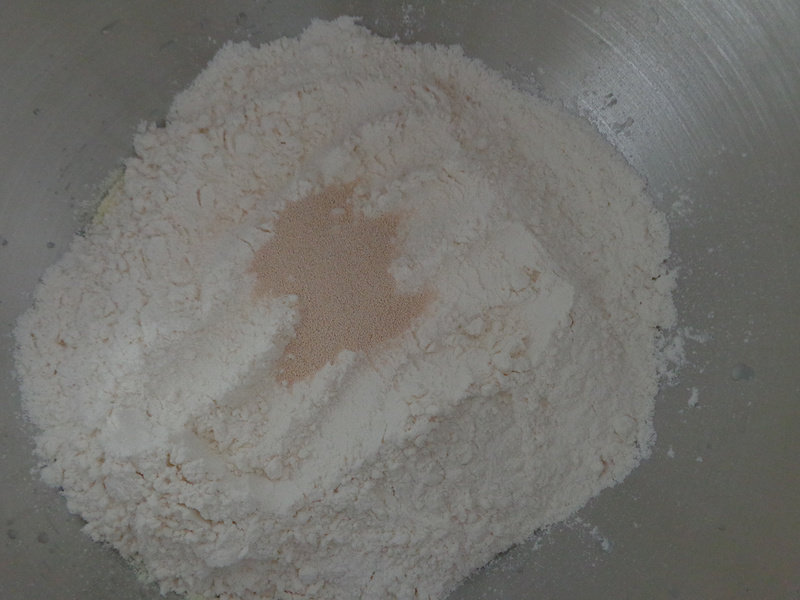
4.将除黄油外的所有食材按照先液体后粉类最后上层放酵母的顺序全部放不锈钢碗里
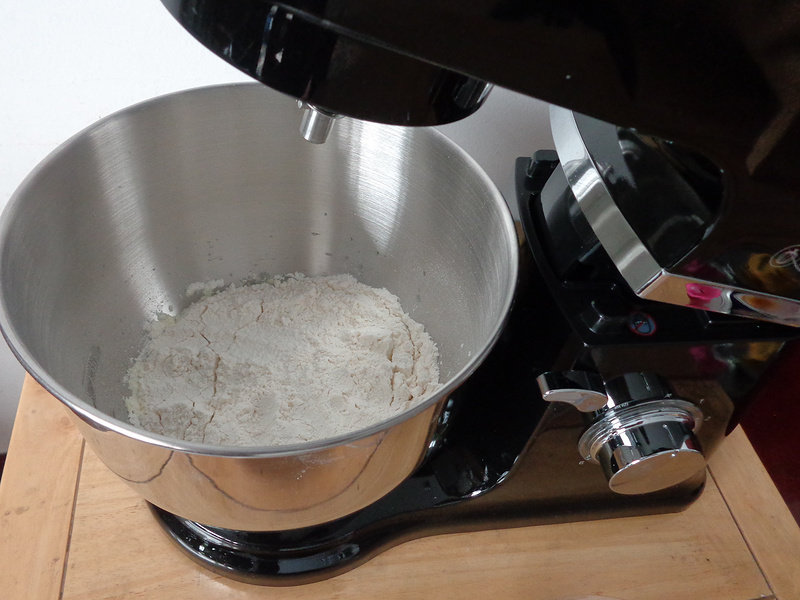
5.将不锈钢碗安装在厨师机上固定好
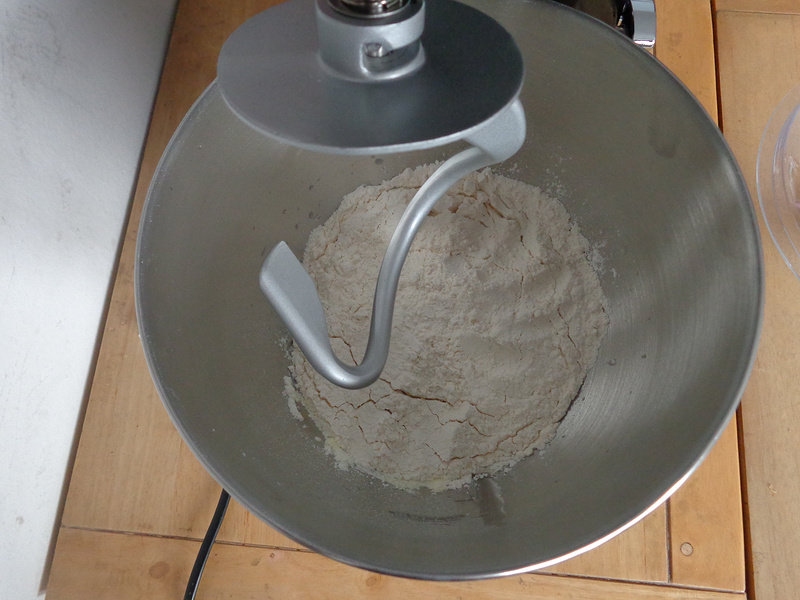
6.安装上和面钩
7.通电,开启一档揉面两分钟
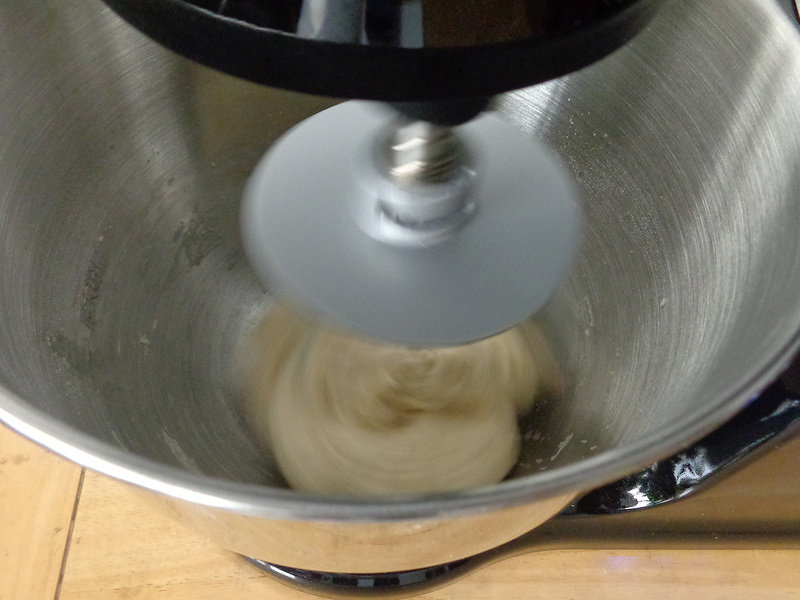
8.观察面团无干粉后

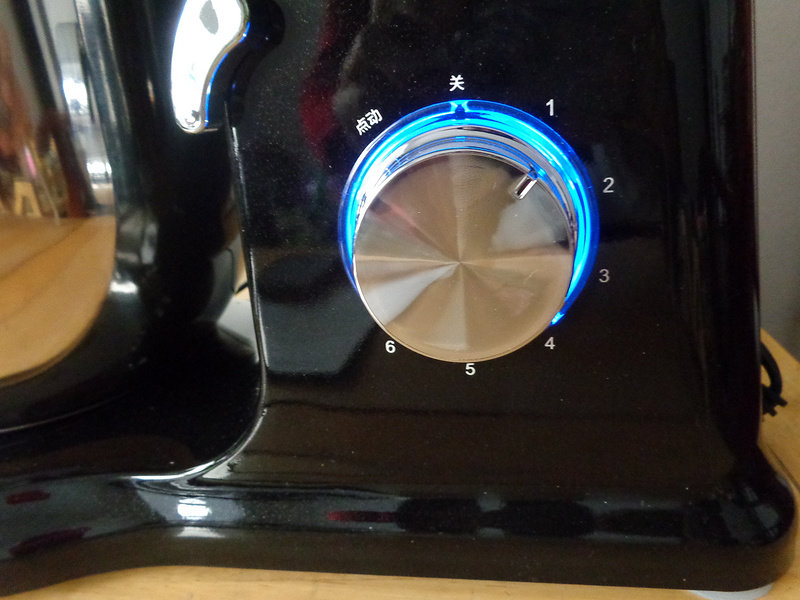
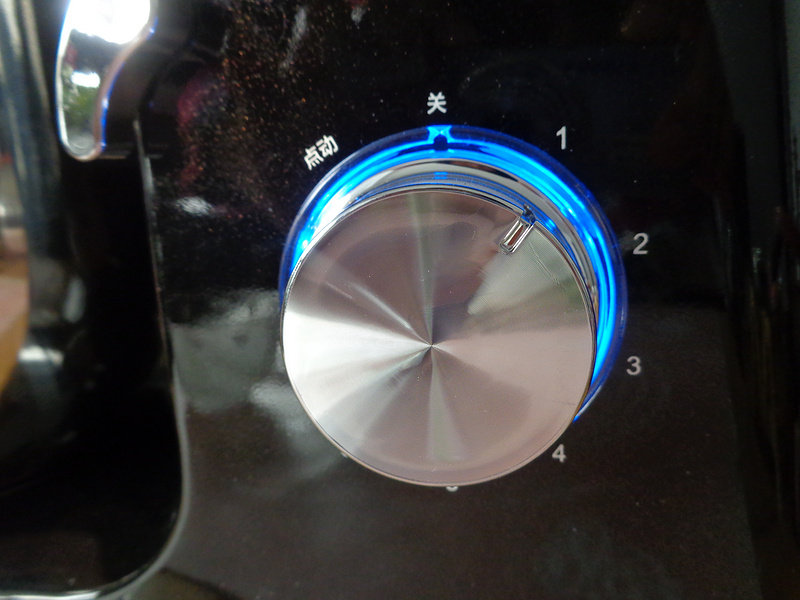
9.将按钮旋至3档
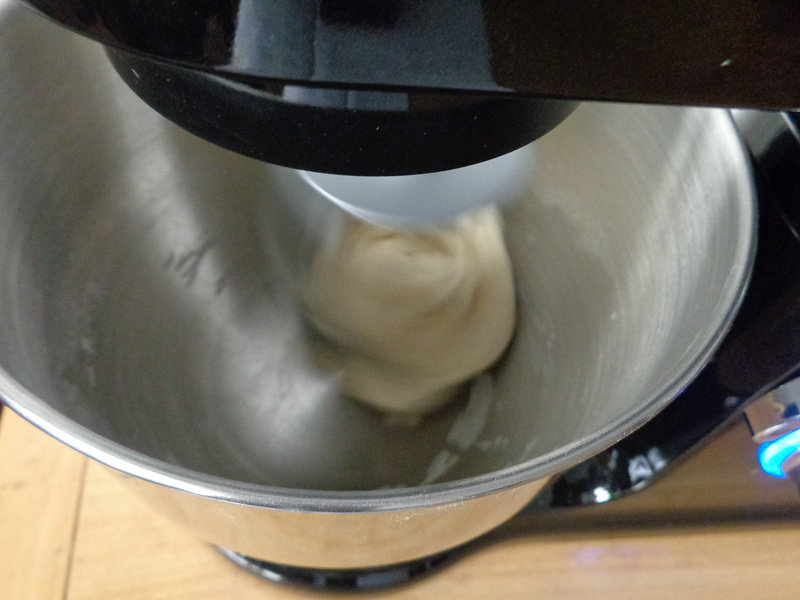
10.中间不要关闭厨师机,厨师机默认一个和面程序20分钟,时间到后自动停止,如果关闭后将重新开始计时
11.20分钟后厨师机停止工作,将按钮旋至关闭状态。我检查了一下面团的状态,已经很完美了
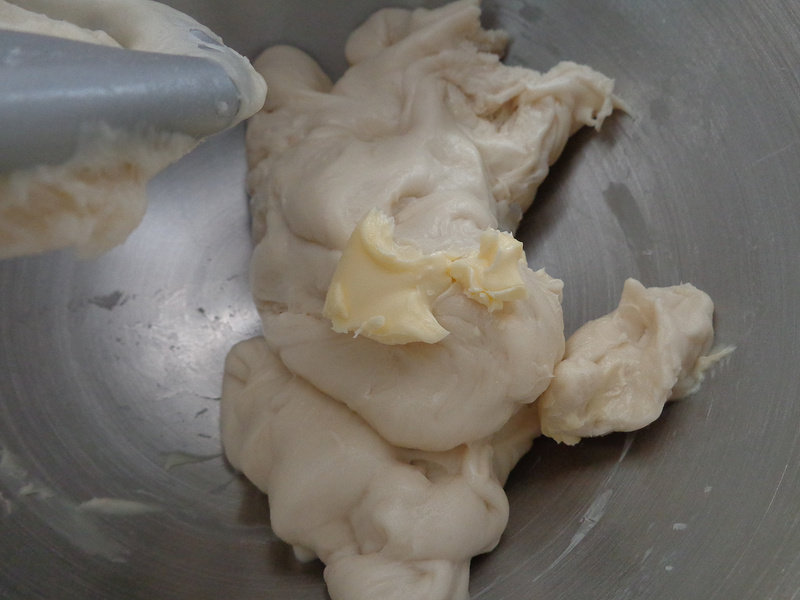
12.加入软化的黄油
13.再次开启厨师机,开一档揉2分钟

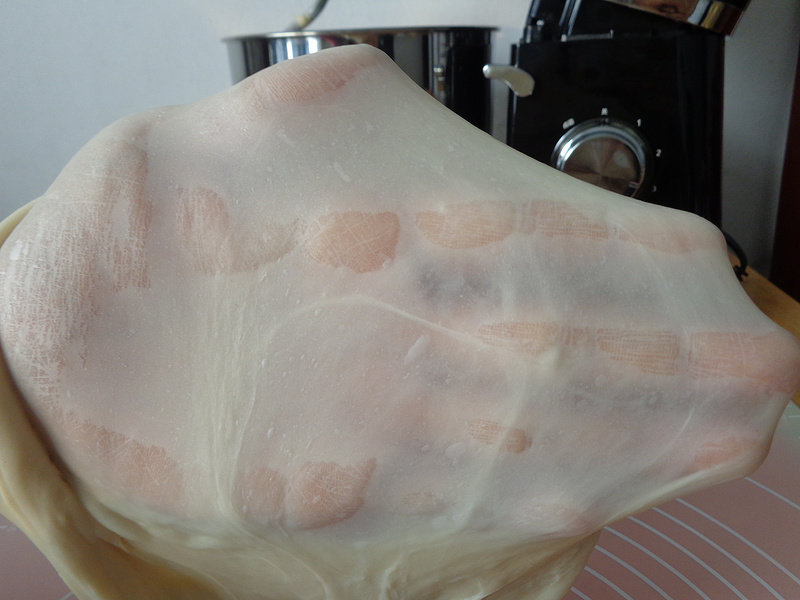
14.转3档揉3分钟,黄油全部揉进面团,关闭厨师机
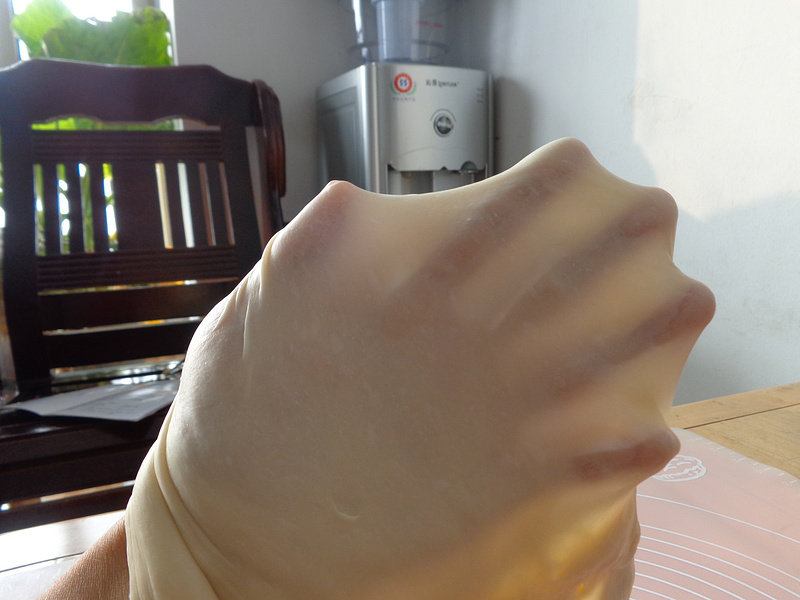
15.完美的手套膜出现了。

16.将面团收圆,盖保鲜膜发酵
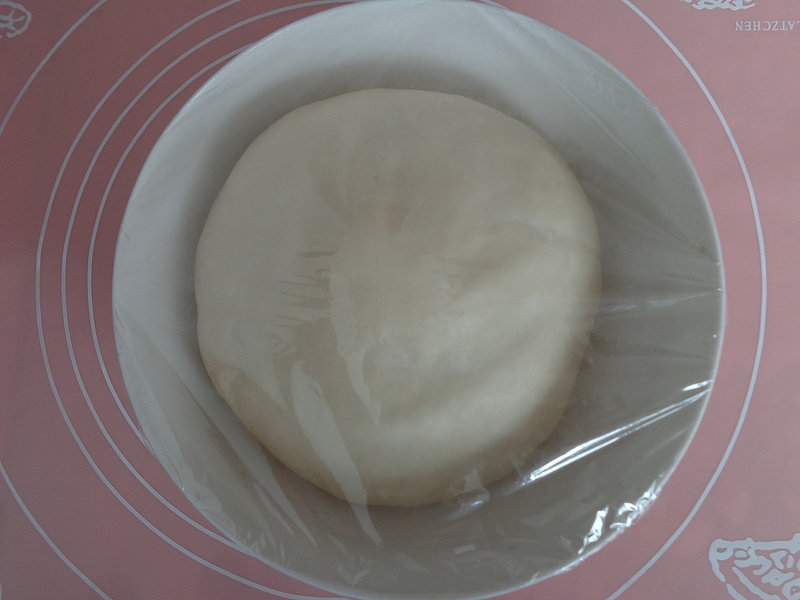
17.发酵至两倍大,取出排气
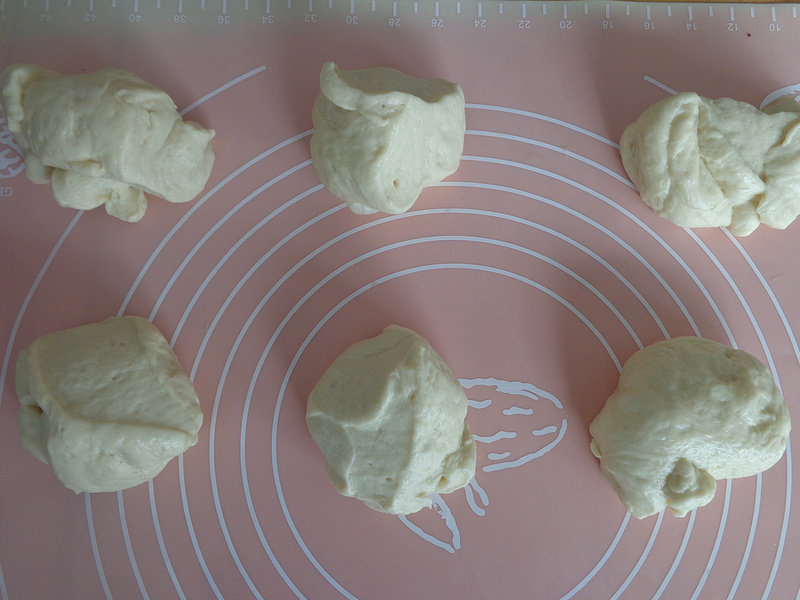
18.分成等量的小份,我分了6份
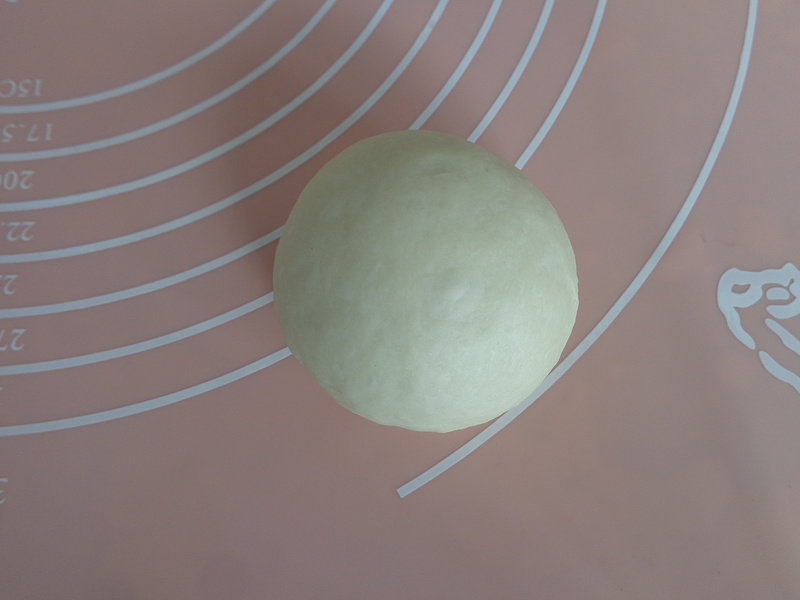
19.分别将他们揉圆
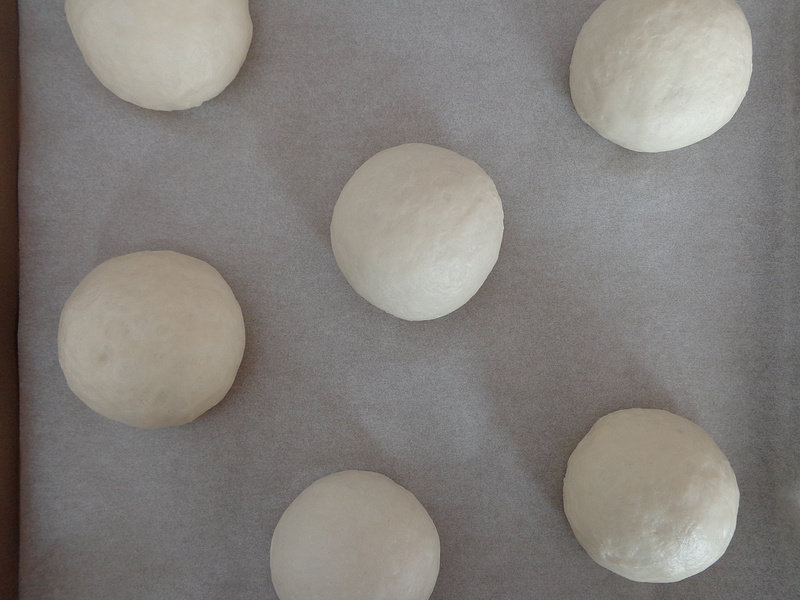
20.放进铺了油纸的烤盘中,进行二次发酵
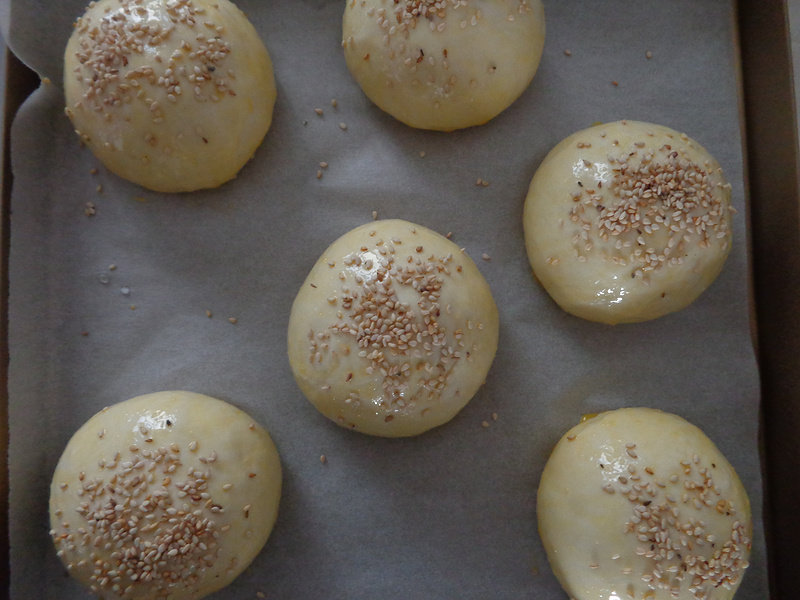
21.发酵好后的汉堡胚表面刷一层鸡蛋液,撒上熟芝麻
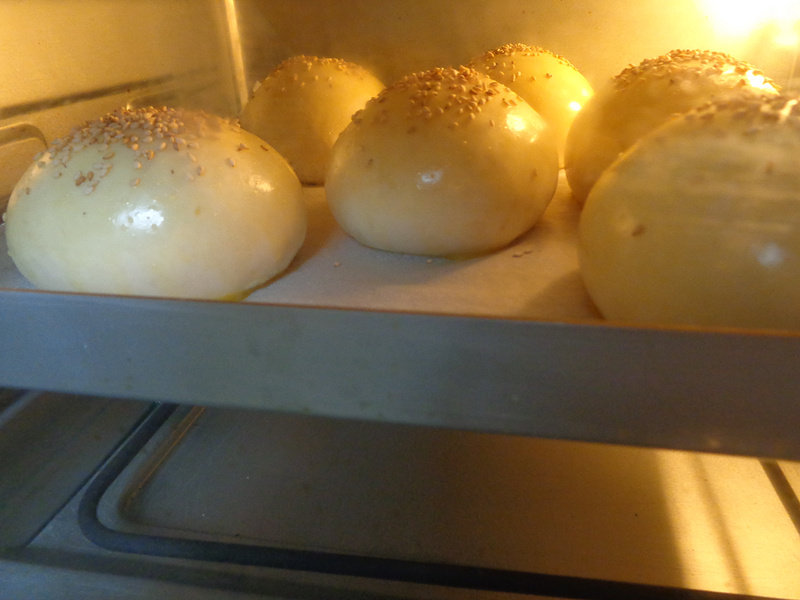
22.烤箱上下火180°预热,放入烤箱20分钟左右即可,如果上色过深,需加盖锡纸
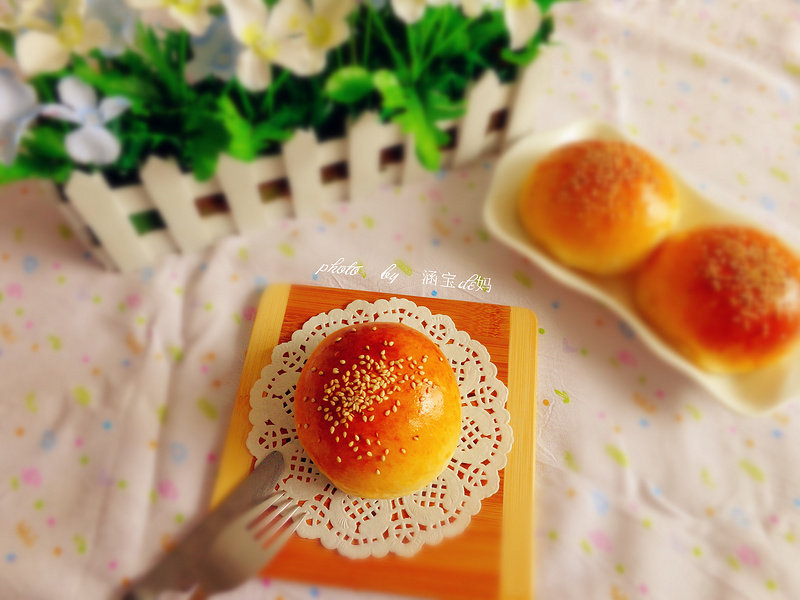
23.烤好的汉堡胚
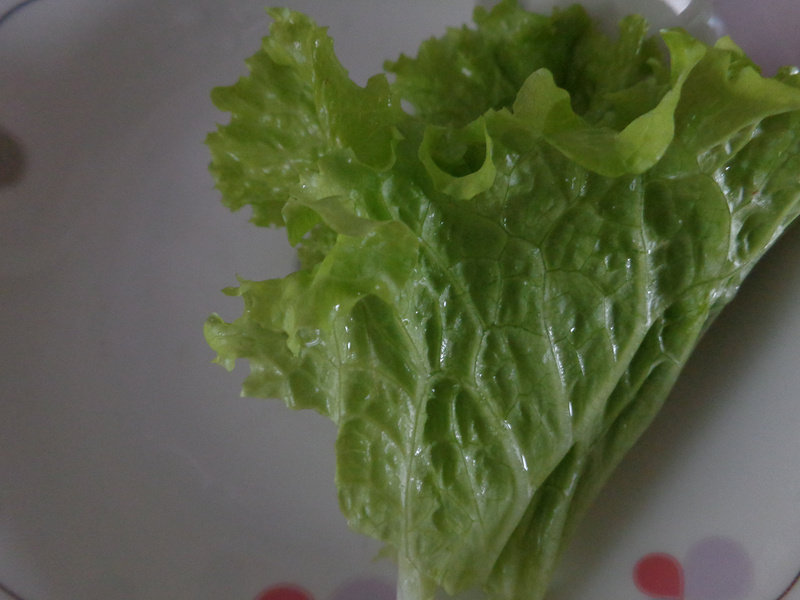
24.生菜洗净备用
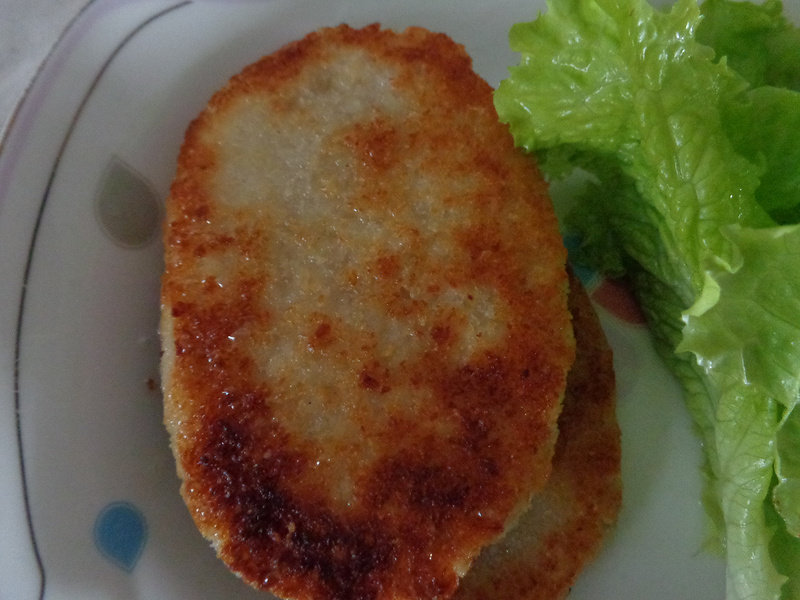
25.猪肉排煎熟
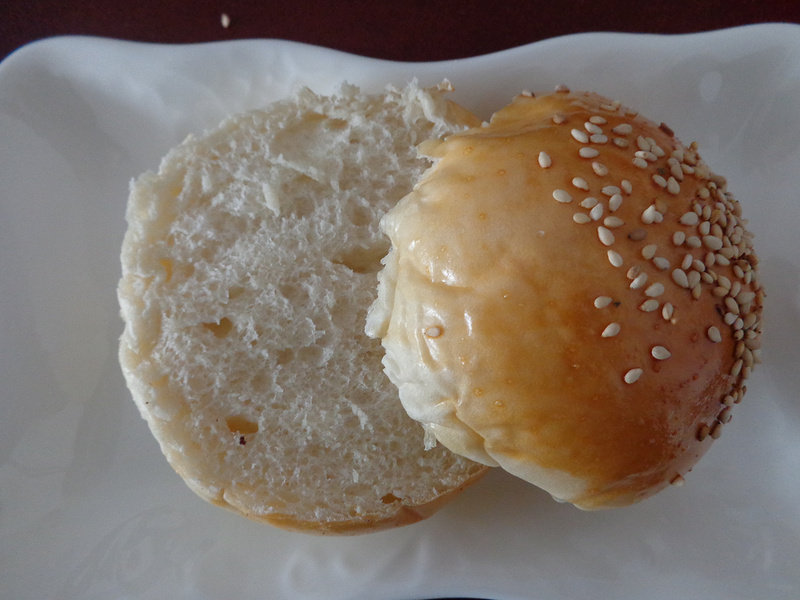
26.汉堡胚劈开
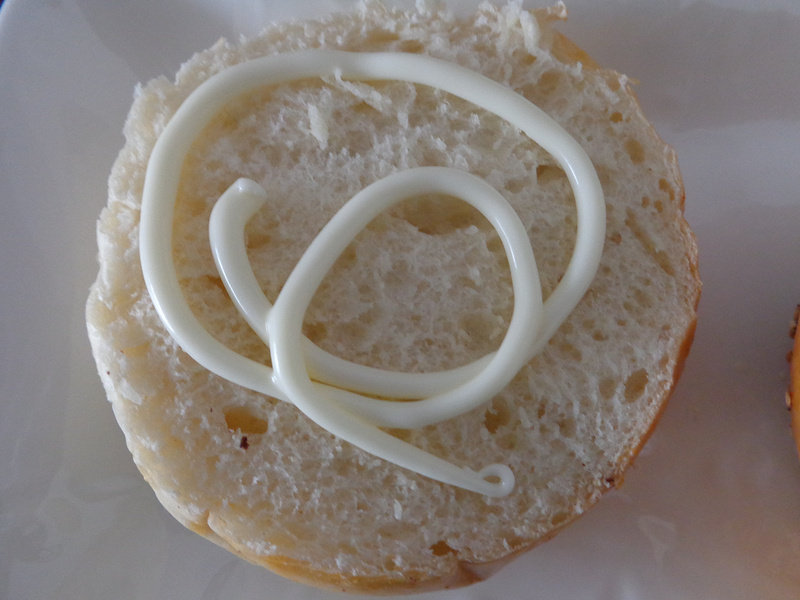
27.挤上沙拉酱
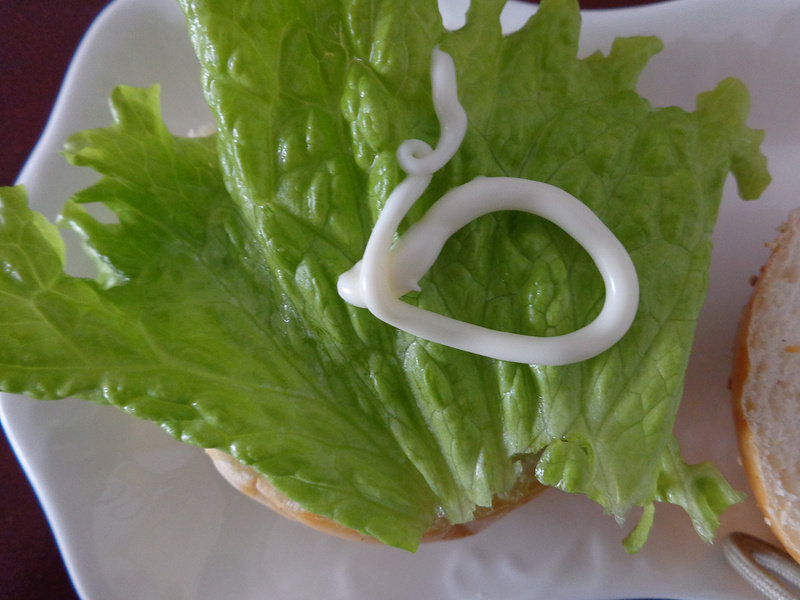
28.放上生菜
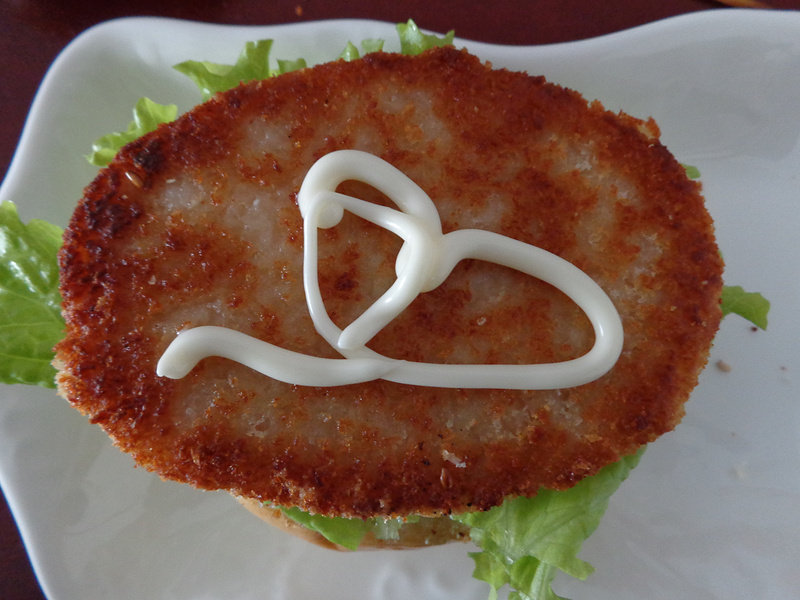
29.放上煎好的猪肉排
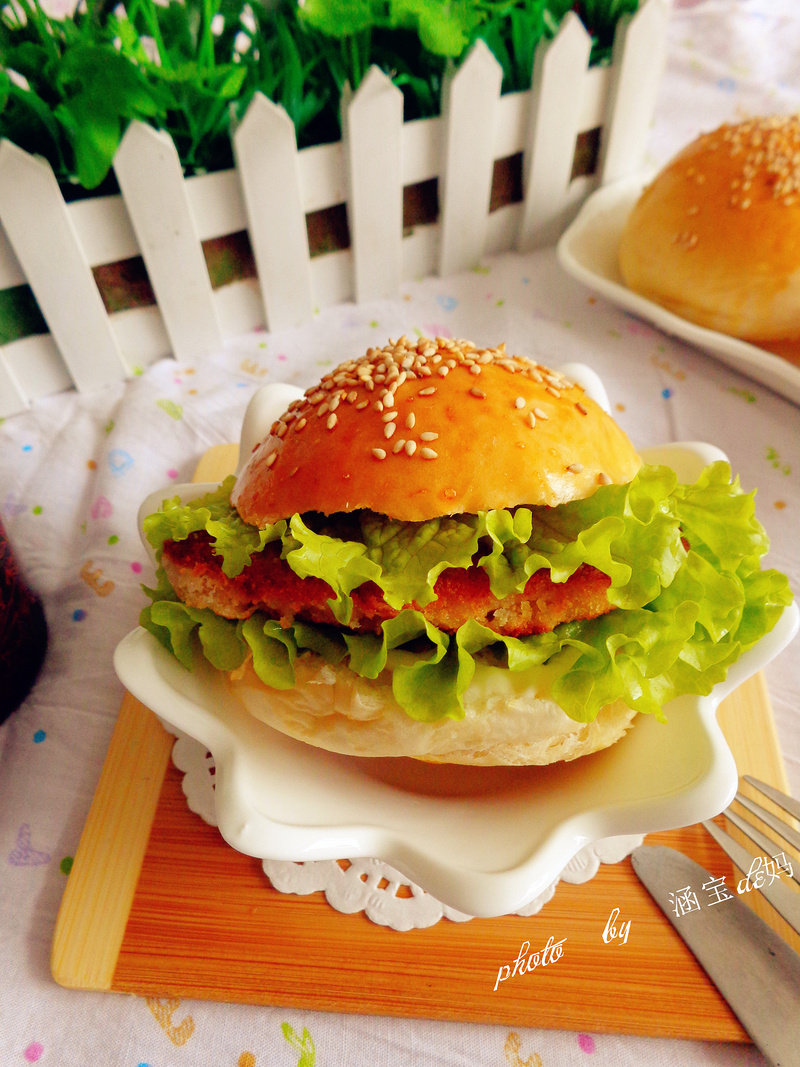
30.开动吧
小窍门&温馨提示
我使用的厨师机是ACA DA600厨师机,请大家根据自己的实际情况酌情调整和面时间。烤箱温度也需根据自己的实际情况调整。今天为了拍照清晰没有盖上碗盖,为了操作安全还是盖上吧。
TAGS:
主食 烘焙 家常菜 儿童 快餐 其他菜系 高筋面粉
免责声明:本站部分文章转载自网络,图文仅供行业学习交流使用,不做任何商业用途。文章仅代表原作者个人观点,其原创性及文章内容中图文的真实性、完整性等未经本站核实,仅供读者参考。
上一篇: 鹌鹑蛋酿香菇的做法,鹌鹑蛋酿香菇怎么做,鹌鹑蛋酿香菇的做法,鹌鹑蛋酿香菇汤的做法,香菇酿鹌鹑蛋图片,香菇酿鹌鹑蛋的做法窍门
下一篇: 香煎红肠的做法,香煎红肠怎么做,煎红肠的做法,红肠怎么煎好吃,红肠能煎吗,香煎过江肠
Deprecated: mysql_connect(): The mysql extension is deprecated and will be removed in the future: use mysqli or PDO instead in
/data/haozs.cc/xianguan.php on line
5
Deprecated: mysql_query(): The mysql extension is deprecated and will be removed in the future: use mysqli or PDO instead in
/data/haozs.cc/xianguan.php on line
7
