主料:
肉末,
200g,
萝卜,
3个,
香葱适量,
面粉,
250g,
酵母,
3g,
馒头改良剂,
2g,
温水,
(约40°)130g,
花生油,
(面团里用)15g
辅料:
蚝油,
8ml鲍鱼汁调味料,8ml盐,
3g,
胡椒粉适量,
花生油适量萝卜丝猪肉馅饼的做法步骤
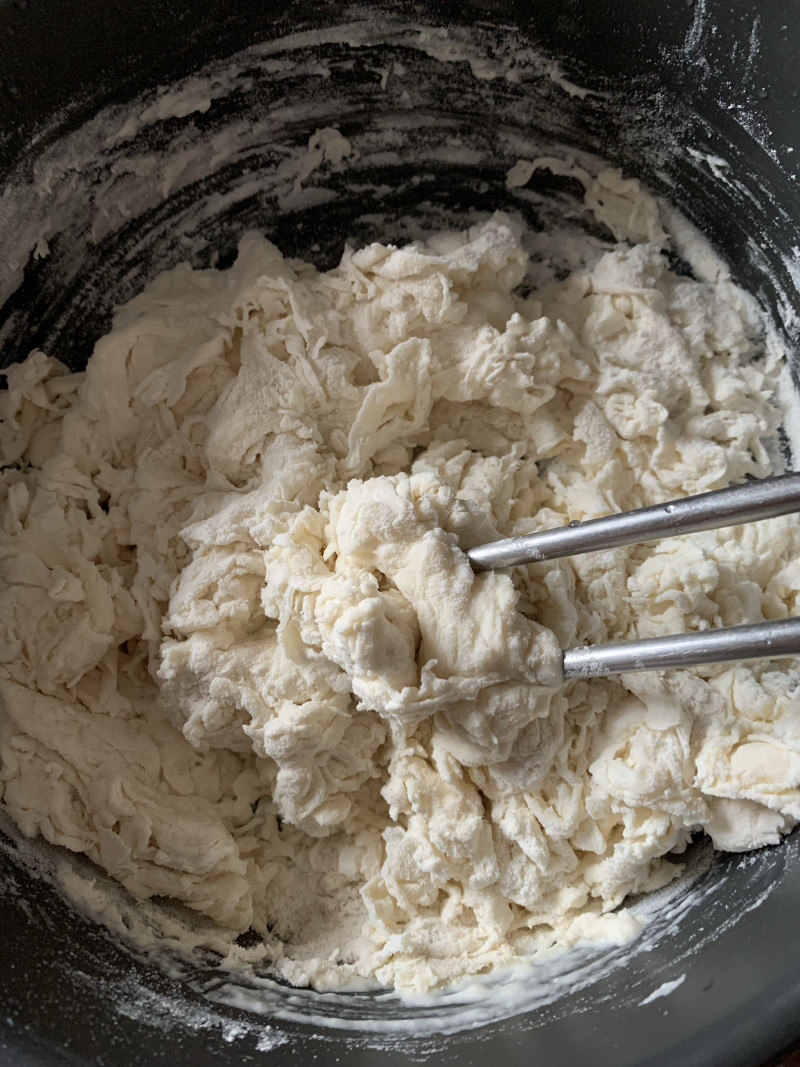
1.面粉加入酵母,馒头改良剂,温水,用筷子搅拌成絮状。
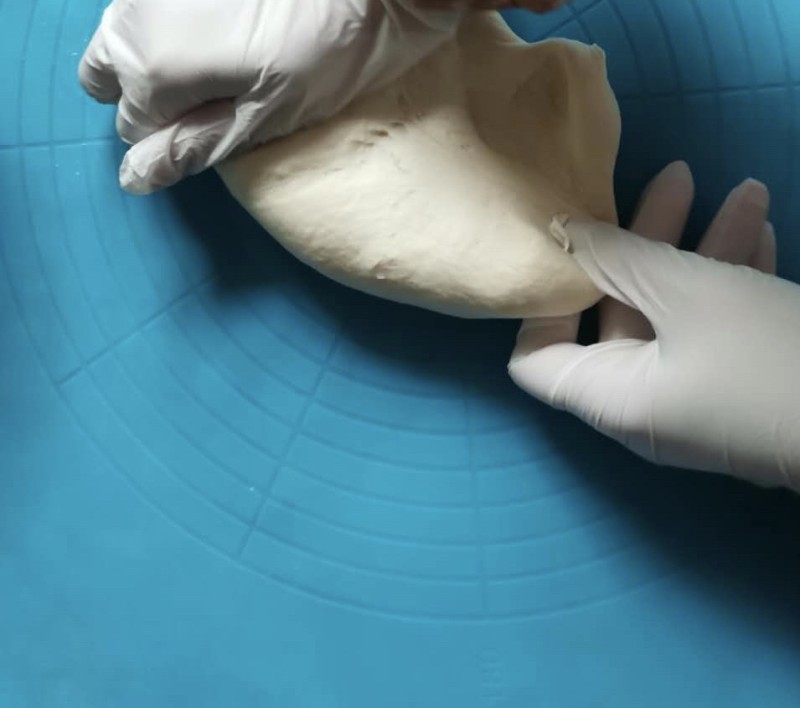
2.揉成光滑面团,加入花生油继续揉。
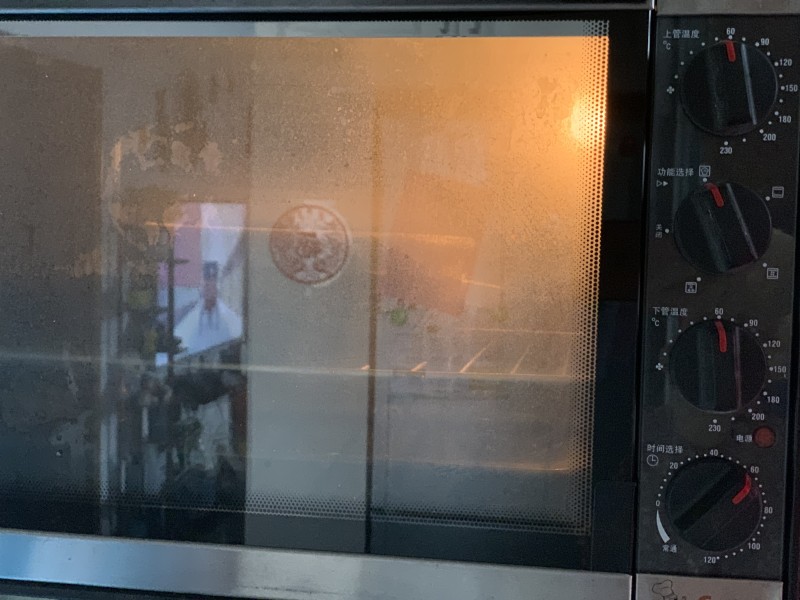
3.面团放入容器盖上盖子,放入烤箱进行四十分钟发酵。
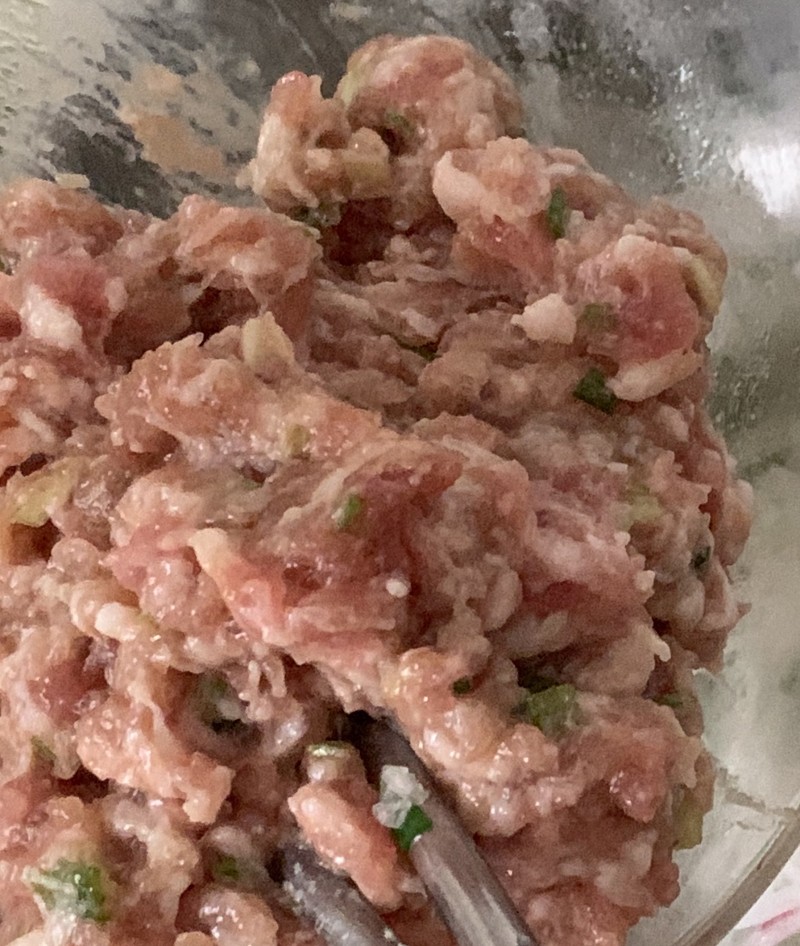
4.肉末加入香葱,蚝油,鲍鱼汁调味料,胡椒粉,加入少许清水,少许花生油搅拌上劲。
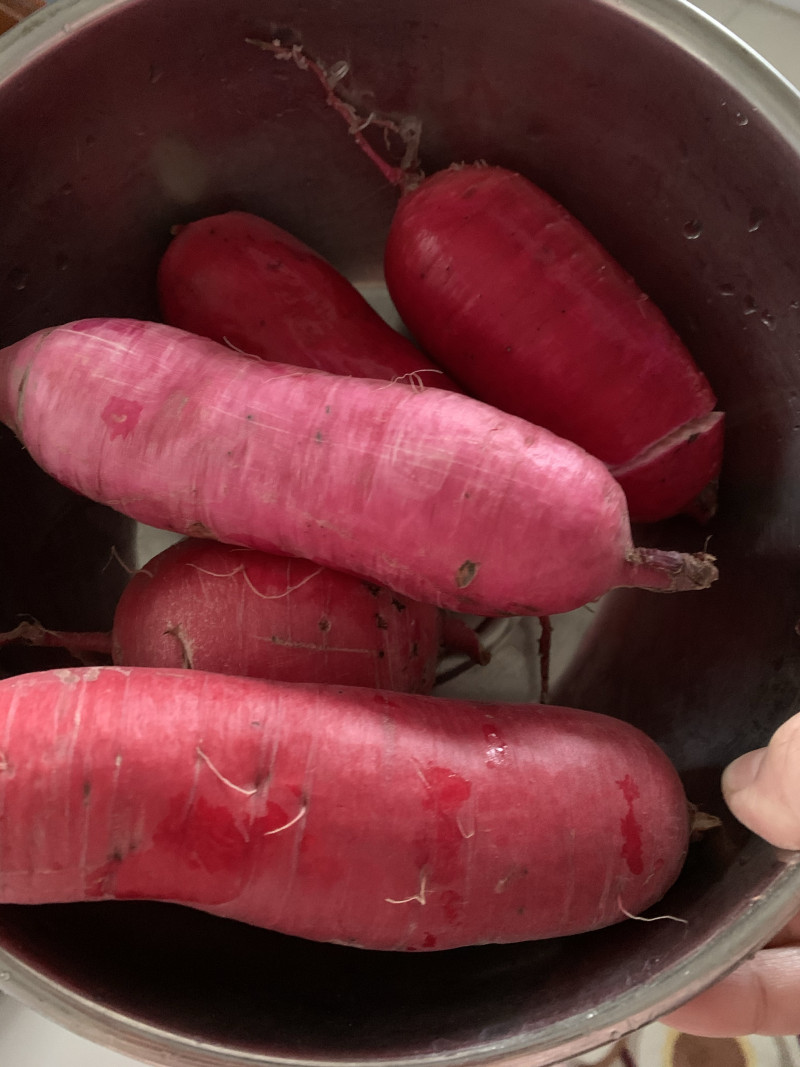
5.萝卜洗净去皮。
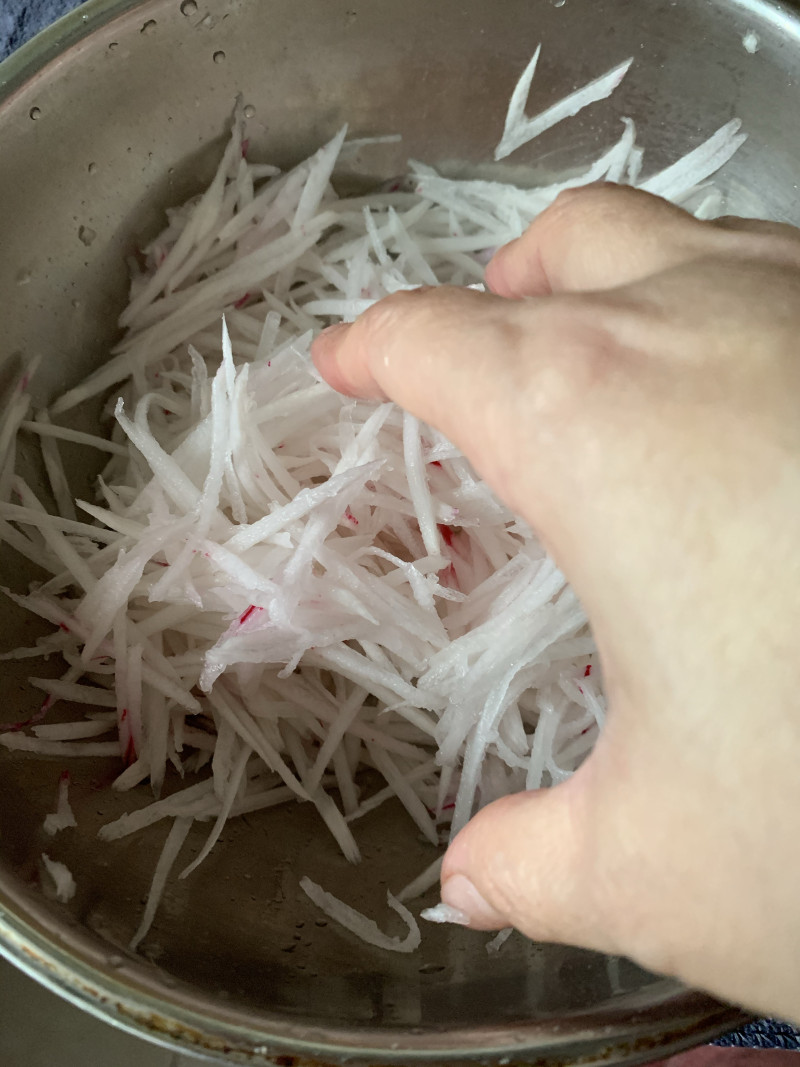
6.擦成丝,加入盐用手抓匀腌制一会。

7.挤干。
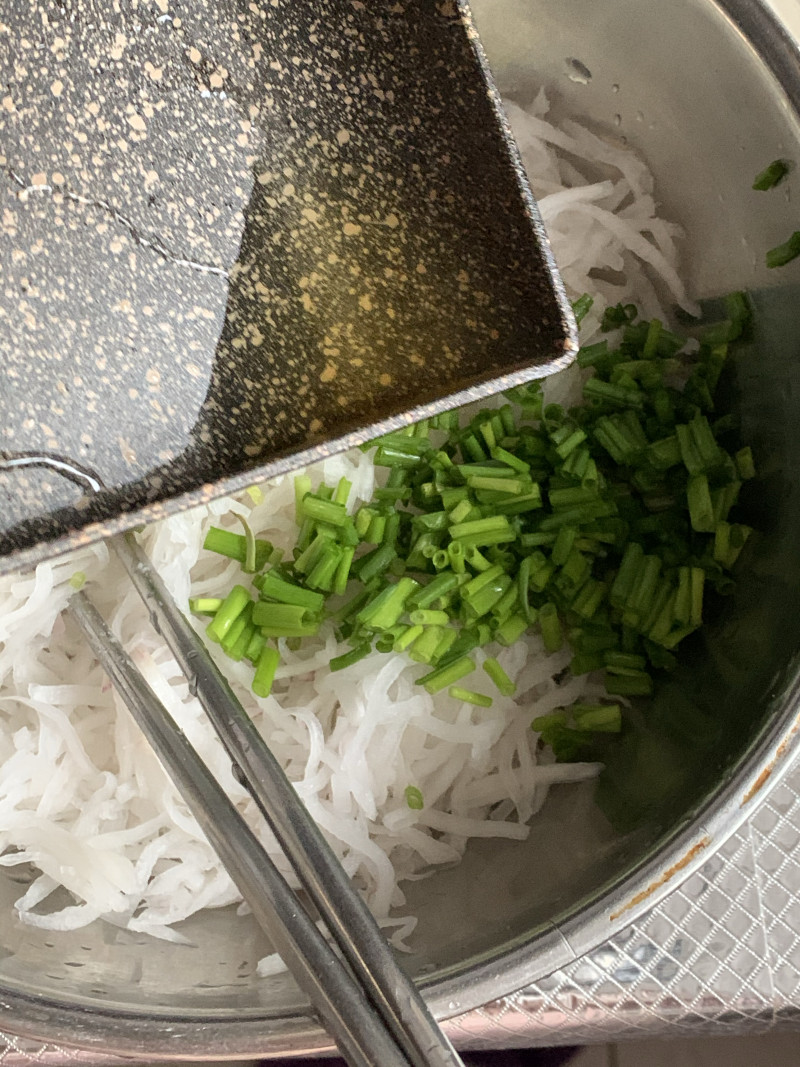
8.加入葱花,浇上滚热的花生油,拌匀。

9.肉末和萝卜丝拌匀。
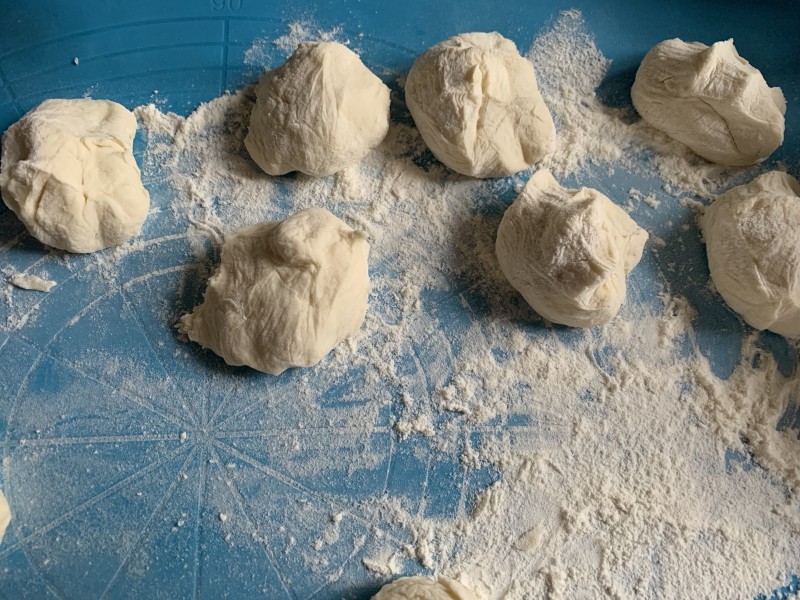
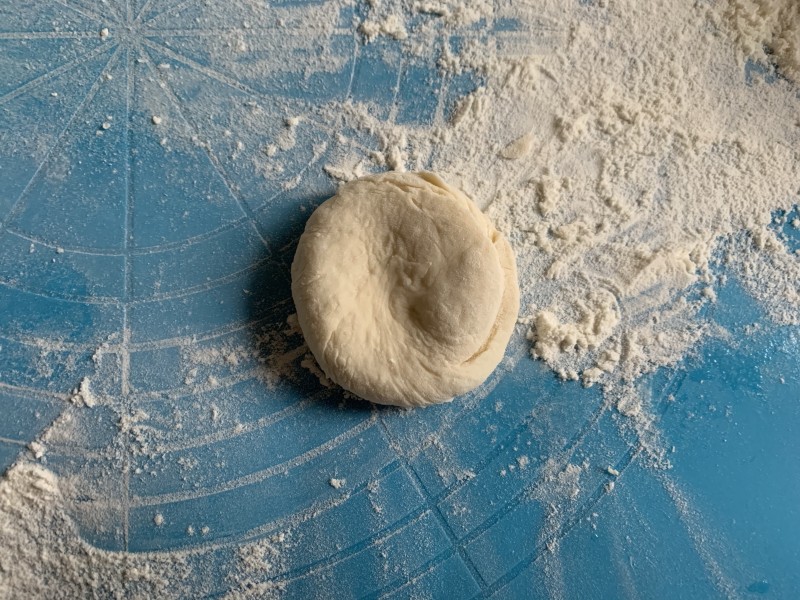
10.面团发酵好之后,分成若干小剂子。
11.用手心将剂子按压成中间稍厚四周略薄的圆形。
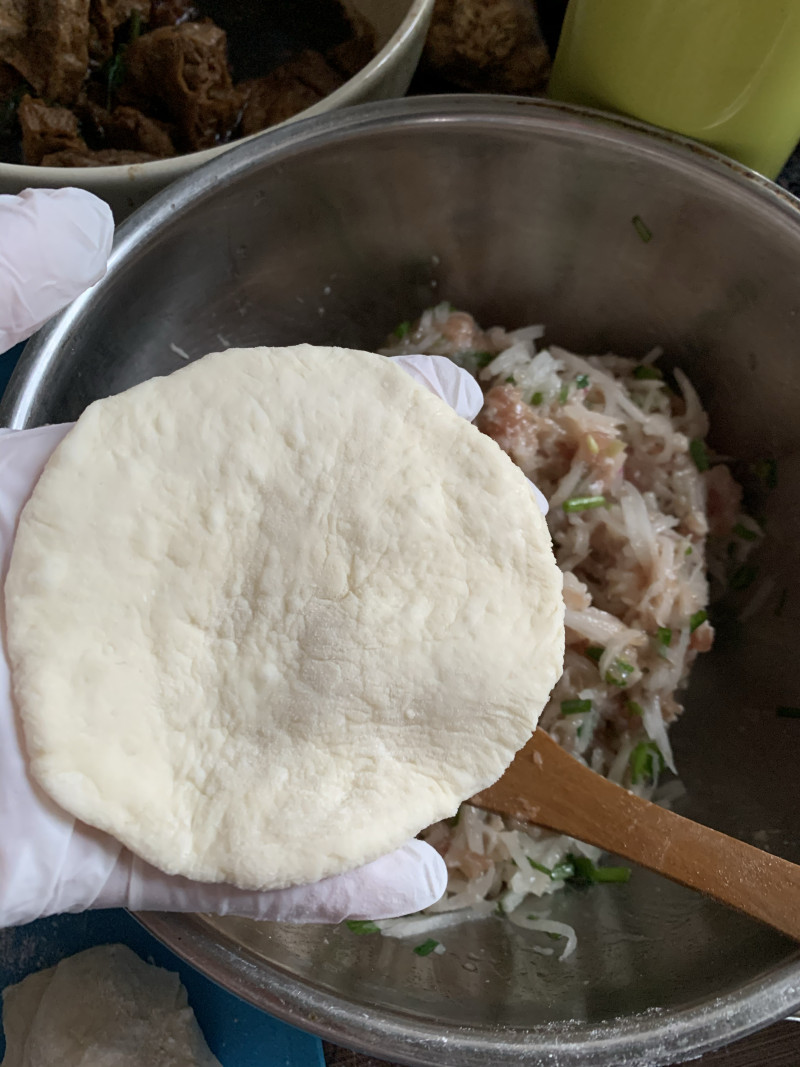
12.包入馅料。
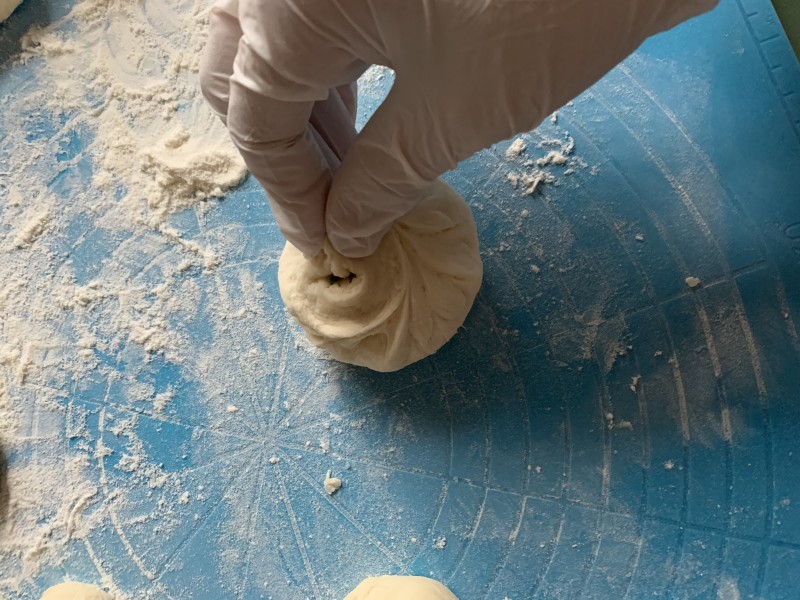
13.像包包子一样捏起来,口封死。

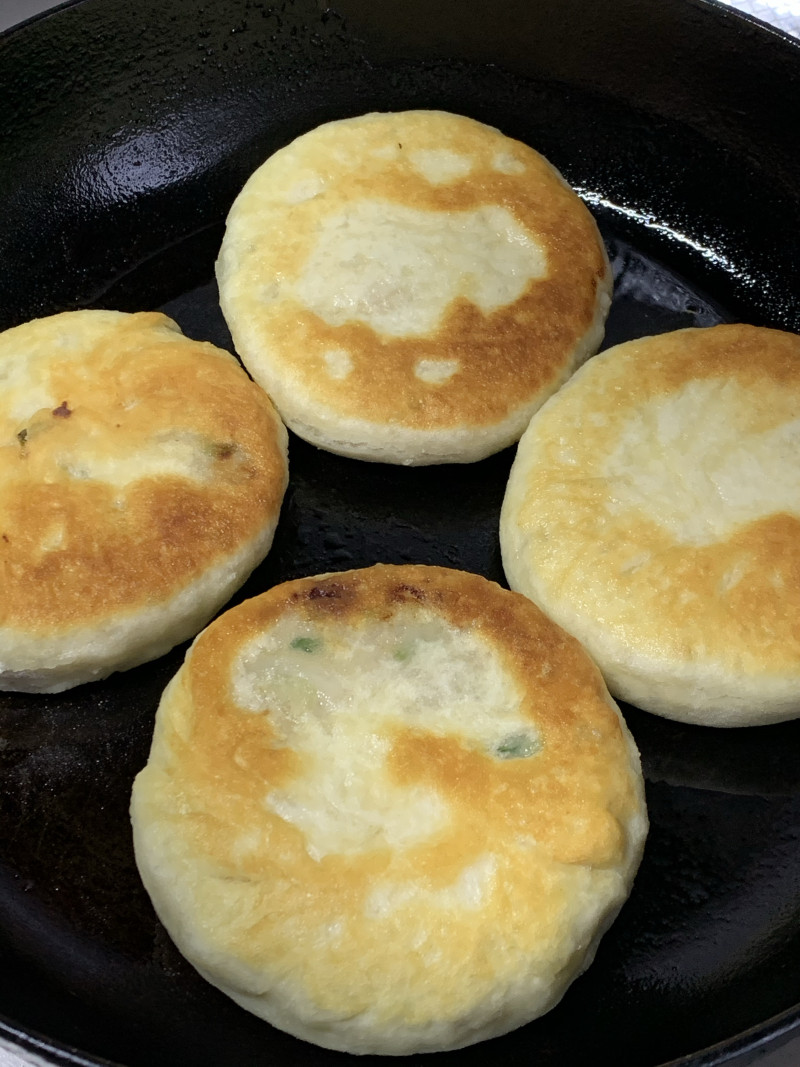
14.平底锅倒食用油。

15.馅饼胚子口朝下放入锅内用手轻轻压扁。
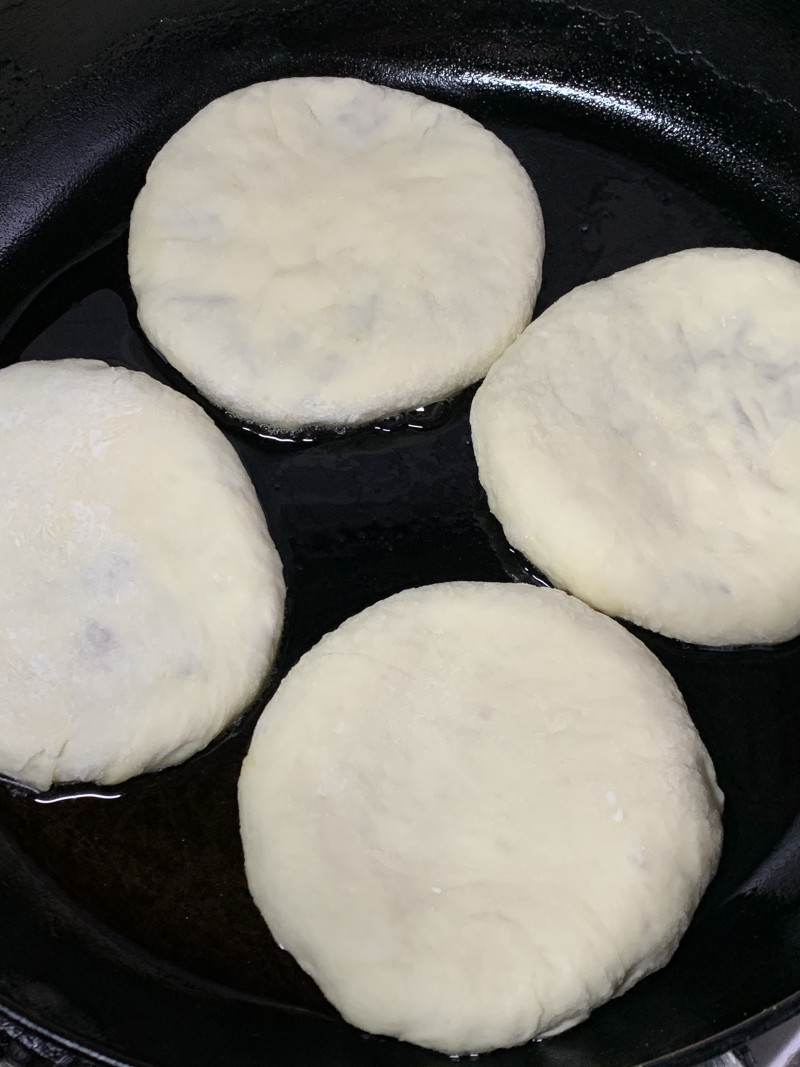
16.中小火煎至底部金黄。
17.翻面继续煎。
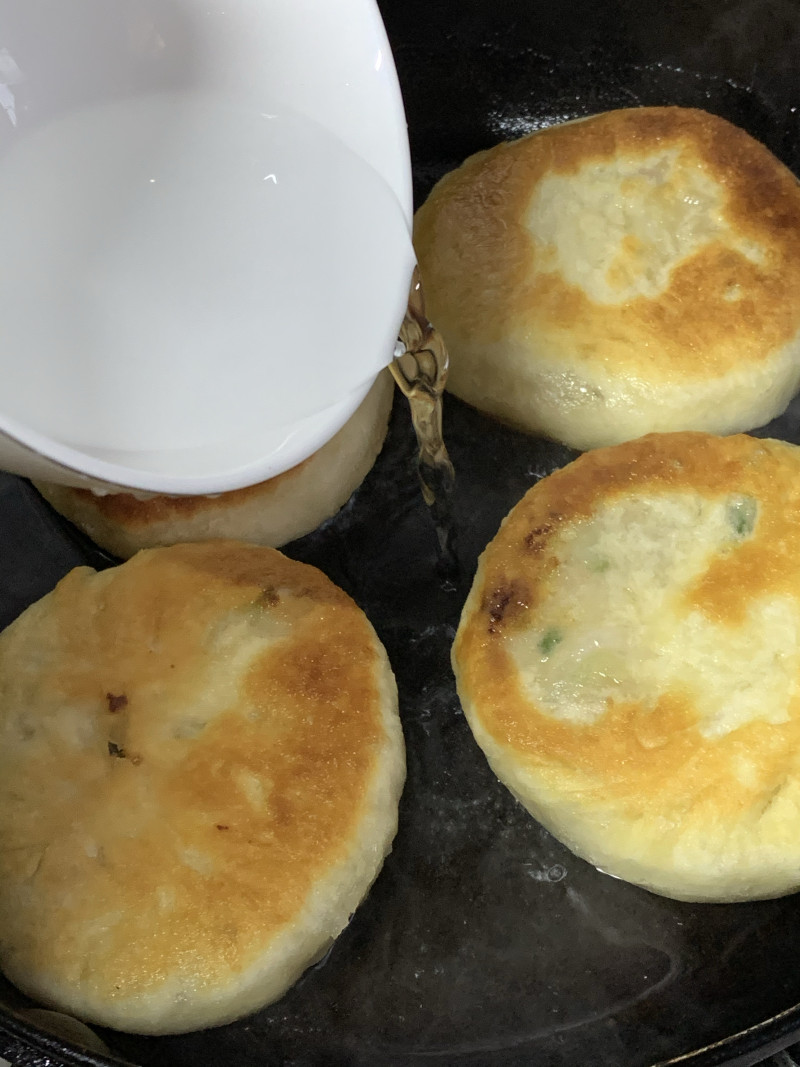
18.待两面都呈现金黄色,加入小半碗清水。
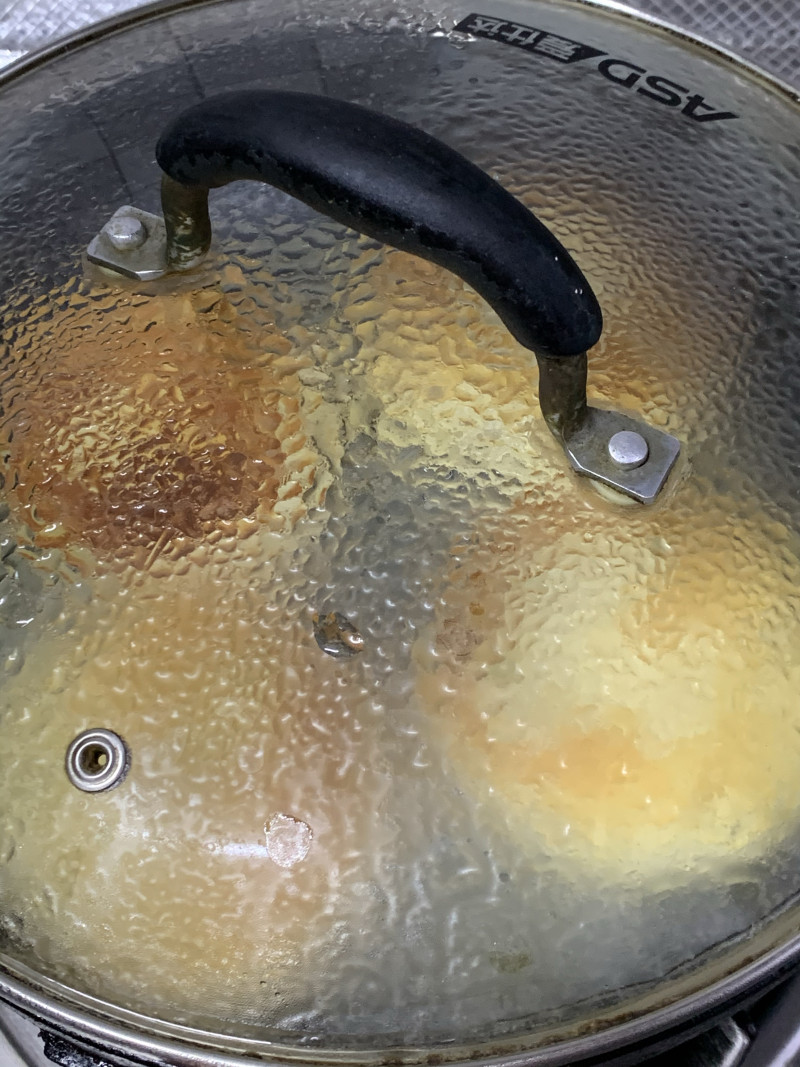
19.盖上盖子大火焖至汤汁收干。

20.成品。
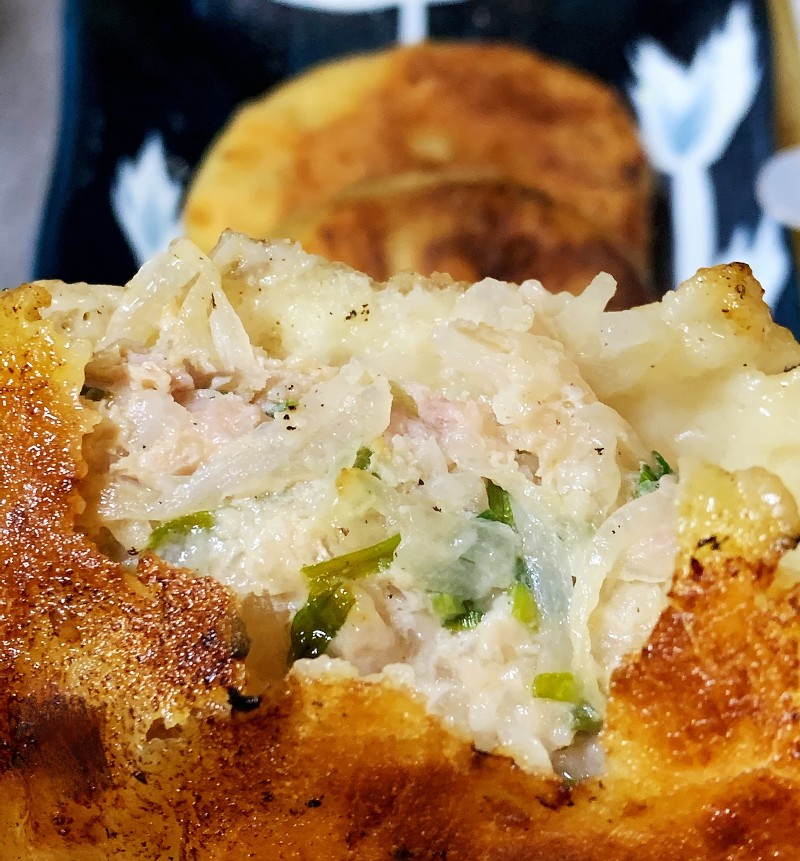
21.脆香可口哦。
TAGS:
主食 家常菜 早餐 午餐 晚餐 肉末
免责声明:本站部分文章转载自网络,图文仅供行业学习交流使用,不做任何商业用途。文章仅代表原作者个人观点,其原创性及文章内容中图文的真实性、完整性等未经本站核实,仅供读者参考。
上一篇: 土豆丝鸡蛋饼的做法,土豆丝鸡蛋饼怎么做,土豆丝鸡蛋饼的做法,土豆丝鸡蛋饼会中毒吗,土豆丝鸡蛋饼做法视频,土豆丝鸡蛋饼的热量
下一篇: 干炸金针菇的做法,干炸金针菇怎么做,干炸金针菇的最简单做法,干炸金针菇的做法视频,空气炸锅干炸金针菇,干炸金针菇怎么做好吃
Deprecated: mysql_connect(): The mysql extension is deprecated and will be removed in the future: use mysqli or PDO instead in
/data/haozs.cc/xianguan.php on line
5
Deprecated: mysql_query(): The mysql extension is deprecated and will be removed in the future: use mysqli or PDO instead in
/data/haozs.cc/xianguan.php on line
7
