主料:
淡奶油,
45克,
低筋面粉,
60克,
砂糖,
55克,
白醋,
3滴,
鸡蛋,
4个,
牛奶,
120ml
辅料:
奶油霜,(或蓝莓酱)适量浮云蛋糕卷的做法步骤
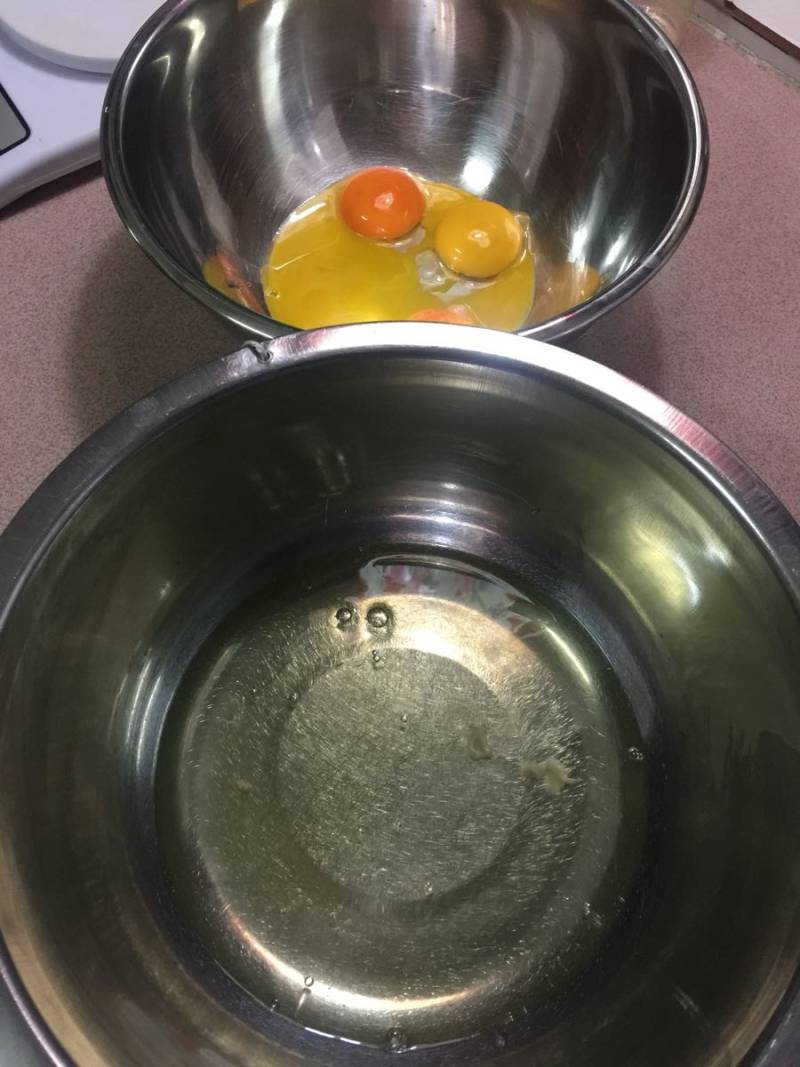
1.将鸡蛋蛋黄与蛋清分开两个干净的盆里。
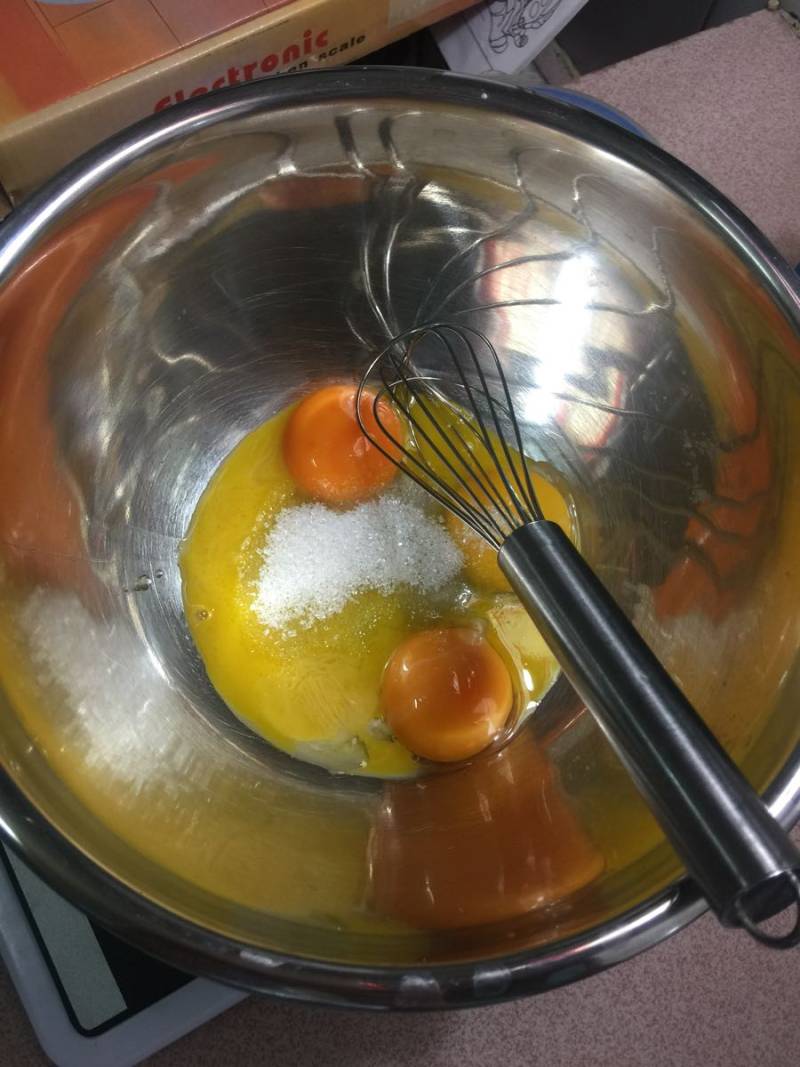
2.蛋黄里加10克糖搅匀。
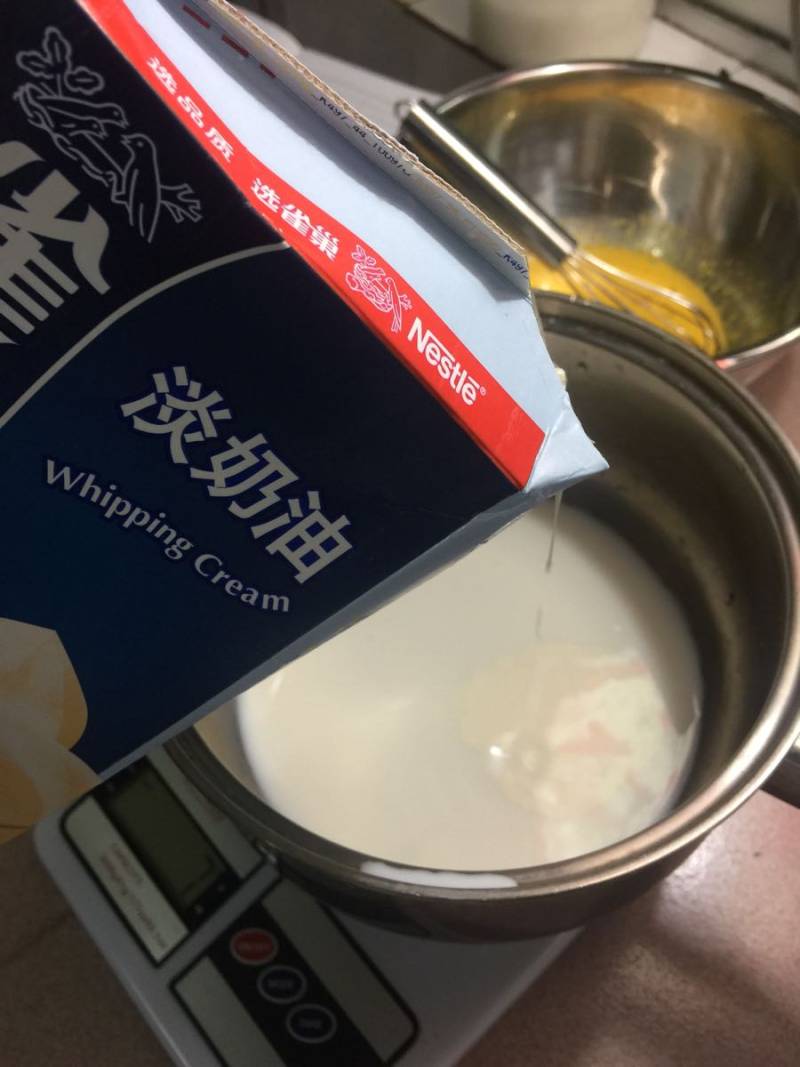
3.120ml牛奶里,加入45克淡奶油。
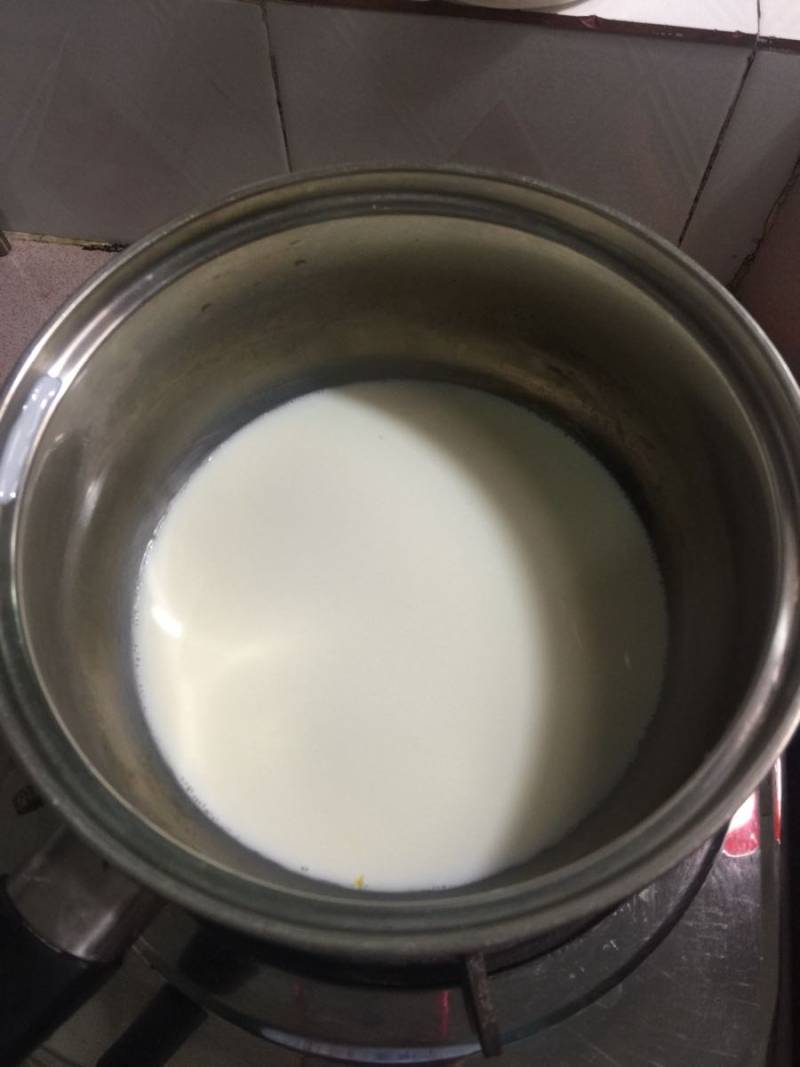
4.将奶油牛奶液上炉加热到微沸离火。
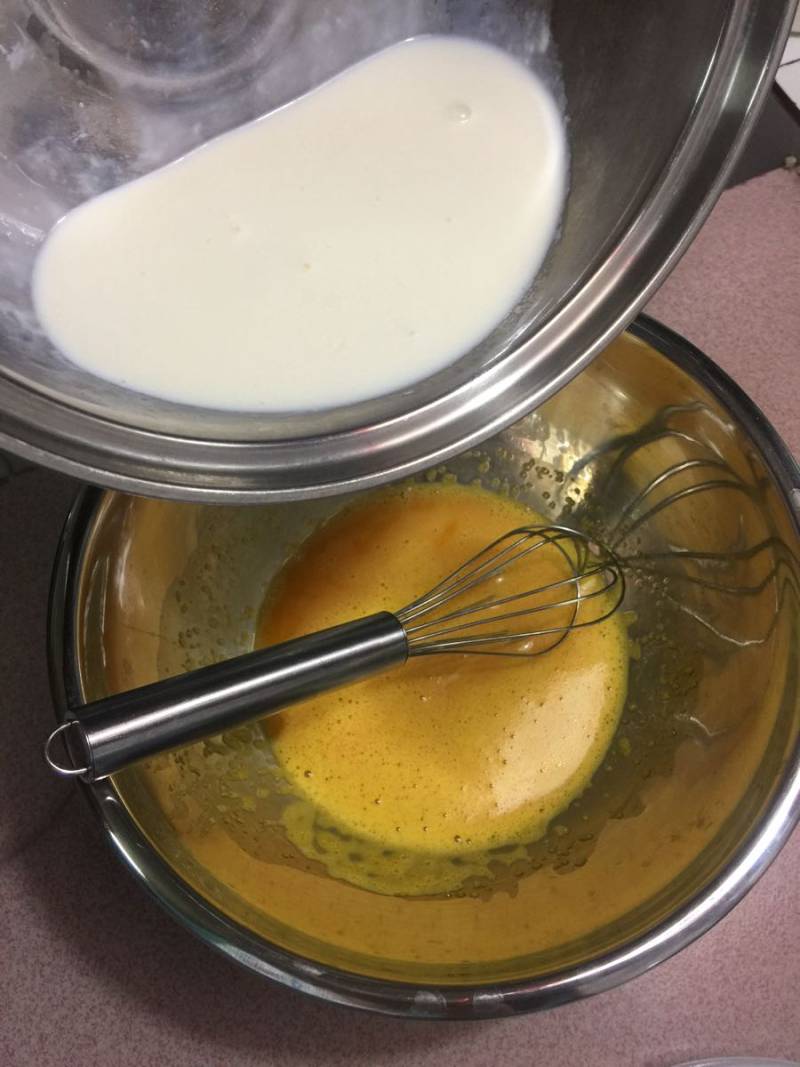
5.再将奶液细线的流速倒入蛋黄里,边搅边倒入哦。
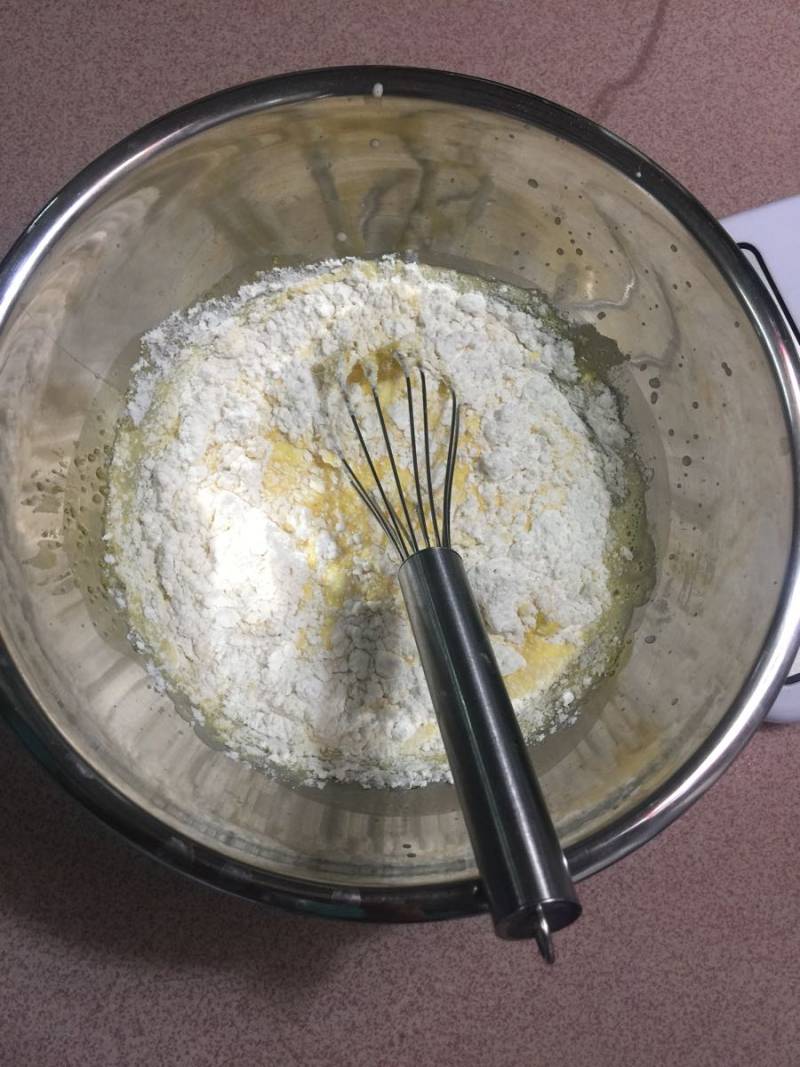
6.筛入低粉翻拌匀成蛋黄糊。
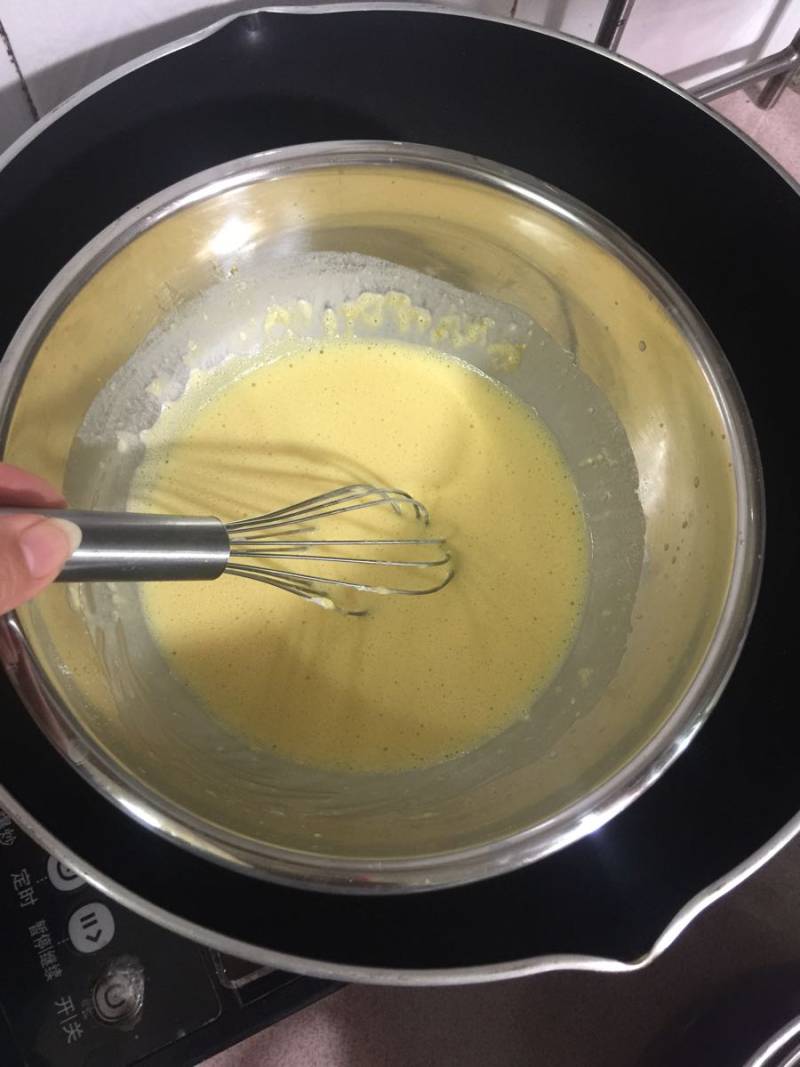
7.蛋黄糊坐热水锅里,一边加热一边不停的搅,温度一定要把控好,不要把蛋黄烫熟了呦,搅到粘稠马上离开。立即坐入冷水里继续不停的搅,到温度降下来即可。盖好放一边待用。
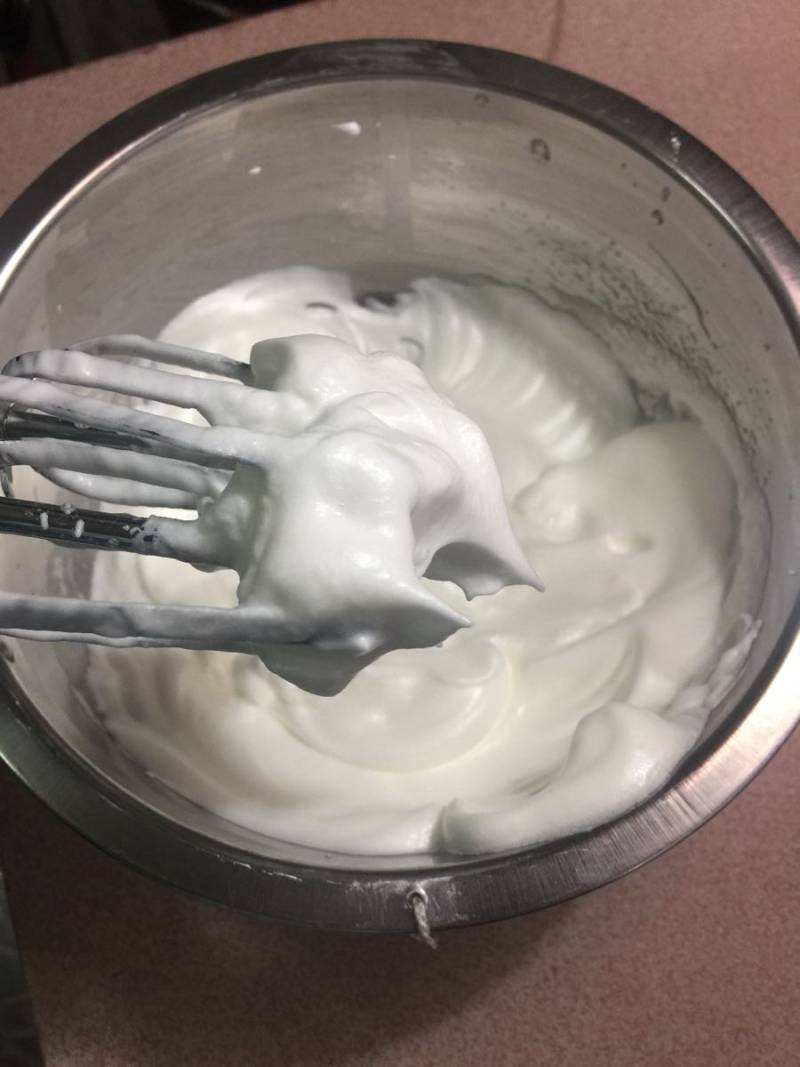
8.蛋清里加入几滴柠檬汁或白醋,分三次加糖打发到九成有弯钩的湿性发泡即可。
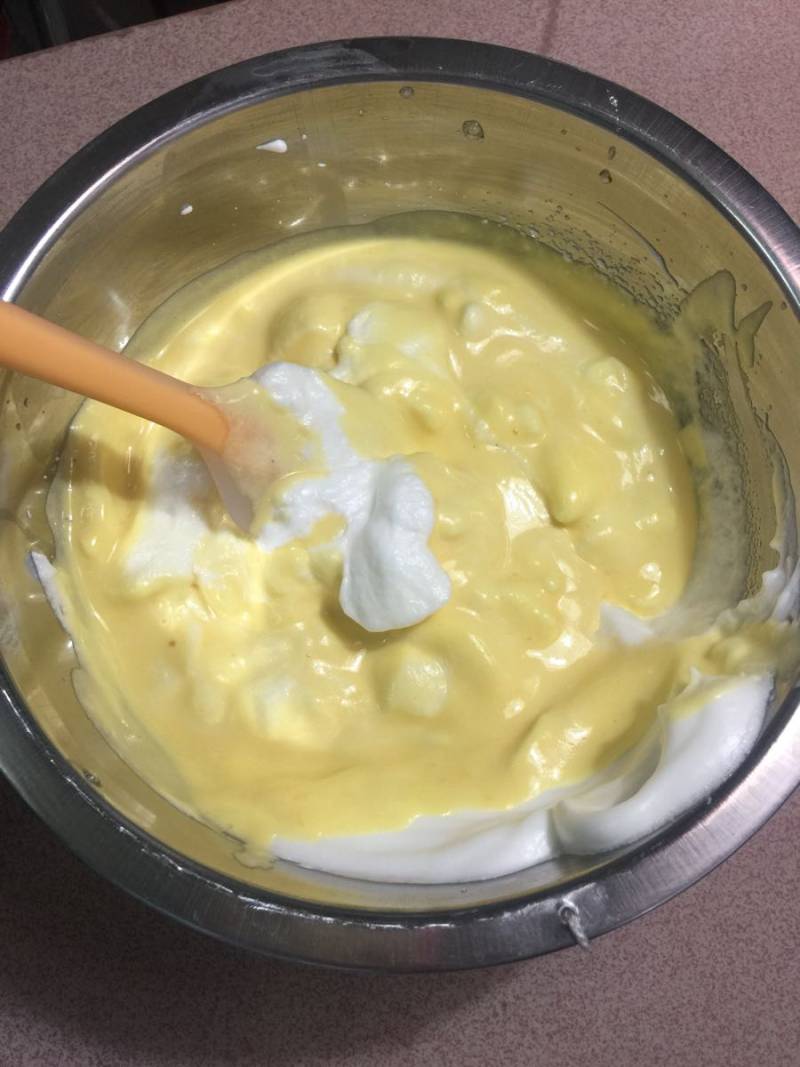
9.将蛋白与蛋黄糊混合翻拌均匀。
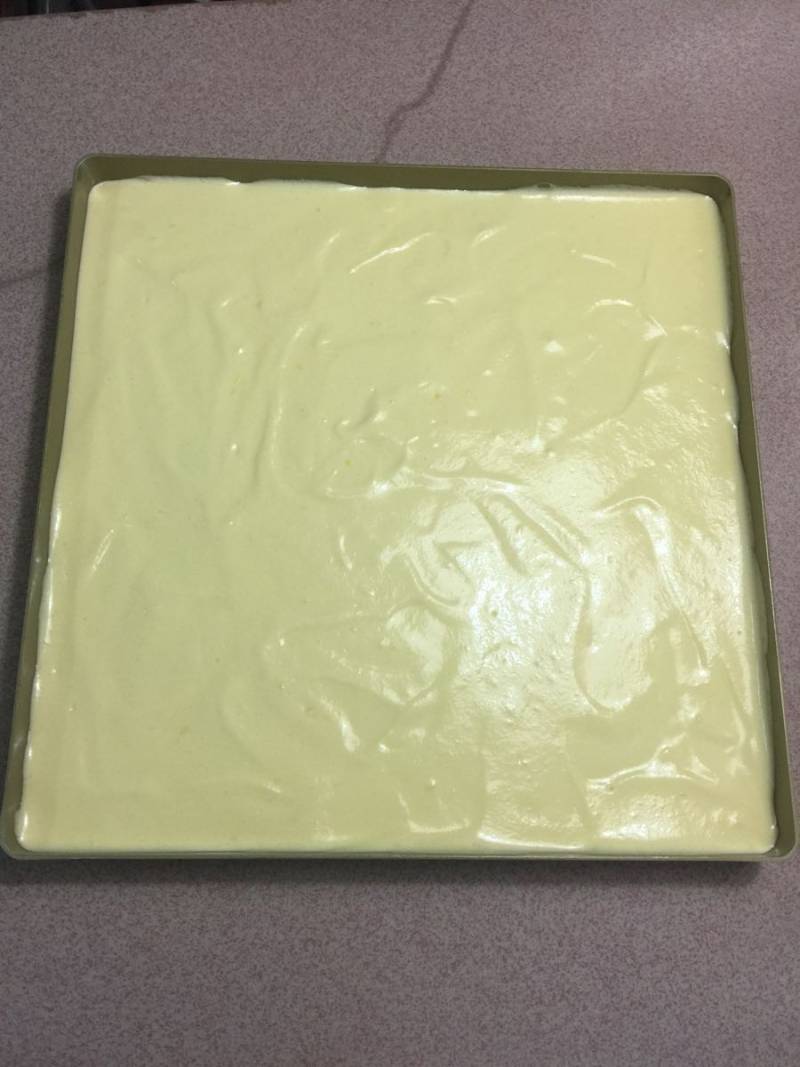
10.将拌好的蛋糕糊打入烤盘抹平,轻震几下。预热好烤箱160度。(烤盘底部要铺油纸哦)
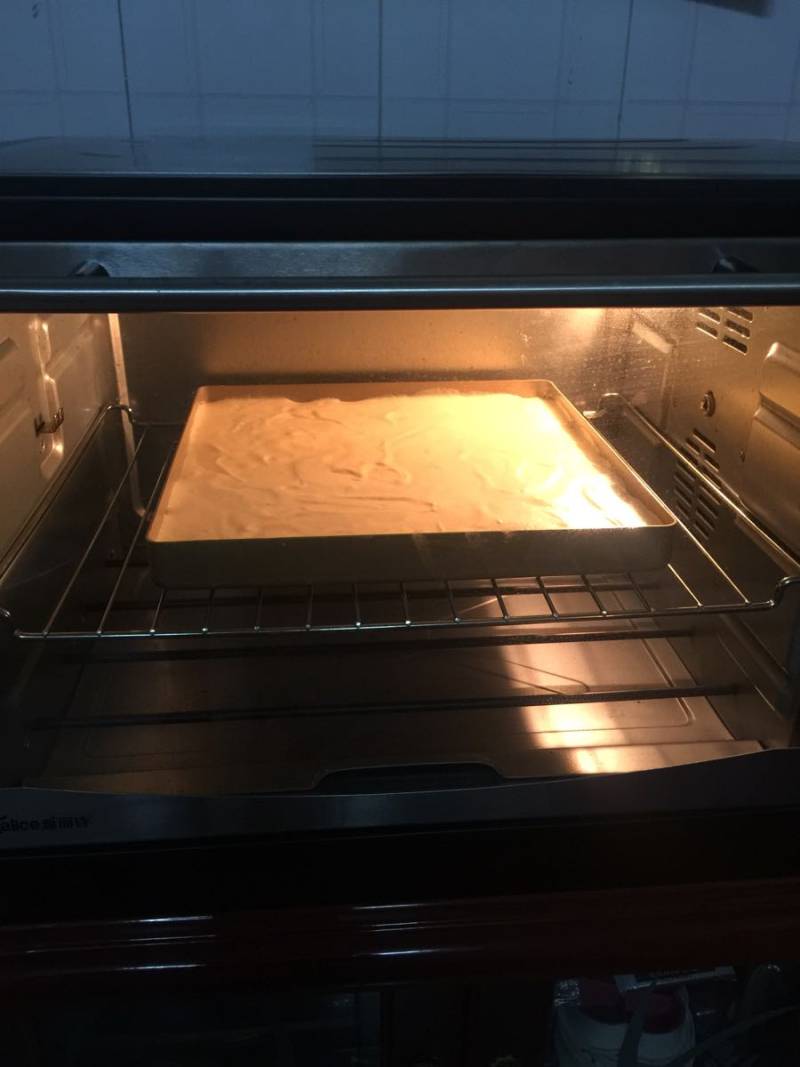
11.送入烤箱中层,用上下火160度烤30分钟左右。根据上色适当调节温度即可。
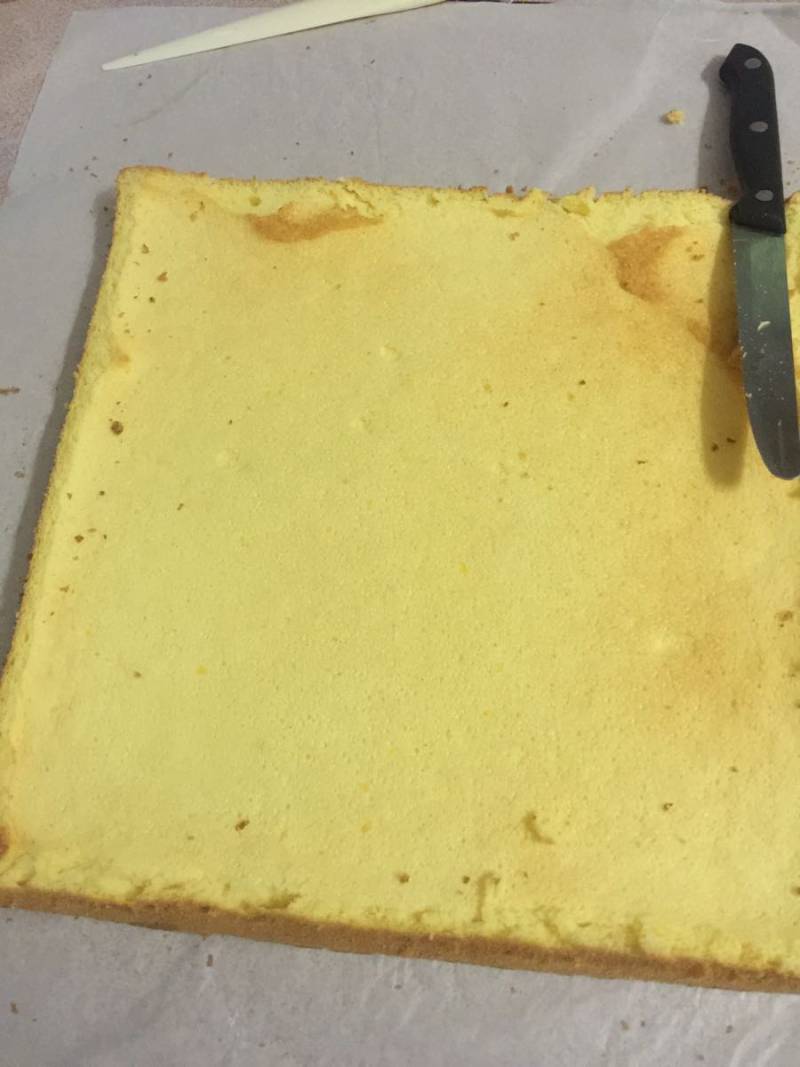
12.烤好的蛋糕出炉凉却。
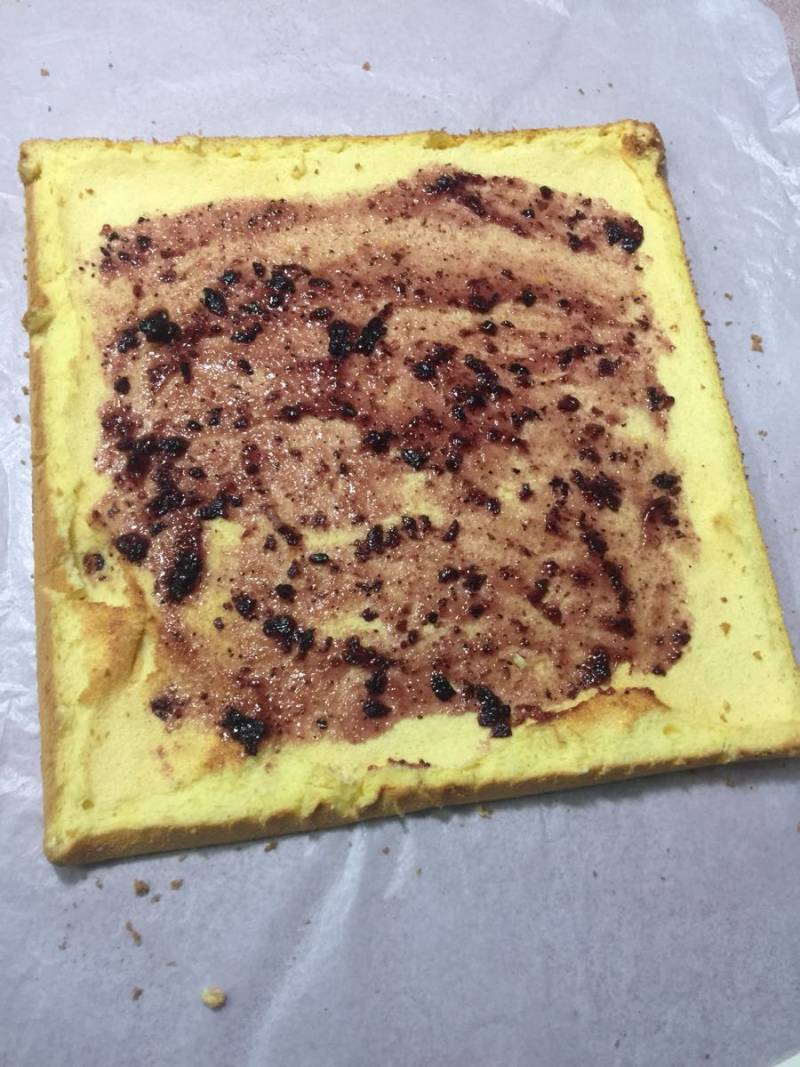
13.将蛋糕反面翻过来,抹上自己喜欢的果酱。(原菜谱是抹奶油霜的)
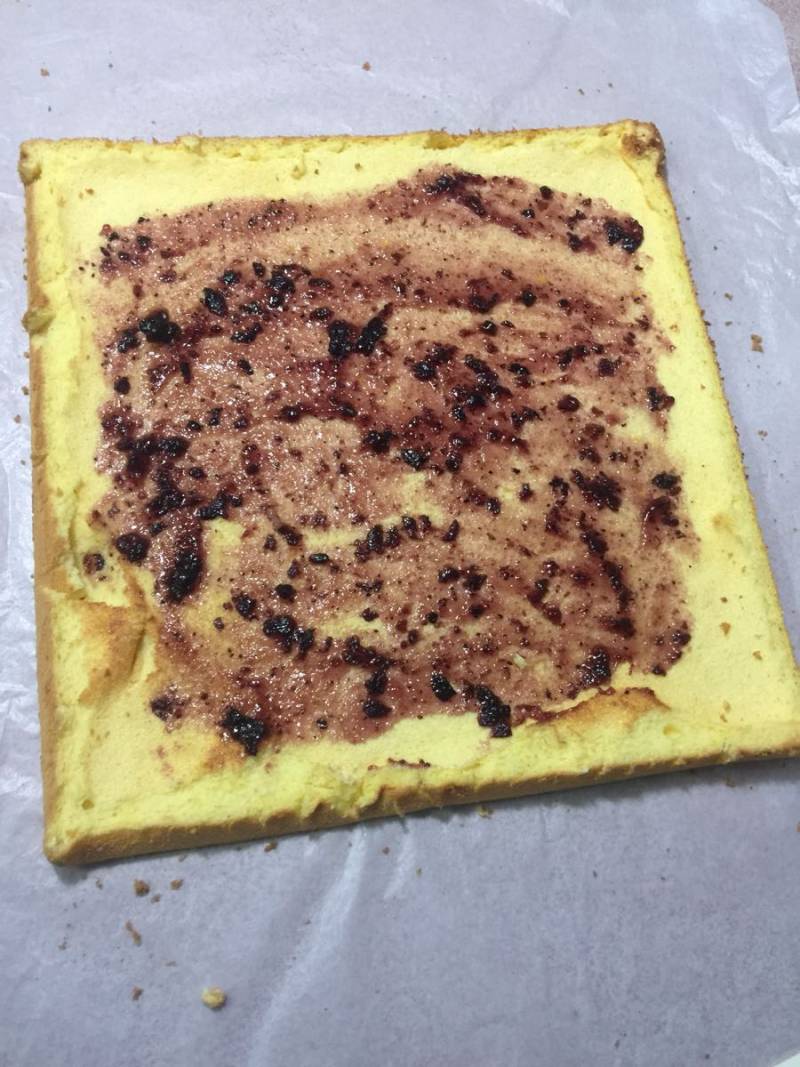
14.将蛋糕反面翻过来,抹上自己喜欢的果酱或奶油霜。(原菜谱是抹奶油霜的)
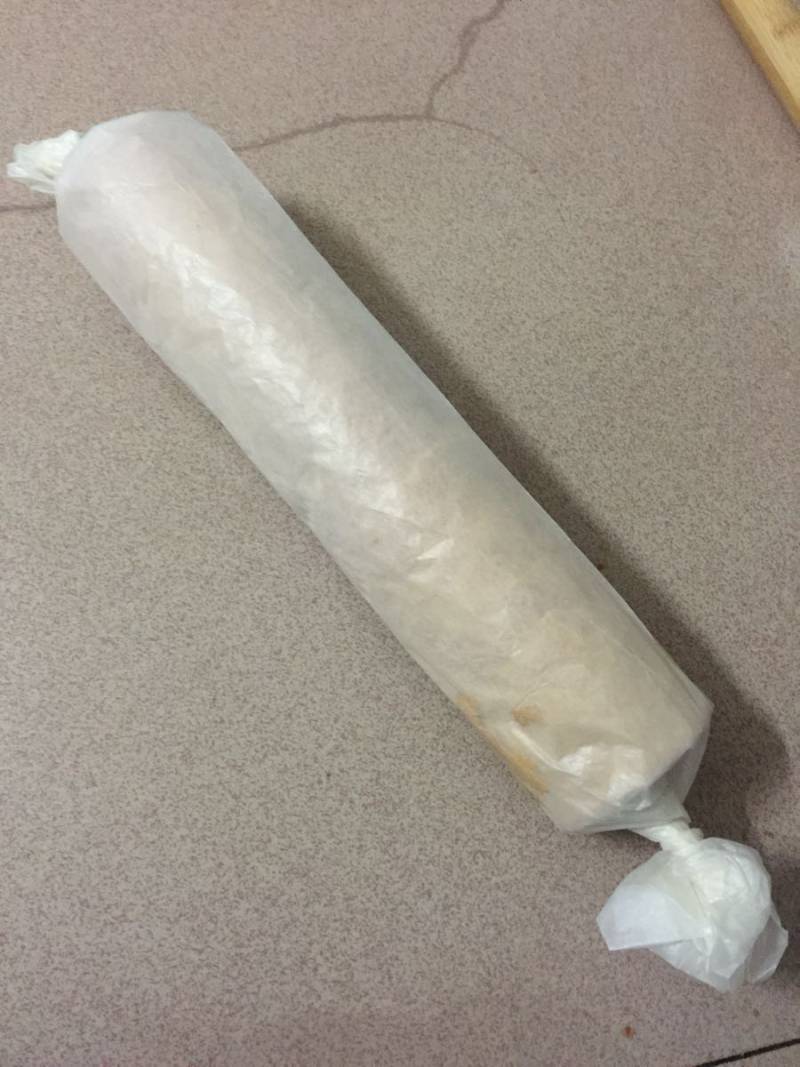
15.借着擀面棍朝一端卷起,卷的时候要轻柔哦,很嫩的,太用力也容易断的呢,包严放入冰箱冷藏1个小时以后就OK了
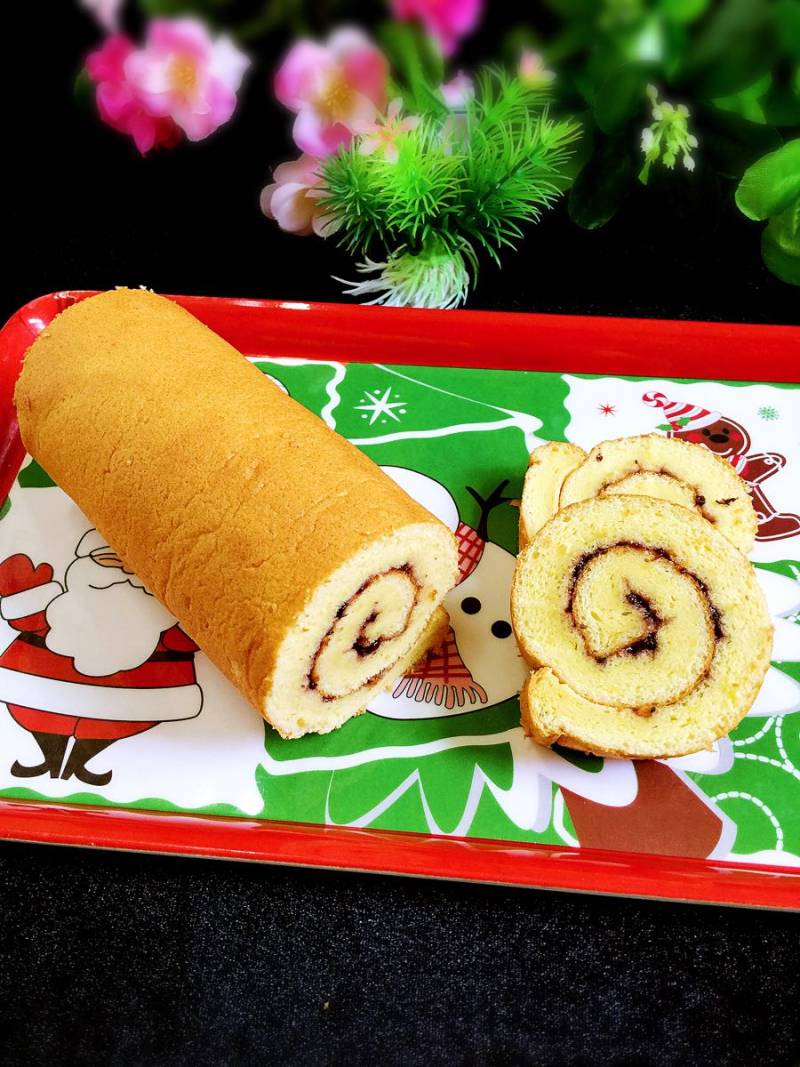
16.成品。
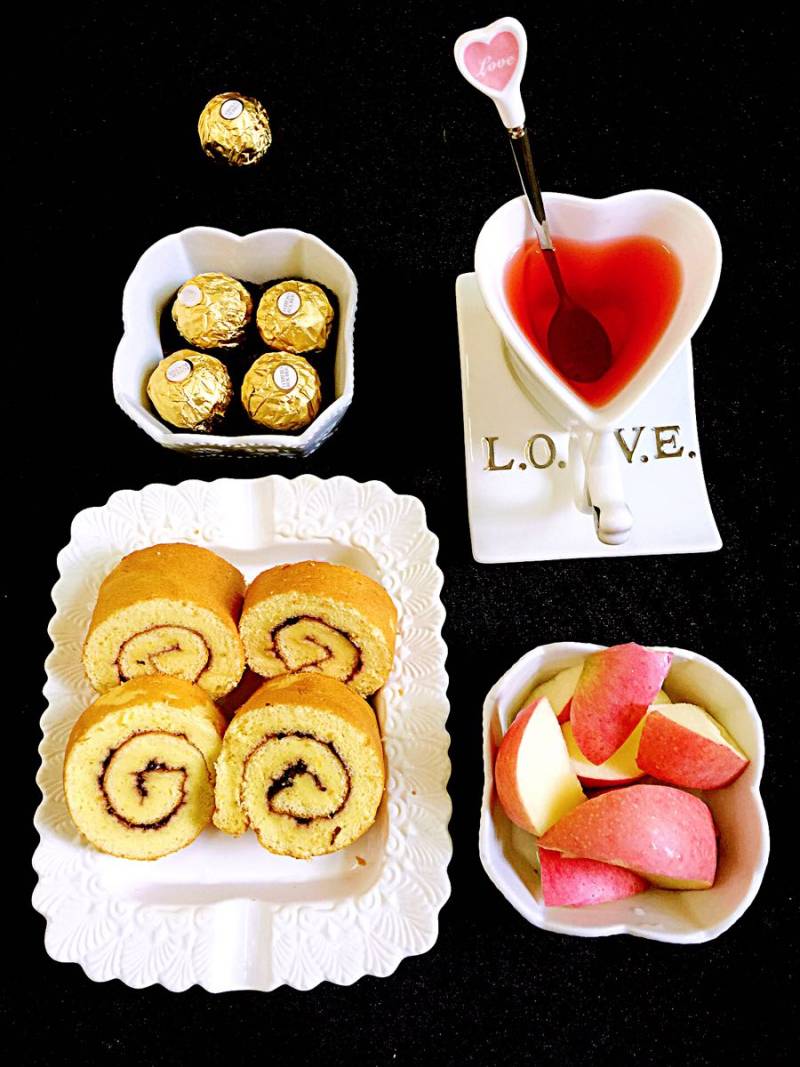
17.切块食用,享受下午茶。
小窍门&温馨提示
烤盘底部一定要铺油纸,否则像本人忘记了铺油纸,走了不少湾路。
温度的把控根据个人的烤箱来定。
原菜谱的夹馅是奶油霜,本人懒得做奶油霜,改成冰箱现有的蓝莓酱。
TAGS:
烘焙 其他菜系 淡奶油
免责声明:本站部分文章转载自网络,图文仅供行业学习交流使用,不做任何商业用途。文章仅代表原作者个人观点,其原创性及文章内容中图文的真实性、完整性等未经本站核实,仅供读者参考。
上一篇: 蘑菇炒油菜蕻的做法,蘑菇炒油菜蕻怎么做,蘑菇炒油菜做法,蘑香菇炒油菜,蘑菇炒油菜图片,蘑菇油菜的炒法
下一篇: 花蒸饺的做法,花蒸饺怎么做,花蒸饺的做法,花蒸饺的包法,花蒸饺的包法图解视频,花饺的做法
Deprecated: mysql_connect(): The mysql extension is deprecated and will be removed in the future: use mysqli or PDO instead in
/data/haozs.cc/xianguan.php on line
5
Deprecated: mysql_query(): The mysql extension is deprecated and will be removed in the future: use mysqli or PDO instead in
/data/haozs.cc/xianguan.php on line
7


