主料:
低筋粉,
70g,
鸡蛋,
2个,
糖,
25g
辅料:
黄油,
10g手指饼干的做法步骤
![](https://i3.%6d%65%69%73%68%69%63%68%69%6e%61.com/atta/step/2014/11/24/p800_201411241416796577654.jpg)
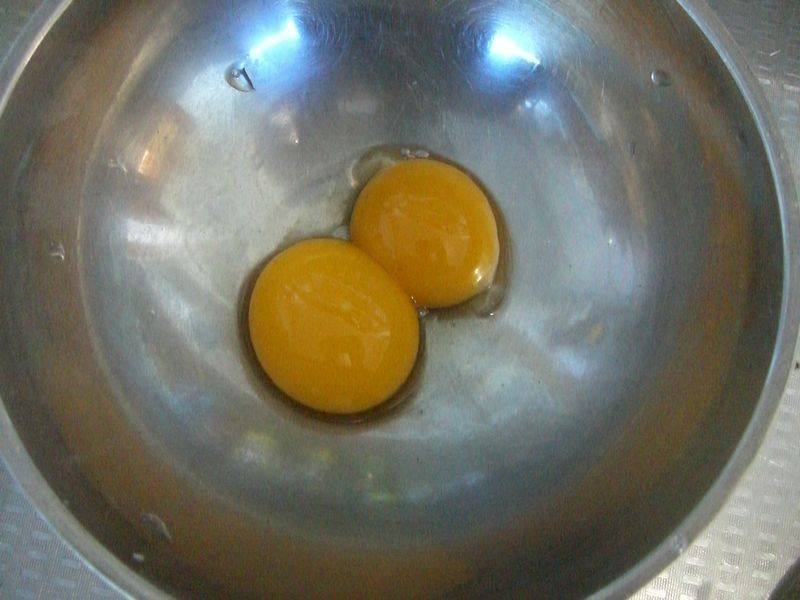
1.蛋黄蛋白分离
![](https://i3.%6d%65%69%73%68%69%63%68%69%6e%61.com/atta/step/2014/11/24/p800_201411241416796581840.jpg)
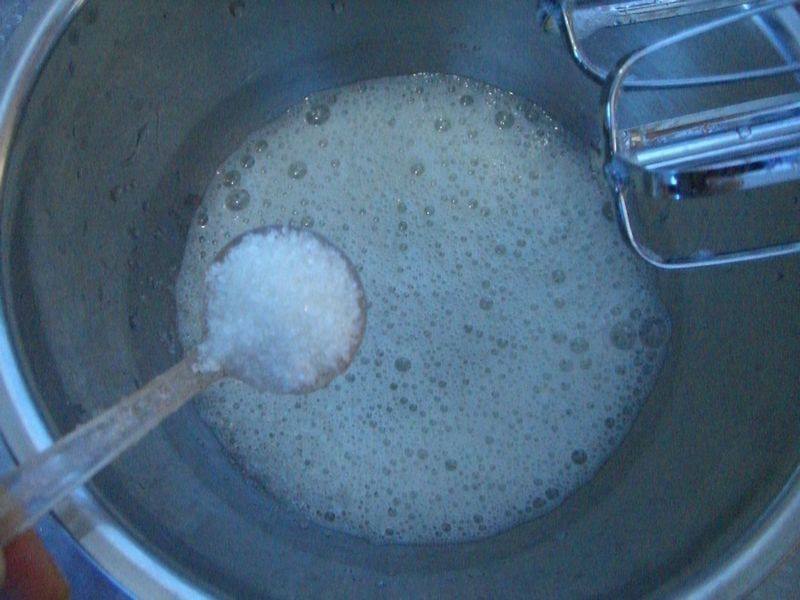
2.蛋白放入无油无水的盆里,低速搅拌至起大泡时加入10克的糖
![](https://i3.%6d%65%69%73%68%69%63%68%69%6e%61.com/atta/step/2014/11/24/p800_201411241416796585291.jpg)
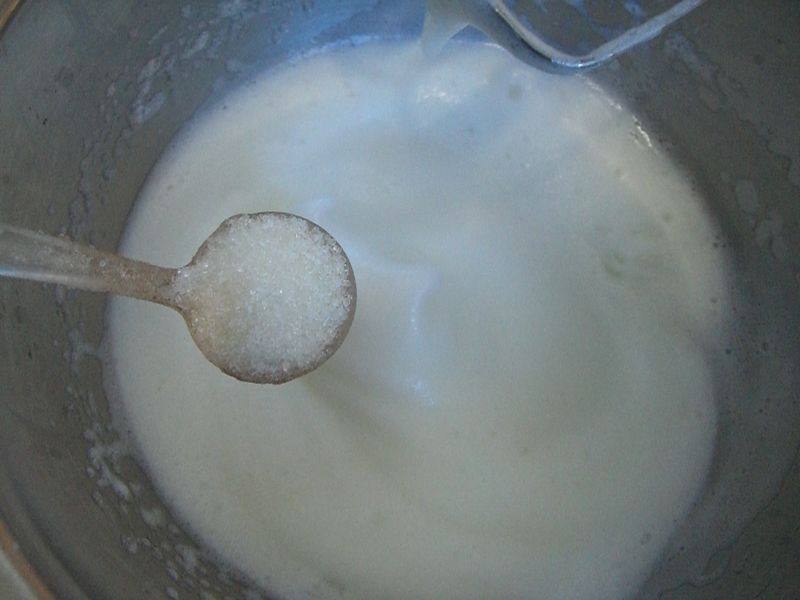
3.转高速搅拌,至泡沫细腻时加入10克的糖
![](https://i3.%6d%65%69%73%68%69%63%68%69%6e%61.com/atta/step/2014/11/24/p800_201411241416796589279.jpg)
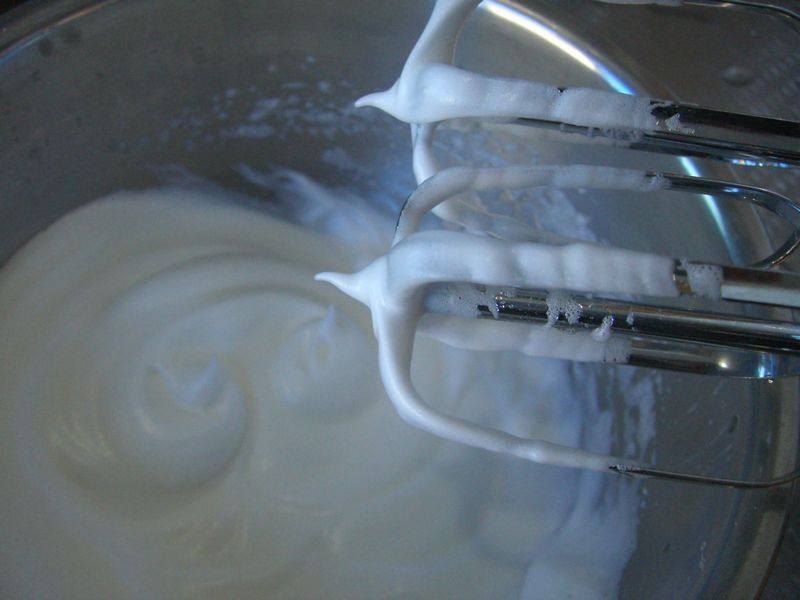
4.继续高速搅拌至有明显的纹路,改低速再搅拌,边搅拌边观察,提起打蛋器有尖三角就立即停止搅拌,不要让蛋白打发过度。
![](https://i3.%6d%65%69%73%68%69%63%68%69%6e%61.com/atta/step/2014/11/24/p800_201411241416796592928.jpg)
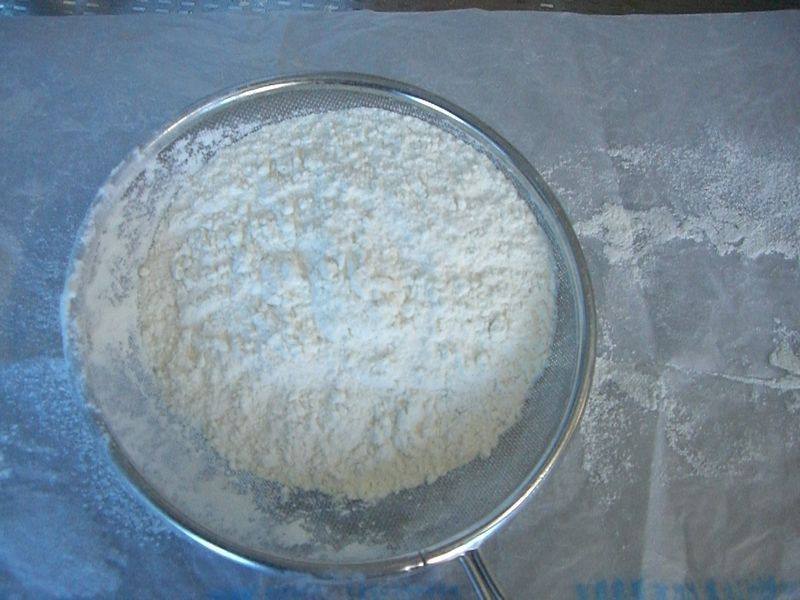
5.低筋粉提前过筛两遍
![](https://i3.%6d%65%69%73%68%69%63%68%69%6e%61.com/atta/step/2014/11/24/p800_201411241416796594348.jpg)
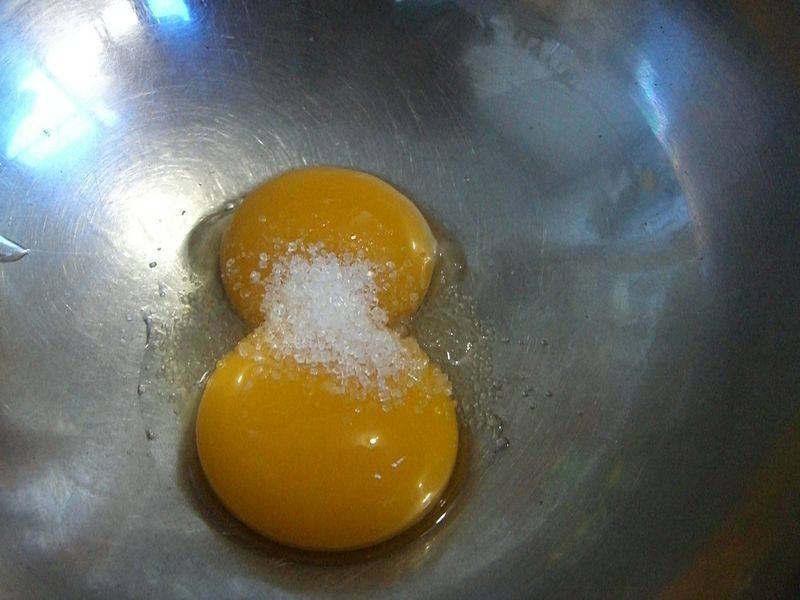
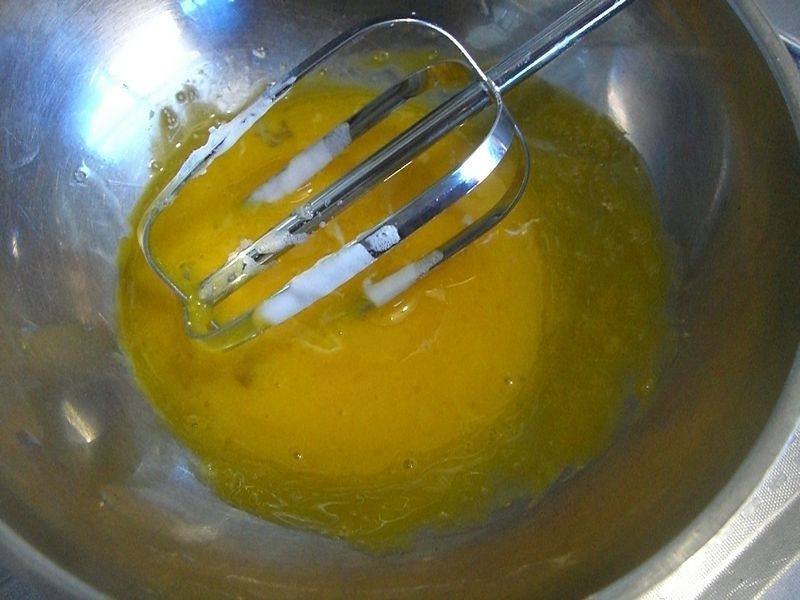
6.蛋黄中加入5克的糖搅拌均匀
![](https://i3.%6d%65%69%73%68%69%63%68%69%6e%61.com/atta/step/2014/11/24/p800_201411241416796596716.jpg)
7.黄油融化后加入,充分搅拌均匀
![](https://i3.%6d%65%69%73%68%69%63%68%69%6e%61.com/atta/step/2014/11/24/p800_201411241416796678806.jpg)
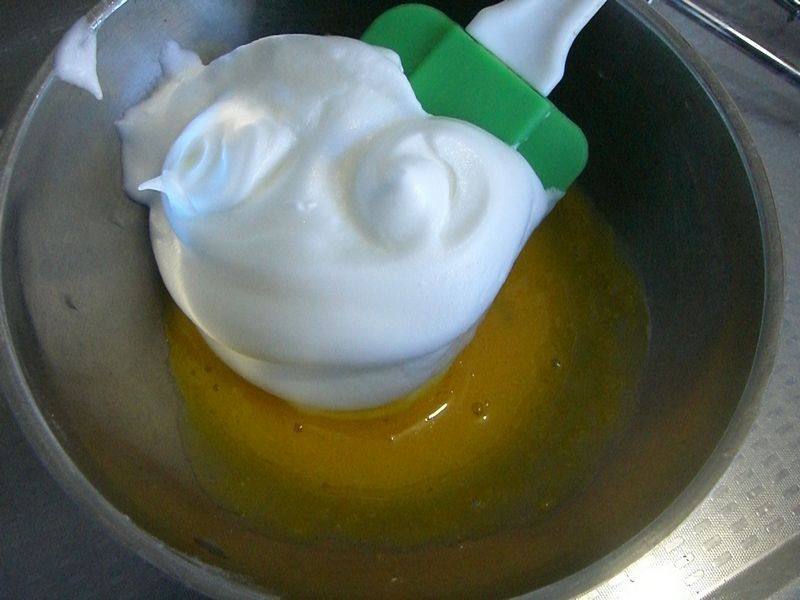
8.取少量打发的蛋白放入翻拌均匀
![](https://i3.%6d%65%69%73%68%69%63%68%69%6e%61.com/atta/step/2014/11/24/p800_201411241416796681538.jpg)
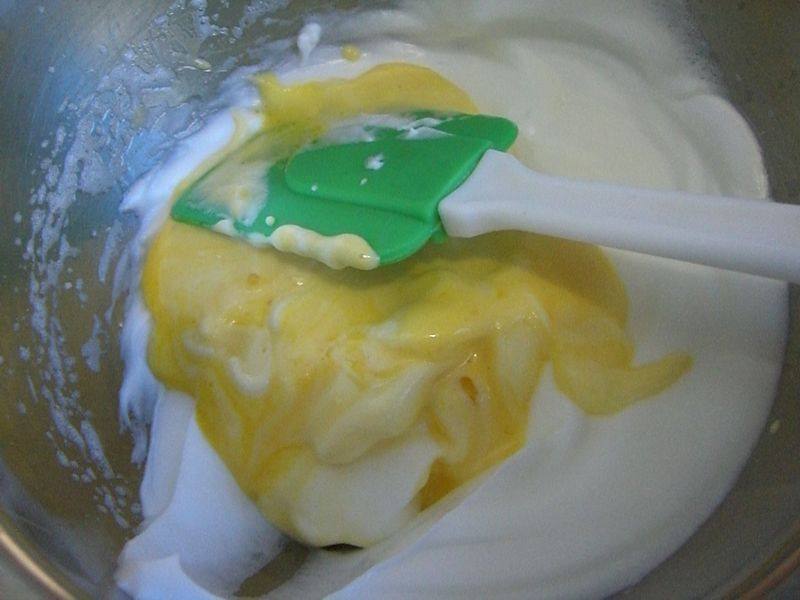
9.倒回到剩余的蛋白中
![](https://i3.%6d%65%69%73%68%69%63%68%69%6e%61.com/atta/step/2014/11/24/p800_201411241416796607134.jpg)
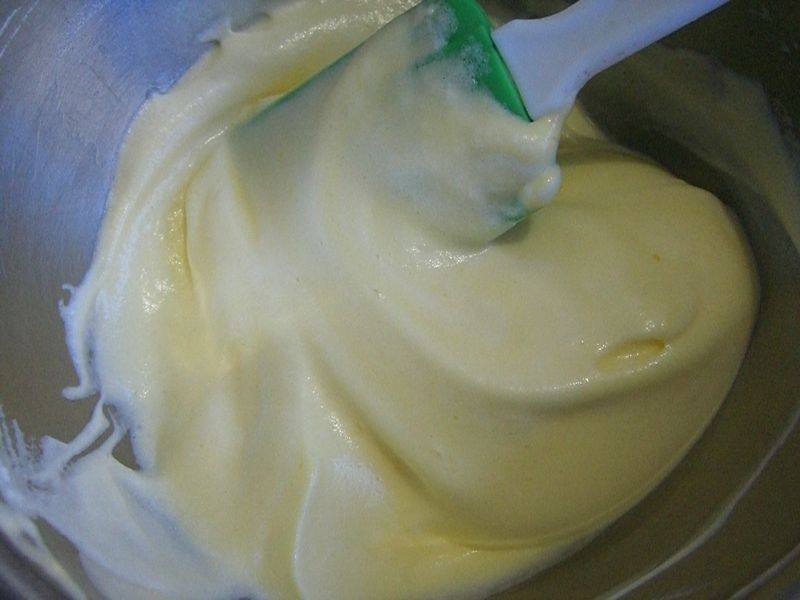
10.翻拌均匀
![](https://i3.%6d%65%69%73%68%69%63%68%69%6e%61.com/atta/step/2014/11/24/p800_201411241416796618718.jpg)
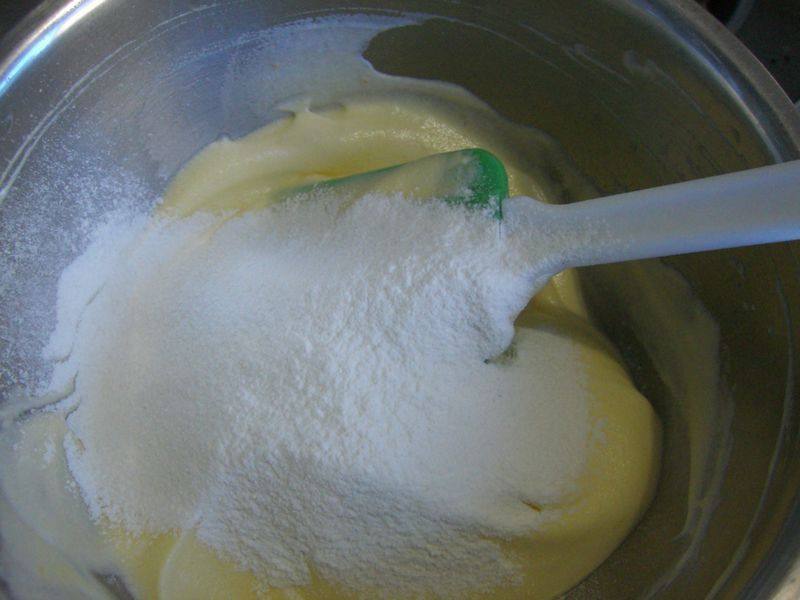
11.筛入一半的低筋粉翻拌均匀
![](https://i3.%6d%65%69%73%68%69%63%68%69%6e%61.com/atta/step/2014/11/24/p800_201411241416796710980.jpg)
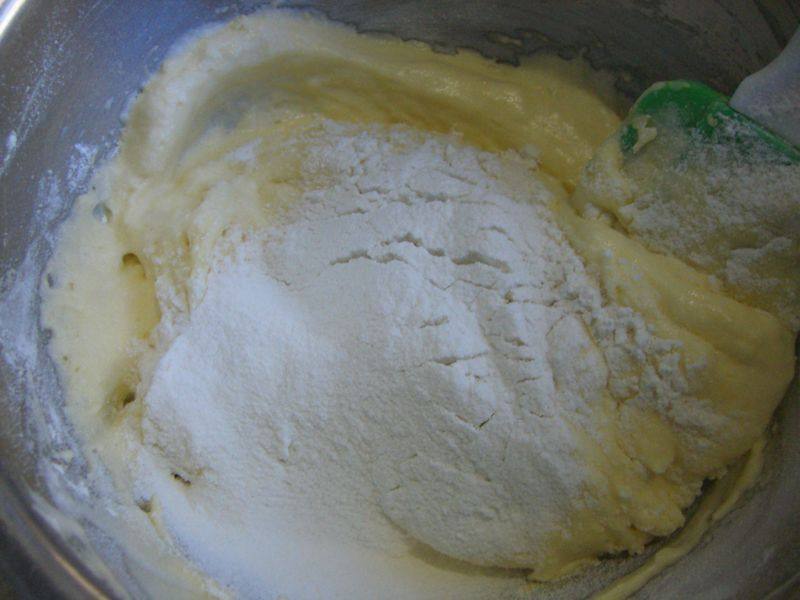
12.翻拌均匀后筛入剩余的低筋粉
![](https://i3.%6d%65%69%73%68%69%63%68%69%6e%61.com/atta/step/2014/11/24/p800_201411241416796716113.jpg)
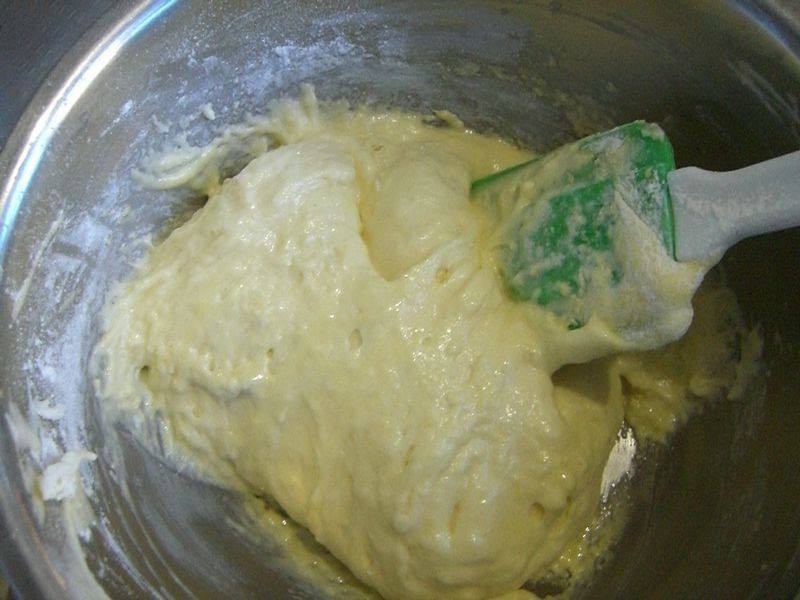
13.翻拌均匀成为饼干糊
![](https://i3.%6d%65%69%73%68%69%63%68%69%6e%61.com/atta/step/2014/11/24/p800_201411241416796718687.jpg)
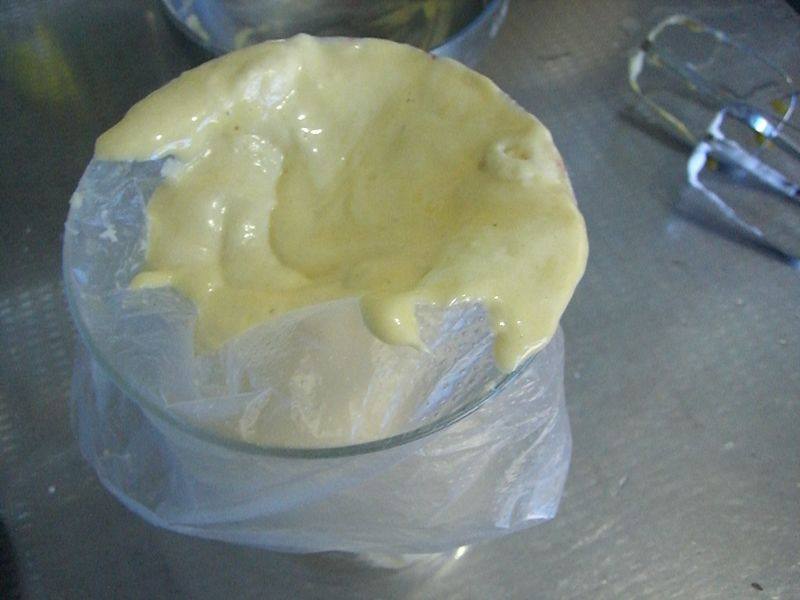
14.装入裱花袋,我没有用花嘴,直接在裱花袋上剪了一个口。裱花袋套在杯子里容易装糊
![](https://i3.%6d%65%69%73%68%69%63%68%69%6e%61.com/atta/step/2014/11/24/p800_201411241416796623779.jpg)
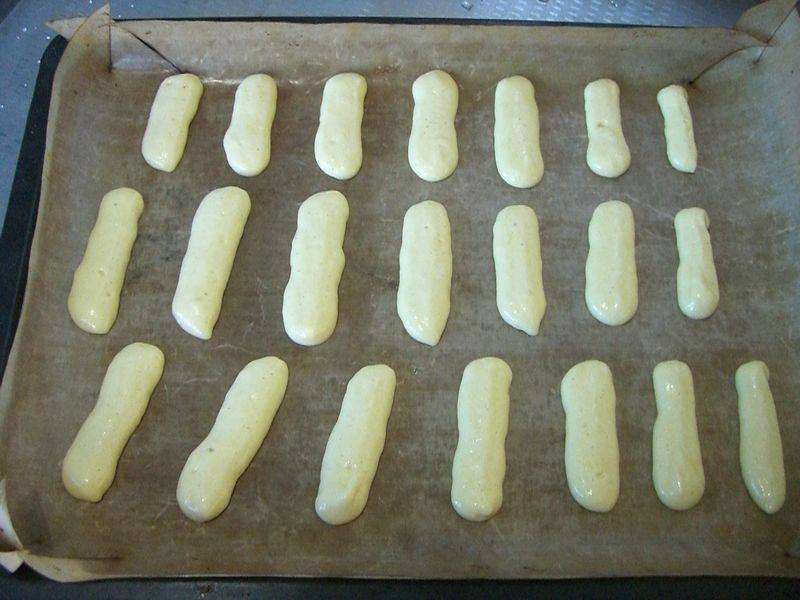
15.挤到烤盘中
![](https://i3.%6d%65%69%73%68%69%63%68%69%6e%61.com/atta/step/2014/11/24/p800_201411241416796625110.jpg)
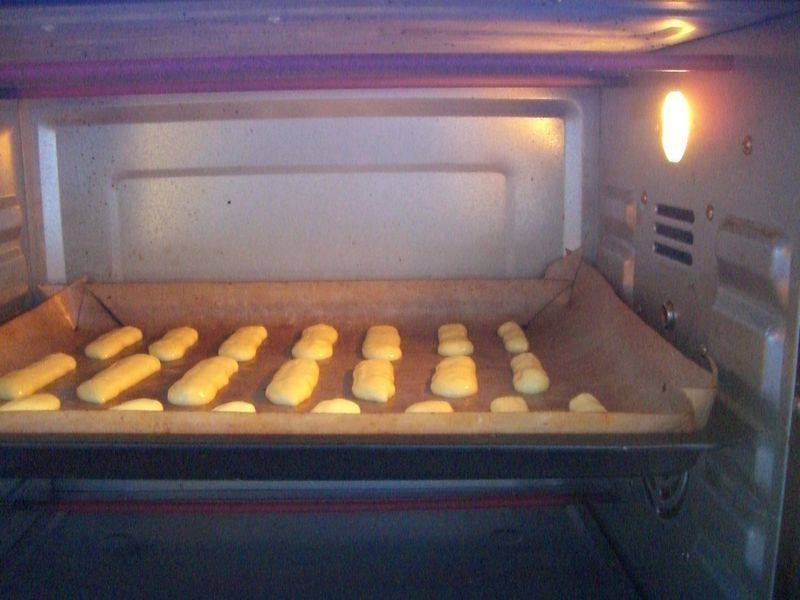
16.烤箱160度预热5分钟,入烤箱下面第二层,烤10分钟即可
![](https://i3.%6d%65%69%73%68%69%63%68%69%6e%61.com/atta/step/2014/11/24/p800_201411241416796630224.jpg)
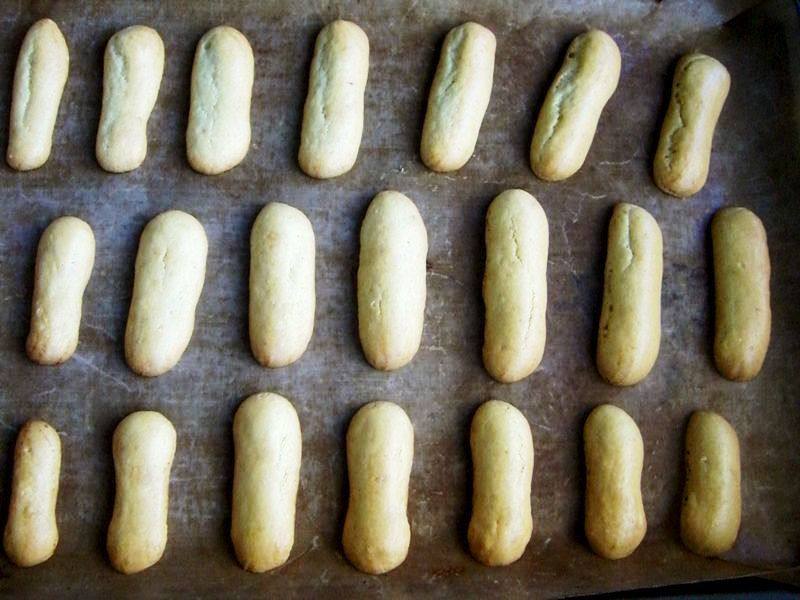
17.烤好的手指饼干。
小窍门&温馨提示
手指饼干是本来是不用加黄油的,我是为了给婆婆吃着好吃加了点。如果不加黄油,蛋黄用3个就行了。其他不必改动。
TAGS:
烘焙 儿童 饼干 下午茶 其他菜系 低筋粉
免责声明:本站部分文章转载自网络,图文仅供行业学习交流使用,不做任何商业用途。文章仅代表原作者个人观点,其原创性及文章内容中图文的真实性、完整性等未经本站核实,仅供读者参考。
上一篇: 咖喱鸡块的做法,咖喱鸡块怎么做,咖喱鸡块土豆的做法,咖喱鸡块的做法,咖喱鸡块用鸡胸肉还是鸡腿肉,咖喱鸡块饭的家常做法
下一篇: 红烧肉焖土豆条的做法,红烧肉焖土豆条怎么做,红烧肉焖土豆条的做法,红烧肉焖土豆条怎么做,红烧肉焖土豆条好吃吗,土豆焖红烧肉图片
Deprecated: mysql_connect(): The mysql extension is deprecated and will be removed in the future: use mysqli or PDO instead in
/data/haozs.cc/xianguan.php on line
5
Deprecated: mysql_query(): The mysql extension is deprecated and will be removed in the future: use mysqli or PDO instead in
/data/haozs.cc/xianguan.php on line
7