主料:
鸡胸肉,
1个,
包菜,
4片
辅料:
胡萝卜,
小许调料
大蒜,
几瓣,
食盐,
1克,
鸡精,
1克,
生抽,
5克,
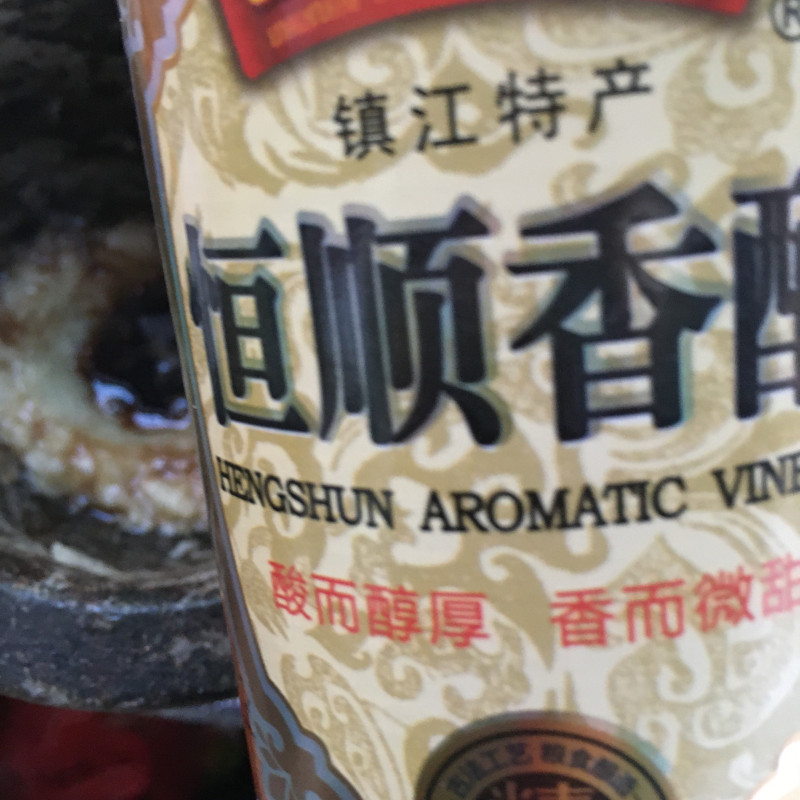
香醋,
3克,
油辣子,
1汤匙包菜拌鸡丝的做法步骤
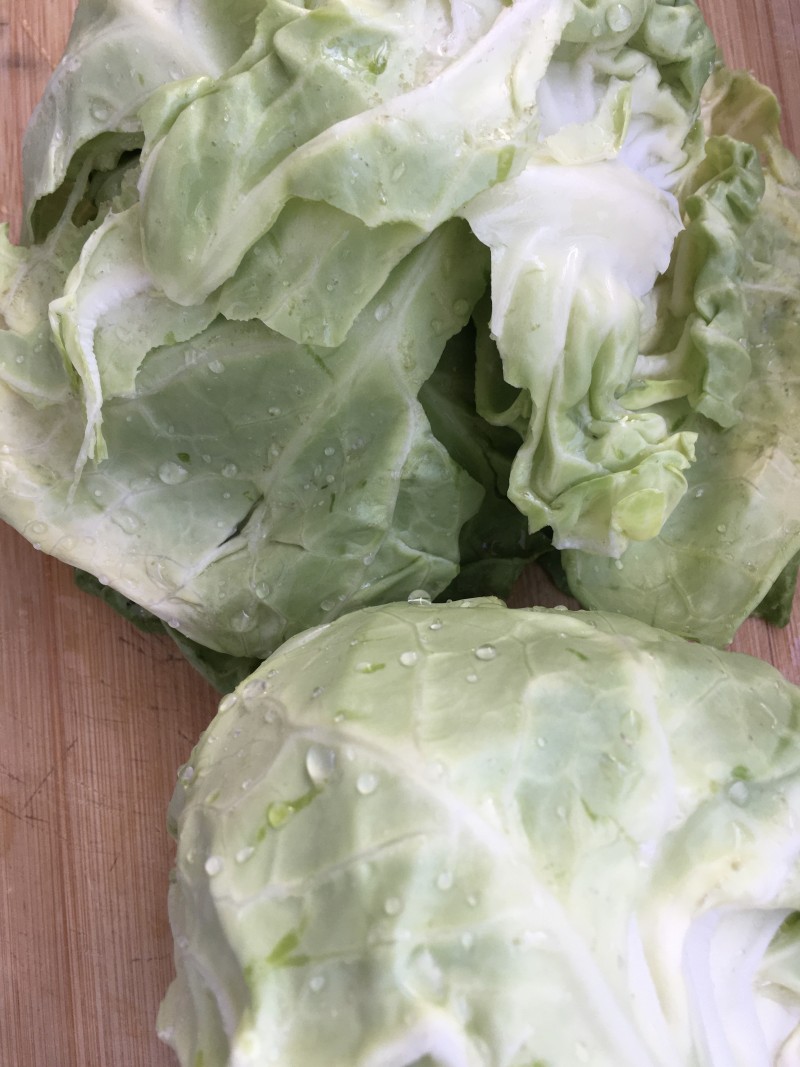
1.包菜扒4片菜叶下来,洗净。
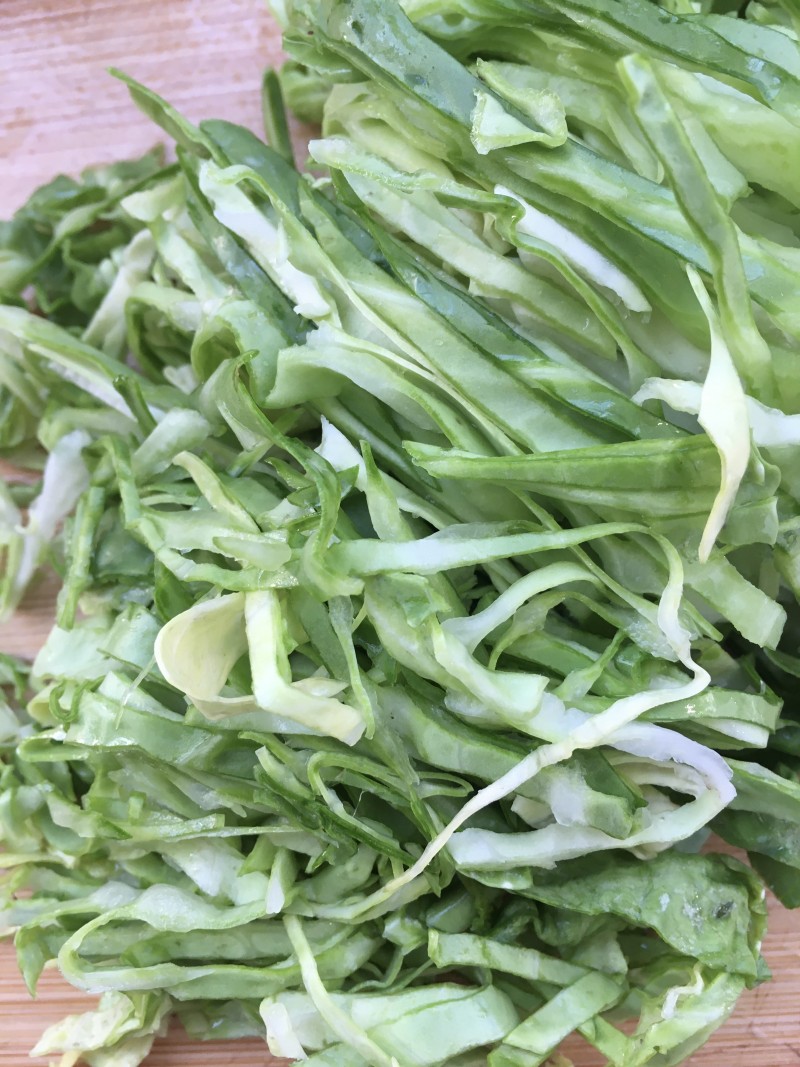
2.切丝。
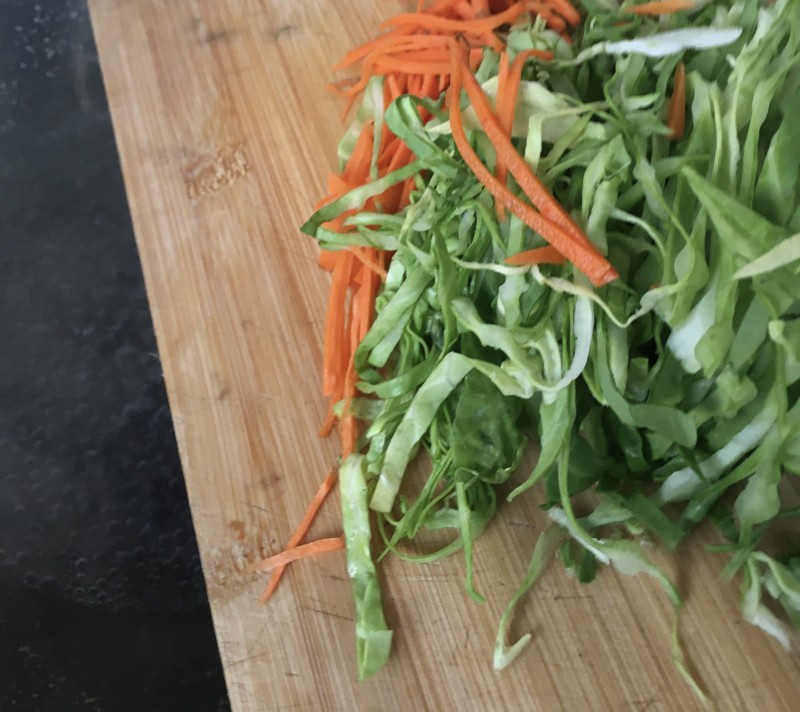
3.胡萝卜切丝。

4.菜丝倒入烧开的水里,焯水1分钟。
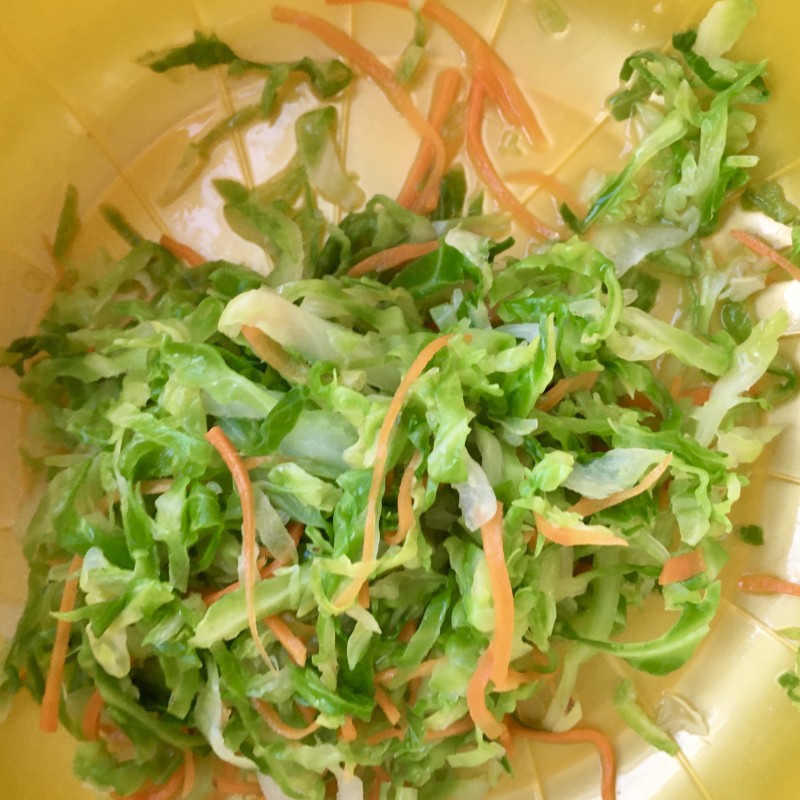
5.过冷水,撰干水分备用。
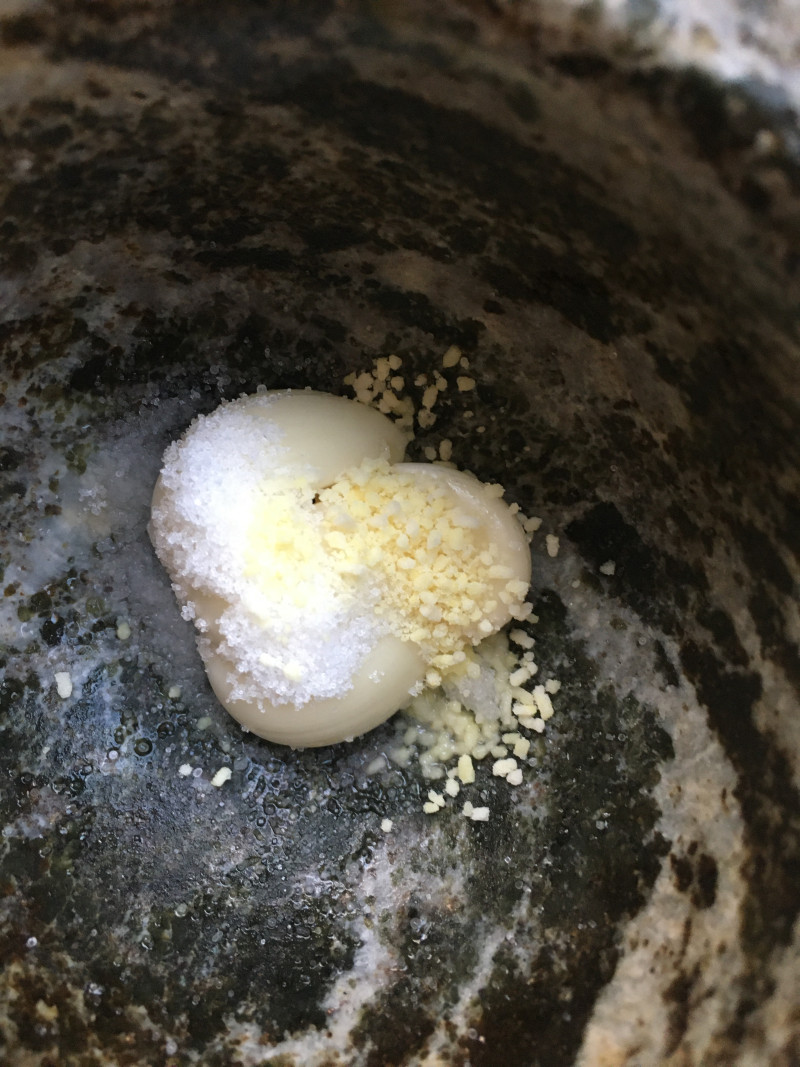
6.大蒜去皮放蒜臼子里,放食盐和鸡精,捣成蒜泥。
7.放香醋。

8.放生抽。
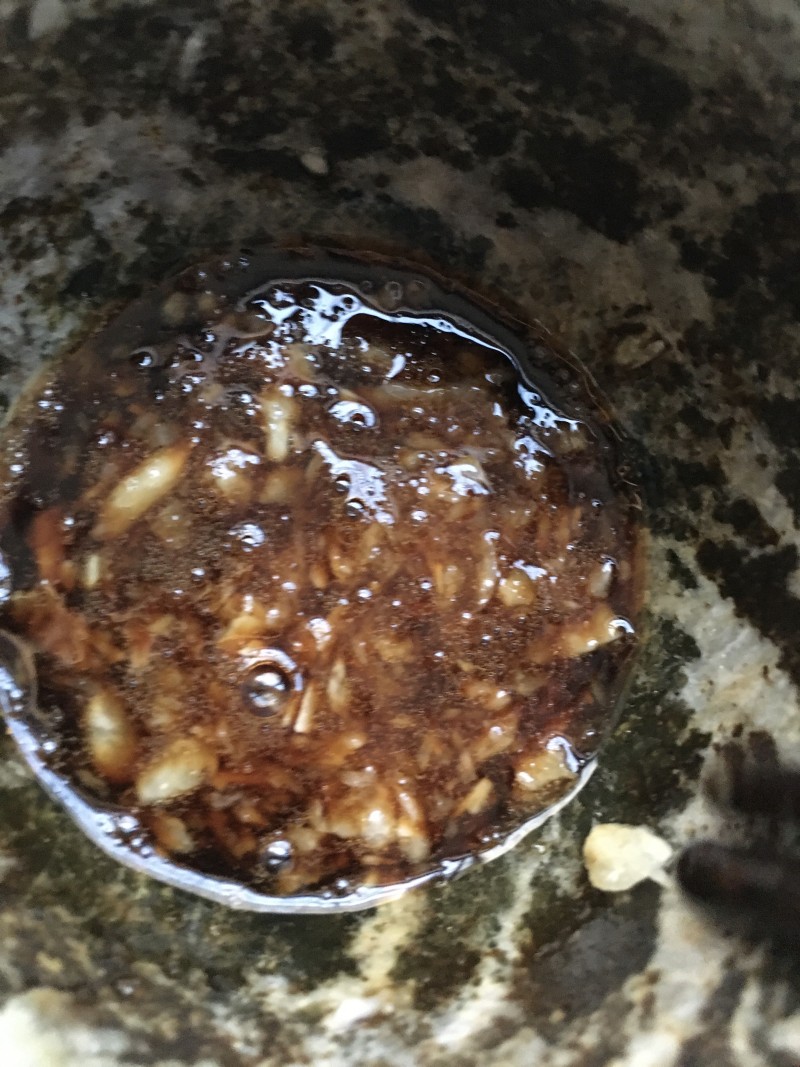
9.拌匀。
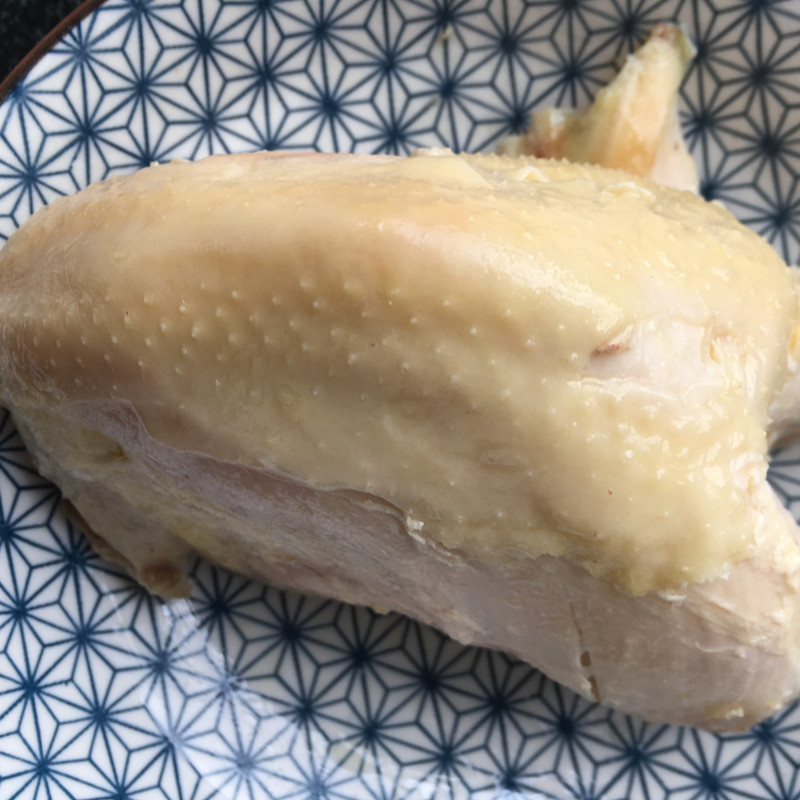
10.取煮好的鸡胸肉。
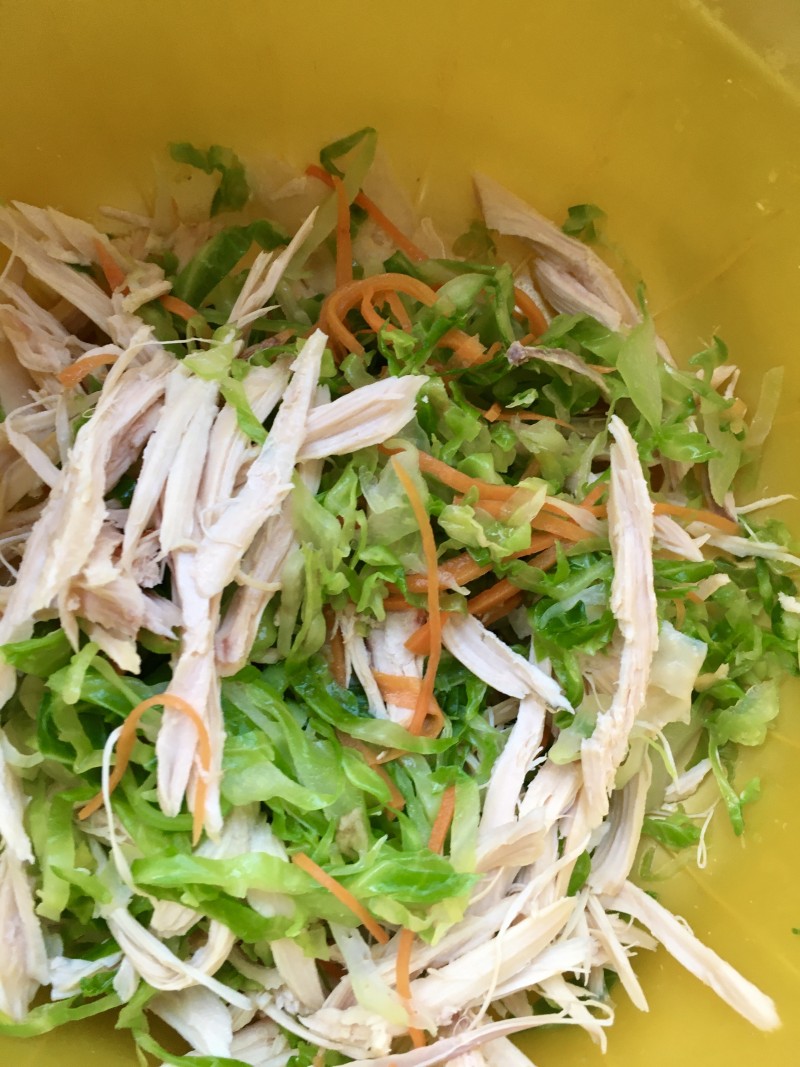
11.撕成丝,放菜丝中。
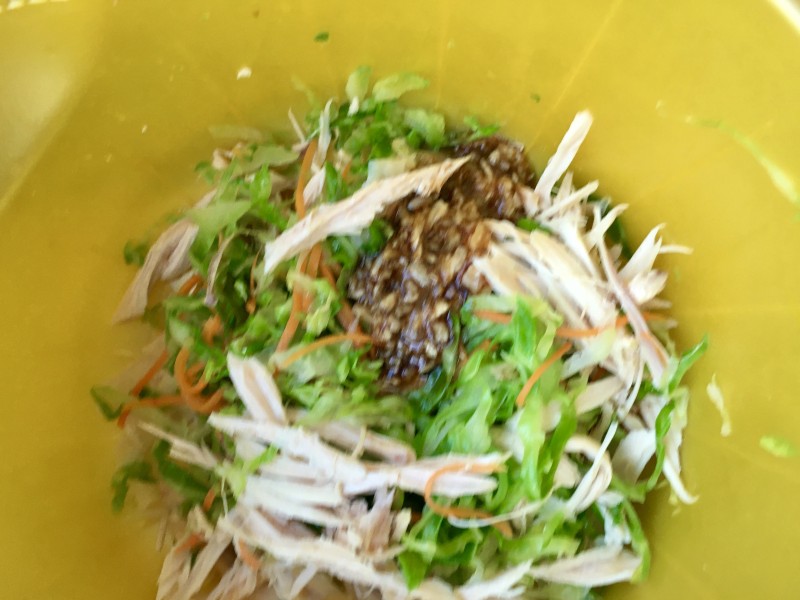
12.放蒜泥。
13.拌匀,不吃辣椒的,到这就可以是成品了。
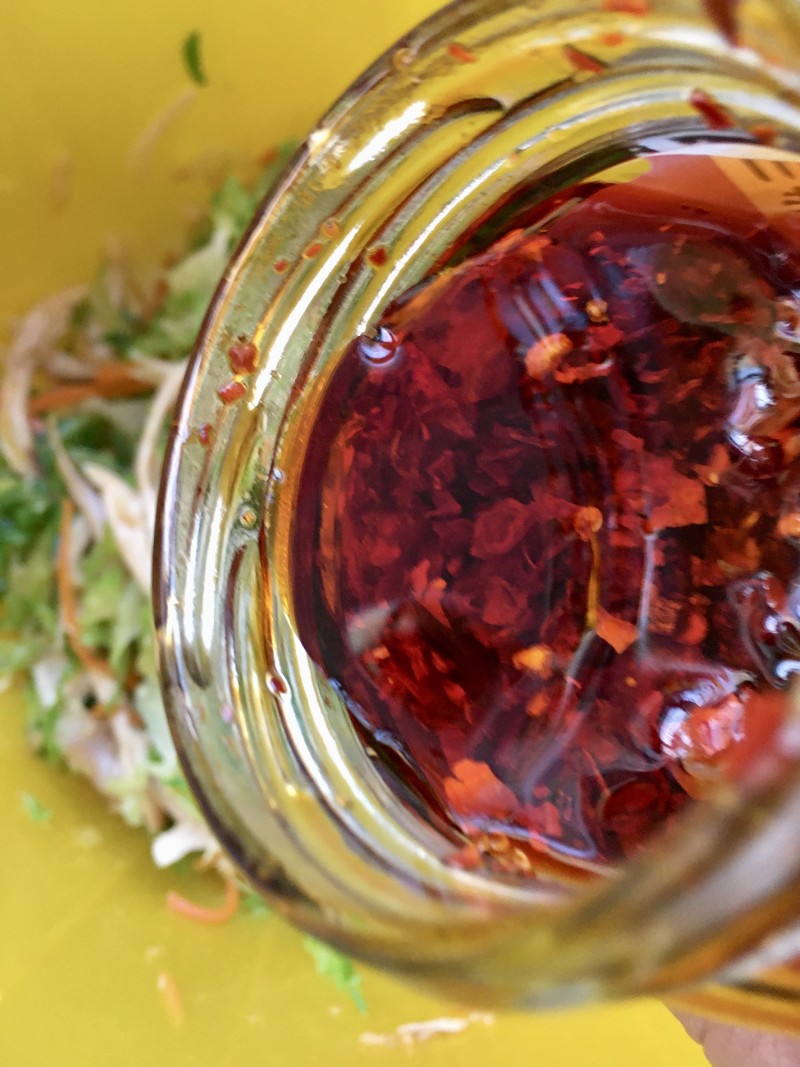
14.倒入油辣子。
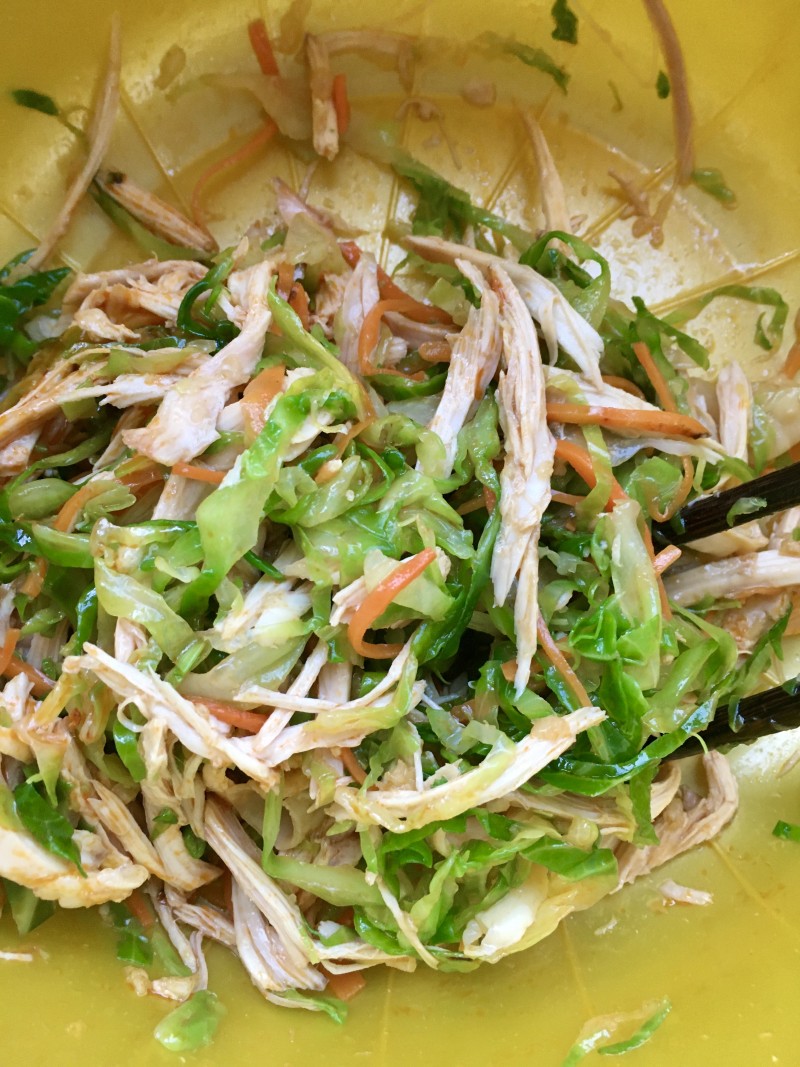
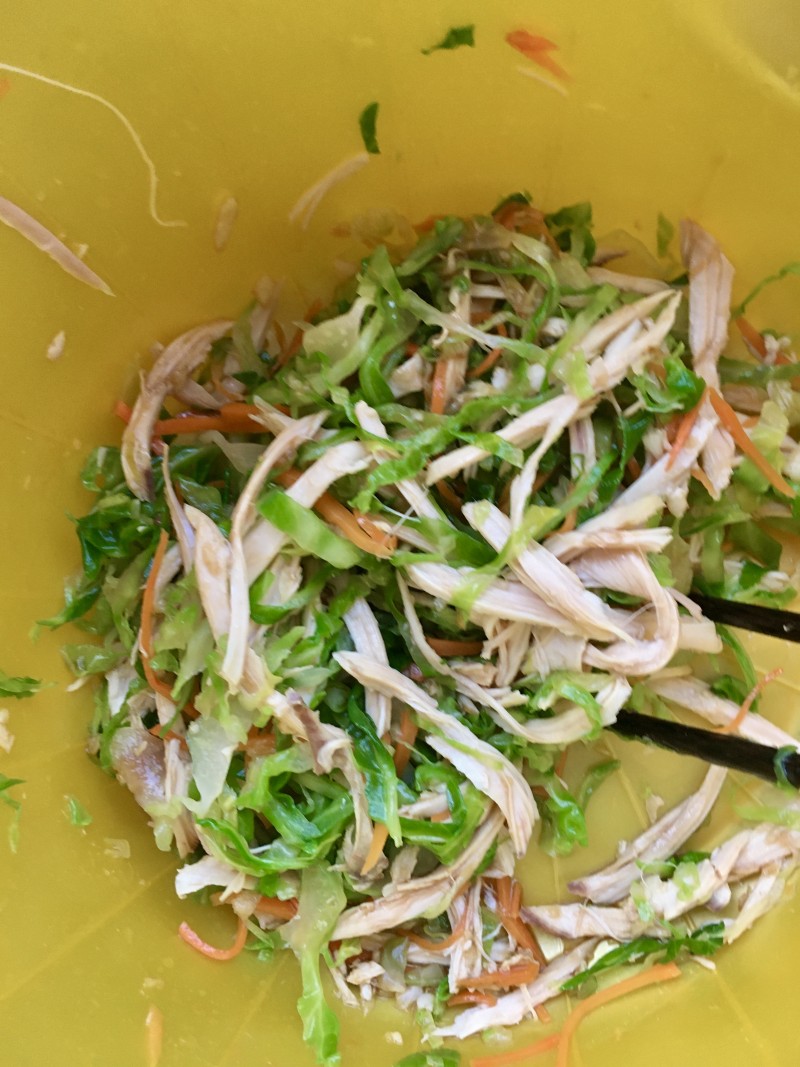
15.拌匀。
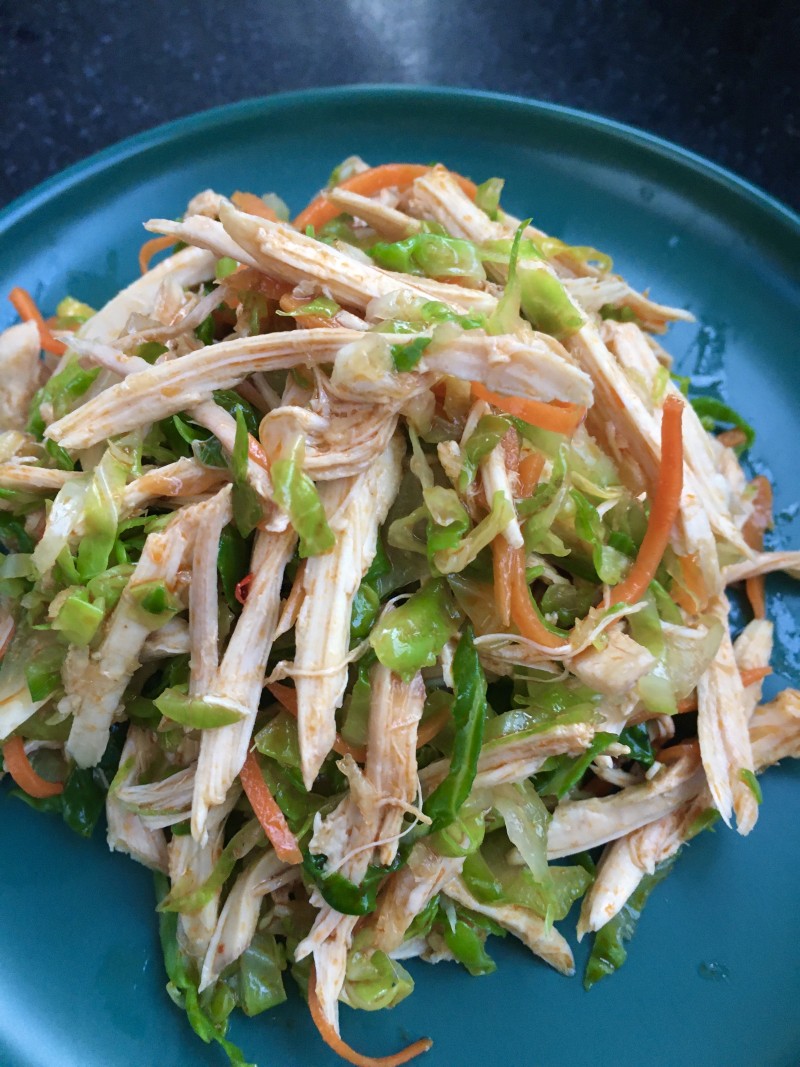
16.装盘。

17.成品。
TAGS:
凉菜 家常菜 鸡胸肉
免责声明:本站部分文章转载自网络,图文仅供行业学习交流使用,不做任何商业用途。文章仅代表原作者个人观点,其原创性及文章内容中图文的真实性、完整性等未经本站核实,仅供读者参考。
上一篇: 秋葵香豆腐炒蛋的做法,秋葵香豆腐炒蛋怎么做,秋葵炒豆腐的做法,秋葵鸡蛋豆腐,秋葵花炒鸡蛋,秋葵煎豆腐
下一篇: 香煎秋葵的做法,香煎秋葵怎么做,香煎秋葵的做法,香煎秋葵怎么做好吃,香煎秋葵热量,香煎秋葵视频
Deprecated: mysql_connect(): The mysql extension is deprecated and will be removed in the future: use mysqli or PDO instead in
/data/haozs.cc/xianguan.php on line
5
Deprecated: mysql_query(): The mysql extension is deprecated and will be removed in the future: use mysqli or PDO instead in
/data/haozs.cc/xianguan.php on line
7
