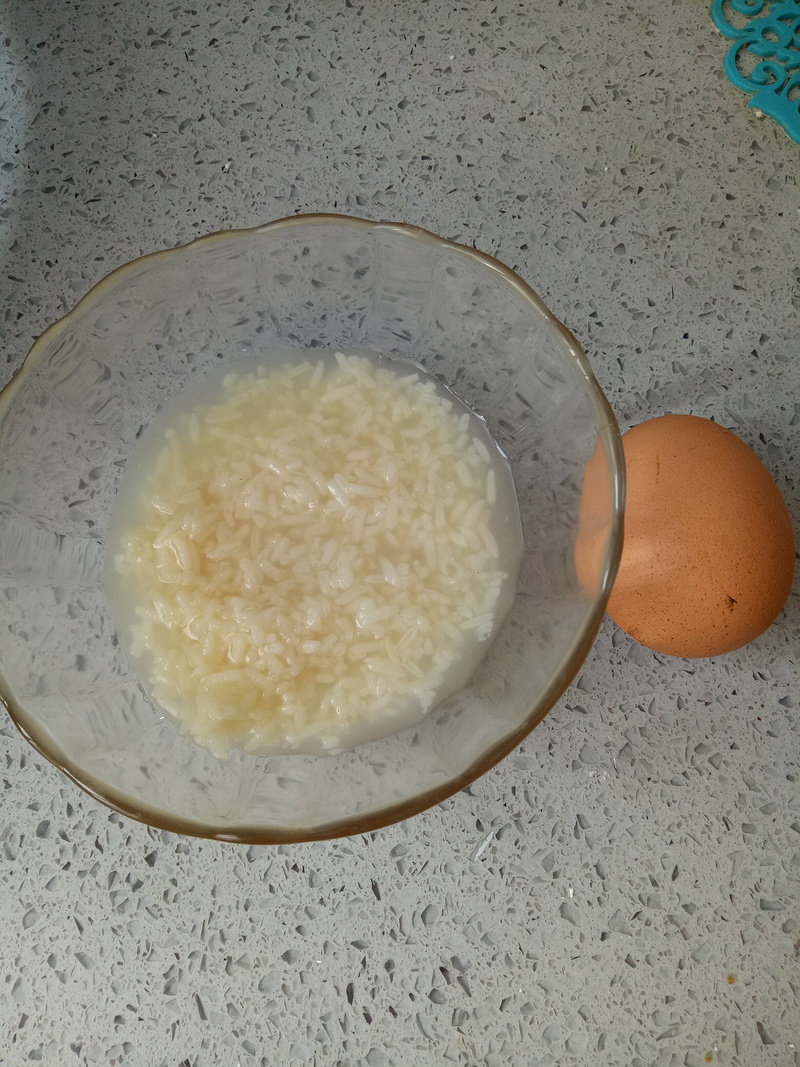
主料:
鸡蛋,
1个,
红枣,
少许
辅料:
酒酿适量酒酿红枣蛋羹的做法步骤

1.准备好食材。

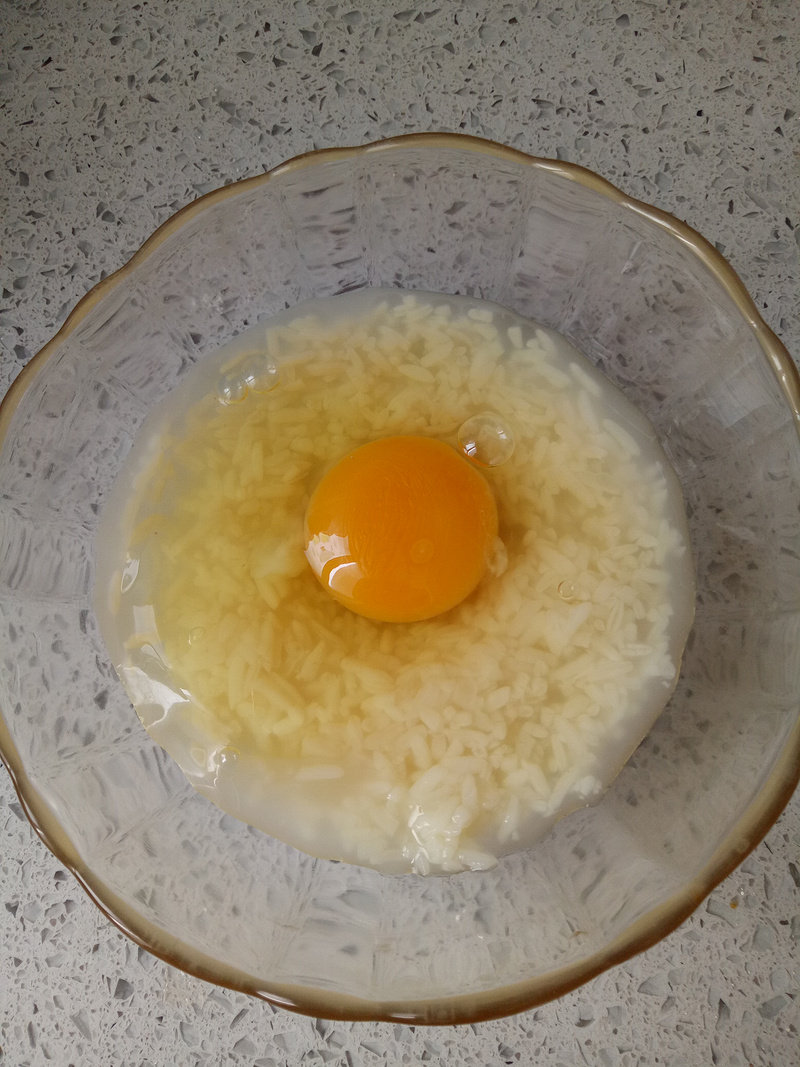
2.鸡蛋和酒酿混合。

3.搅拌均匀。

4.蒙上保鲜膜。

5.大火蒸7,8分钟。

6.关火后焖5分钟。

7.打开保鲜膜。

8.放上提前切开的红枣,再焖一下。

9.出锅即可食用。

10.再来美一下。
小窍门&温馨提示
无
TAGS:
羹类 家常菜 汤羹 产妇 早餐 春季食谱 鸡蛋
免责声明:本站部分文章转载自网络,图文仅供行业学习交流使用,不做任何商业用途。文章仅代表原作者个人观点,其原创性及文章内容中图文的真实性、完整性等未经本站核实,仅供读者参考。
上一篇: 蒜泥虾皮炒丝瓜的做法,蒜泥虾皮炒丝瓜怎么做,蒜泥虾皮炒丝瓜的做法,蒜泥虾皮炒丝瓜怎么做,蒜泥虾皮炒丝瓜丝的做法,虾皮炒丝瓜的做法
下一篇: 丝瓜肉片的做法,丝瓜肉片怎么做,丝瓜肉片汤的做法,丝瓜肉片汤,丝瓜肉片怎么炒好吃,丝瓜肉片汤图片
Deprecated: mysql_connect(): The mysql extension is deprecated and will be removed in the future: use mysqli or PDO instead in
/data/haozs.cc/xianguan.php on line
5
Deprecated: mysql_query(): The mysql extension is deprecated and will be removed in the future: use mysqli or PDO instead in
/data/haozs.cc/xianguan.php on line
7


