主料:
蛋黄,
三个,
糖,
30克,
玉米淀粉,
10克,
香草精,
几滴
辅料:
鸡蛋,
2个,
糖,
10克(放蛋黄中),
水,
25克,
油,
25克,
泡打粉,
2克,
低筋面粉,
40克
配料:
淡奶油,
60克,
糖,
8克虎皮蛋糕卷的做法步骤
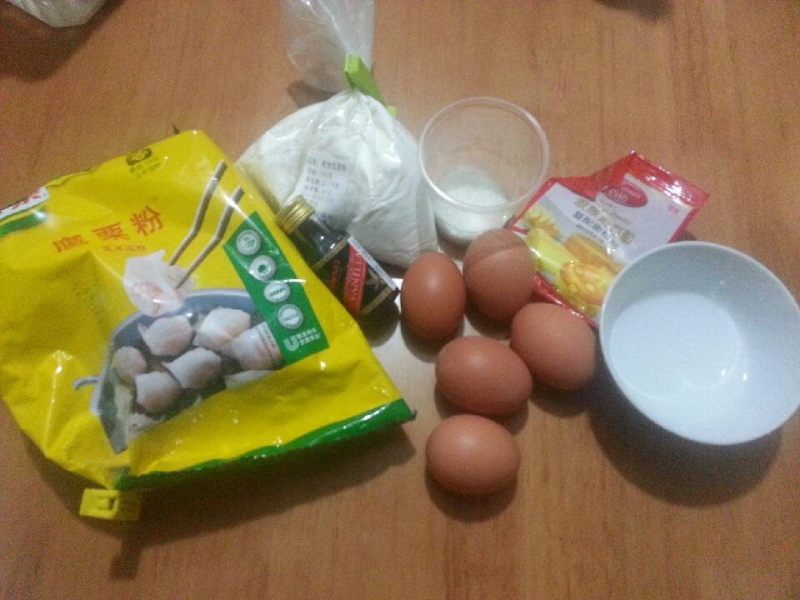
1.所有的食材
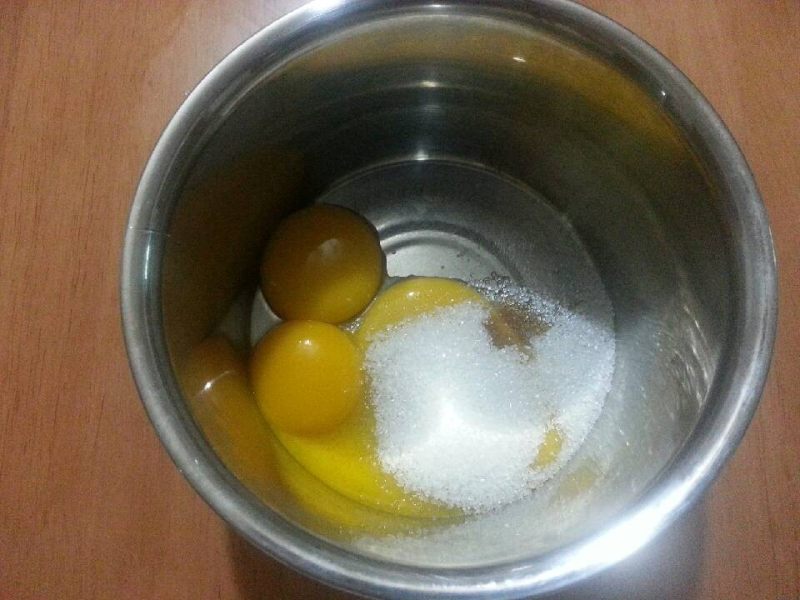
2.蛋黄中加入糖,香草精打发
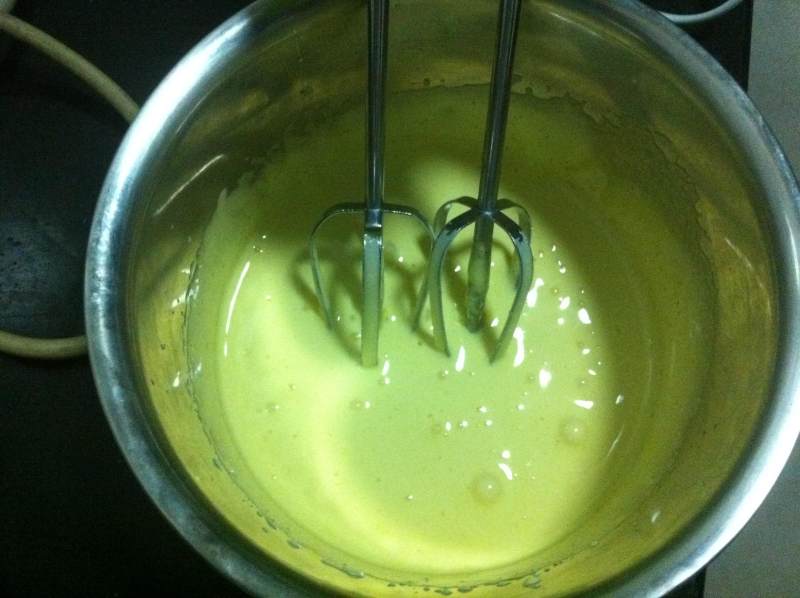
3.蛋黄打发到发白,体积变大
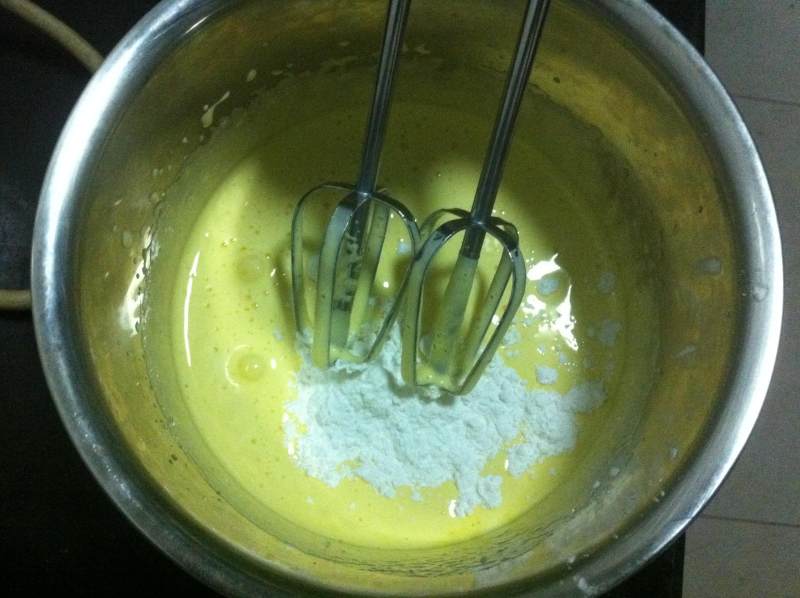
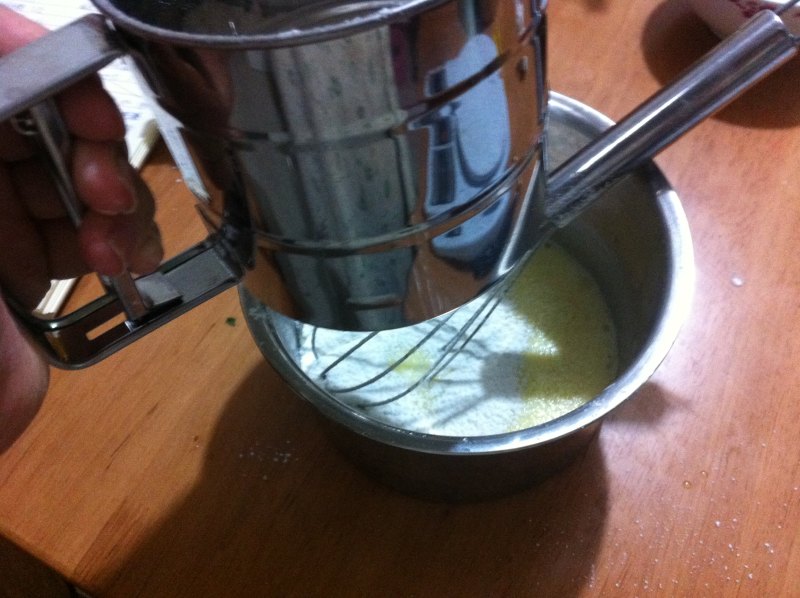
4.蛋黄液中筛入玉米淀粉。搅拌均匀
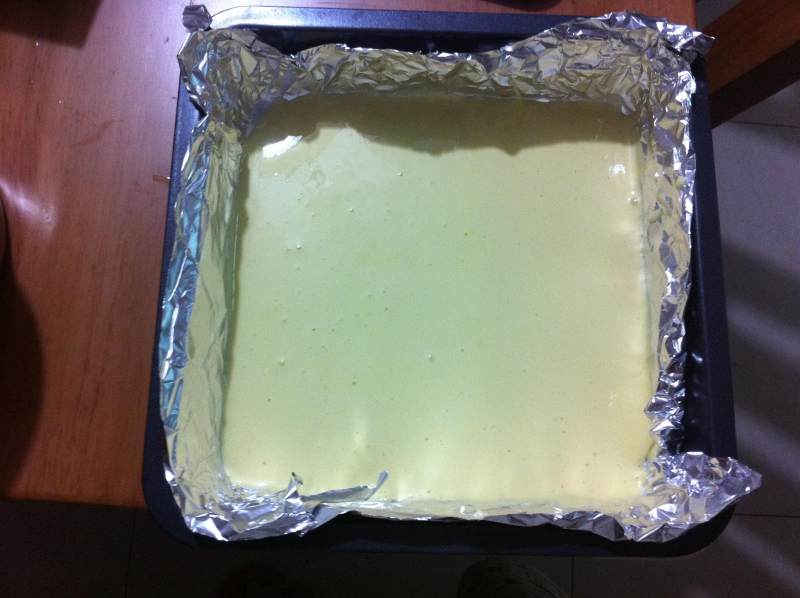
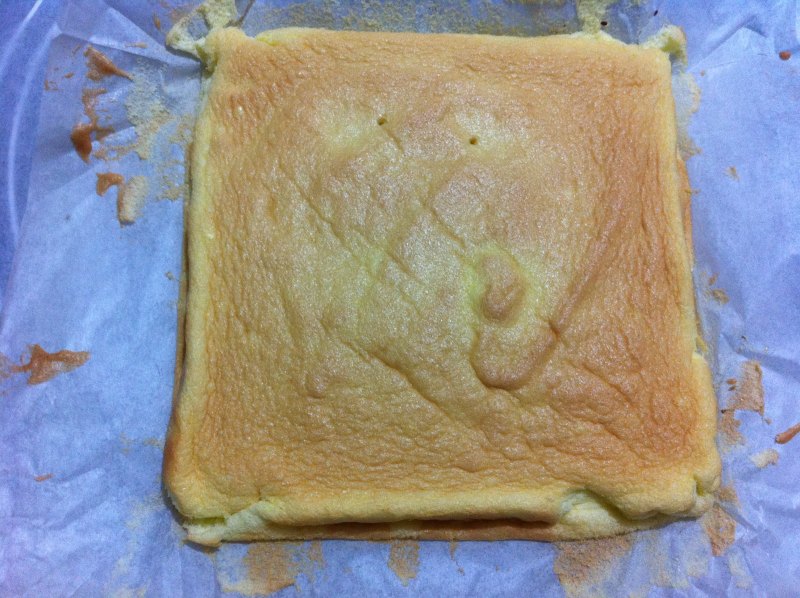
5.倒入8寸的方形烤盘中,抹平
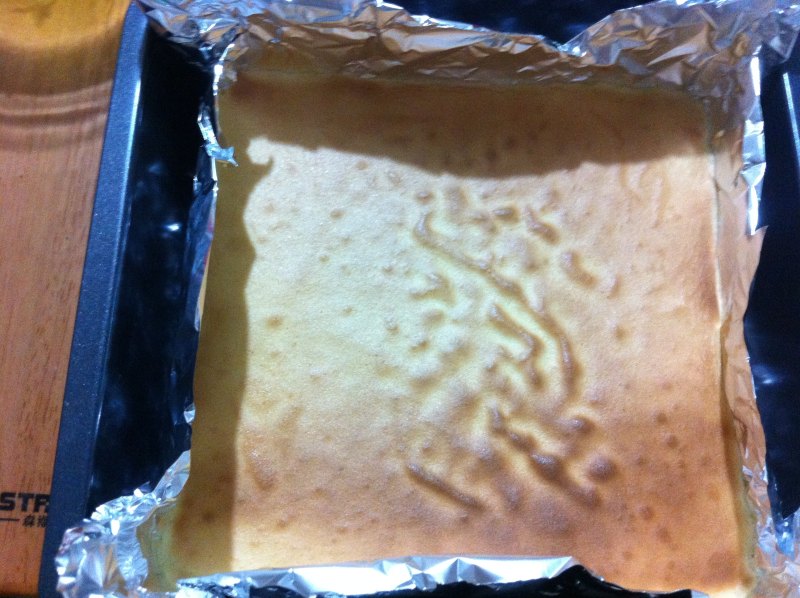
6.烤箱预热。200度,烤5分钟,就能出现漂亮的虎皮了
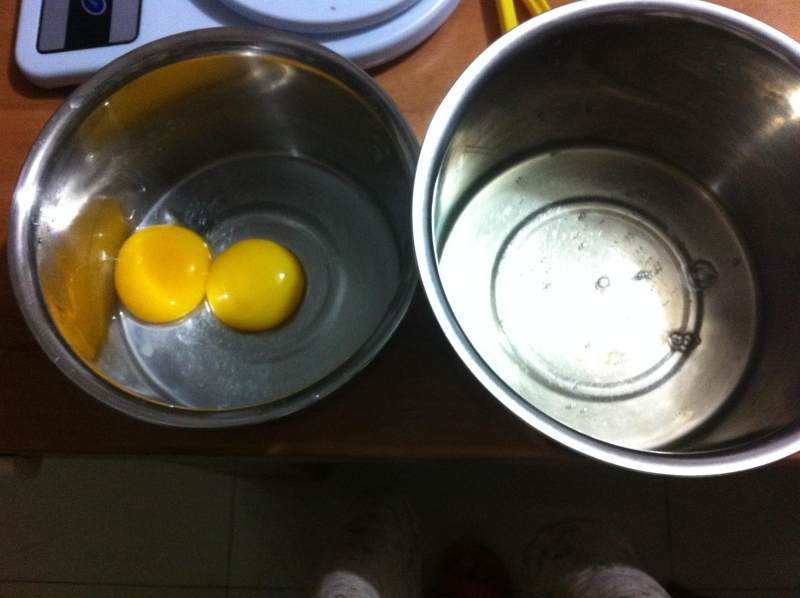
7.虎皮做好这后放一边放凉,开始做戚风蛋糕,二个蛋黄和蛋白分开打入干净无水的盘中
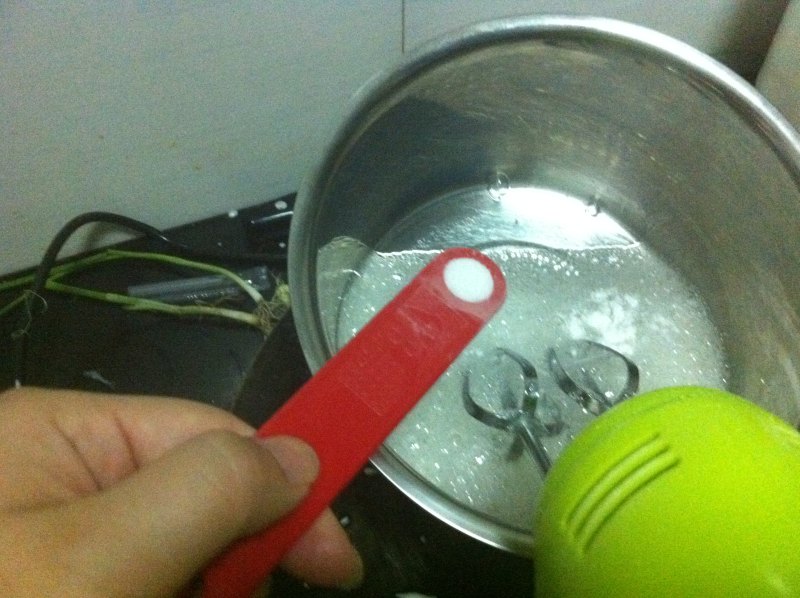
8.蛋白打到鱼眼泡,加入泡打粉,三分之一的糖,继续打发
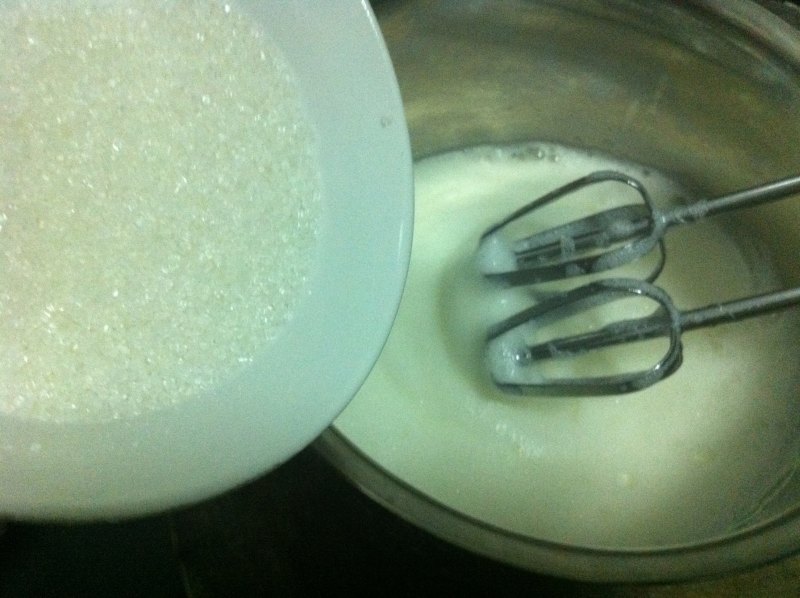
9.糖一定要分三次加入,蛋白才好打发
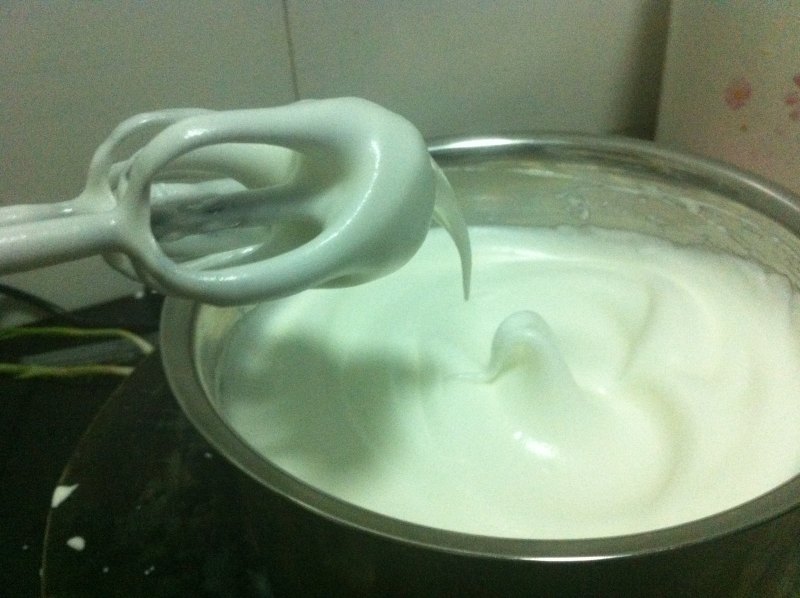
10.蛋白分三次加入糖打发到湿性打发,打蛋机上能拉出打钩的小三角,就好了
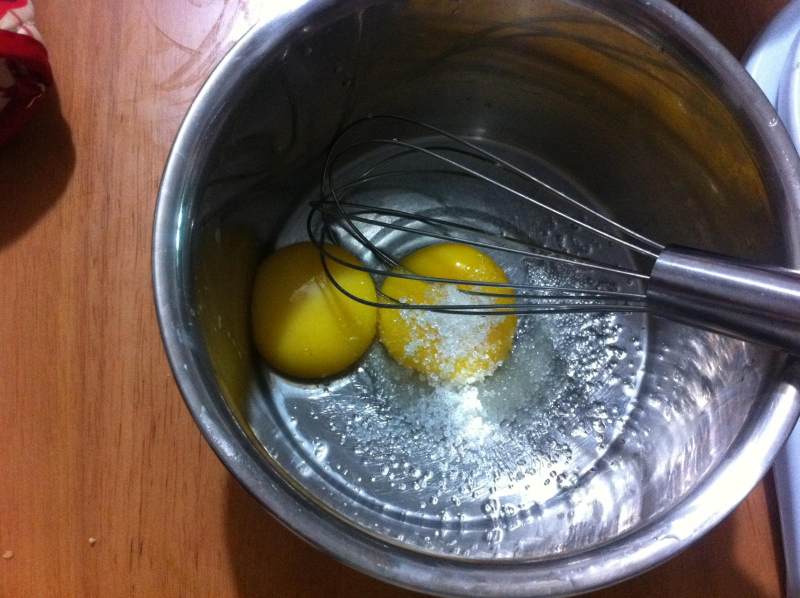
11.蛋黄中加入糖,搅拌,不要打发,均匀就行了
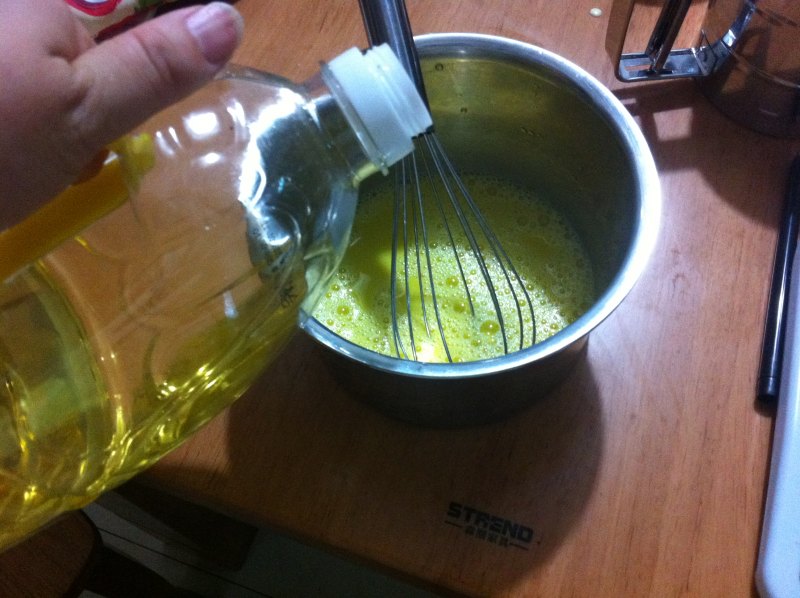
12.搅拌好的蛋黄中加入水,油,继续搅拌均匀
13.蛋黄液中筛入低粉,拌均,到无颗粒
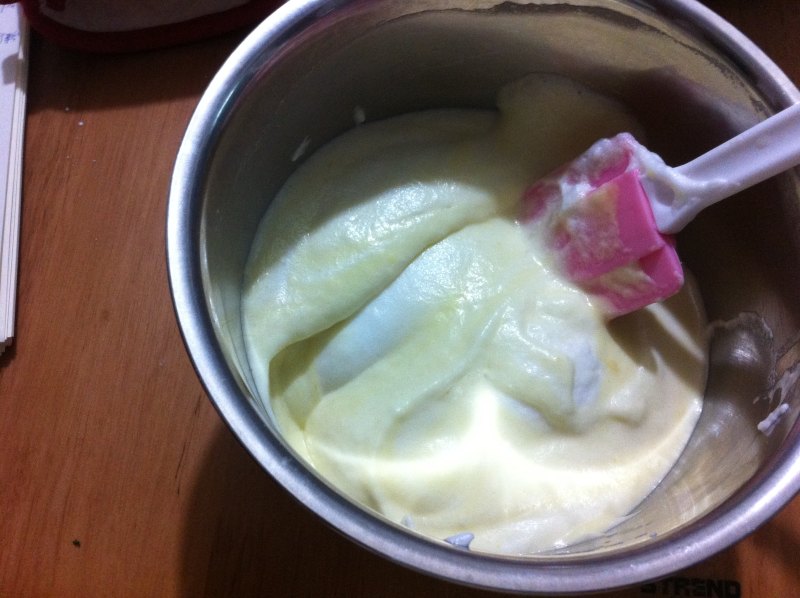
14.取三分之一的蛋白放入蛋黄中搅拌均匀,在把拌好的蛋液倒回到蛋白中搅拌
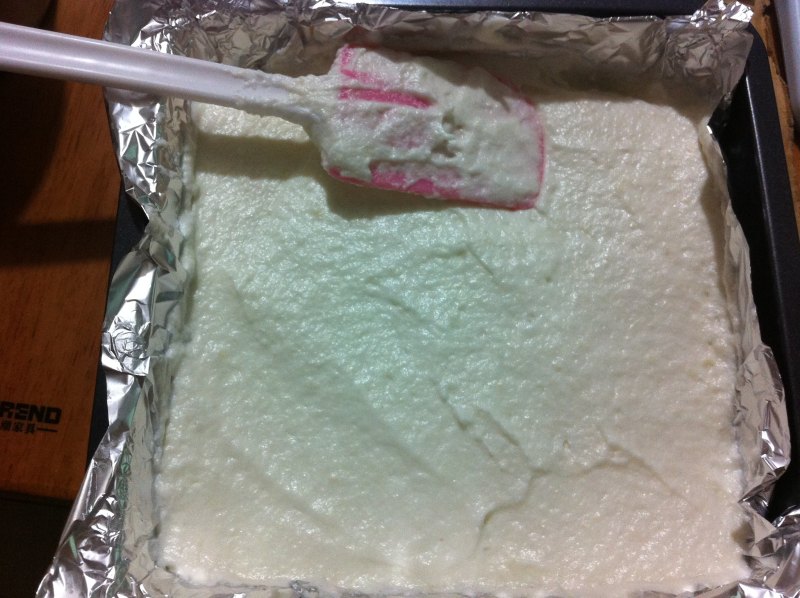
15.拌好的蛋液倒入烤盘中,表面抹平,振几个,振出大的气泡
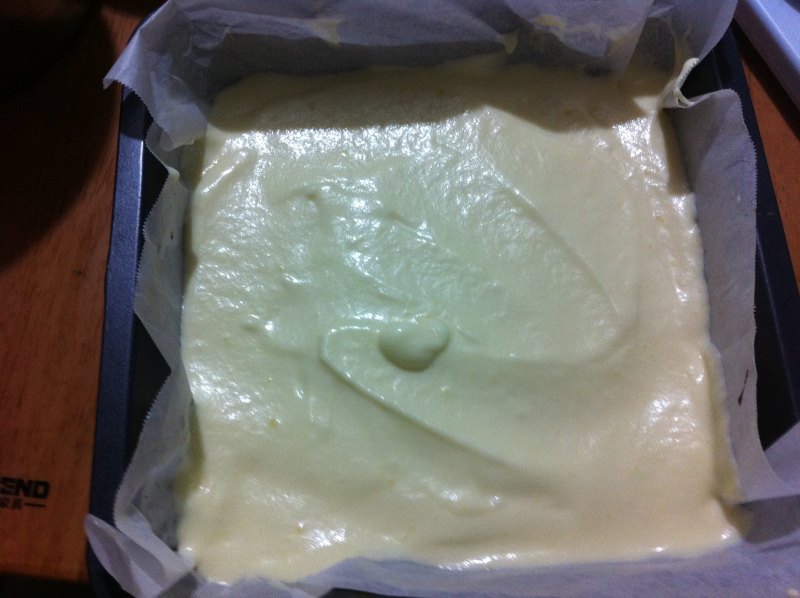
16.烤箱预热,160度,15分钟
17.烤好的戚风放一边放凉,备用

18.凉蛋糕的时候,就可以打淡奶油了,淡奶油加糖打到出现纹路但不会马上消失,就行了,

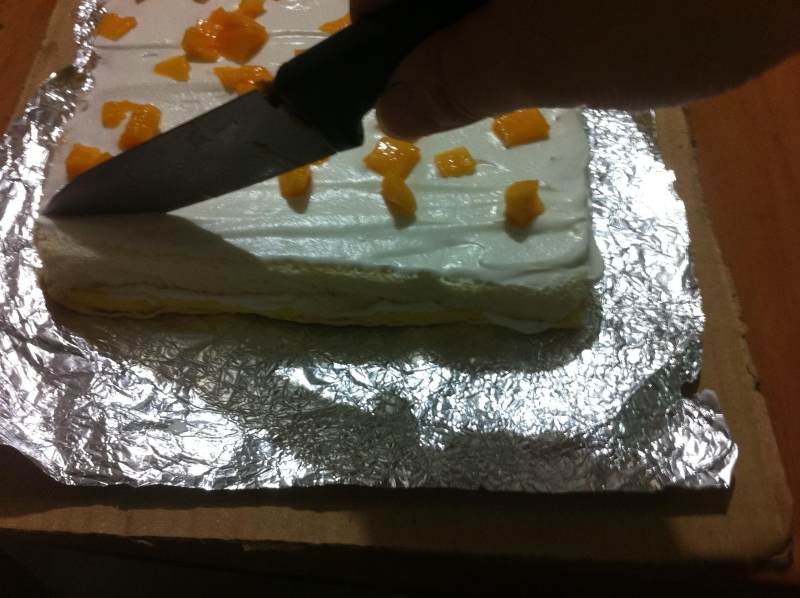
19.蛋糕凉到有一点点温度就可以开始卷了,虎皮的一面朝下,抹上一层薄薄的奶油,在把戚风表面盖在上面(在长度上戚风在切掉1-2CM好包一点)盖好后在戚风上抹一层厚一点的奶油,也可以放点自己喜欢的水果
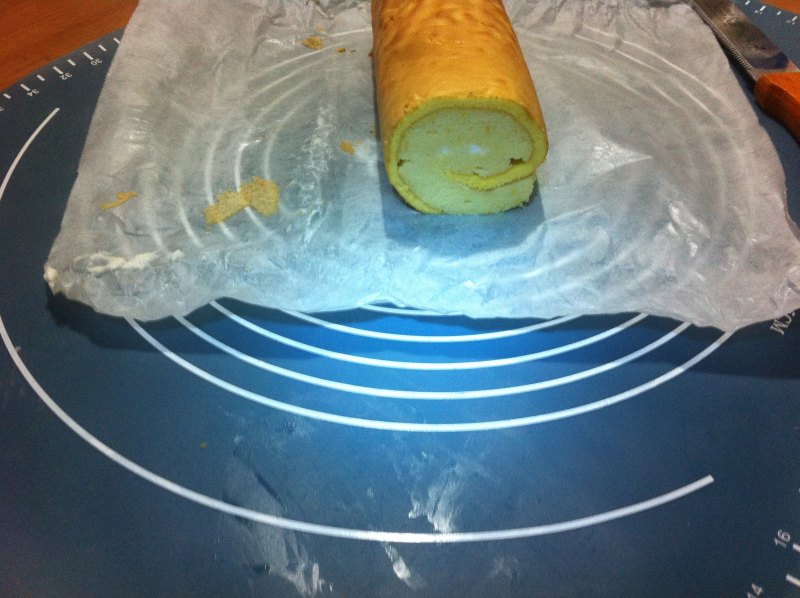
20.在蛋糕卷开头的地方在切一刀。不要切断,能好卷一点
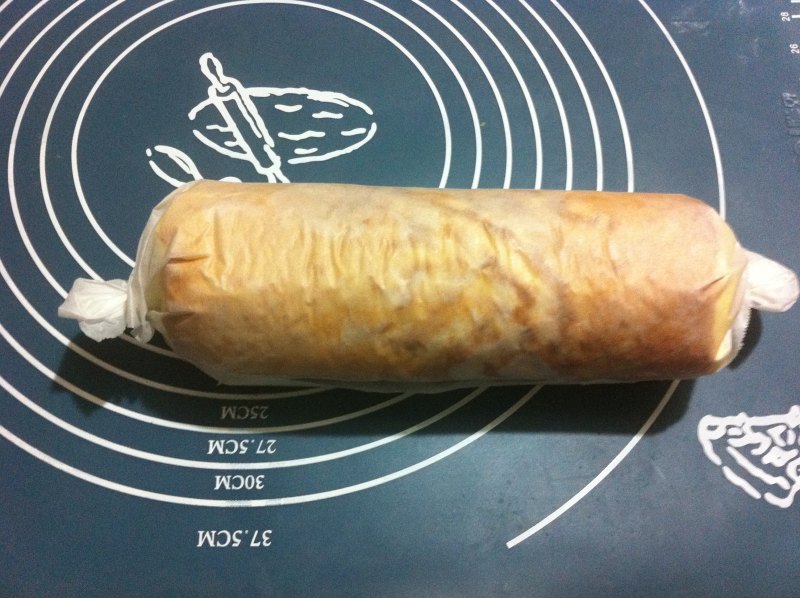
21.卷好的蛋糕卷,用纸包好,放冰箱30分钟,定行
22.可以开吃了
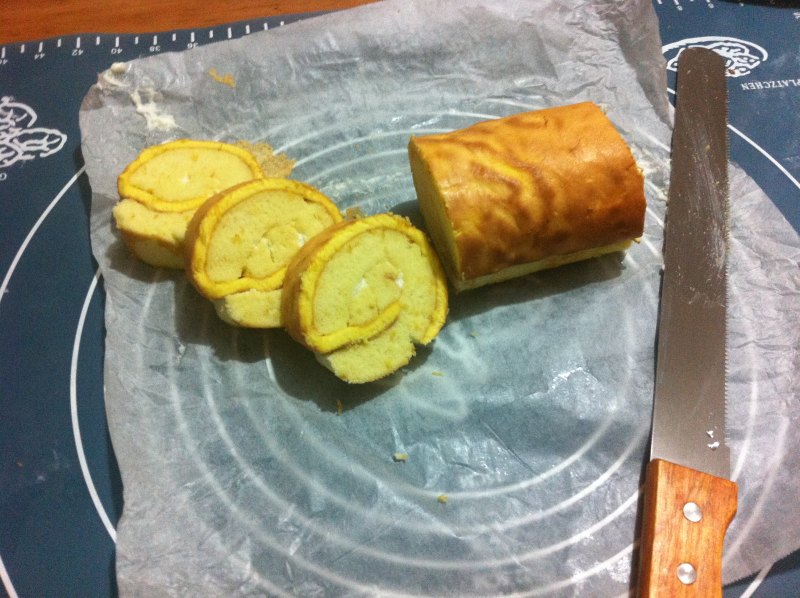
23.可以切成你想要的形状
TAGS:
烘焙 其他菜系 蛋黄
免责声明:本站部分文章转载自网络,图文仅供行业学习交流使用,不做任何商业用途。文章仅代表原作者个人观点,其原创性及文章内容中图文的真实性、完整性等未经本站核实,仅供读者参考。
上一篇: 香草奶油泡芙的做法,香草奶油泡芙怎么做,香草奶油泡芙的做法,香草奶油泡芙英文,香草奶油泡芙 get,香草奶油泡芙 虎年
下一篇: 奶酪果酱双层蛋糕的做法,奶酪果酱双层蛋糕怎么做,奶酪果酱双层蛋糕图片,奶酪果酱双层蛋糕的做法,奶酪果酱双层蛋糕怎么做,双层乳酪蛋糕
Deprecated: mysql_connect(): The mysql extension is deprecated and will be removed in the future: use mysqli or PDO instead in
/data/haozs.cc/xianguan.php on line
5
Deprecated: mysql_query(): The mysql extension is deprecated and will be removed in the future: use mysqli or PDO instead in
/data/haozs.cc/xianguan.php on line
7
