主料:
面粉,
300g,
温水,
180g,
盐,
2g
辅料:
韭菜适量,
木耳适量,
鸡蛋适量,
虾皮适量,
粉丝适量,
油适量,
蚝油适量,
盐适量,
鸡精适量薄皮韭菜鸡蛋馅饼的做法步骤

1.面粉加盐。

2.加180g温水,搅拌均匀。

3.和成面团。醒发10分钟。

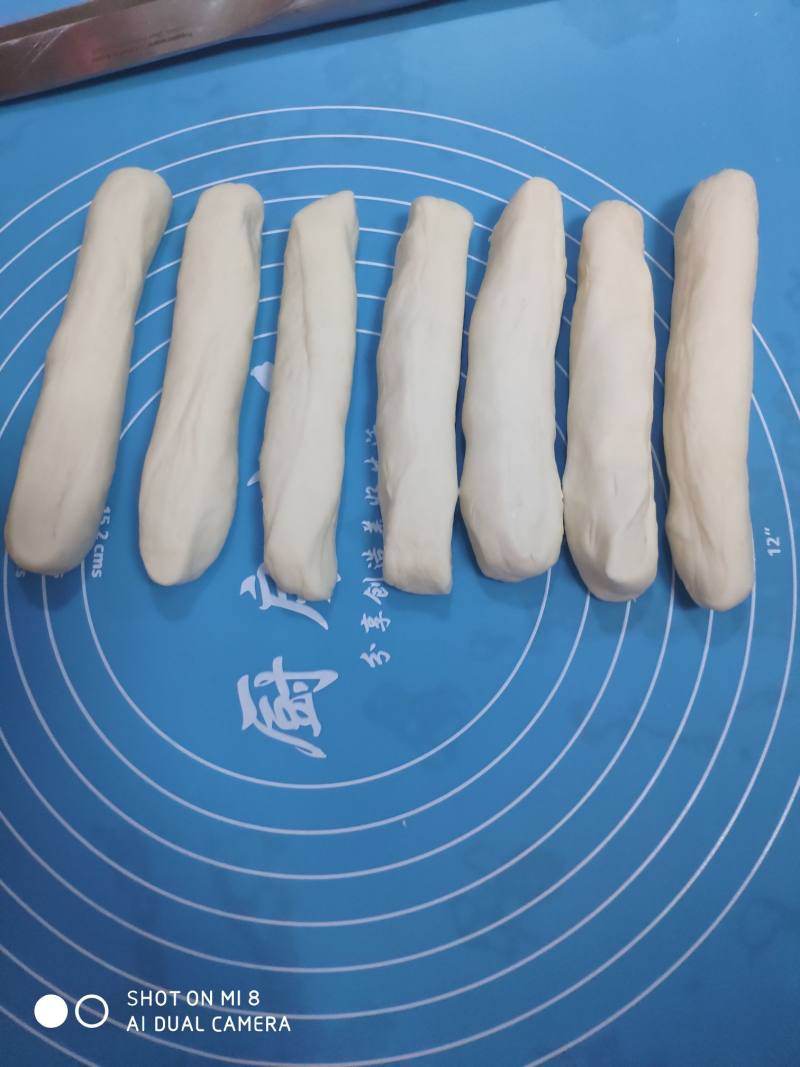
4.搓成长条。

5.切7份。

6.搓成长条。

7.放到盘子里,表面刷油。

8.盖保鲜膜放到冰箱冷藏一晚上。

9.准备好的材料。

10.鸡蛋煎好 粉丝开水泡软切段 木耳焯水切沫 韭菜切沫 虾皮泡开水。

11.韭菜加色拉油,搅拌均。

12.放入配料 加入耗油 盐鸡精。

13.搅拌均匀。

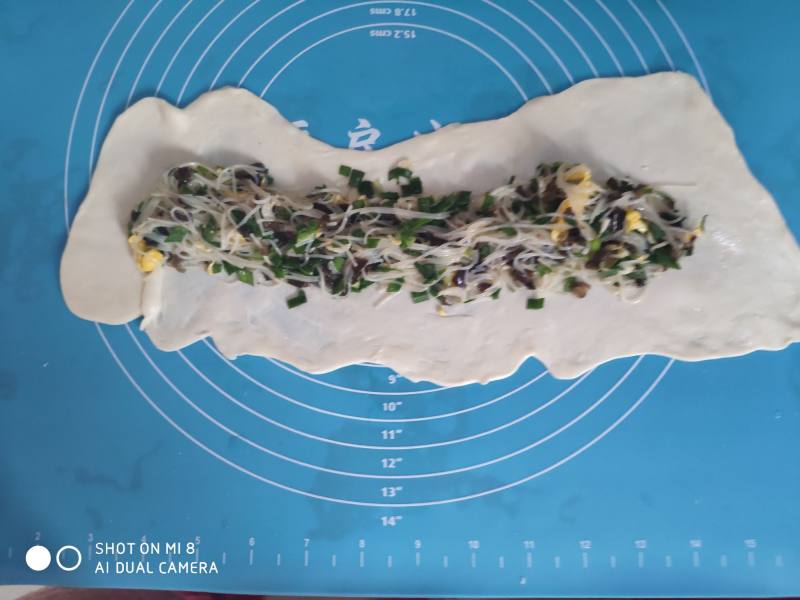
14.面团擀成片。

15.放上馅。

16.中间放馅料。上下叠起来,两段封口。

17.一边卷起来,尾部粘在下面。

18.做好的饼。

19.锅中放底油。

20.放入饼,两面煎上色。

21.成品。
小窍门&温馨提示
全程中小火,饼皮薄反面要小心,容易破。
TAGS:
主食 家常菜 午餐 晚餐 面粉
免责声明:本站部分文章转载自网络,图文仅供行业学习交流使用,不做任何商业用途。文章仅代表原作者个人观点,其原创性及文章内容中图文的真实性、完整性等未经本站核实,仅供读者参考。
上一篇: 炒空心菜梗的做法,炒空心菜梗怎么做,炒空心菜梗的做法,炒空心菜梗酸的做法,炒空心菜梗图片,炒空心菜梗怎么炒不变色
下一篇: 番茄炒蛋的做法,番茄炒蛋怎么做,番茄炒蛋的做法 家常,番茄炒蛋做法,番茄炒蛋怎么炒好吃窍门,番茄炒蛋先炒蛋还是先炒番茄
Deprecated: mysql_connect(): The mysql extension is deprecated and will be removed in the future: use mysqli or PDO instead in
/data/haozs.cc/xianguan.php on line
5
Deprecated: mysql_query(): The mysql extension is deprecated and will be removed in the future: use mysqli or PDO instead in
/data/haozs.cc/xianguan.php on line
7


