主料:
土豆适量,
牛奶适量,
淡奶油适量,
马苏里拉适量,
豌豆粒适量
辅料:
茄子适量
配料:
盐适量,
黑胡椒粉适量奶香芝士焗土豆泥的做法步骤
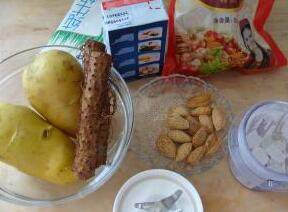
1.准备材料。(因为是借用上一篇日志的步骤图,故请忽略图中的山药、巴旦木和冰糖。)
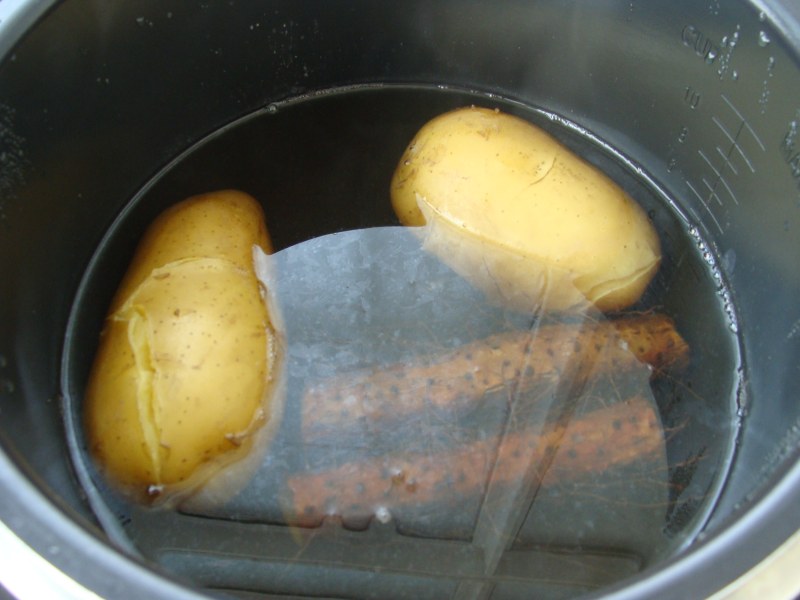
2.将洗净的土豆放入电压力锅内煮熟。
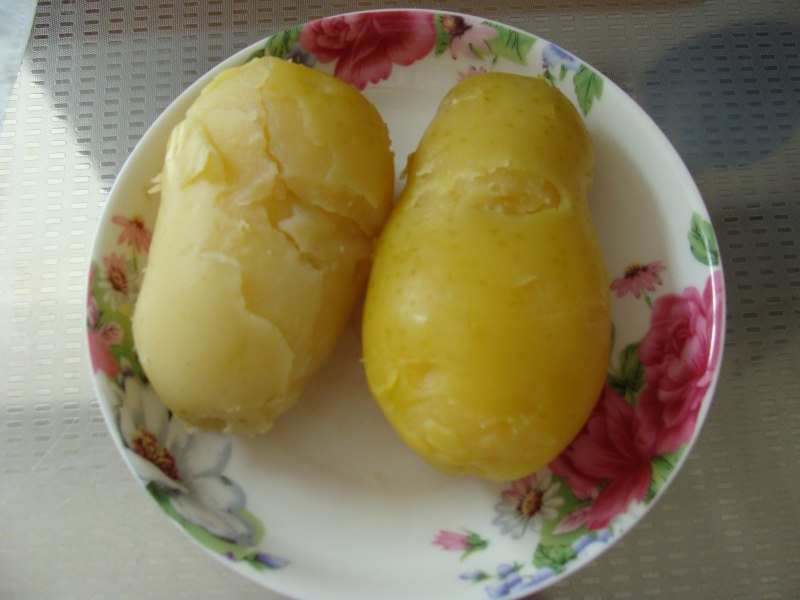
3.煮熟的土豆晾至不烫手,去皮,
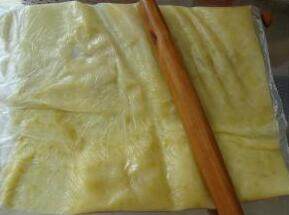
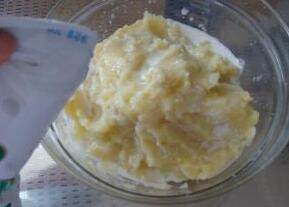
4.放入保鲜袋内,压擀成泥。
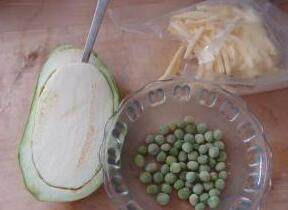
5.准备“烤碗”、豌豆和马苏里拉。
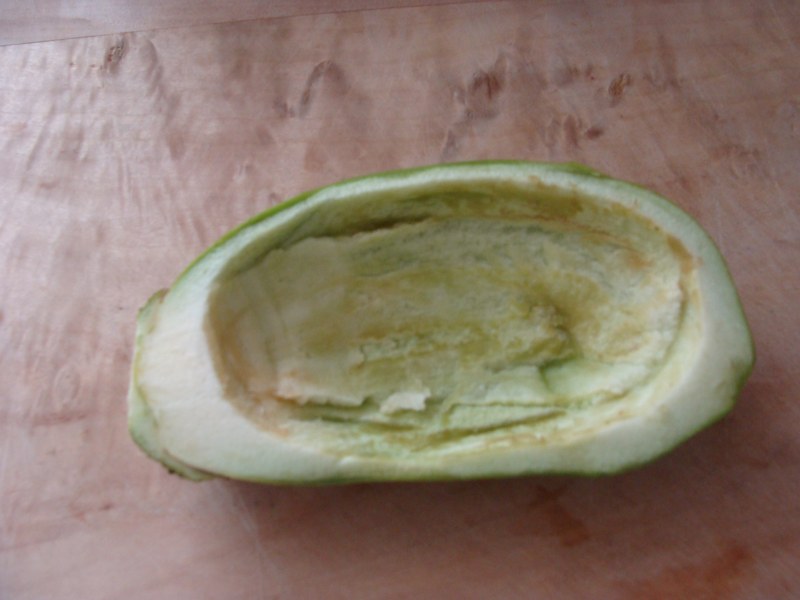
6.茄子切去一多半,挖空,
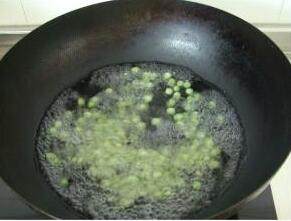
7.豌豆焯水2、3分钟。
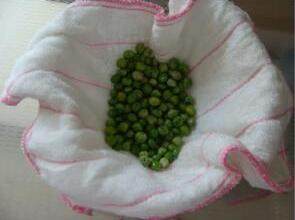
8.捞出,擦干水分。
9.土豆泥放入大碗内,放入适量牛奶。
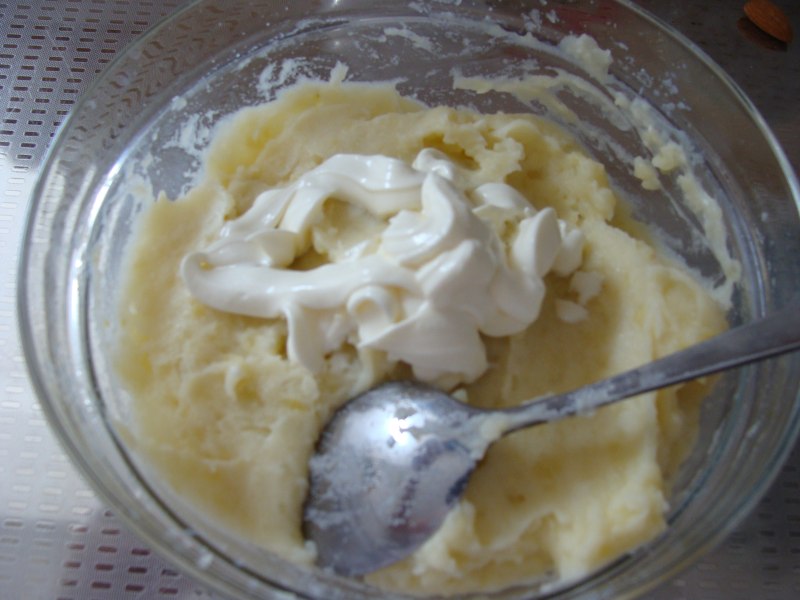
10.淡奶油,拌匀。
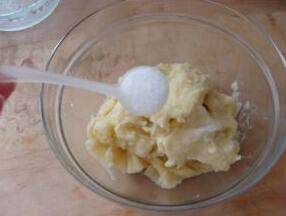
11.放适量盐、
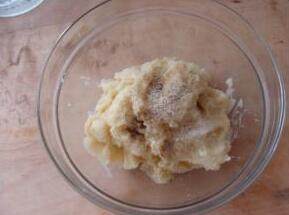
12.黑胡椒粉,拌匀。
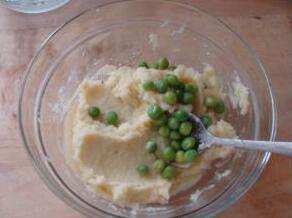
13.放入豌豆粒
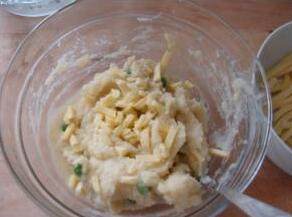
14.放入芝士碎拌匀。
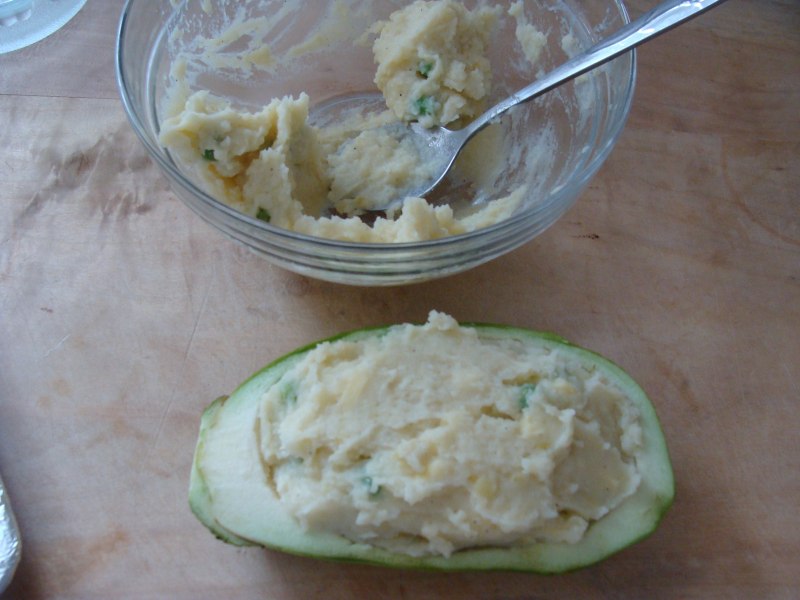
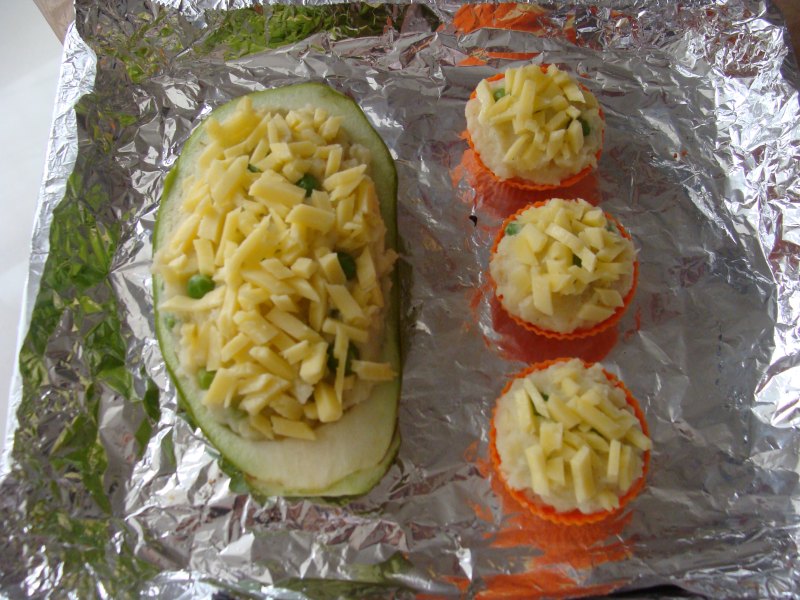
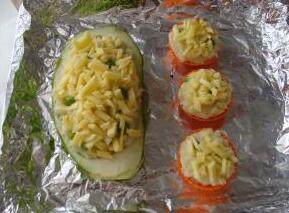
15.将拌匀的土豆泥装入茄子碗内,
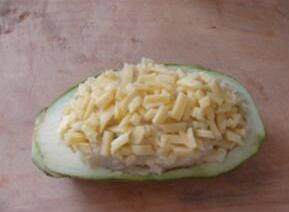
16.上面撒适量芝士碎。
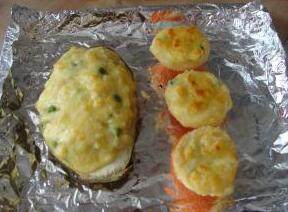
17.烤箱预热,200度,中层、上下火,烘烤15分钟,转220度5分钟左右,表面微微焦黄即可。
18.烤箱预热,200度,中层、上下火,烘烤15分钟,转220度5分钟左右,表面微微焦黄即可。

19.美味出炉
20.美味出炉
TAGS:
烘焙 朋友聚餐 其他菜系 午餐 土豆
免责声明:本站部分文章转载自网络,图文仅供行业学习交流使用,不做任何商业用途。文章仅代表原作者个人观点,其原创性及文章内容中图文的真实性、完整性等未经本站核实,仅供读者参考。
上一篇: 创意早餐的做法,创意早餐怎么做,创意早餐图片及做法,创意早餐摆盘图片,创意早餐店名字,创意早餐图片大全
下一篇: 卷心菜木耳粥的做法,卷心菜木耳粥怎么做,卷心菜木耳粥怎么做,卷心菜拌木耳,青菜木耳粥,卷心菜煮粥
Deprecated: mysql_connect(): The mysql extension is deprecated and will be removed in the future: use mysqli or PDO instead in
/data/haozs.cc/xianguan.php on line
5
Deprecated: mysql_query(): The mysql extension is deprecated and will be removed in the future: use mysqli or PDO instead in
/data/haozs.cc/xianguan.php on line
7
