主料:
面粉,
2勺鲜花馅,半包
辅料:
黄油,
一条,
水,
1/4勺,
抹茶粉适量鲜花抹茶酥的做法步骤
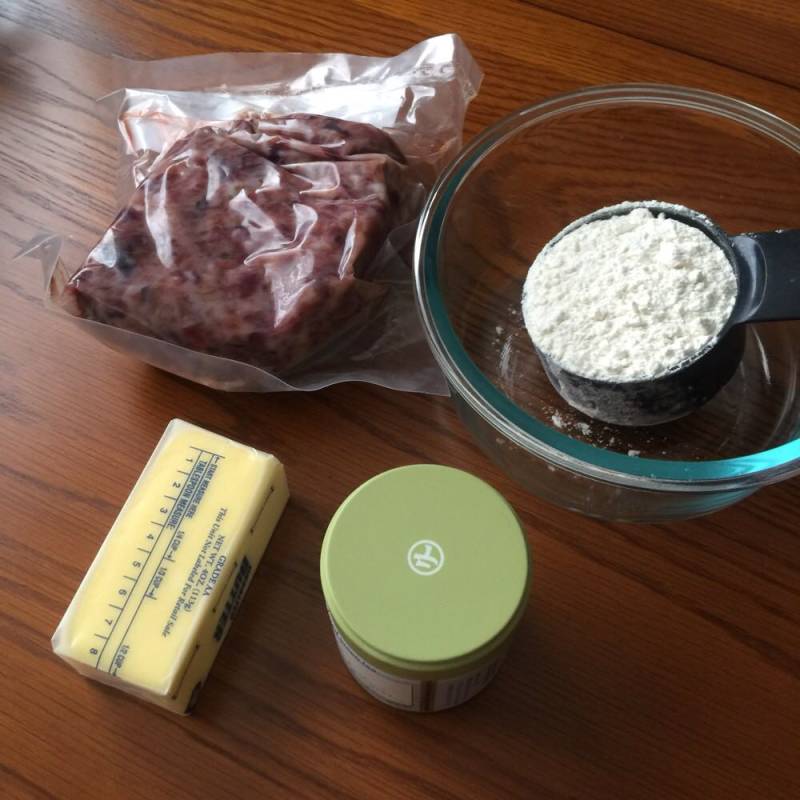
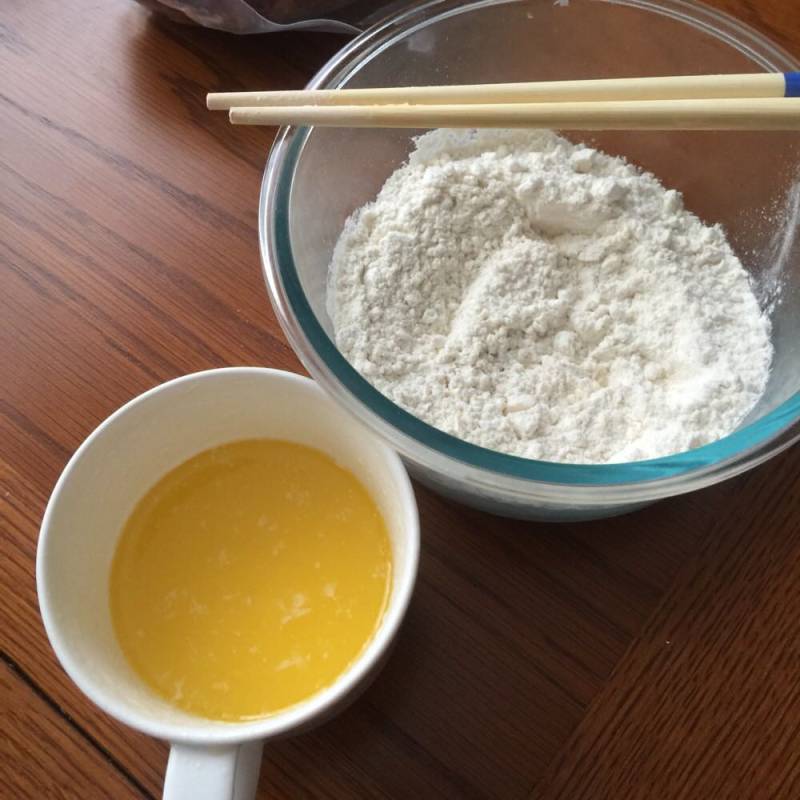
1.面粉一勺,黄油一条(2次用完)水1/4勺

2.将黄油在微波炉里打20秒,既溶化,用小部分倒入面粉,将白面粉和成颗粒状
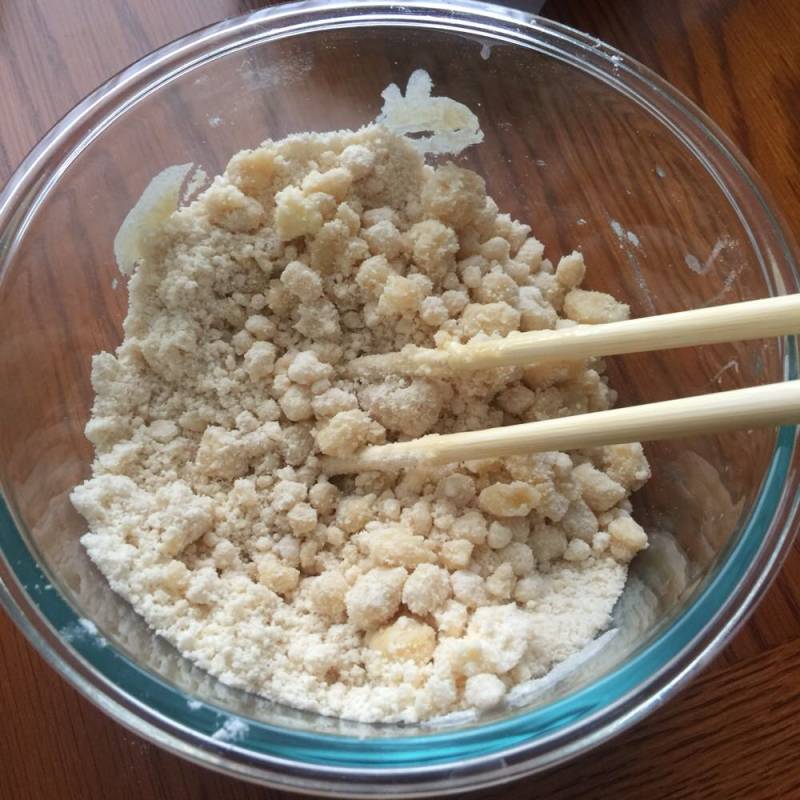
3.和成颗粒状
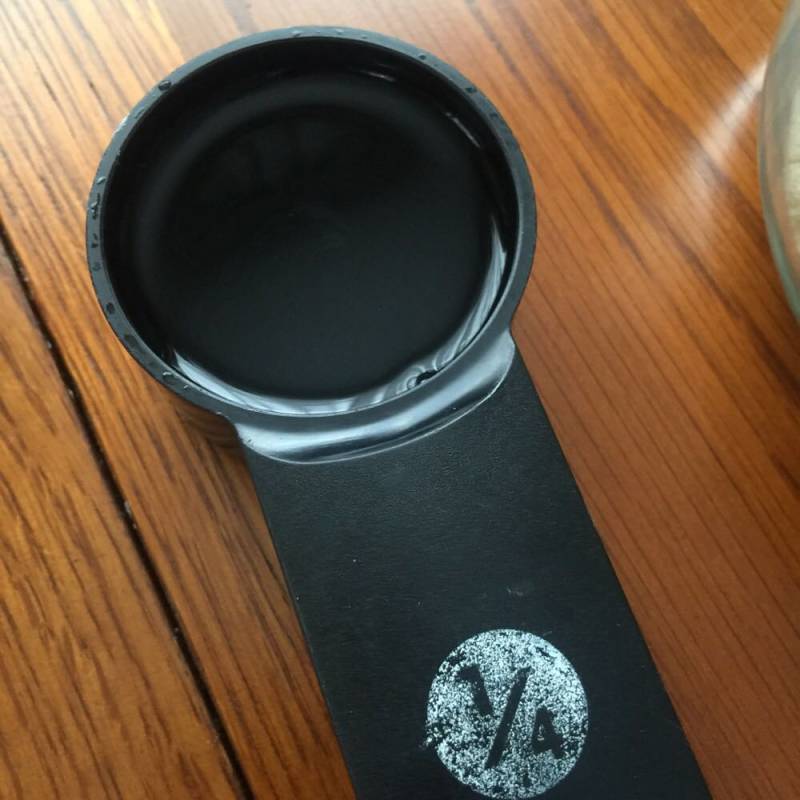
4.加1/4勺水和已成颗粒状的白面粉混合,揉成面团
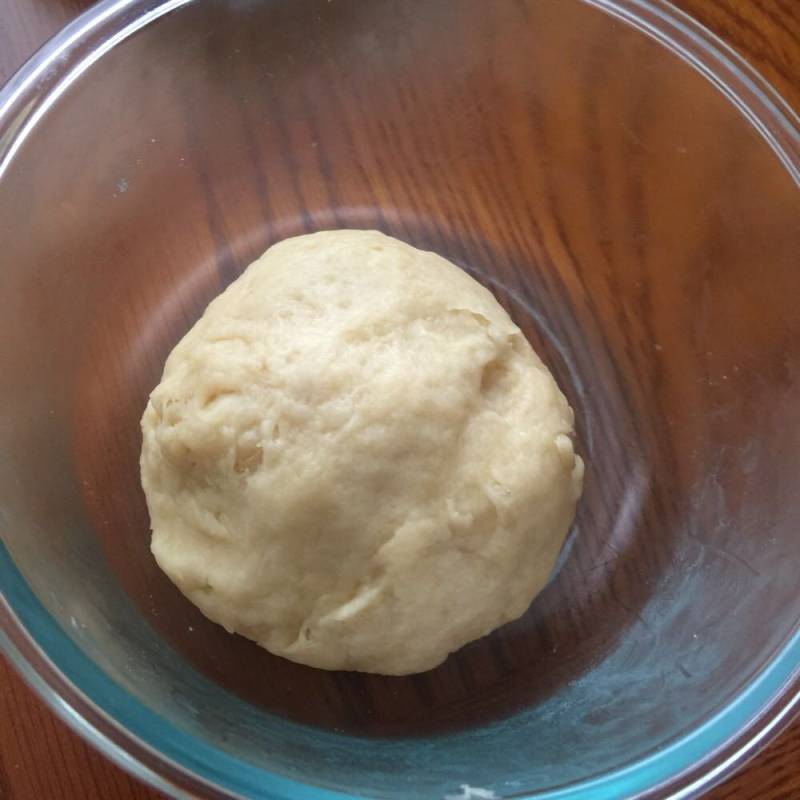
5.若成这样后,放入冰箱冷藏10分钟,醒一下
6.再次用一勺(不要太满)面粉,将融化的黄油倒入面粉
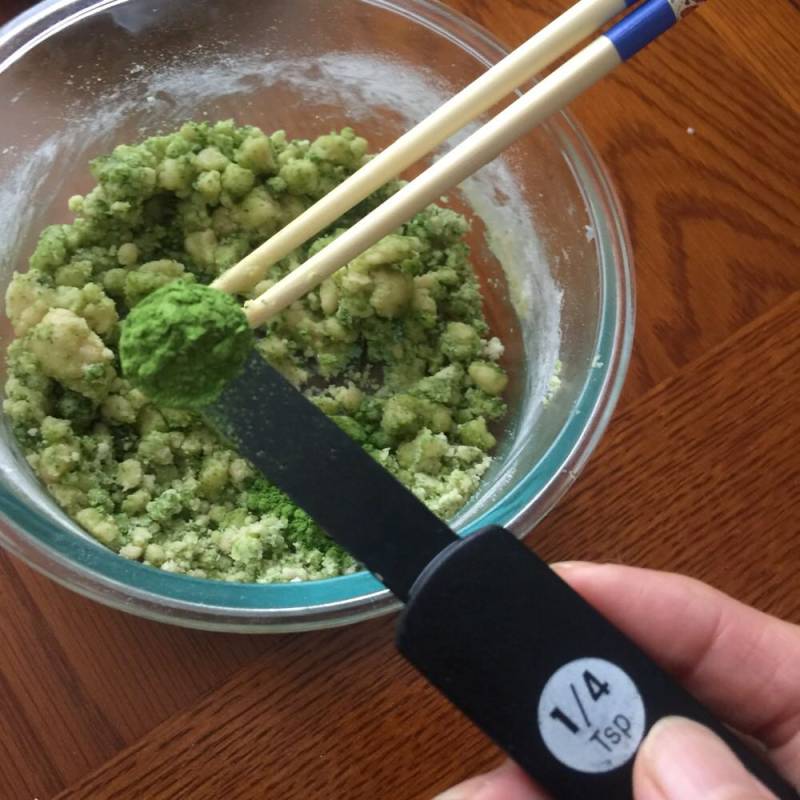
7.加1/4茶匙抹茶粉,将面粉和匀
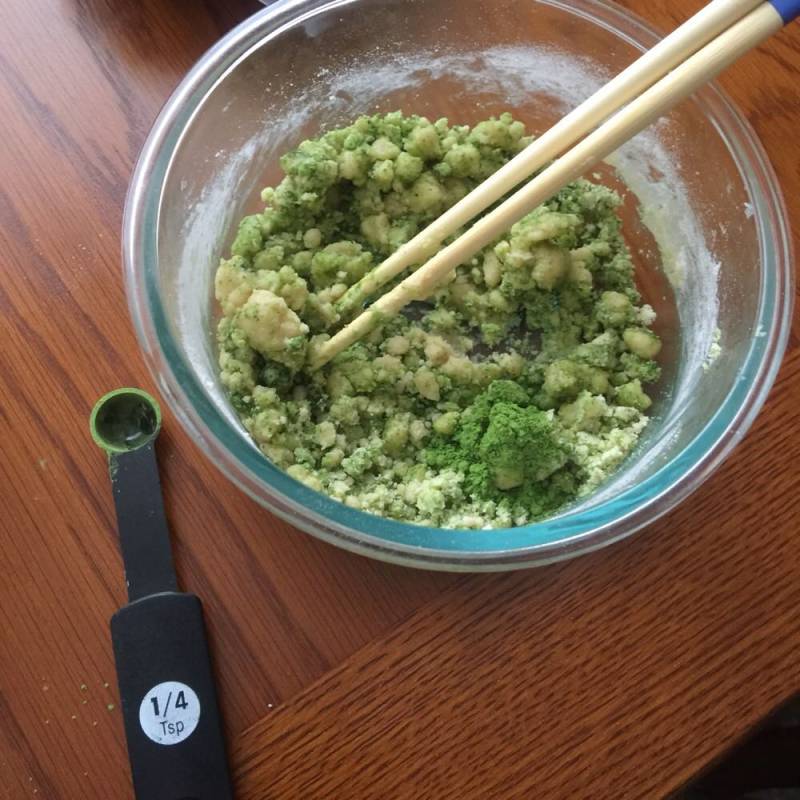
8.又加一1/4茶匙,然后把面和匀,不要加水,散就再加点黄油
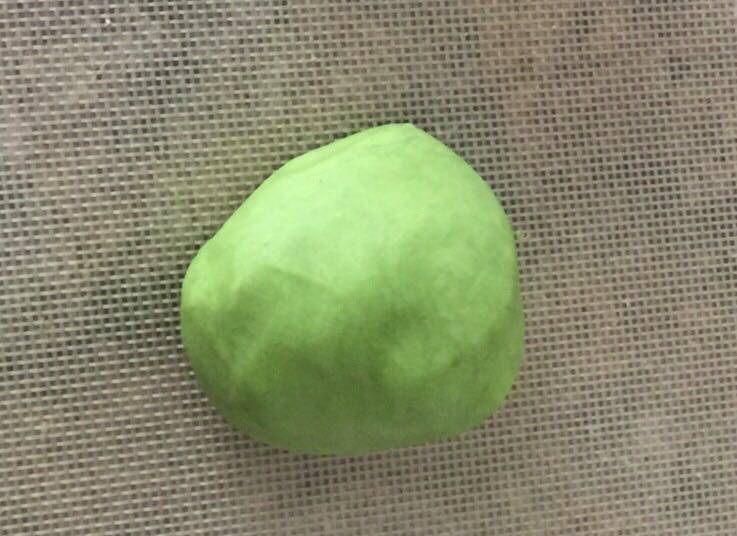
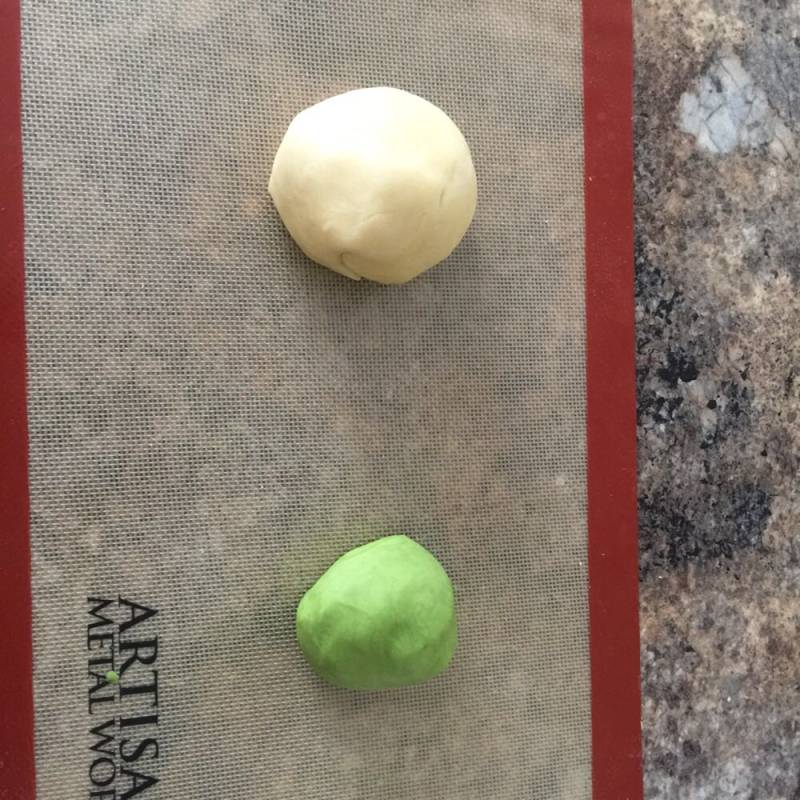
9.揉好的加了抹茶粉的面团
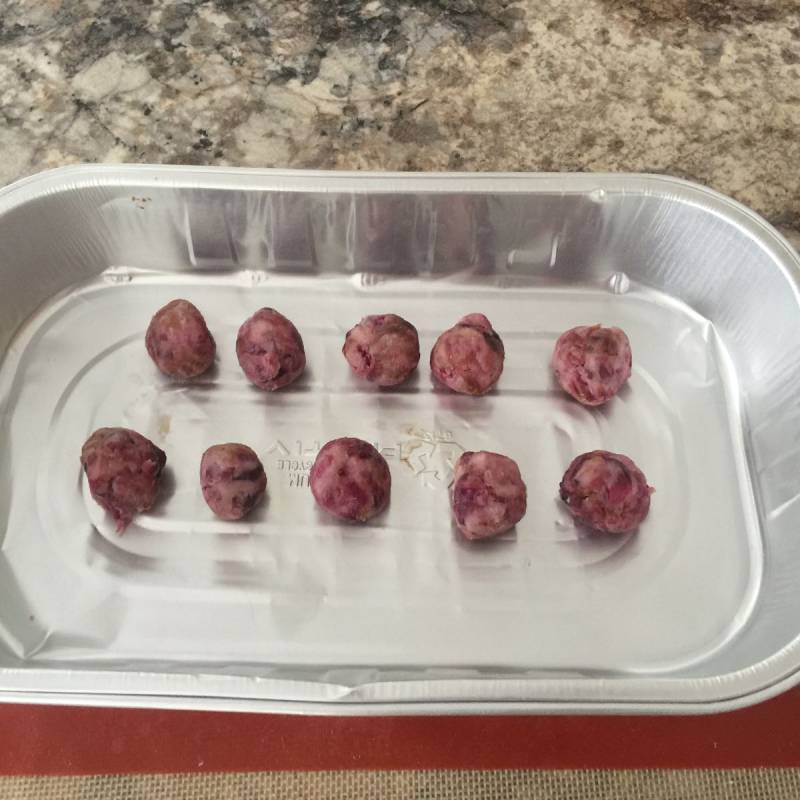
10.将鲜花馅分成母子大小的团,放入冰箱冷藏十分钟,这样比较容易包
11.拿出面团
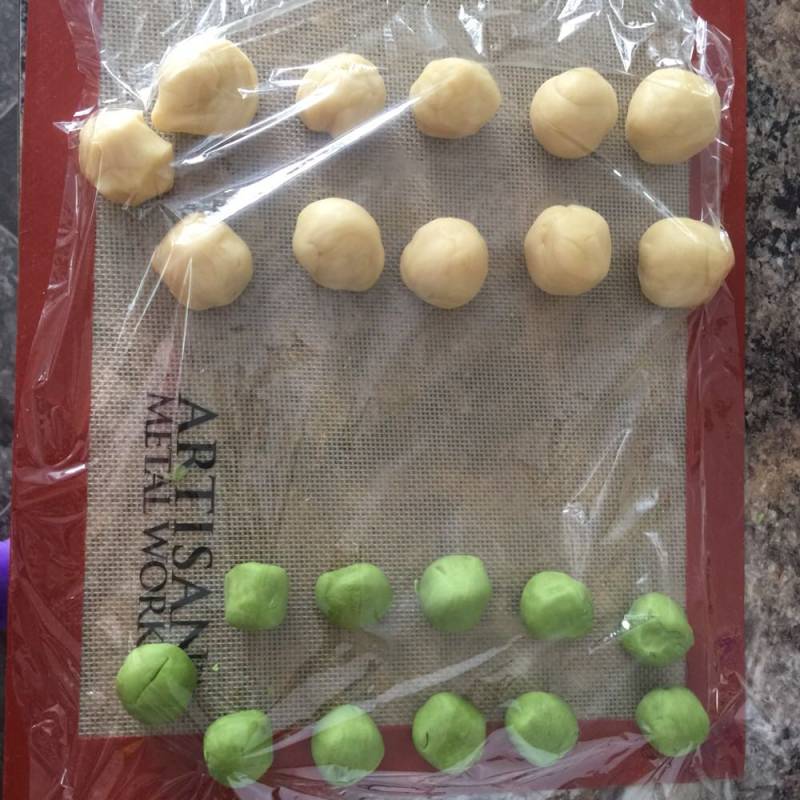
12.分成若干等份
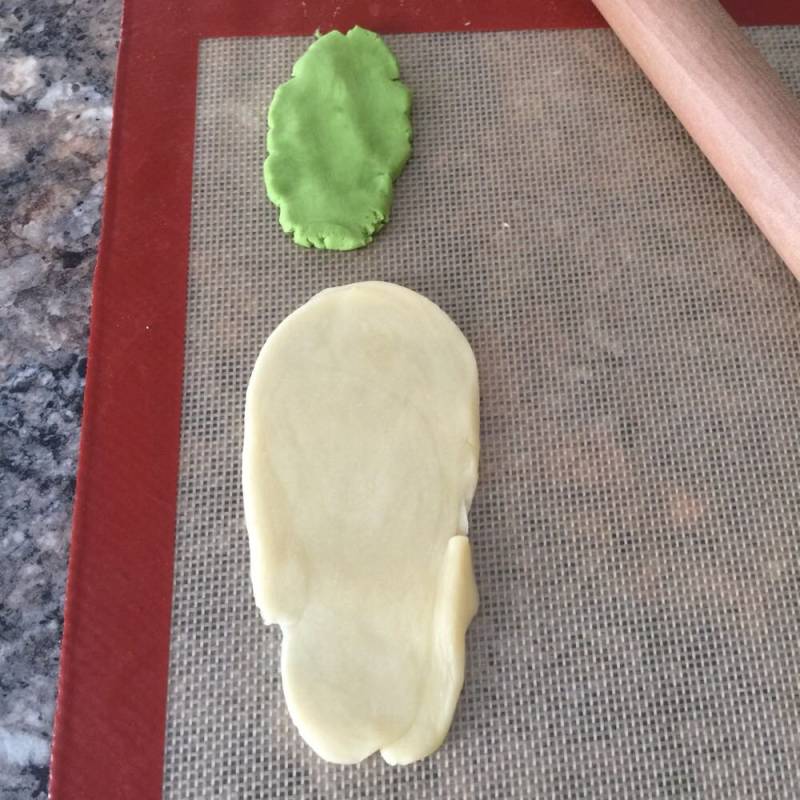
13.然后擀成这样
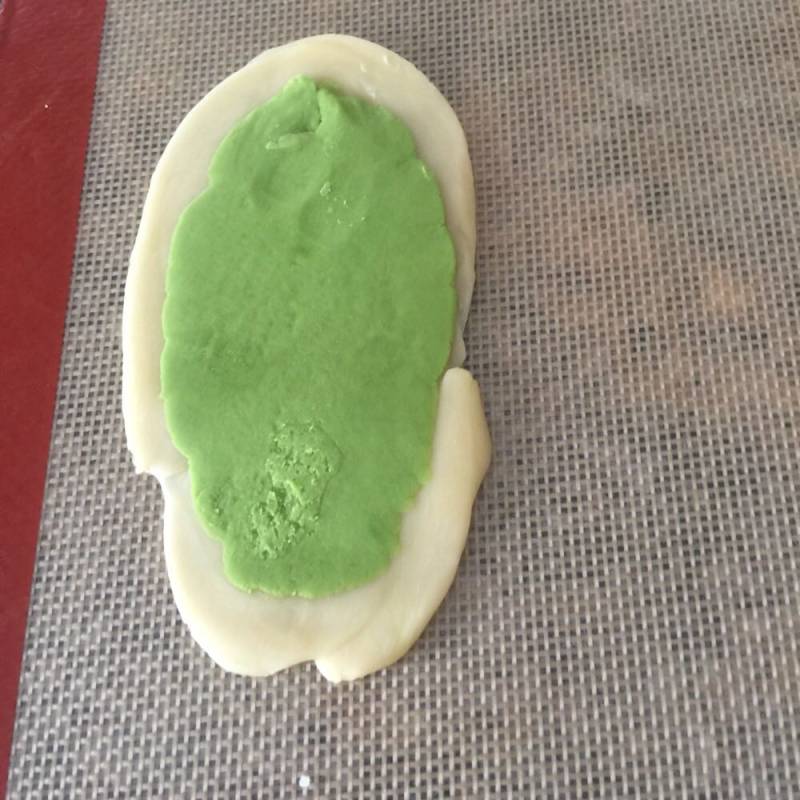
14.将绿色面片放倒白色面皮上,卷起

15.卷成一个筒状
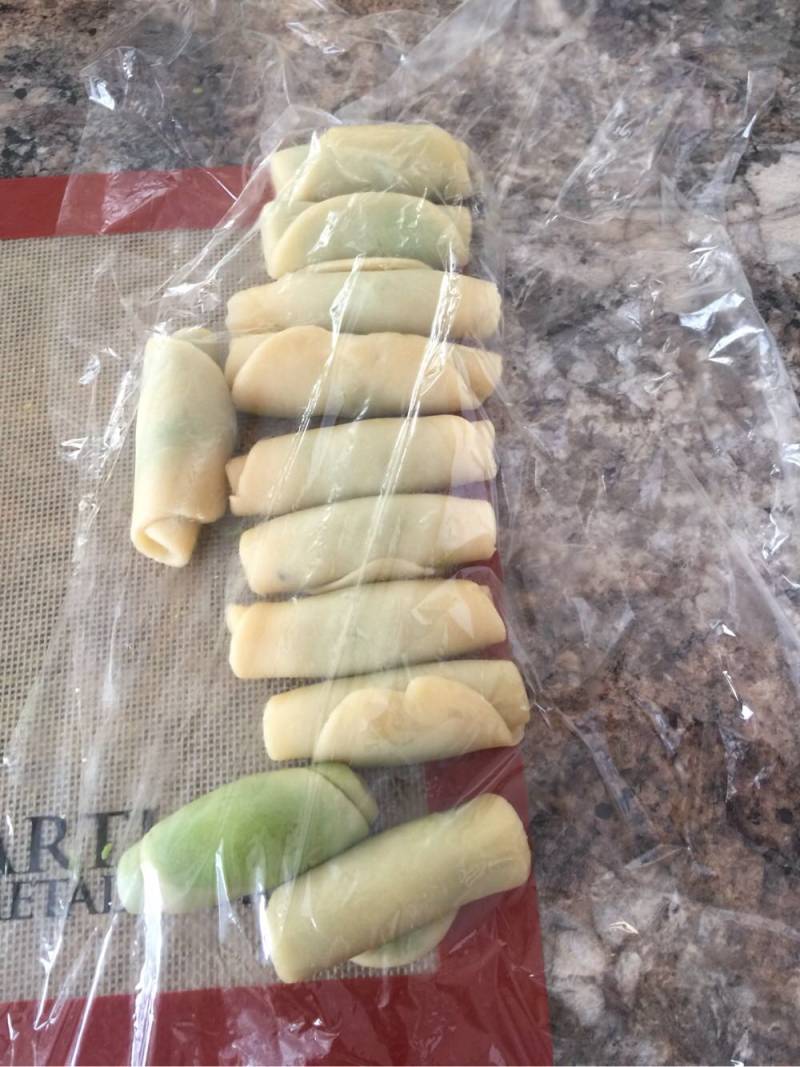
16.盖上保鲜膜,醒上十分钟

17.再次擀成条状,并从中切2段
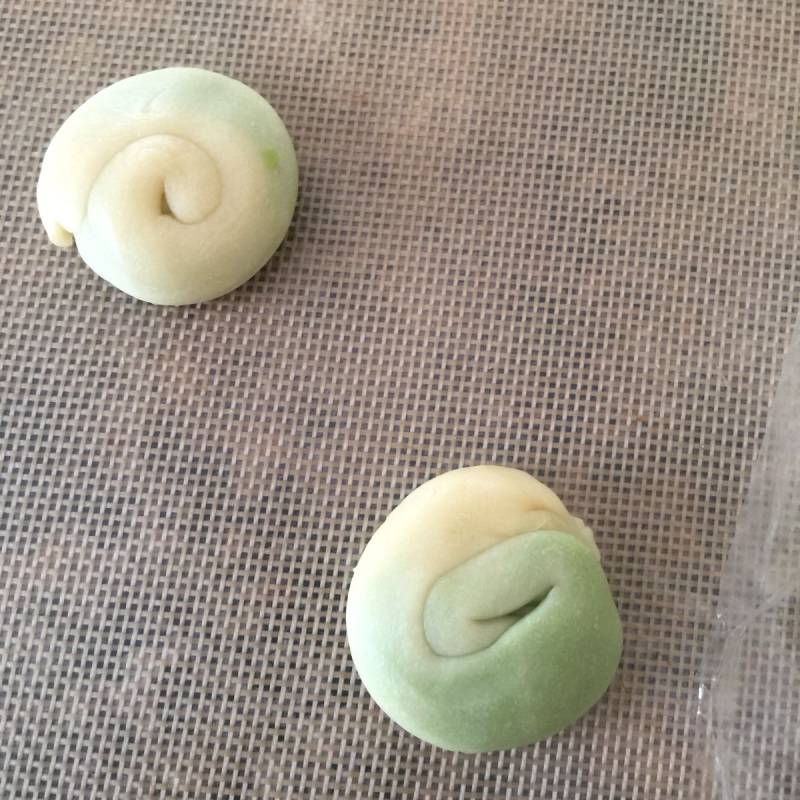
18.将面团团圆,擀成面皮
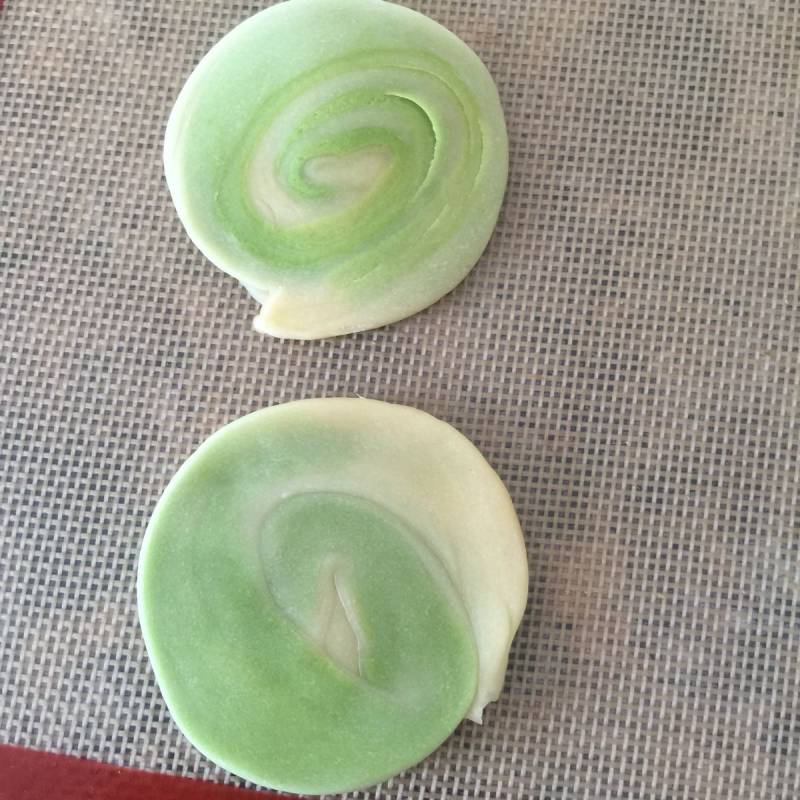
19.面片
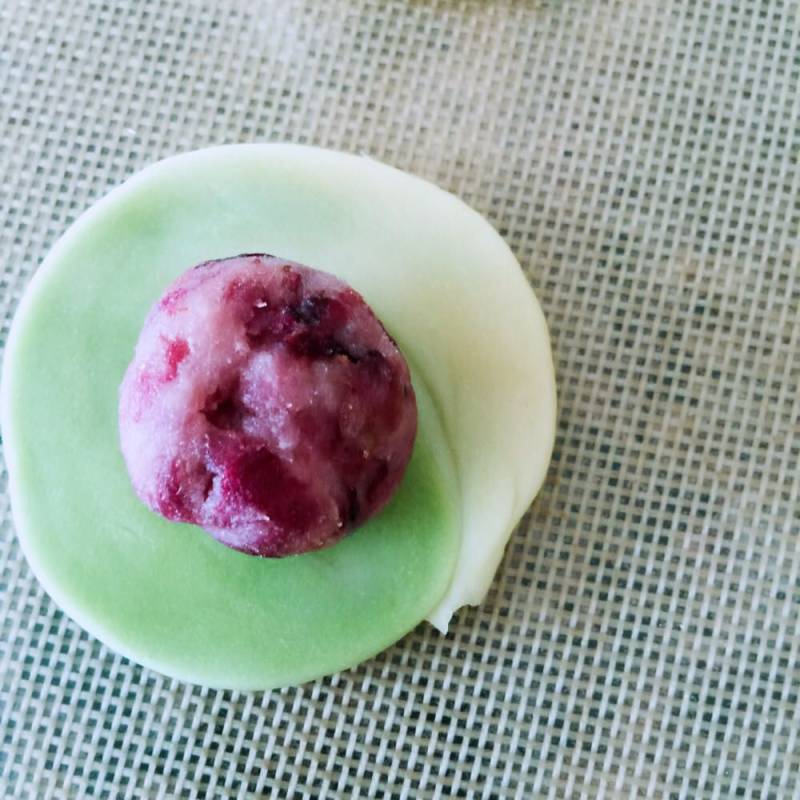
20.放上鲜花馅(我是网上买了带到美国的)。象包汤圆一样包起来,将封口朝下
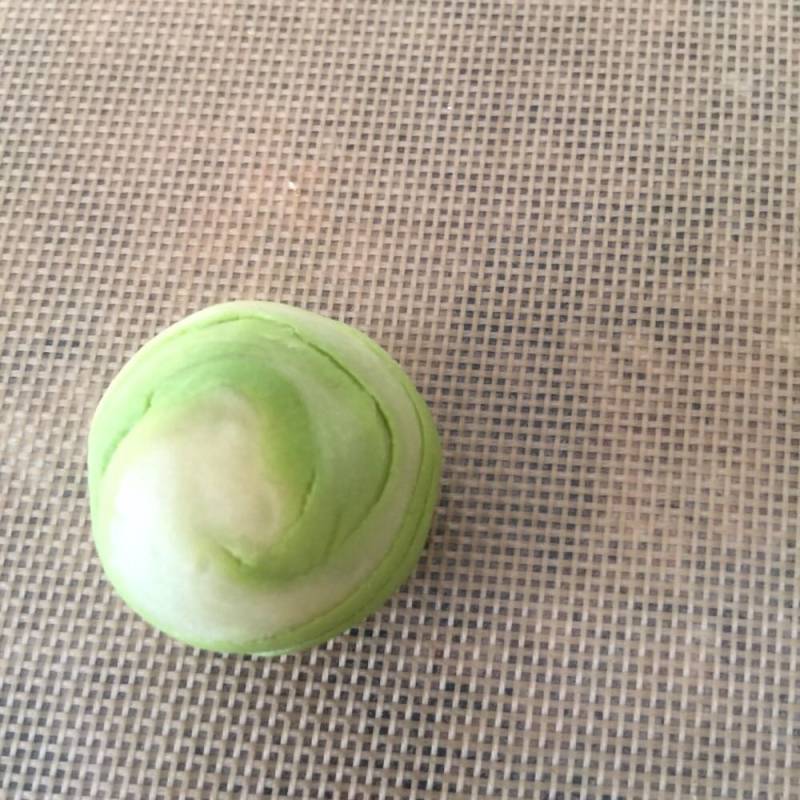
21.包好的

22.烤箱预热350F度,大概是160摄氏度,考35分钟左右,温度不要太高,会考黄,影响外观。

23.烤的成品
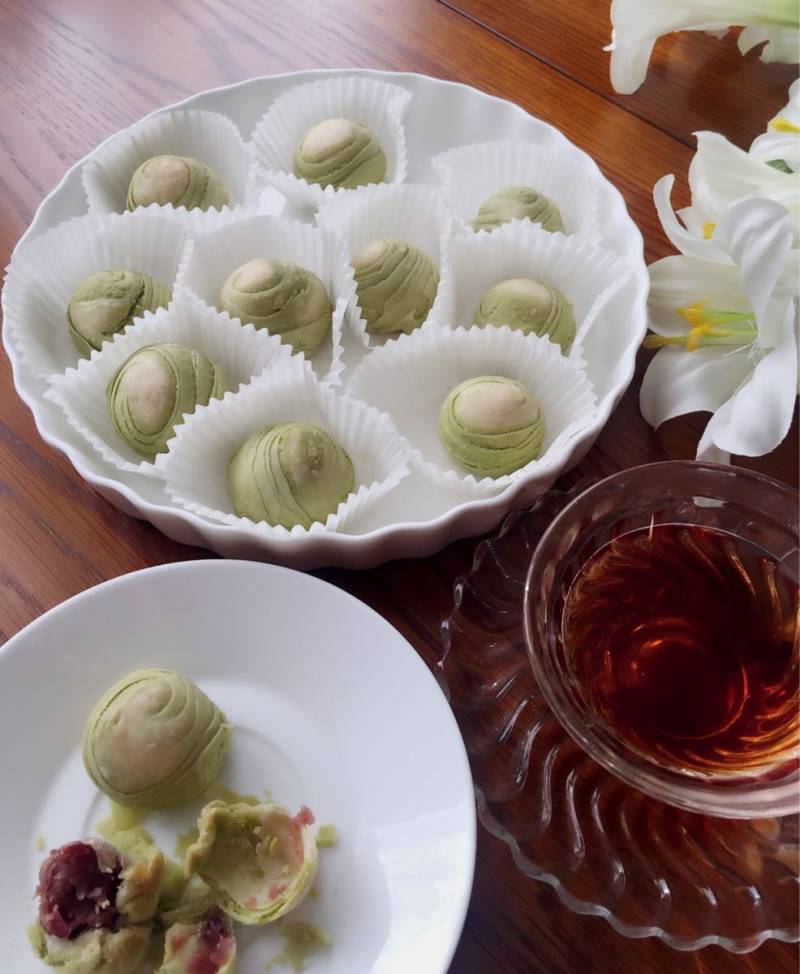
24.一杯红茶,几颗抹茶酥,看着窗外的雪景...
小窍门&温馨提示
我想说这是我第一次做抹茶酥,做烘焙用量杯是最方便的,不要去称多少克。网上都有卖。
TAGS:
烘焙 小清新 下午茶 其他菜系 面粉
免责声明:本站部分文章转载自网络,图文仅供行业学习交流使用,不做任何商业用途。文章仅代表原作者个人观点,其原创性及文章内容中图文的真实性、完整性等未经本站核实,仅供读者参考。
上一篇: 抹茶蓝莓酱蛋糕卷的做法,抹茶蓝莓酱蛋糕卷怎么做,抹茶蓝莓酱蛋糕卷的做法,抹茶蓝莓酱蛋糕卷怎么做,蓝莓果酱蛋糕卷,蓝莓酱蛋糕卷怎么做
下一篇: 泡椒炒鸡块 的做法,泡椒炒鸡块 怎么做,泡椒炒鸡块的做法最正宗的做法,泡椒炒鸡块的做法,泡椒炒鸡块,辢椒炒鸡块
Deprecated: mysql_connect(): The mysql extension is deprecated and will be removed in the future: use mysqli or PDO instead in
/data/haozs.cc/xianguan.php on line
5
Deprecated: mysql_query(): The mysql extension is deprecated and will be removed in the future: use mysqli or PDO instead in
/data/haozs.cc/xianguan.php on line
7
