馅料
菠萝,
2个,
冬瓜,
600G,
白糖,
100G,
麦芽糖,
60G
辅料:
黄油,
130G,
鸡蛋,
一个,
奶粉,
50G,
低粉,
180G细沙糖,40G樱花凤梨酥的做法步骤
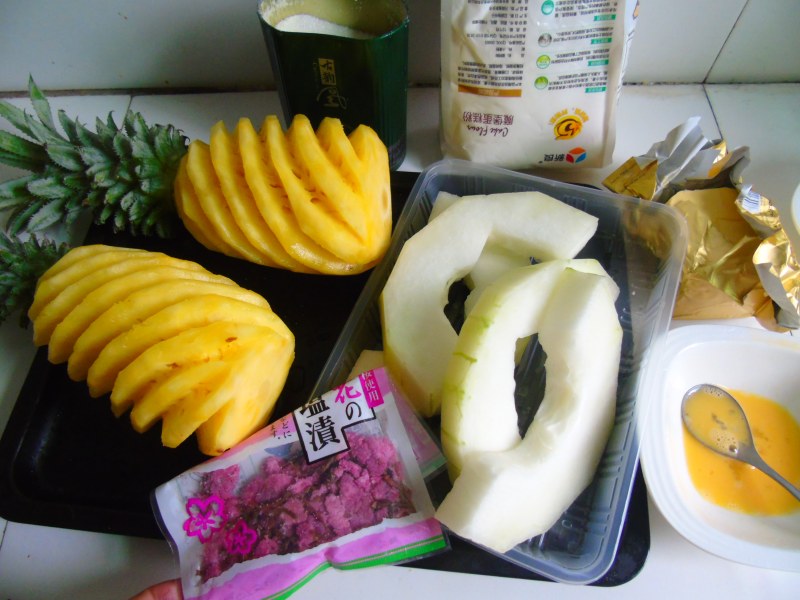
1.准备好所需要的材料;
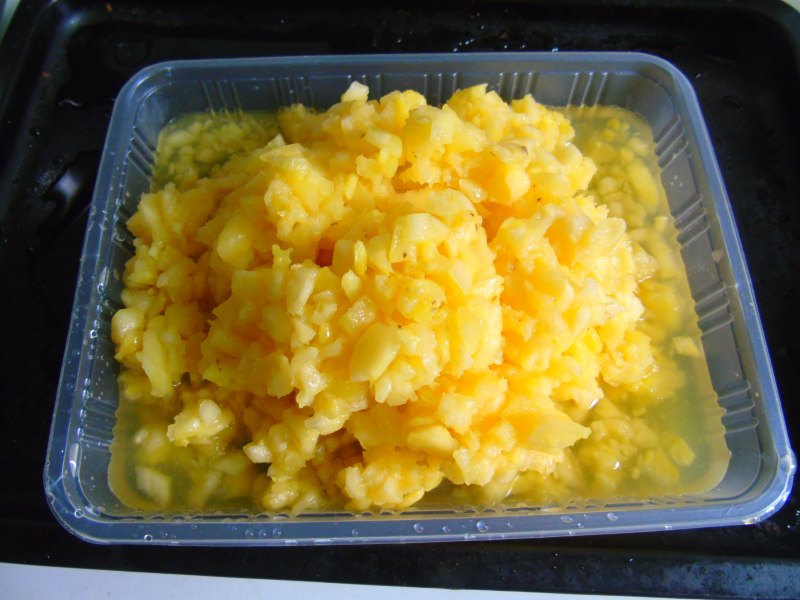
2.菠萝去掉硬芯切碎;
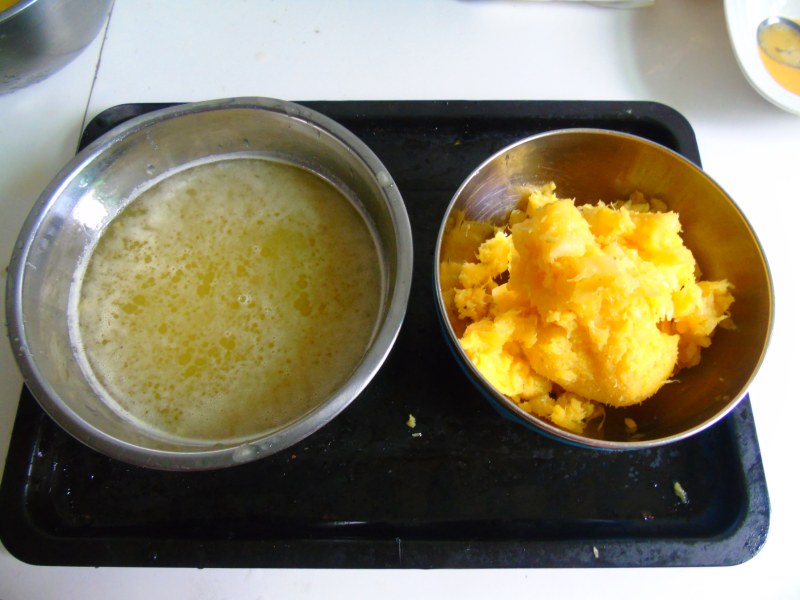
3.用纱布包住菠萝肉挤出汁水,菠萝汁留着备用;
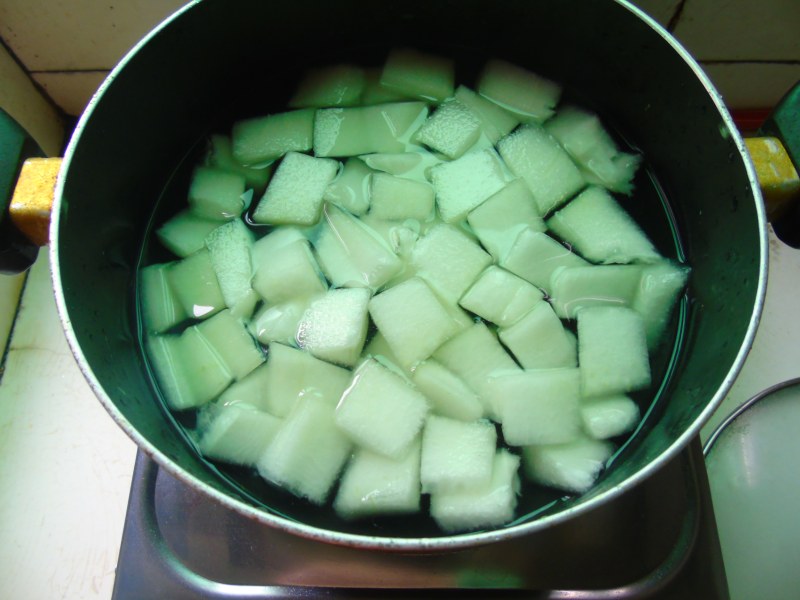
4.冬瓜切小块煮至熟;
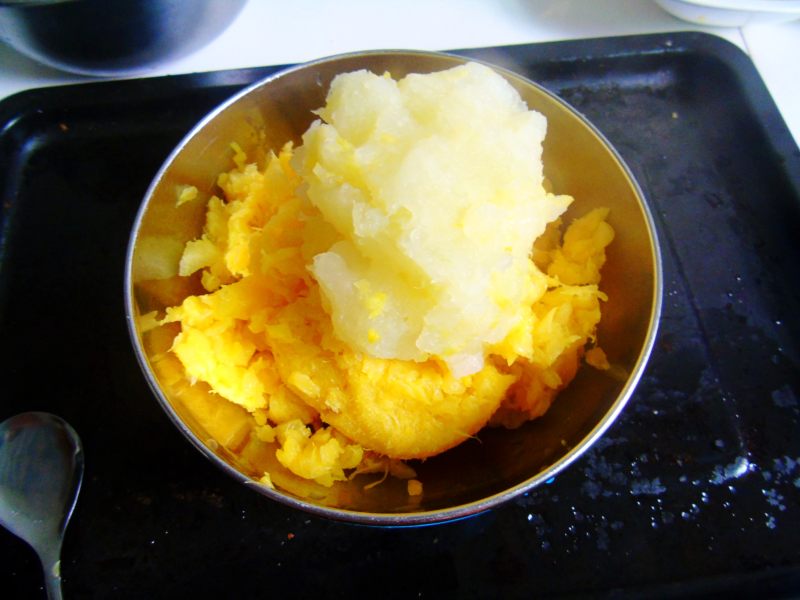
5.同样用纱布把冬瓜挤去水份,只留冬瓜肉即可。
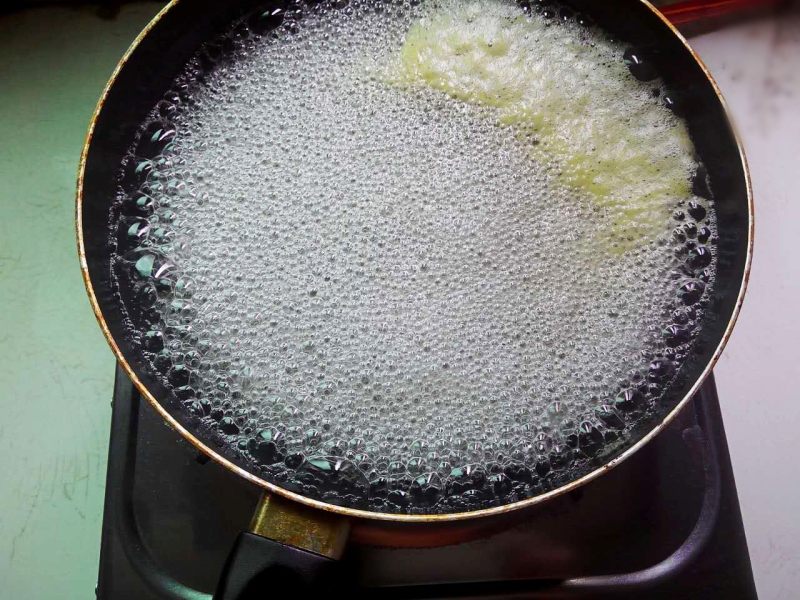
6.准备熬馅:把菠萝汁倒入不粘锅中,加白糖和麦芽糖熬至白糖溶化
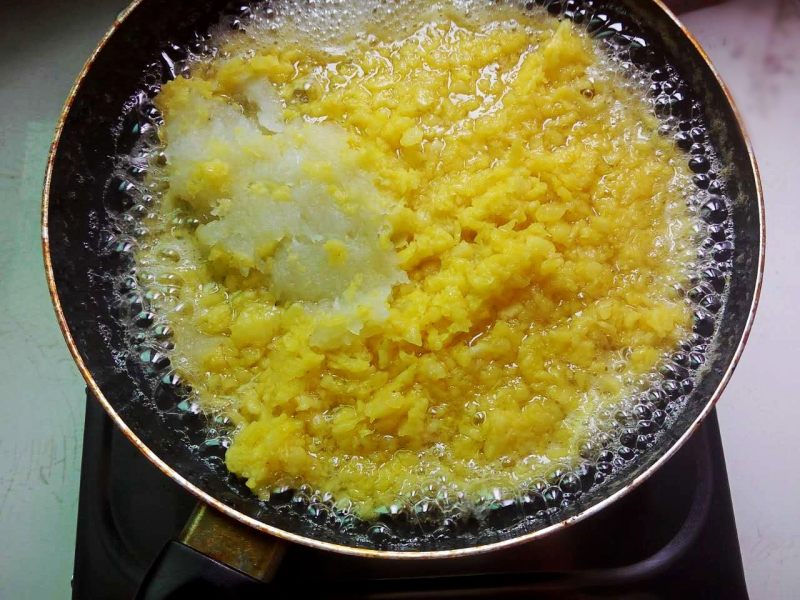
7.倒入菠萝和冬瓜肉,反复的翻炒
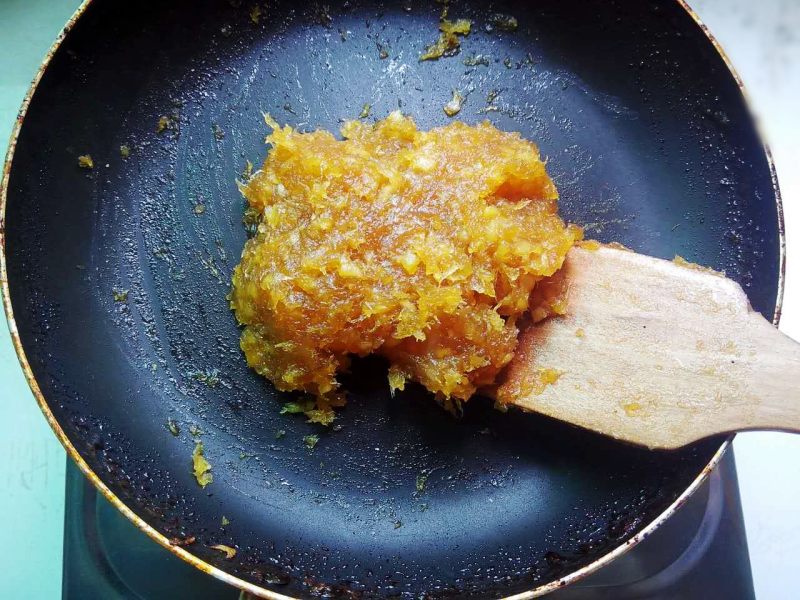
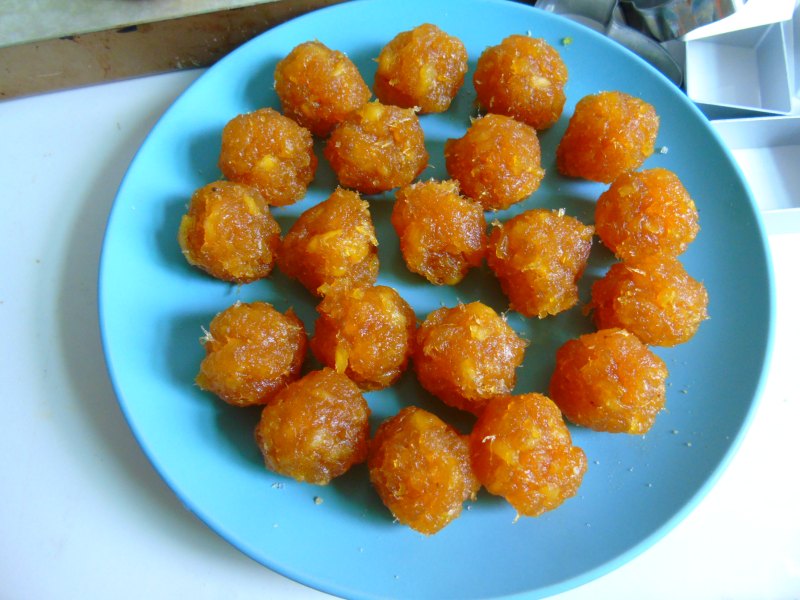
8.炒至果肉水份完全收干即可,这步足足用了20分钟
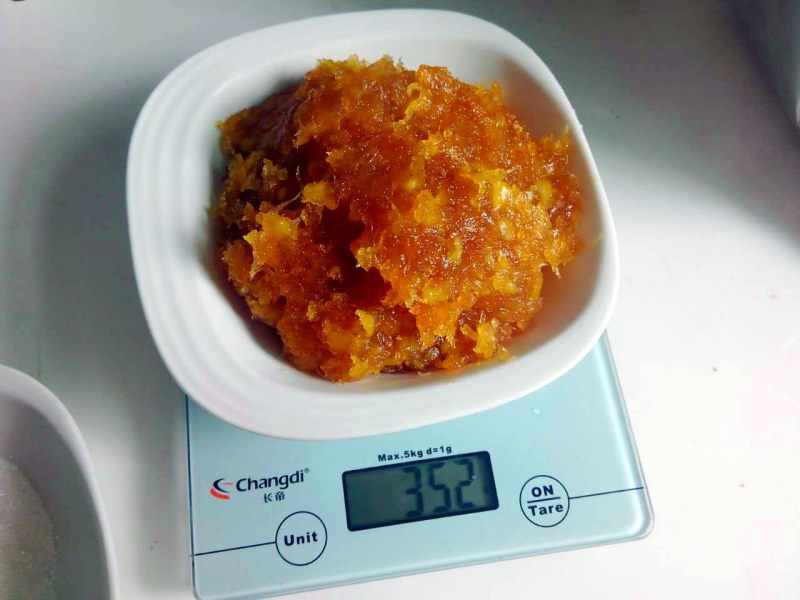
9.馅装好放凉,我称了下总共才出350G
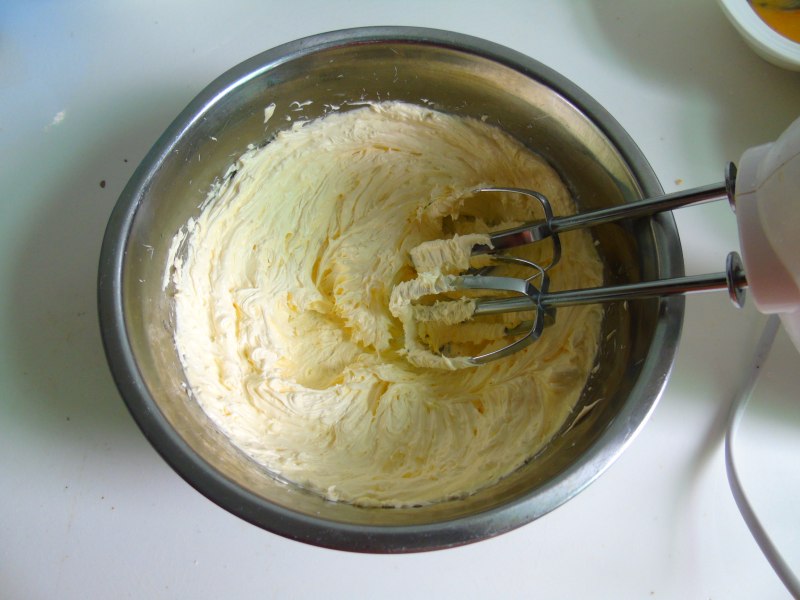
10.开始做酥皮:黄油软化加细沙糖打发
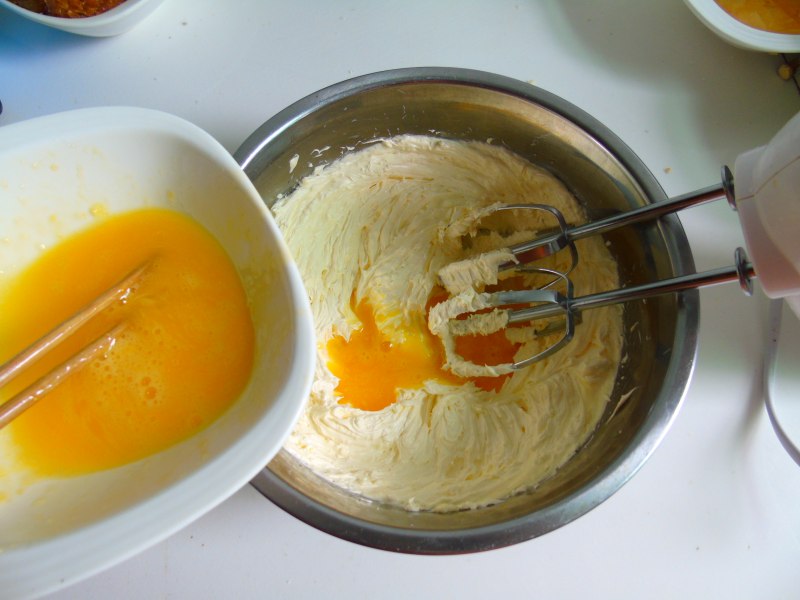
11.分次加入打散的蛋液打发至体积变大蓬松
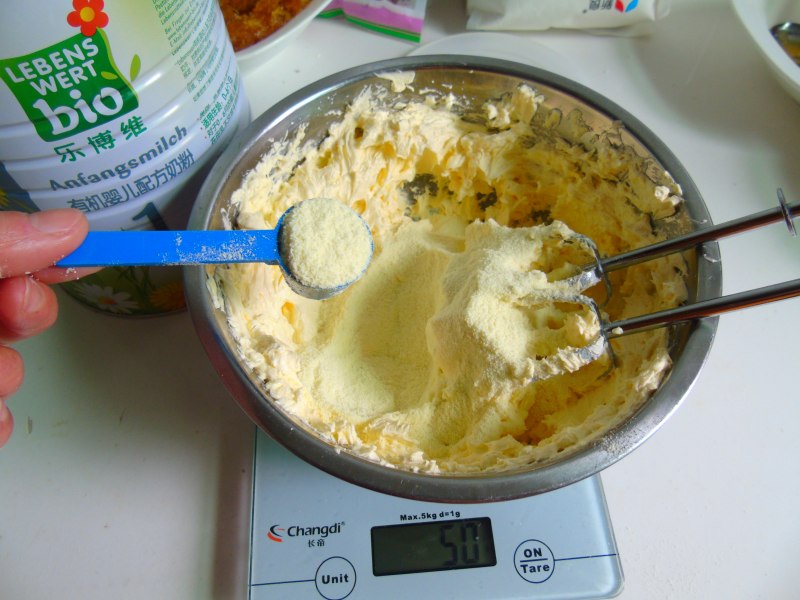
12.加入奶粉拌均匀
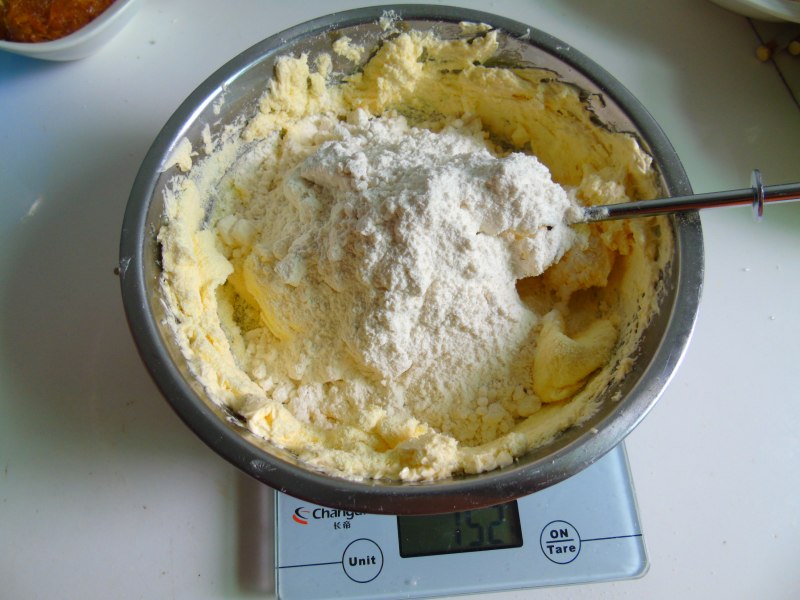
13.再加入低粉混合均匀
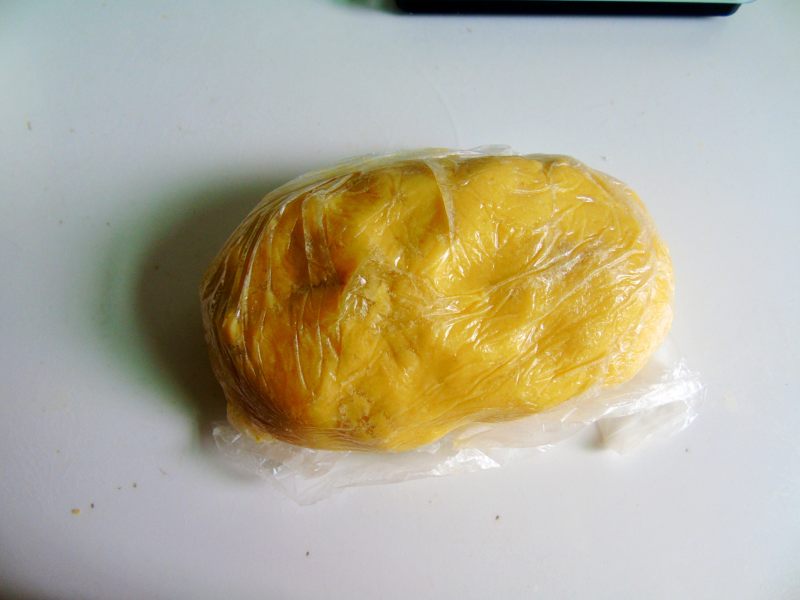
14.戴着一次性手套把材料整成面团,包好醒30分钟
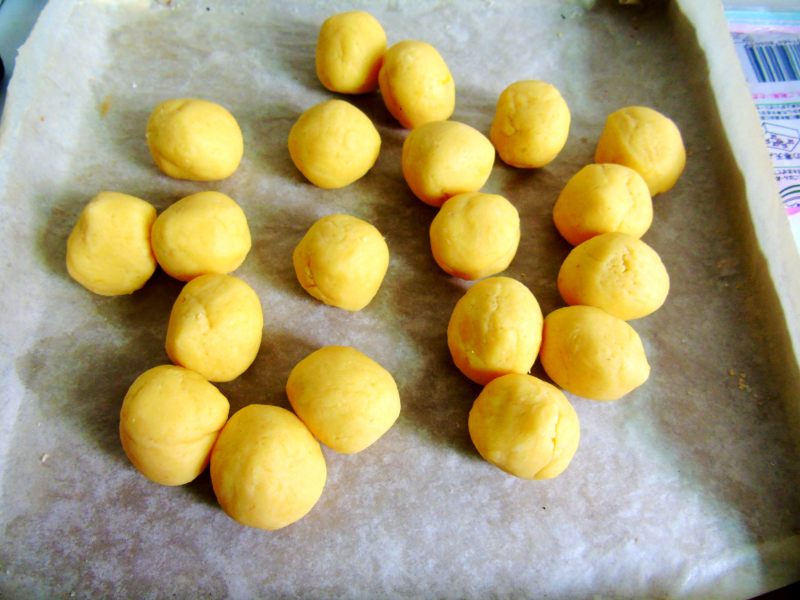
15.醒好的面团分20份(我的平均每个22G)
16.把凤梨冬瓜馅也分20份(每份近18G)这步做好可以放冰箱冷冻,更容易包
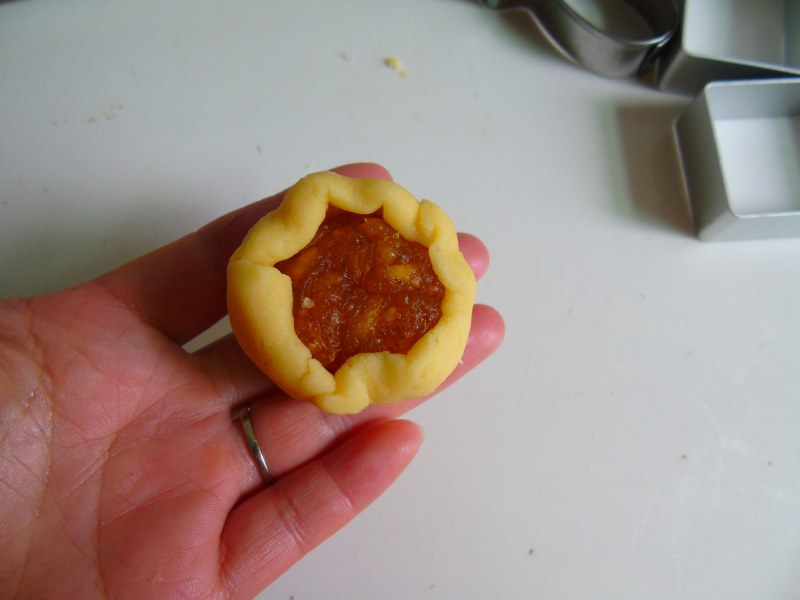
17.把饼皮擀开包馅,收口
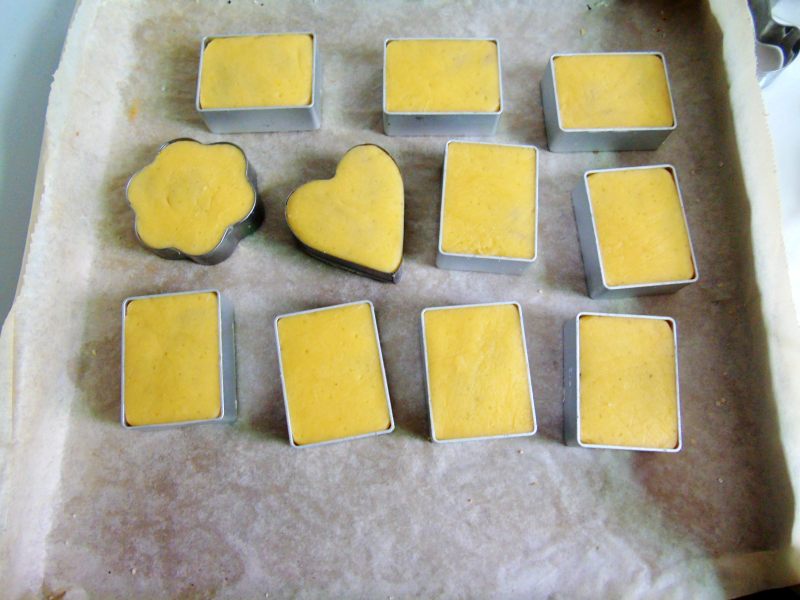
18.收口朝下放入模具中按压平整(隔着保鲜膜更容易)
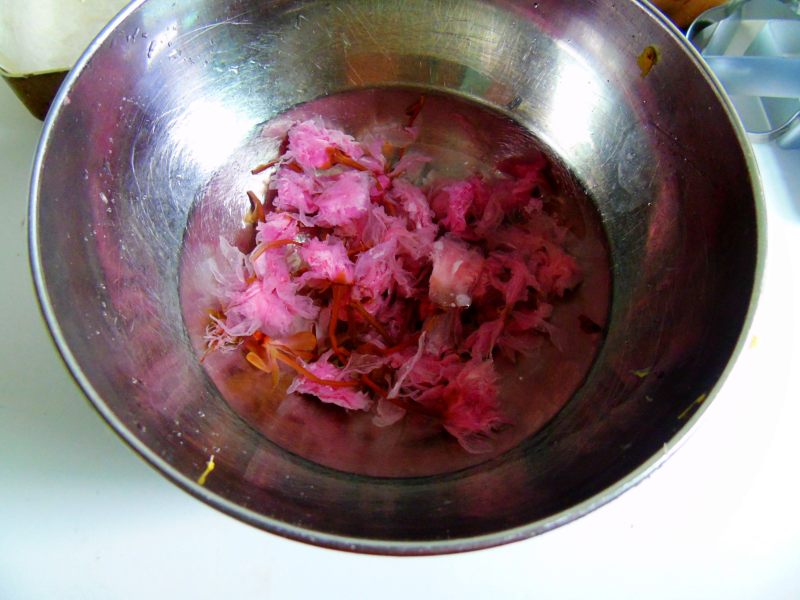
19.提前把樱花泡开
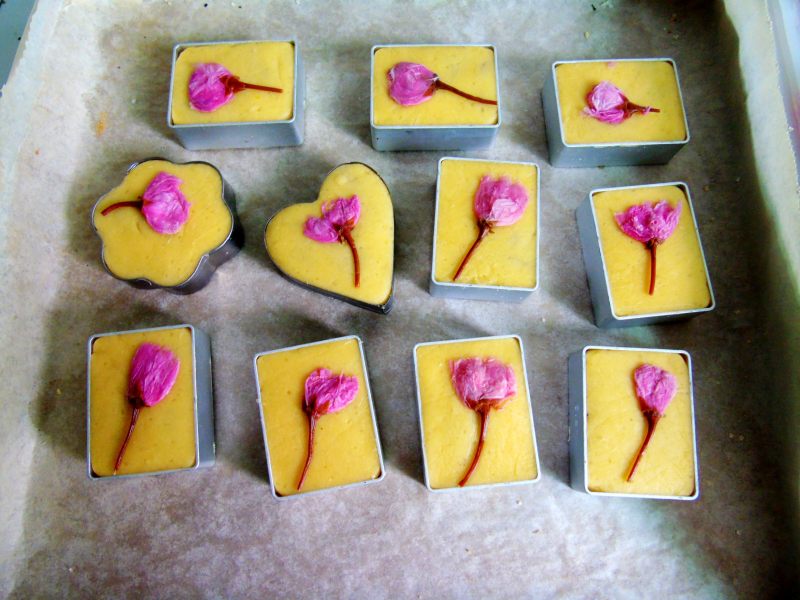
20.樱花用厨房纸吸干水份后贴在酥皮上面
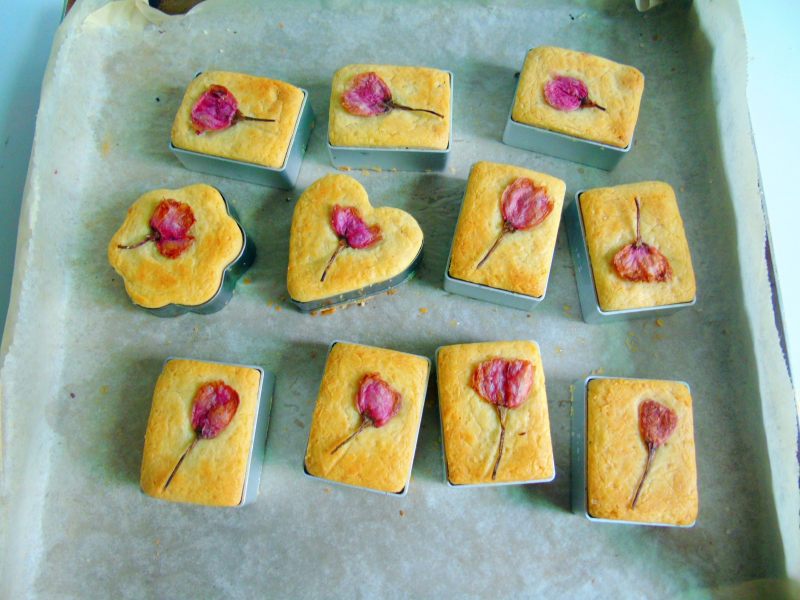
21.烤箱预热,170度中层烤25分钟左右至色泽金黄即可
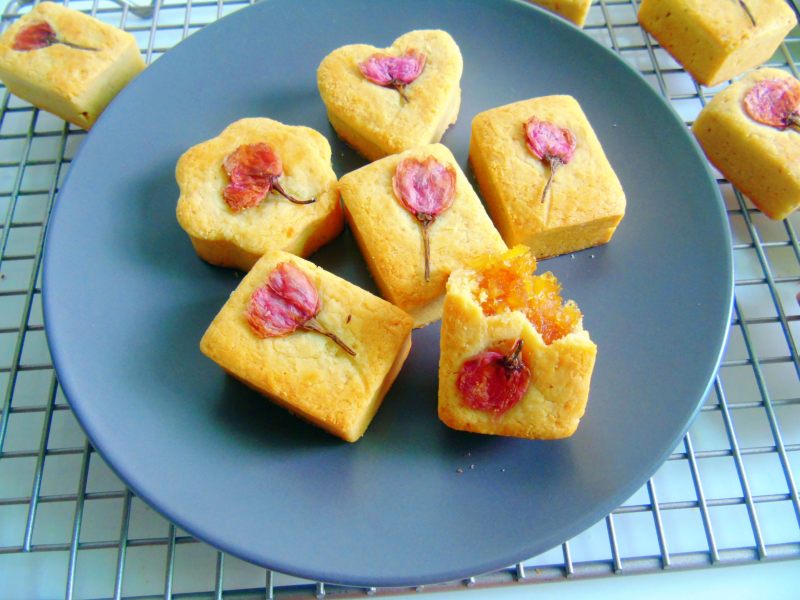
22.成品
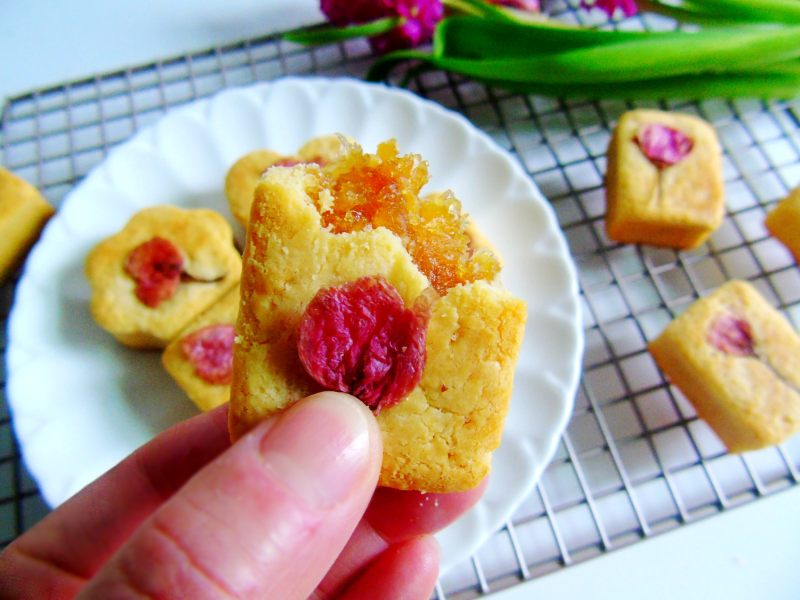
23.没放凉就忍不住开吃了,馅的纤维感好迷人
小窍门&温馨提示
菠萝可以直接用料理机打碎再熬,我嫌麻烦直接切小粒挤的,如果不喜欢冬瓜的不加,其它步骤一样,我感觉加了冬瓜味道更加的柔和,所以一般都会加。
做好的馅分团后冻硬后更好包;
做酥皮时黄油要打发,成品也更酥松,烤好放一晚至饼皮吸收馅的香味回软更有风味。
TAGS:
糕点 烘焙 零食 台湾小吃 其他菜系 菠萝
免责声明:本站部分文章转载自网络,图文仅供行业学习交流使用,不做任何商业用途。文章仅代表原作者个人观点,其原创性及文章内容中图文的真实性、完整性等未经本站核实,仅供读者参考。
上一篇: 西班牙油条的做法,西班牙油条怎么做,西班牙油条做法,西班牙油条英文怎么说,西班牙油条蘸巧克力,西班牙油条和中国油条的区别
下一篇: 芒果仙草的做法,芒果仙草怎么做,芒果仙草冻,芒果仙草芋圆图片,芒果仙草图片,芒果仙草西米露做法
Deprecated: mysql_connect(): The mysql extension is deprecated and will be removed in the future: use mysqli or PDO instead in
/data/haozs.cc/xianguan.php on line
5
Deprecated: mysql_query(): The mysql extension is deprecated and will be removed in the future: use mysqli or PDO instead in
/data/haozs.cc/xianguan.php on line
7
