主料:
苹果,
1个,
菠萝,
100g,
低筋面粉,
120g
辅料:
鸡蛋,
1个,
黄油,
40g,
白砂糖,
30g,
麦芽糖,
20g苹果凤梨酥的做法步骤
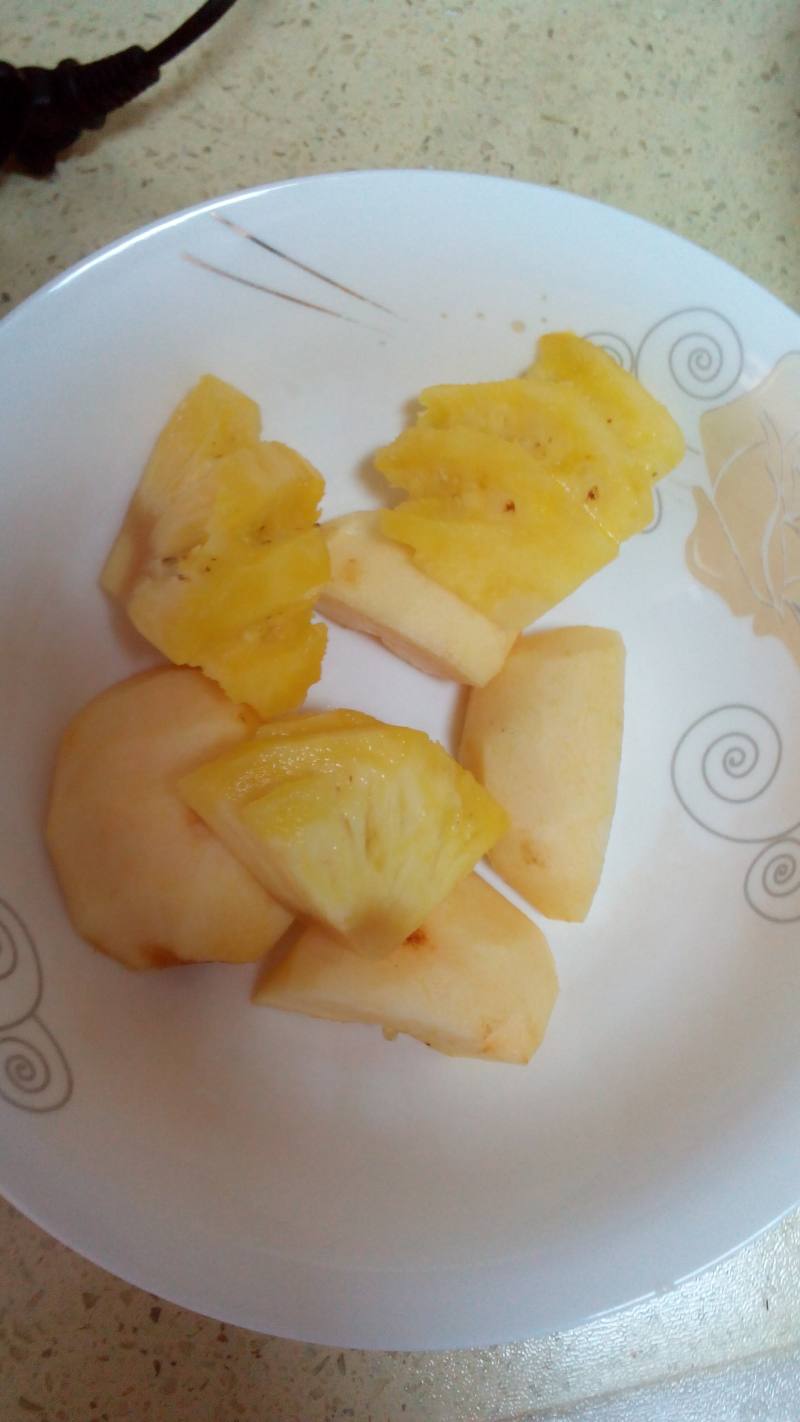
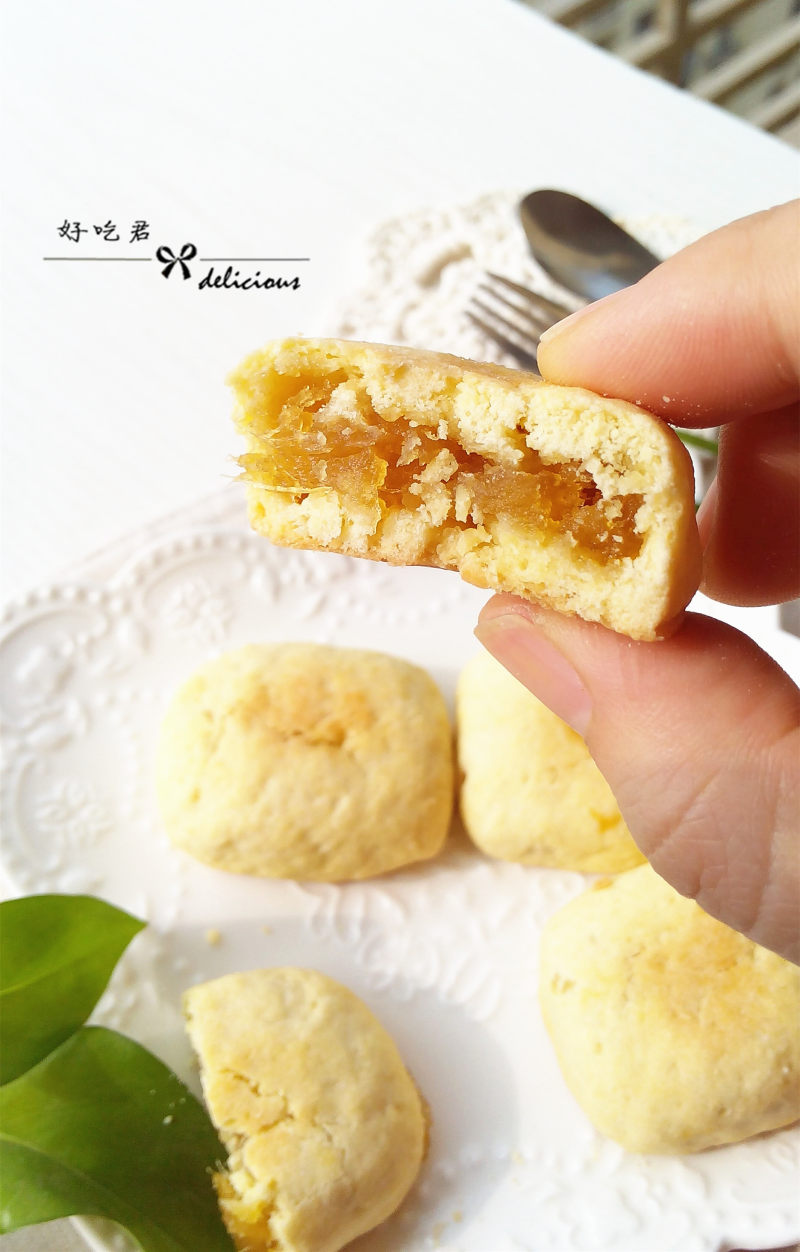
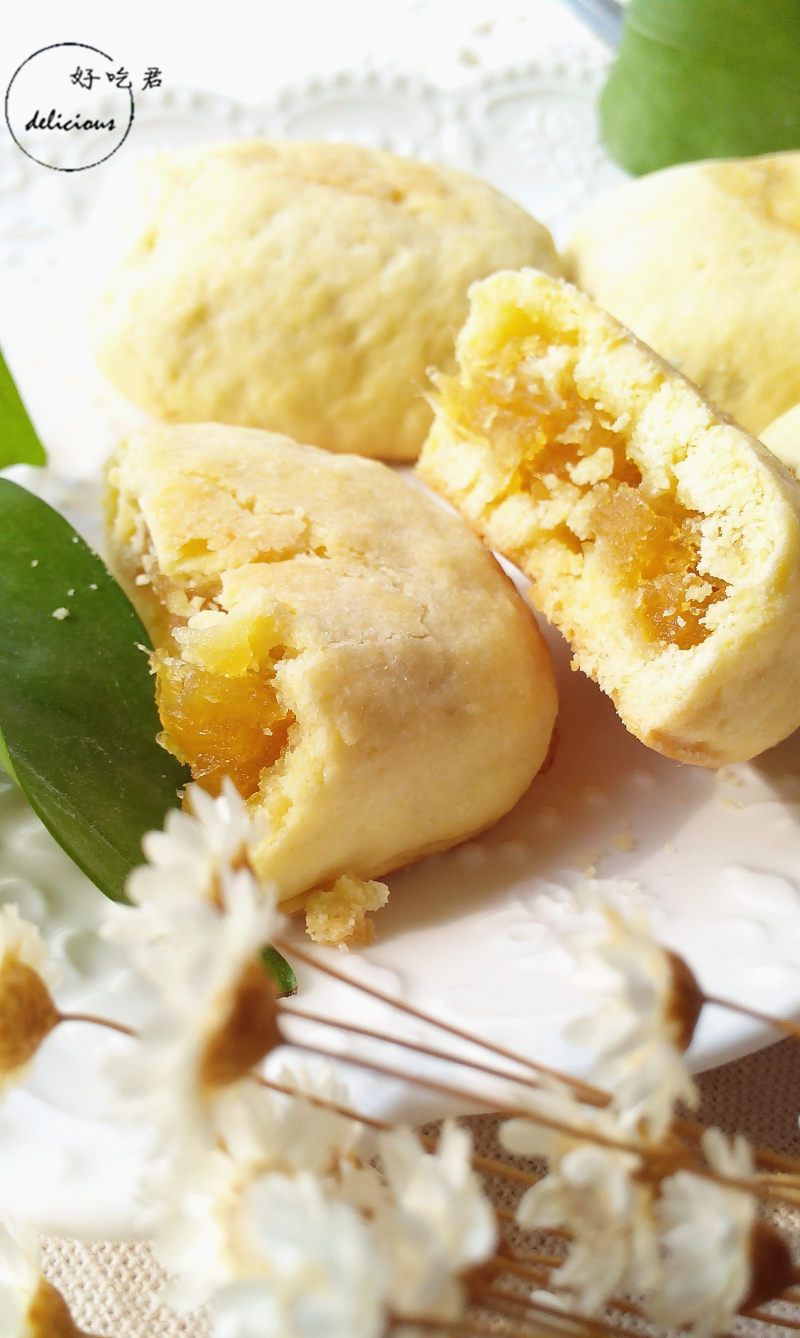
1.苹果去皮去籽切块儿,菠萝去皮切块儿。
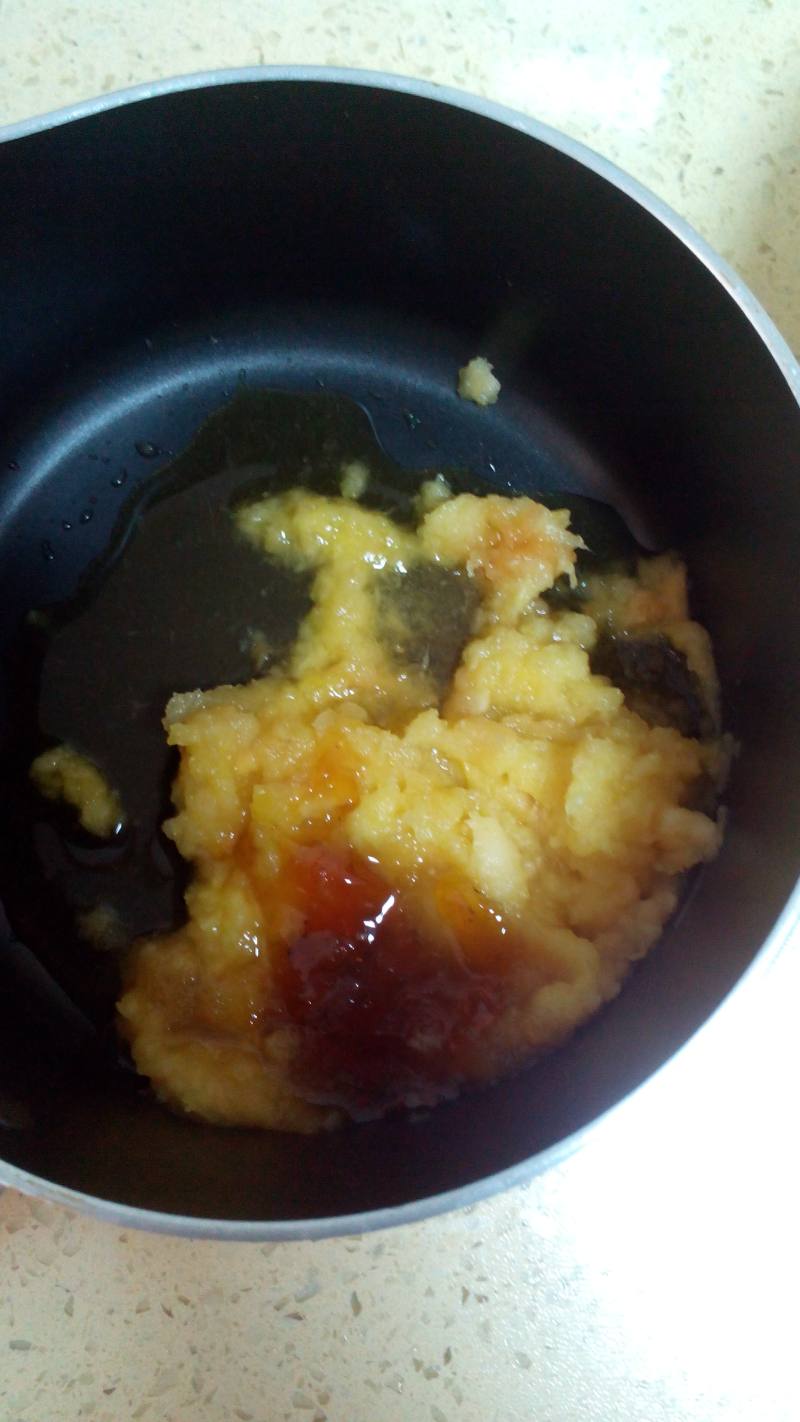
2.苹果和菠萝打成泥,加入麦芽糖。
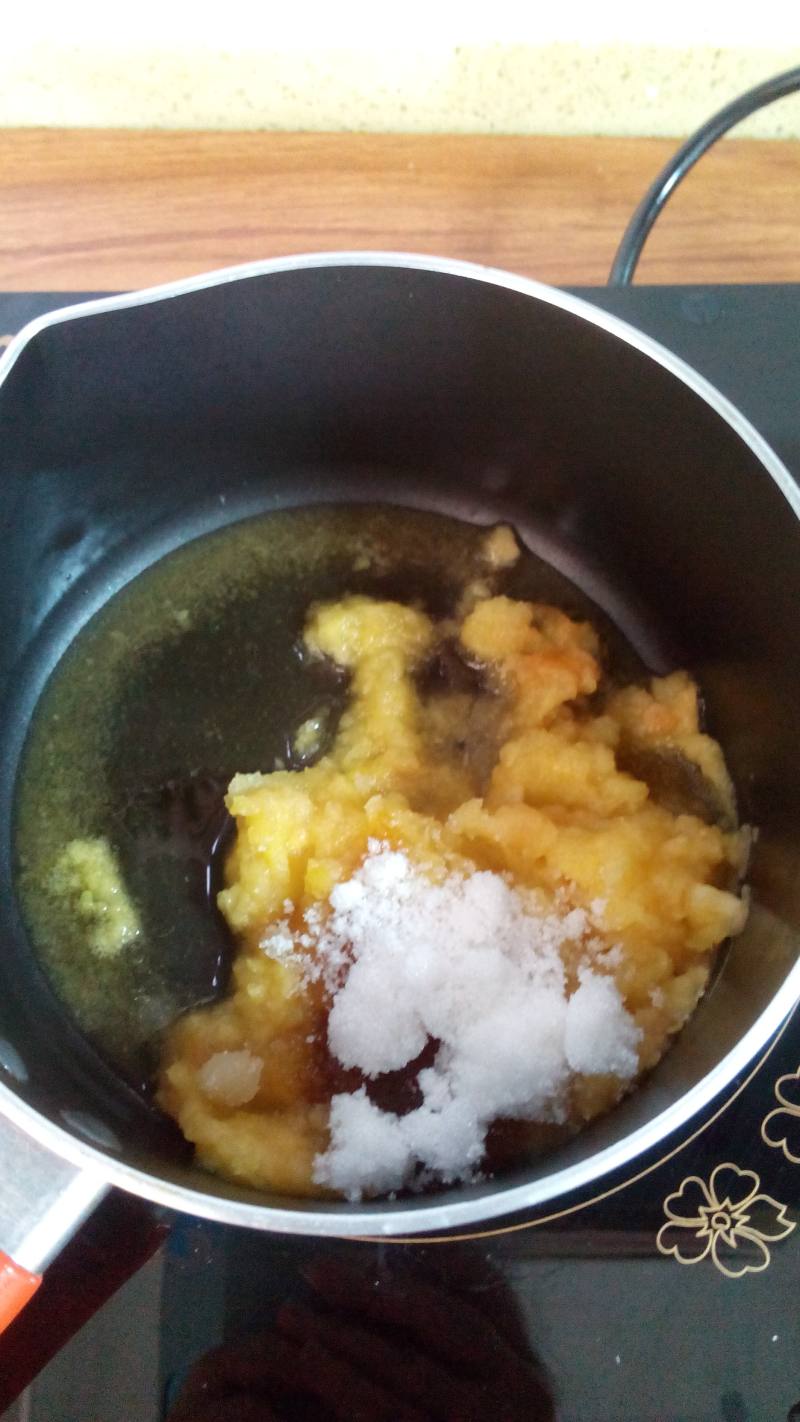
3.放入10g的白砂糖,小火加热。
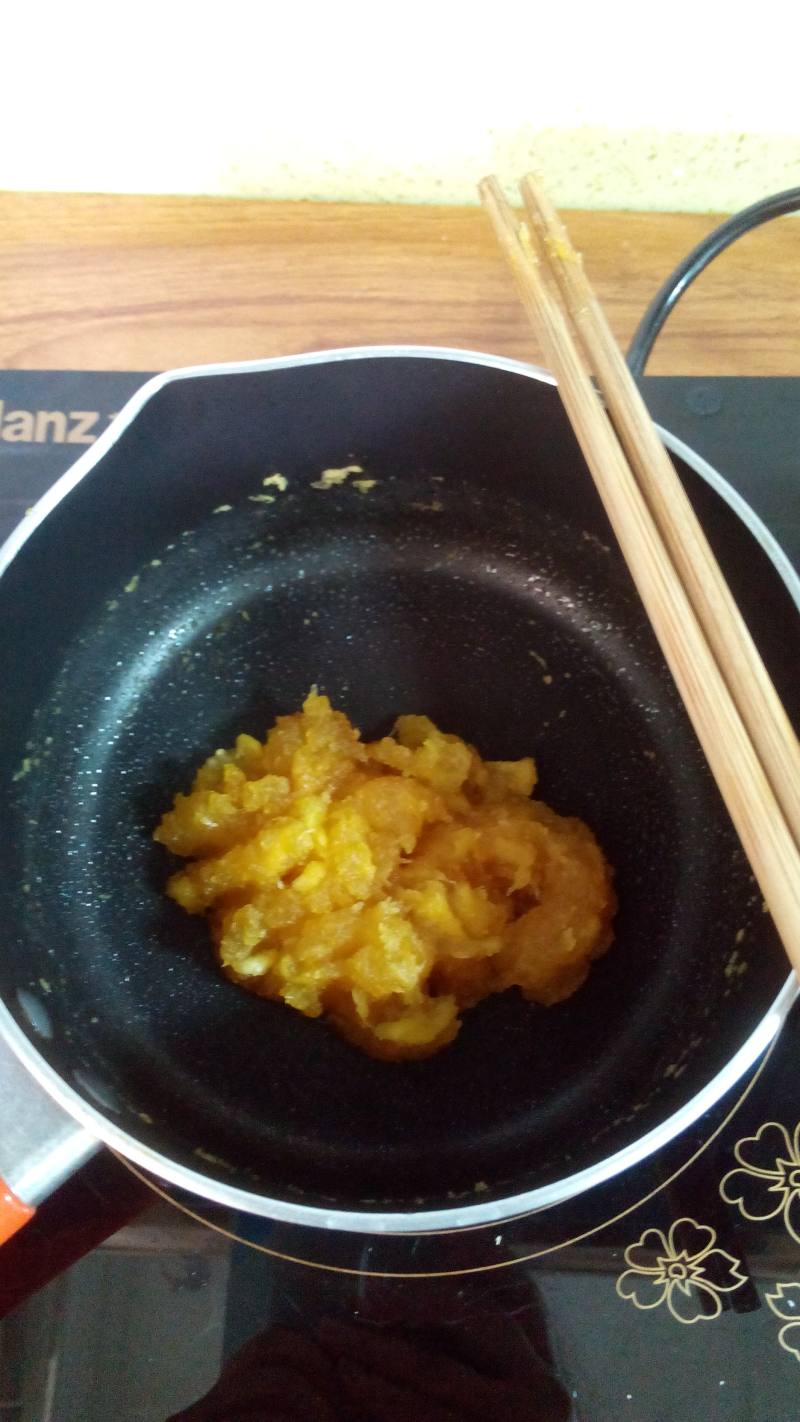
4.慢慢加热至水分变少变干,果泥能抱团即可。
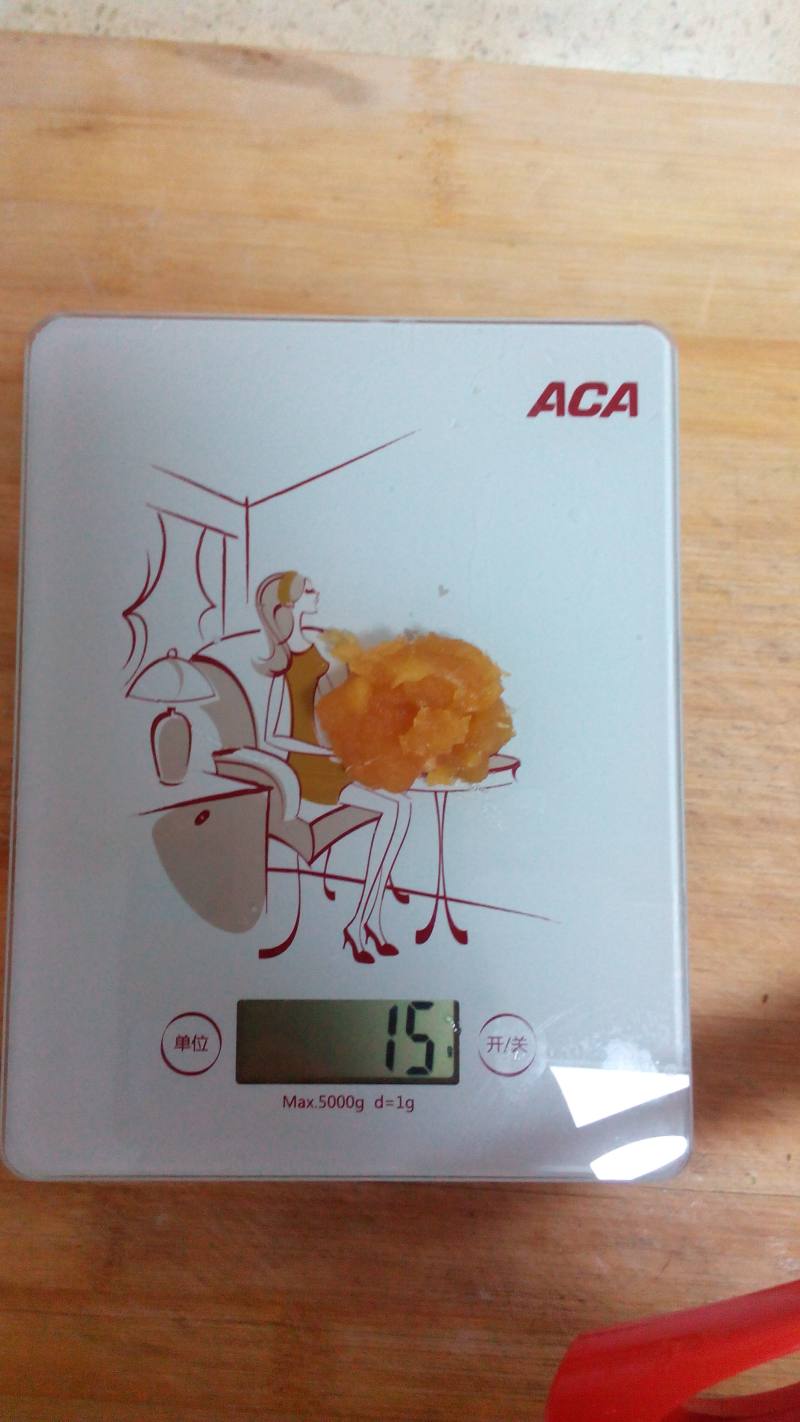
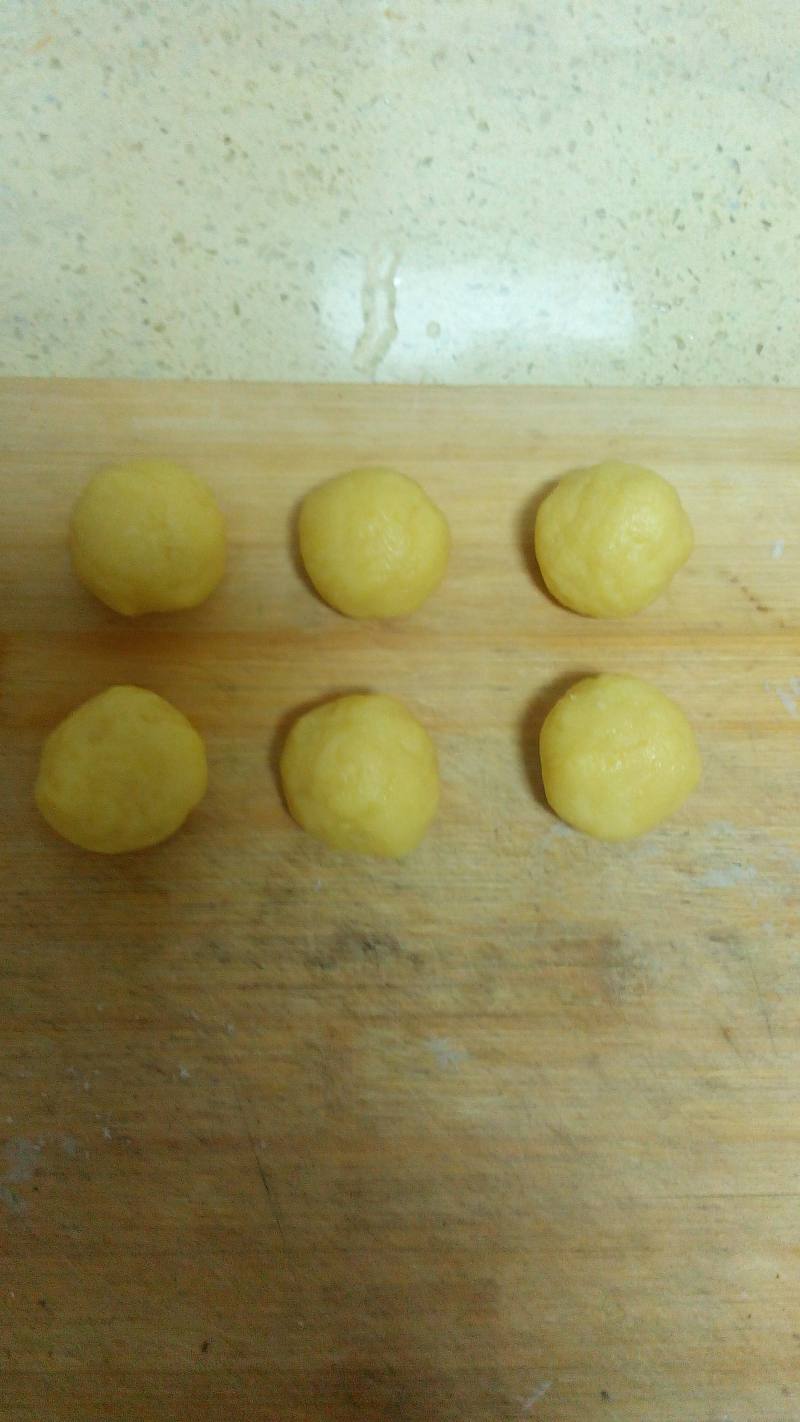
5.将馅料分成15g一个。
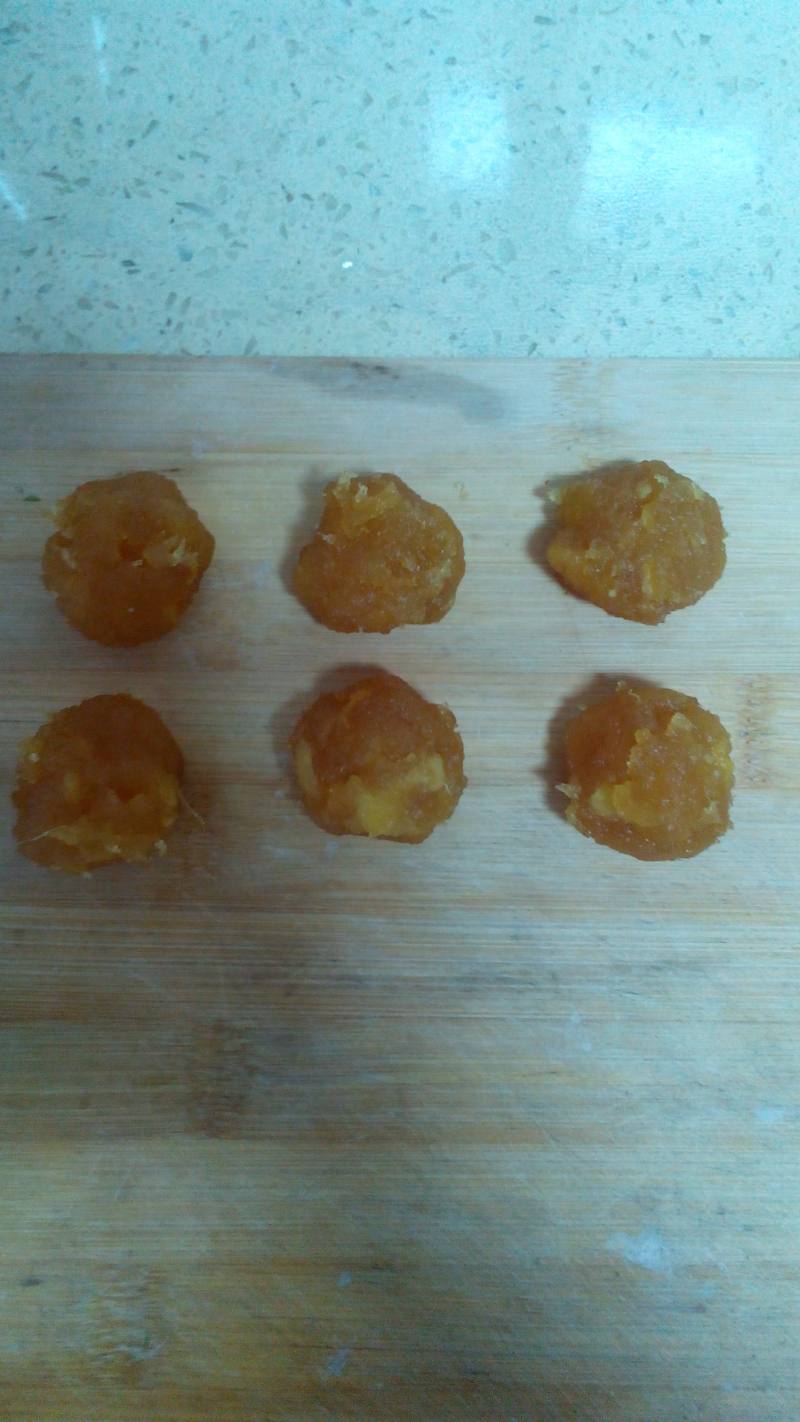
6.正好六份,馅料就做好了。
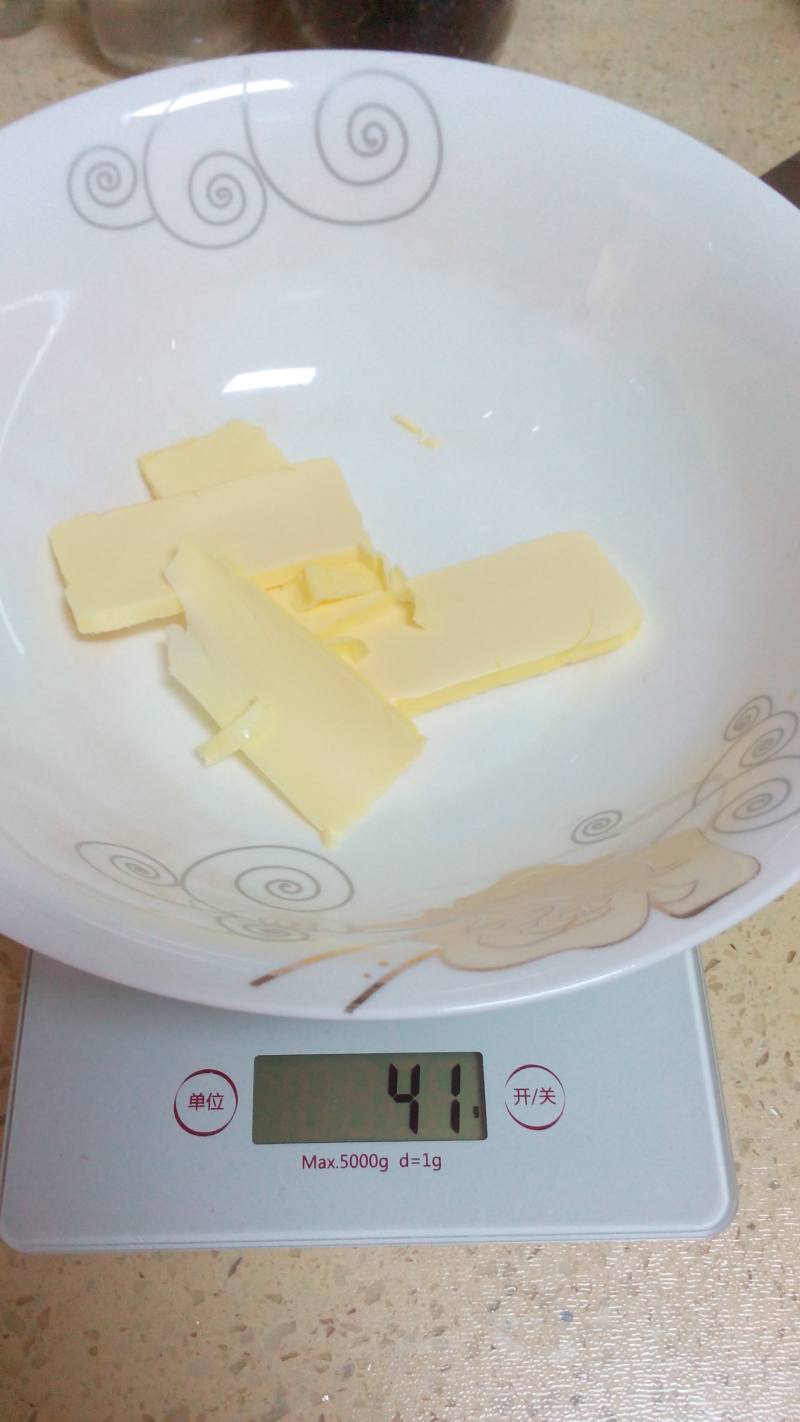
7.称取黄油,室温软化。
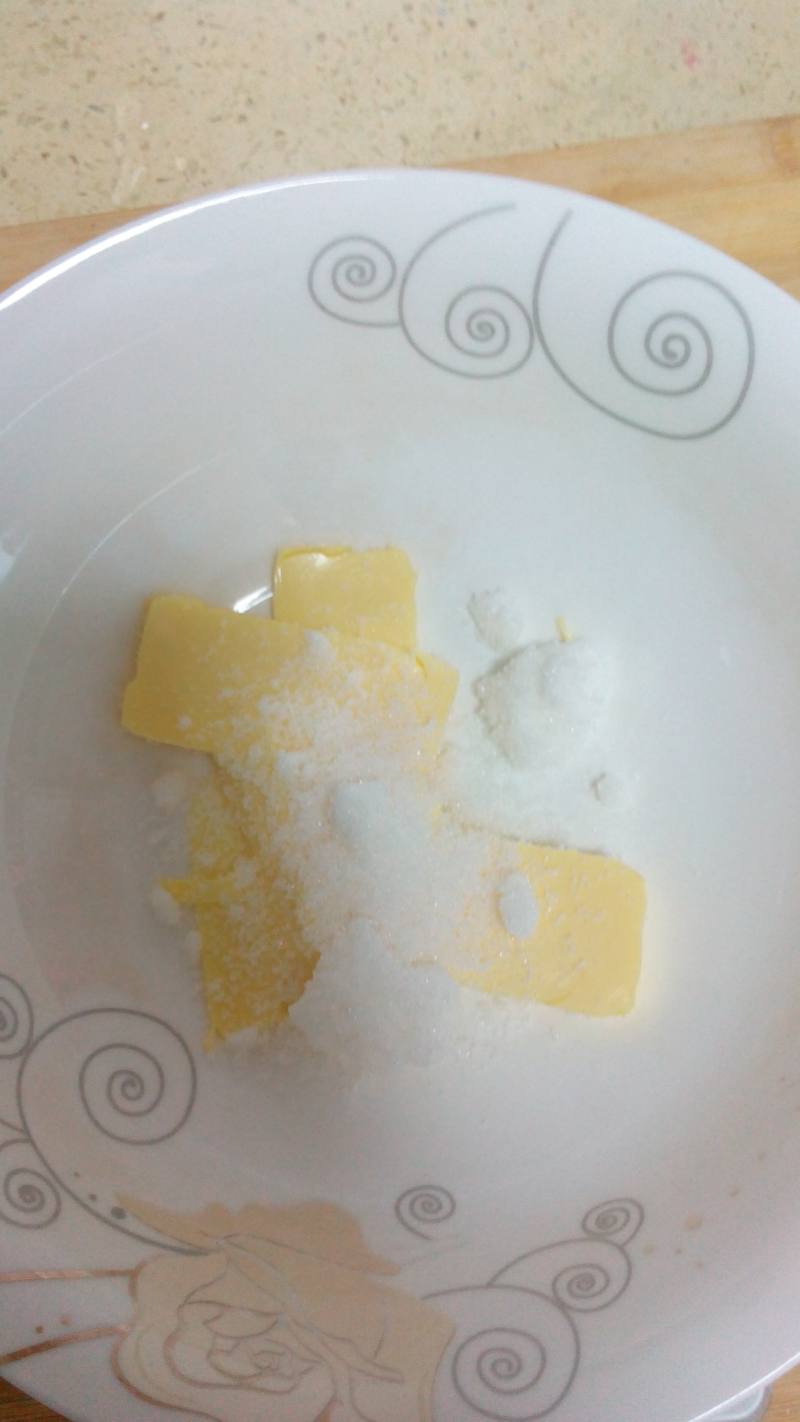
8.剩余的20g砂糖放入。
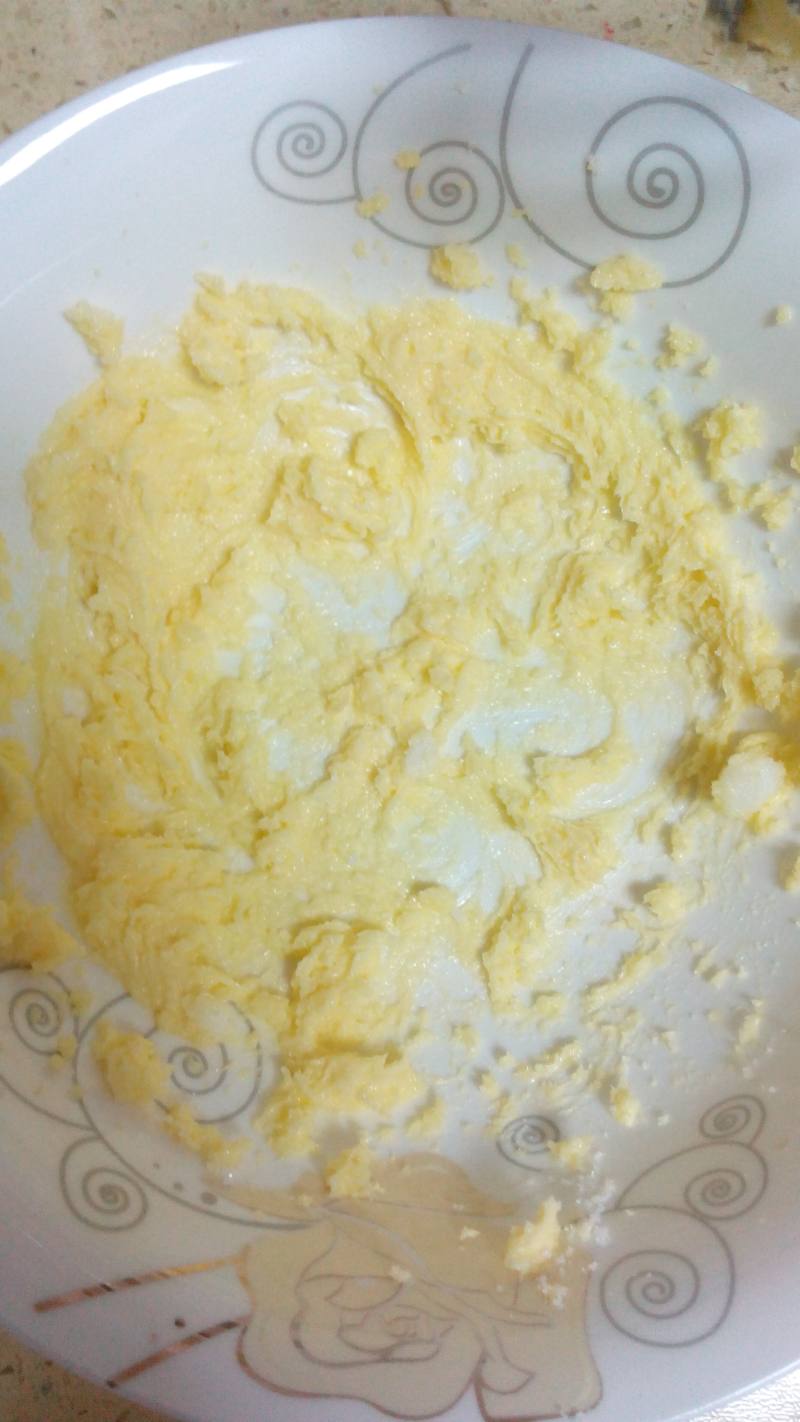
9.打蛋器打至颜色发白,体积稍微膨胀,分次加入蛋液,继续搅拌。
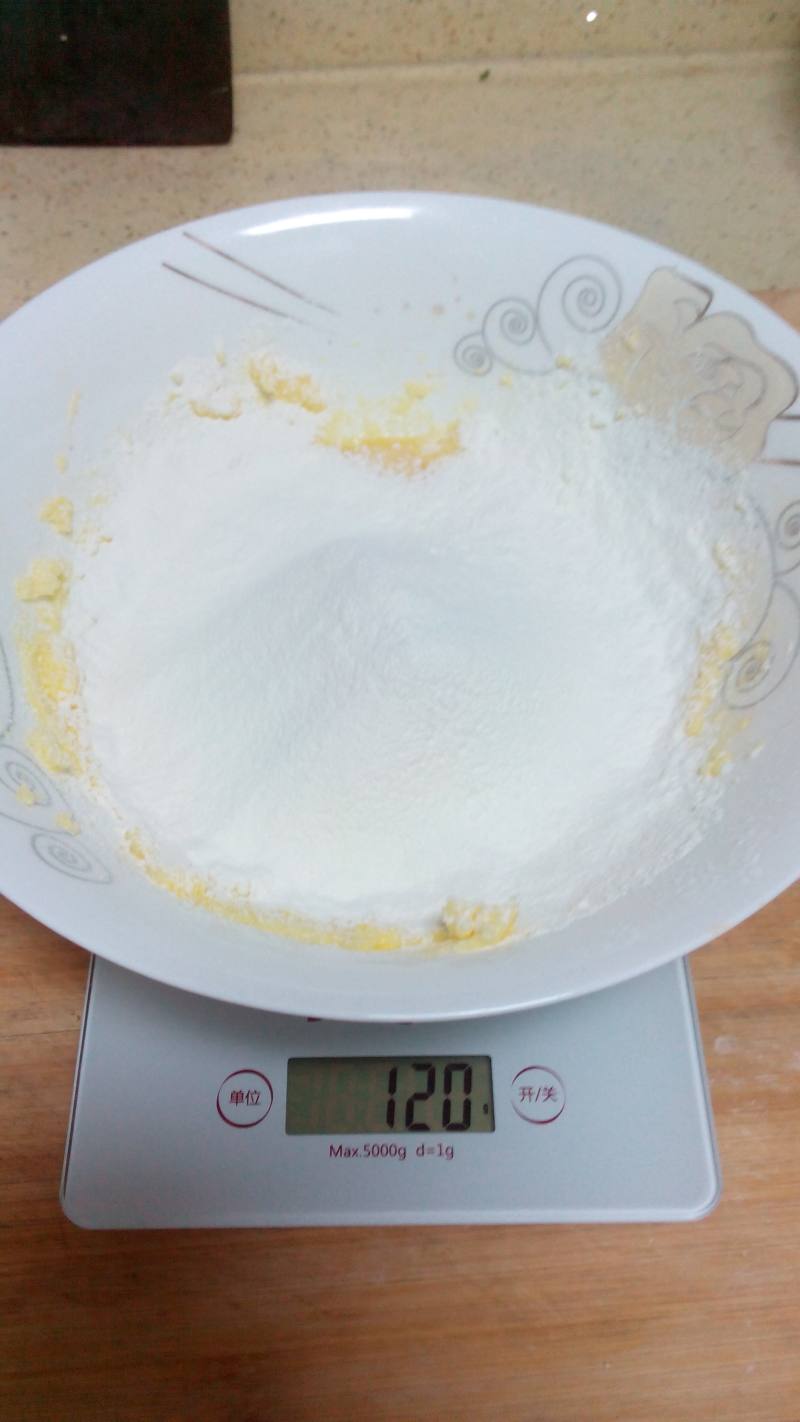
10.筛入低粉。
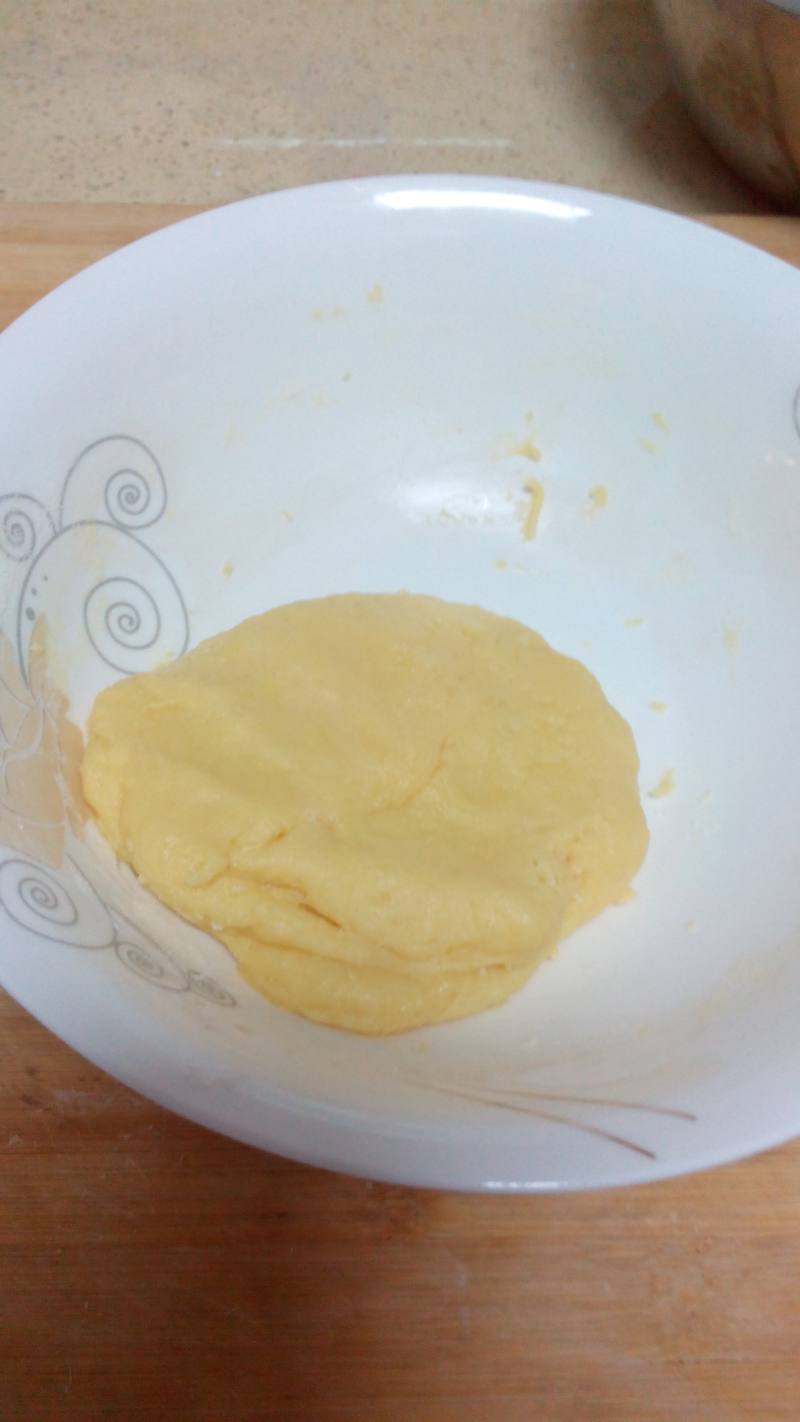
11.慢慢的和成面团。
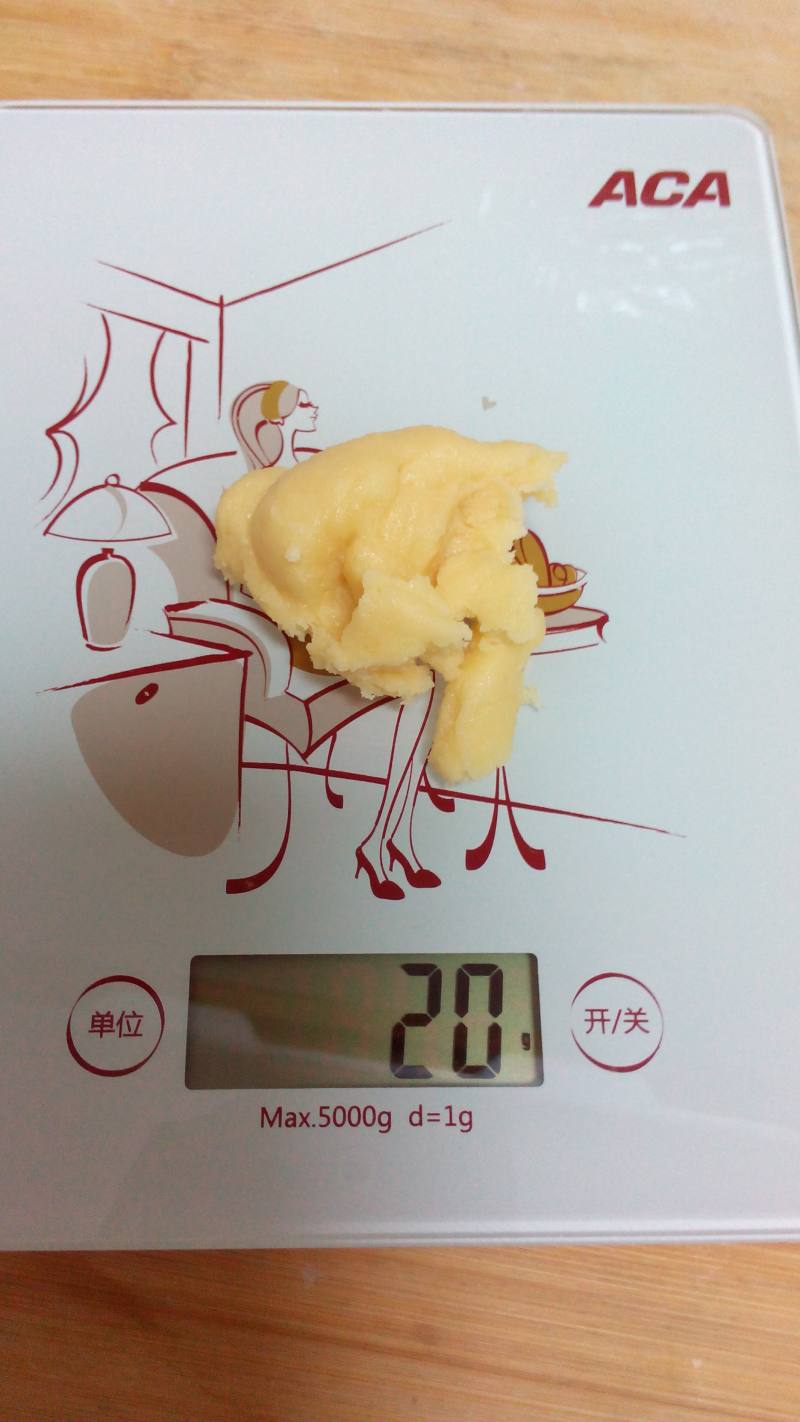
12.将面团分成20g一个的小剂子。
13.也分为六份。
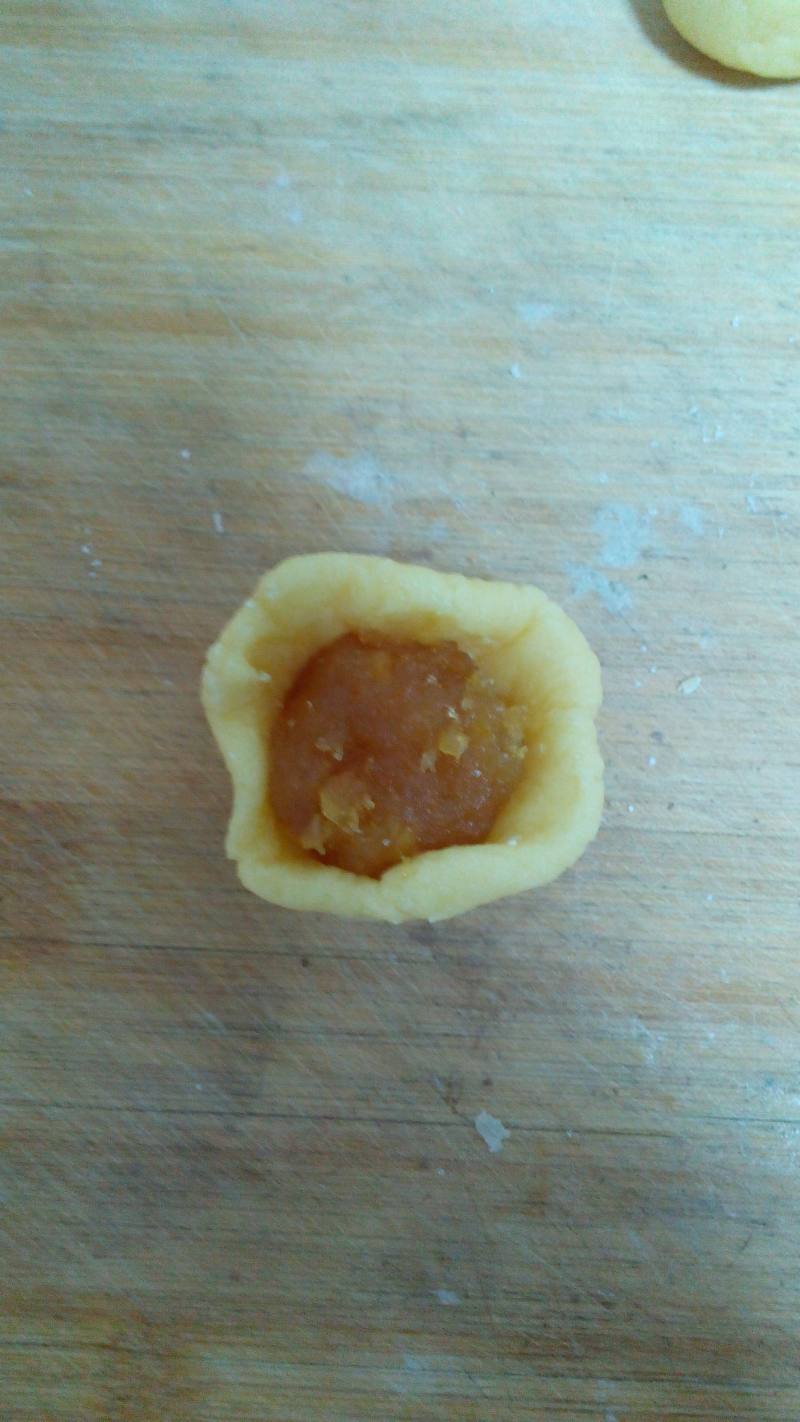
14.将馅料慢慢的包入皮中。
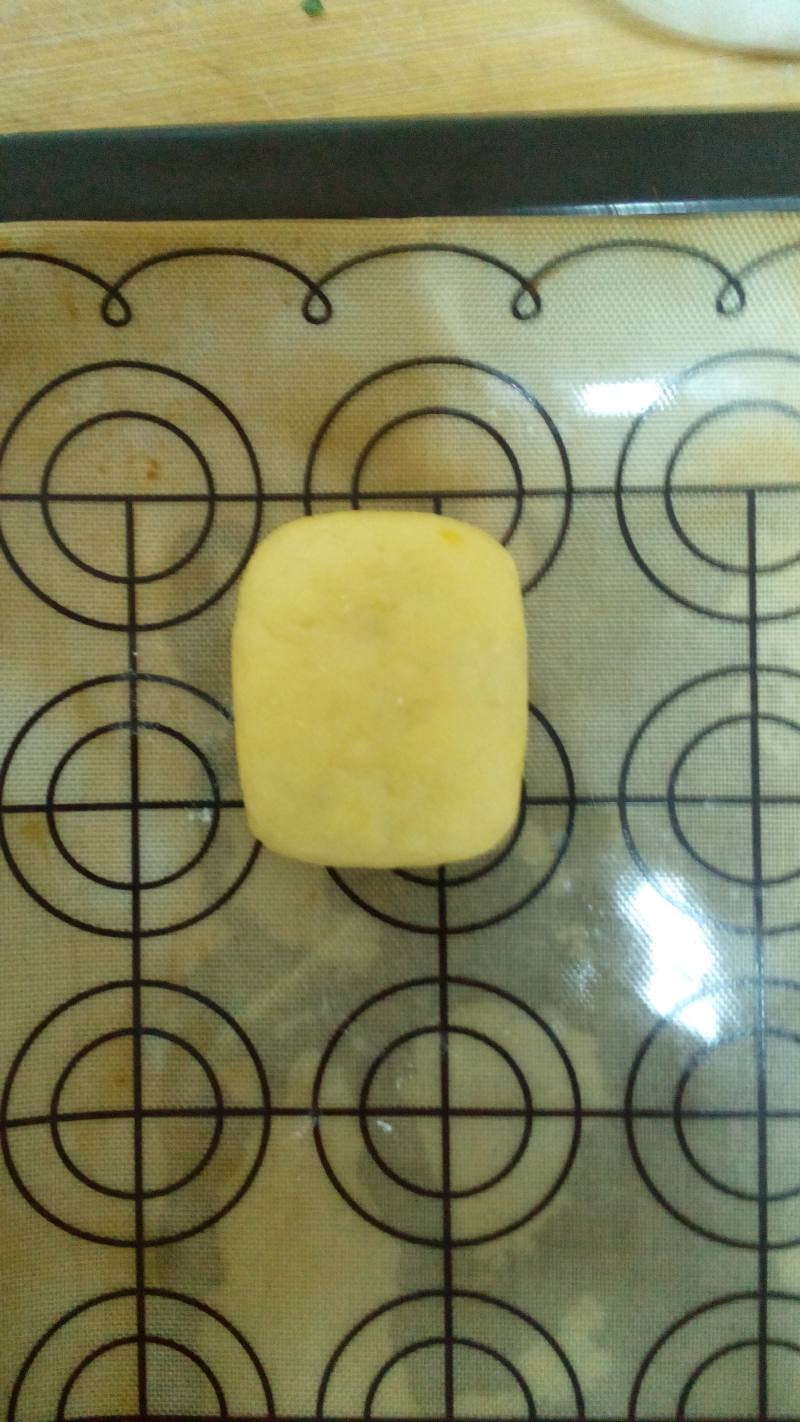
15.没有模具,徒手整理成方形。
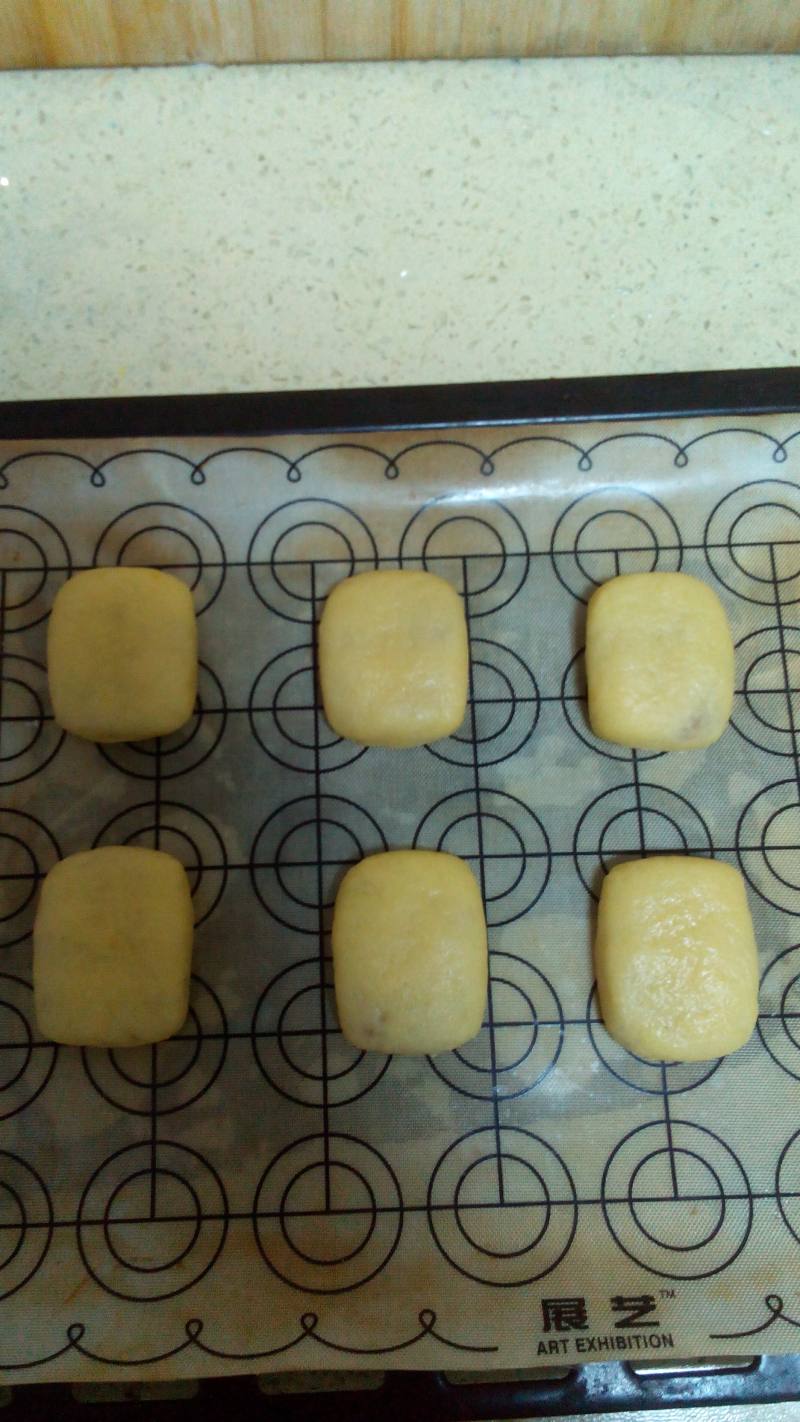
16.做好所有的。
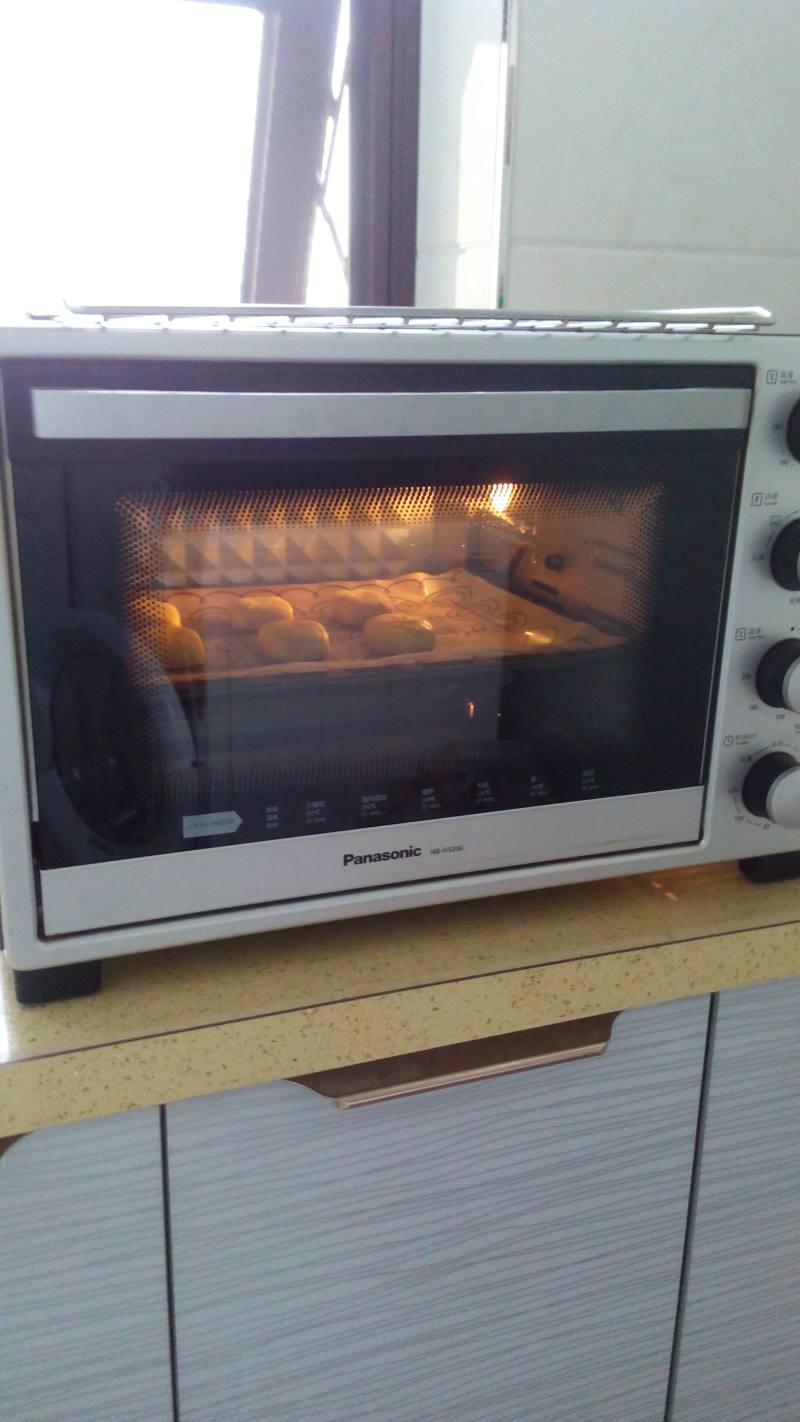
17.预热烤箱,上下火170度20分钟左右。
18.烤好以后就可以取出。

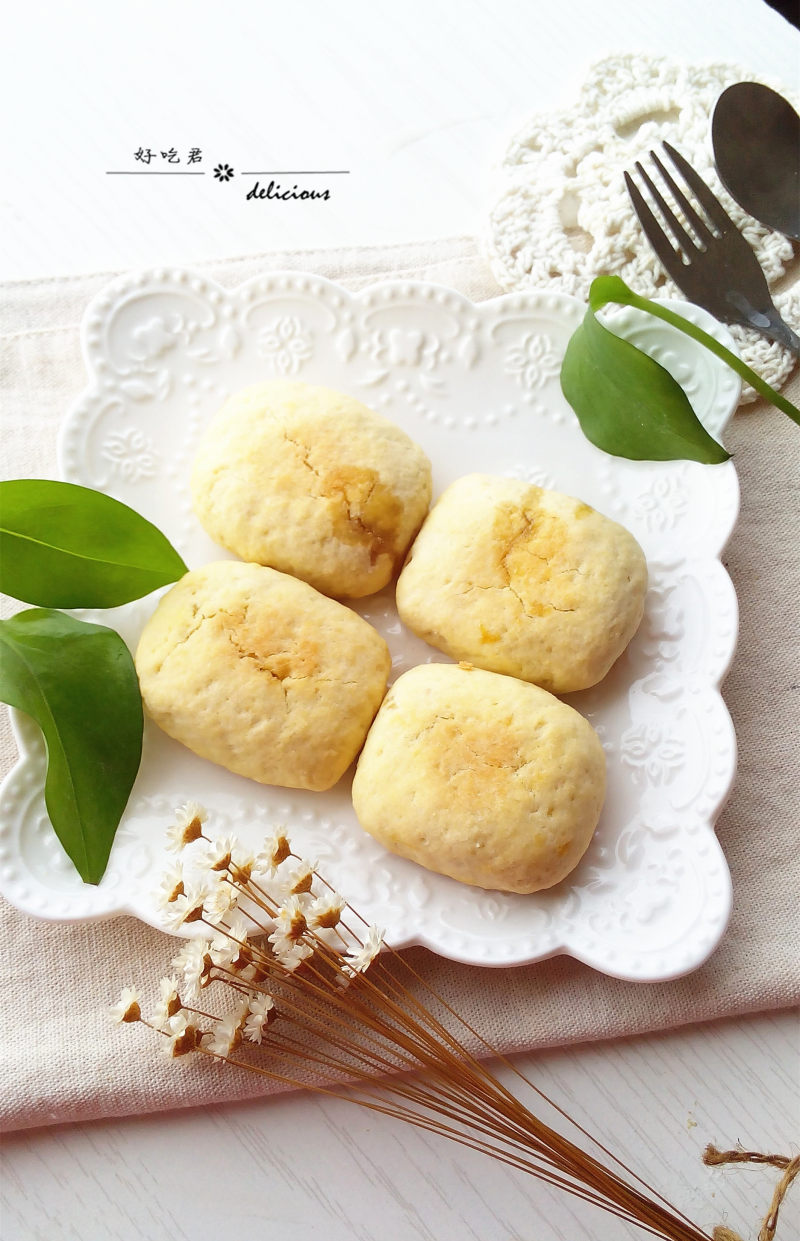
19.完全放凉。
20.O(∩_∩)O哈哈~
21.开吃啦~
小窍门&温馨提示
1.糖的分量都不是很多,口感属于轻甜。喜欢甜口味的可以多加点儿。
2.烤箱设置仅供参考。
TAGS:
烘焙 小清新 下午茶 零食 台湾小吃 其他菜系 苹果
免责声明:本站部分文章转载自网络,图文仅供行业学习交流使用,不做任何商业用途。文章仅代表原作者个人观点,其原创性及文章内容中图文的真实性、完整性等未经本站核实,仅供读者参考。
上一篇: 紫薯松糕的做法,紫薯松糕怎么做,紫薯松糕的做法松软又好吃紫,紫薯松糕怎么做,紫薯松糕热量,紫薯松糕的做法过程和视频
下一篇: 苏式月饼的做法,苏式月饼怎么做,苏式月饼起源于什么朝代,苏式月饼起源于哪里,苏式月饼的做法及配方,苏式月饼是哪里的特产
Deprecated: mysql_connect(): The mysql extension is deprecated and will be removed in the future: use mysqli or PDO instead in
/data/haozs.cc/xianguan.php on line
5
Deprecated: mysql_query(): The mysql extension is deprecated and will be removed in the future: use mysqli or PDO instead in
/data/haozs.cc/xianguan.php on line
7
