虎皮材料
蛋黄,
9个,
细砂糖,
55克,
玉米淀粉,
30克蛋糕卷材料
大豆油,
38克,
牛奶,
40克,
鸡蛋,
4个,
细砂糖,
50克,
低粉,
60克奶油夹心材料
淡奶油,
100克,
白糖,
10克黄金虎皮蛋糕卷的做法步骤
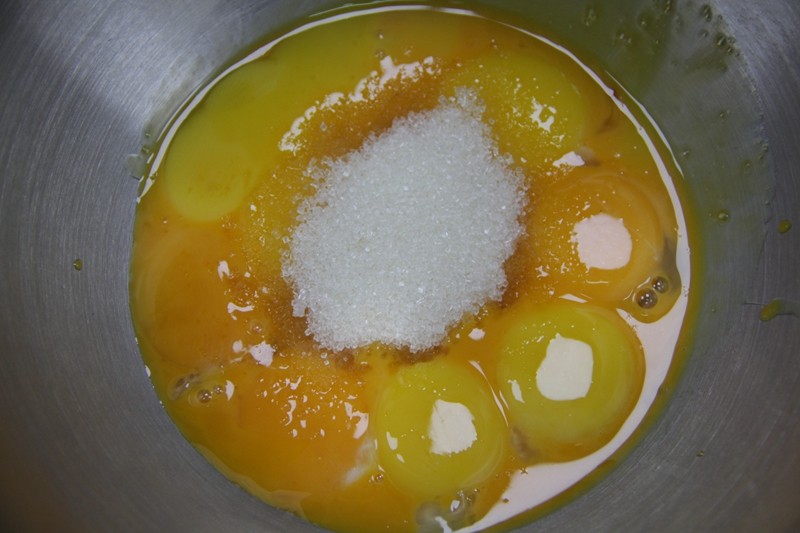
1.蛋黄加入细砂糖,用电动打蛋器打发至颜色变浅,体积膨胀
2.然后,加入玉米淀粉翻拌至顺滑无颗粒
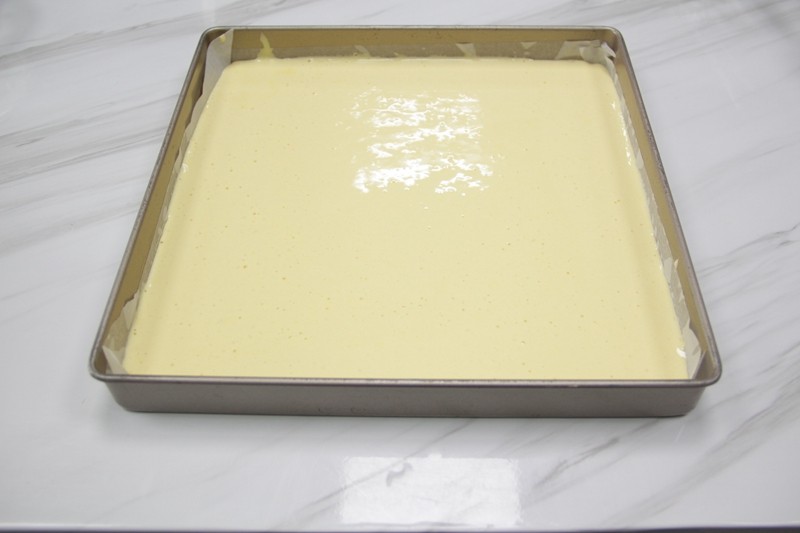
3.将搅拌好的虎皮蛋黄糊倒入烤盘中,抖平
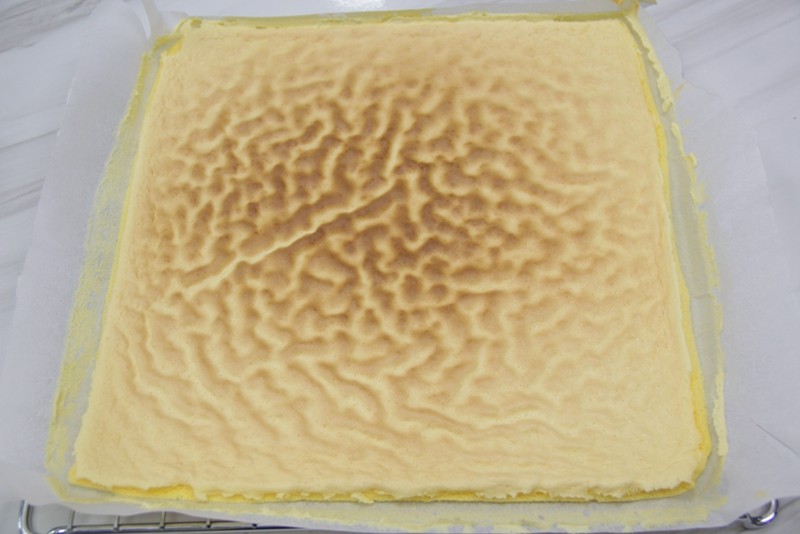
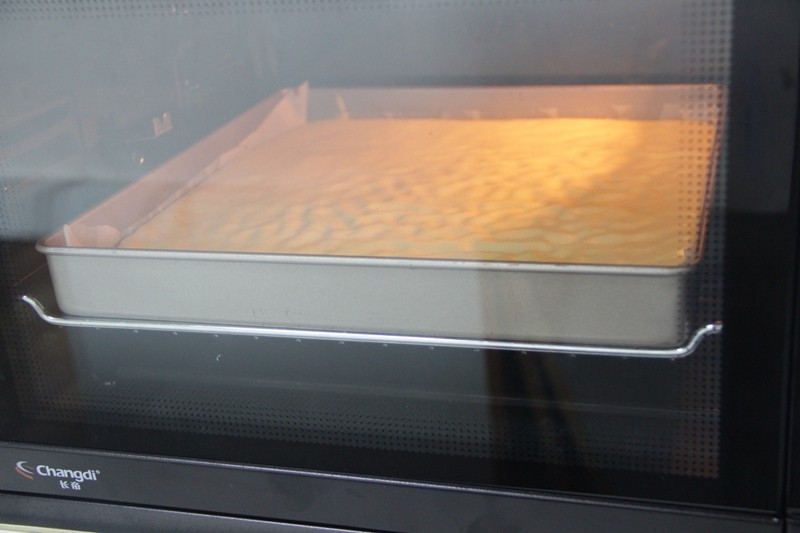
4.烤箱提前预热200度,烘烤6分钟,虎斑纹上色即可
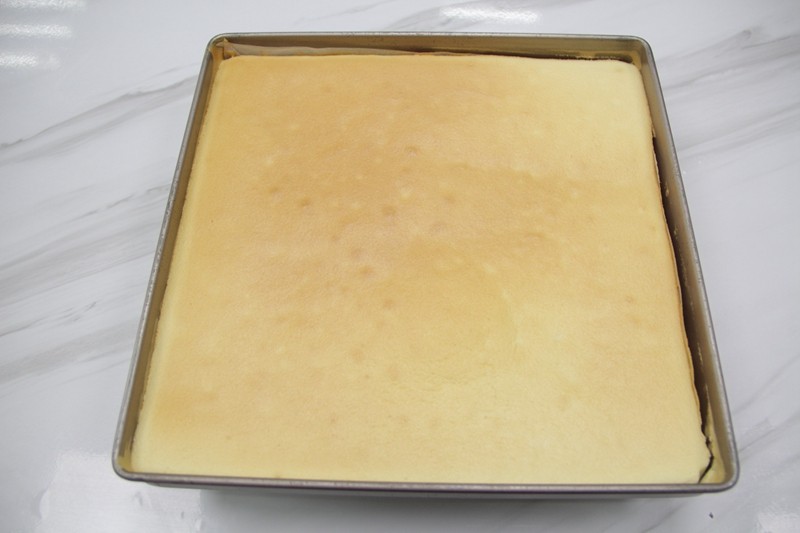
5.出炉后,放凉备用
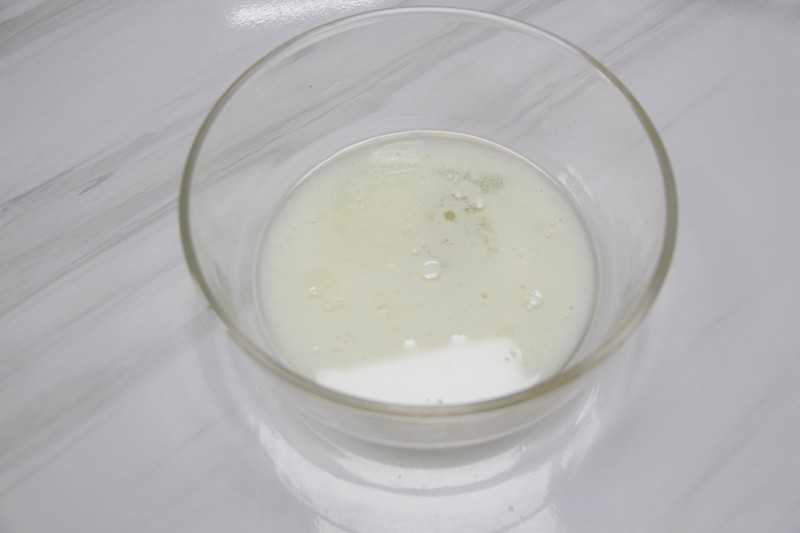
6.再来制作蛋糕部分:大豆油加入牛奶加入一部分细砂糖,用手动打蛋器搅拌至糖溶化
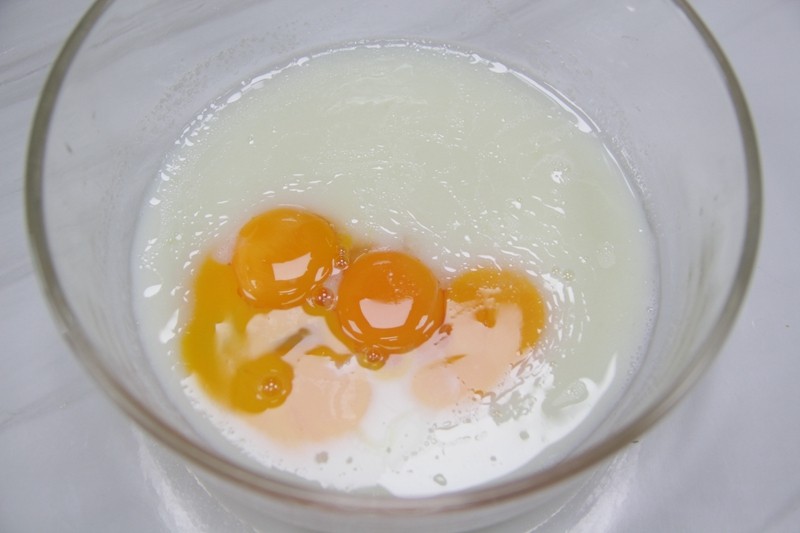
7.加入蛋黄搅拌均匀
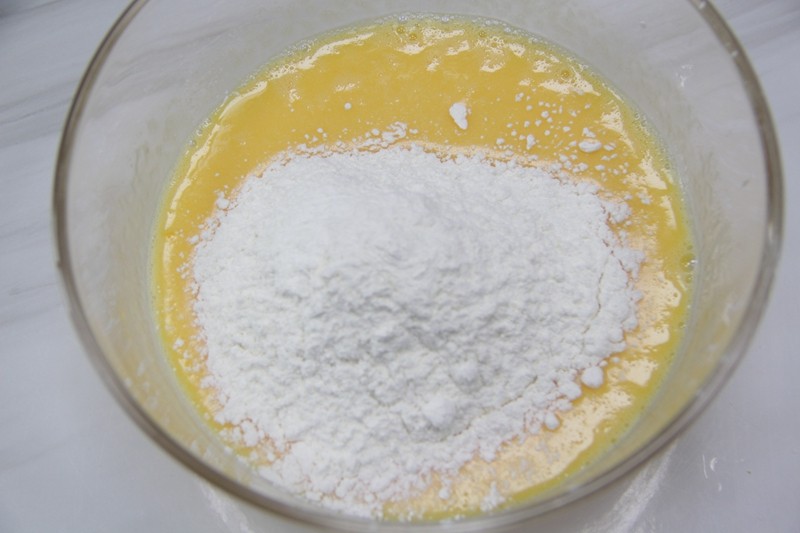
8.筛入低筋面粉翻拌均匀
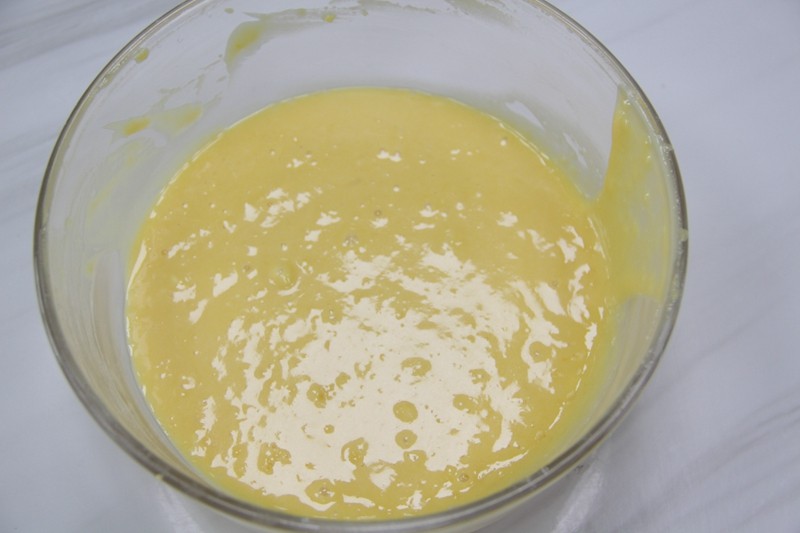
9.蛋黄糊静置10分钟,再翻拌至顺滑无颗粒
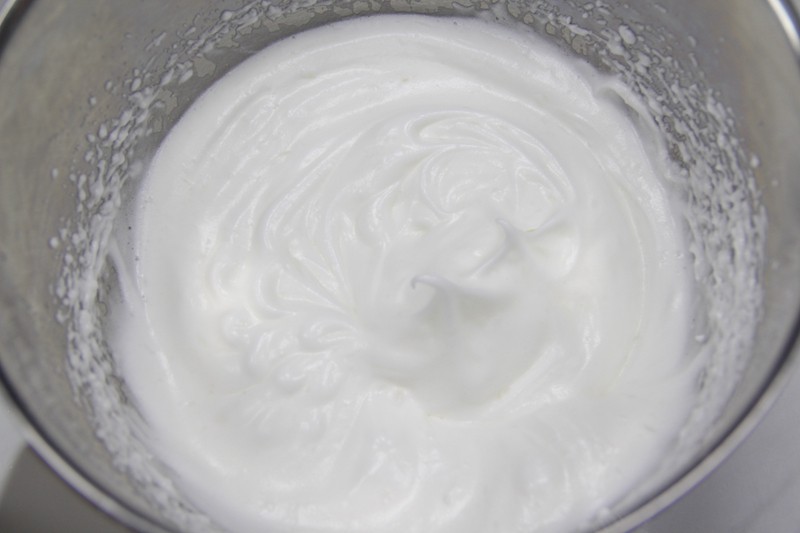
10.蛋清用电动打蛋器打发至湿性发泡,提起打蛋头有小弯钩即可
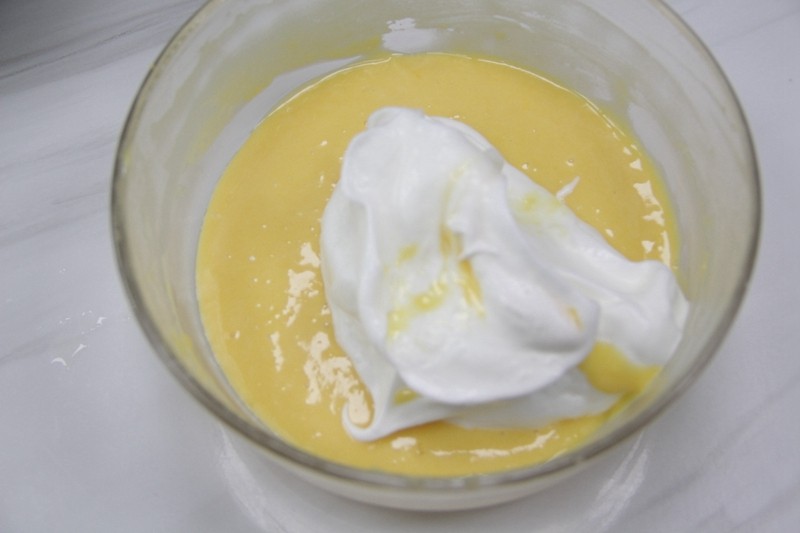
11.取1/3蛋白霜入蛋黄糊盘中,用橡皮刮刀翻拌均匀
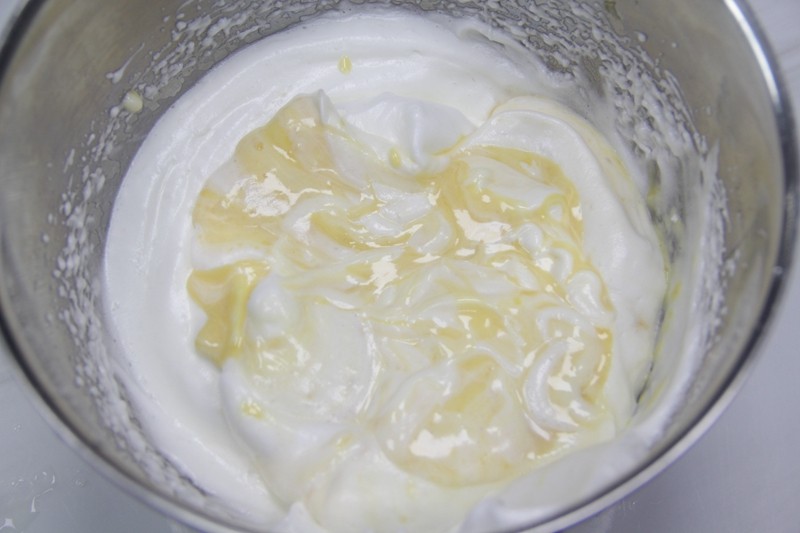
12.最后把蛋黄糊面糊全部倒入蛋白霜盘中,完全翻拌均匀至光滑细腻无颗粒
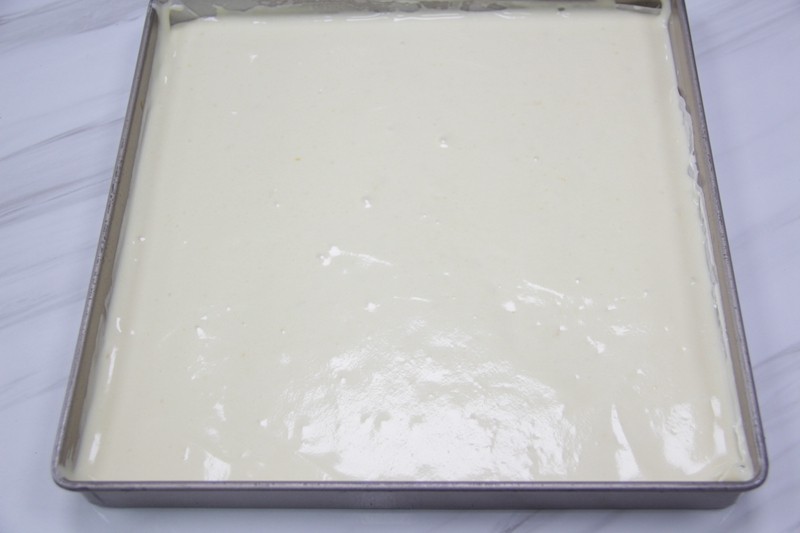
13.把面糊倒入黄金烤盘中,轻震几下,把蛋糕糊里面的气泡震出来
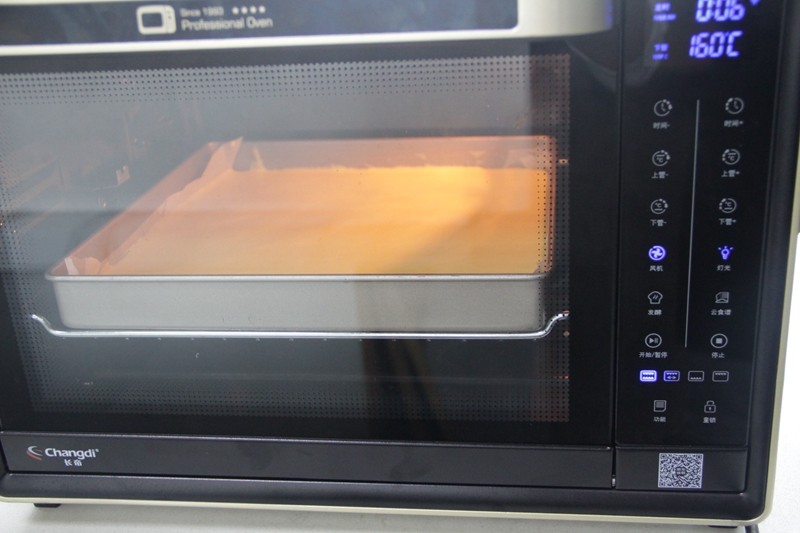
14.烤箱提前预热,上下火,170度,烘烤20分钟
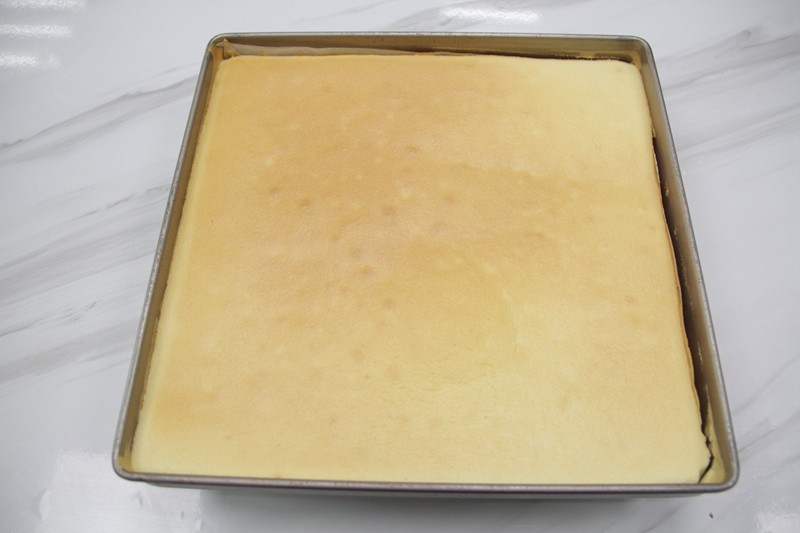
15.出炉后,放凉备用
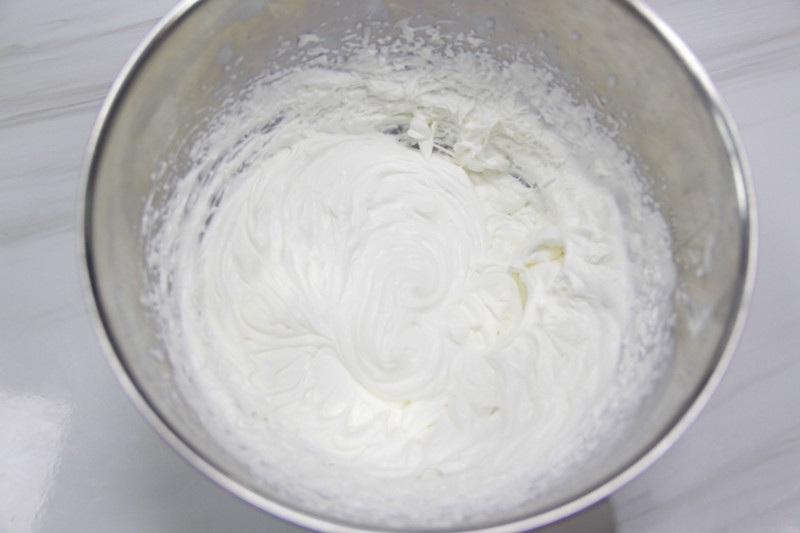
16.白糖加入淡奶油用电动打蛋器打发
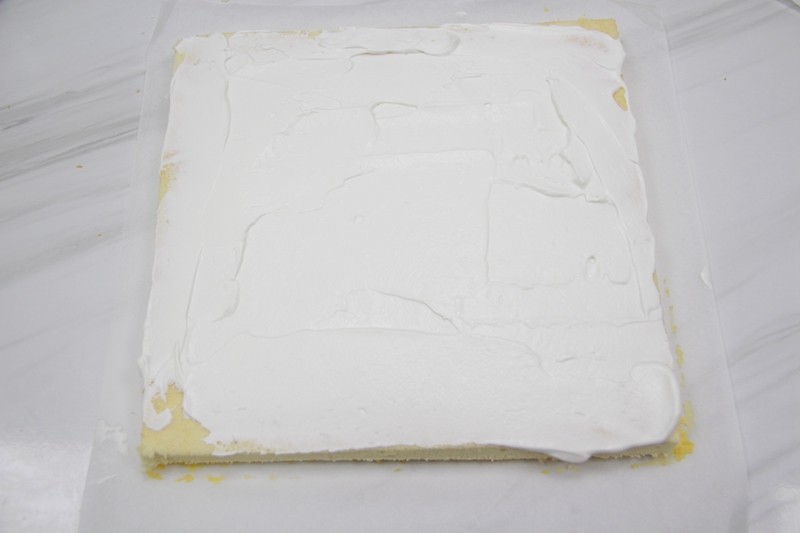
17.把有虎纹的一面朝下,在虎皮蛋糕上涂一层薄薄的淡奶油,,将戚风蛋糕片表面朝上,铺在虎皮蛋糕上,涂上厚厚的一层淡奶油
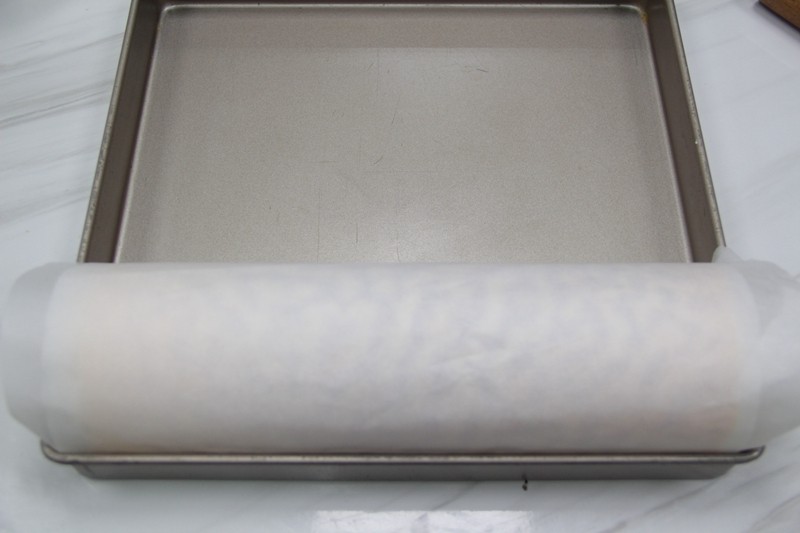
18.最后,用油纸卷好包起来,放入冰箱冷藏1个小时,使蛋糕卷定型,即可
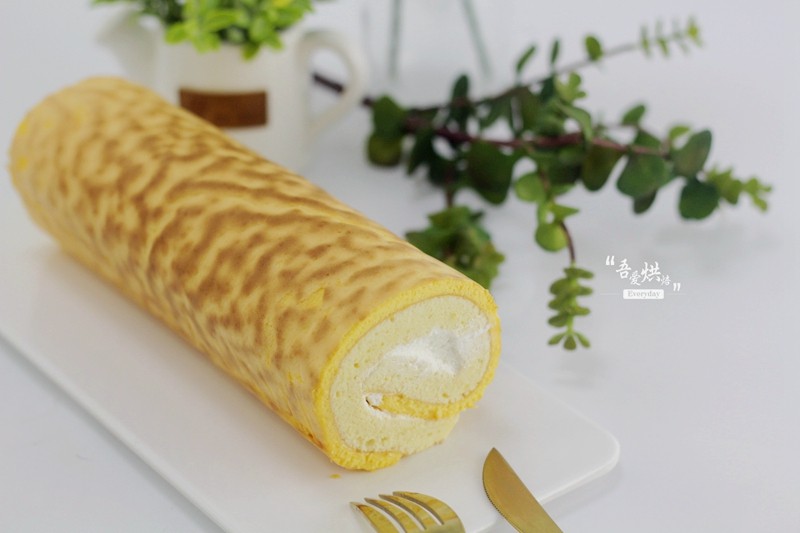
19.再把它从冰箱取出,去除油纸
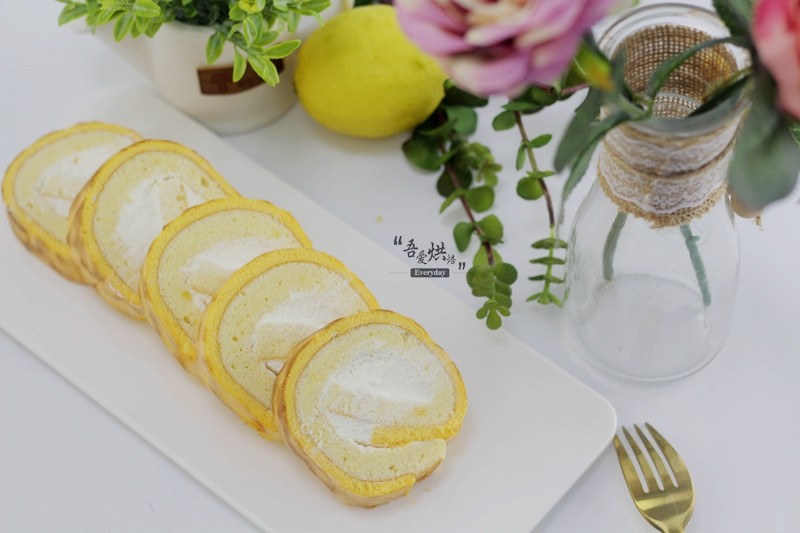
20.切块即可食用
TAGS:
烘焙 老人 早餐 其他菜系 学生 蛋黄
免责声明:本站部分文章转载自网络,图文仅供行业学习交流使用,不做任何商业用途。文章仅代表原作者个人观点,其原创性及文章内容中图文的真实性、完整性等未经本站核实,仅供读者参考。
上一篇: 香肠芝士面包的做法,香肠芝士面包怎么做,香肠芝士面包的做法,香肠芝士面包的做法大全窍门,香肠芝士面包热量,香肠芝士面包的做法烤箱
下一篇: 家常烧豆腐的做法,家常烧豆腐怎么做,家常烧豆腐的做法,家常豆腐的做法,家常豆腐,家常炒豆腐
Deprecated: mysql_connect(): The mysql extension is deprecated and will be removed in the future: use mysqli or PDO instead in
/data/haozs.cc/xianguan.php on line
5
Deprecated: mysql_query(): The mysql extension is deprecated and will be removed in the future: use mysqli or PDO instead in
/data/haozs.cc/xianguan.php on line
7