主料:
蛋挞皮适量,
榴莲肉适量
辅料:
芝麻适量榴莲酥的做法步骤
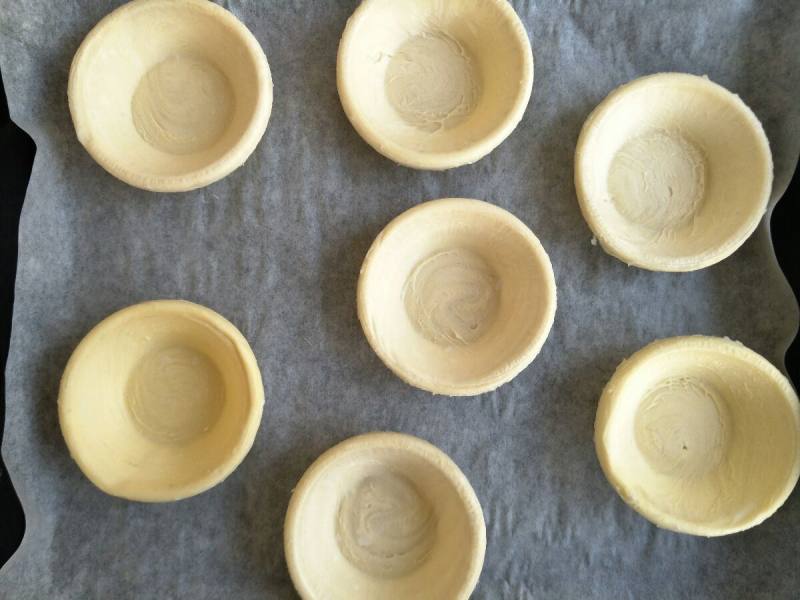
1.蛋挞皮去掉锡纸杯,解冻。一定要在解冻之前撕掉锡纸,否则……亲可以试试??
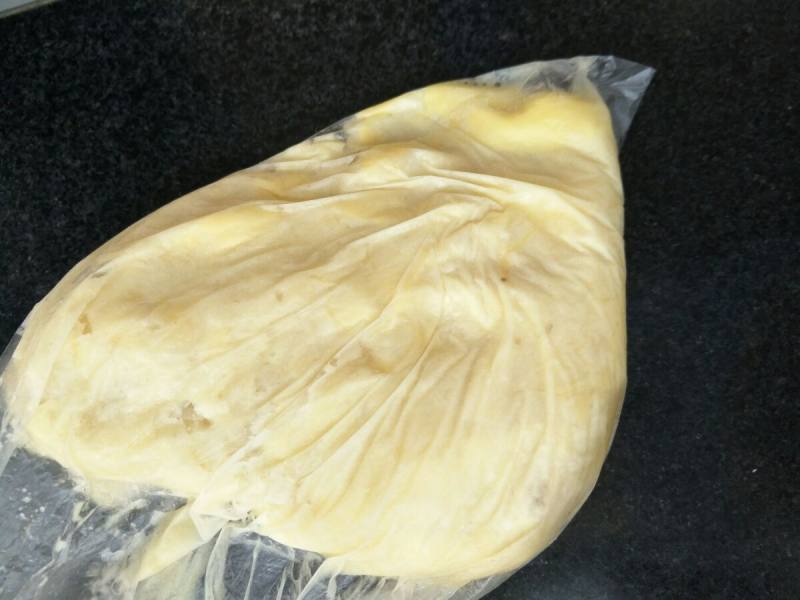
2.榴莲去核,装入保鲜袋压成泥。纯纯的榴莲肉,不用加淀粉不用加糖
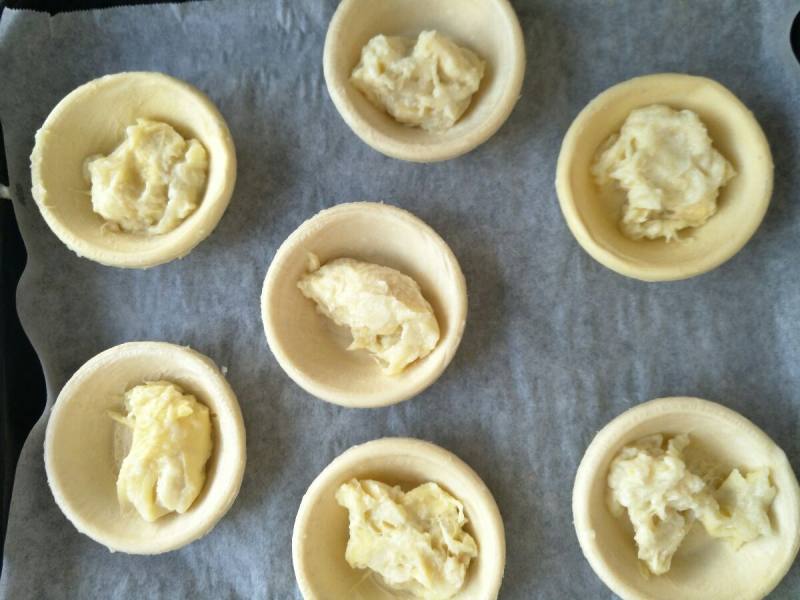
3.平均放入蛋挞皮里
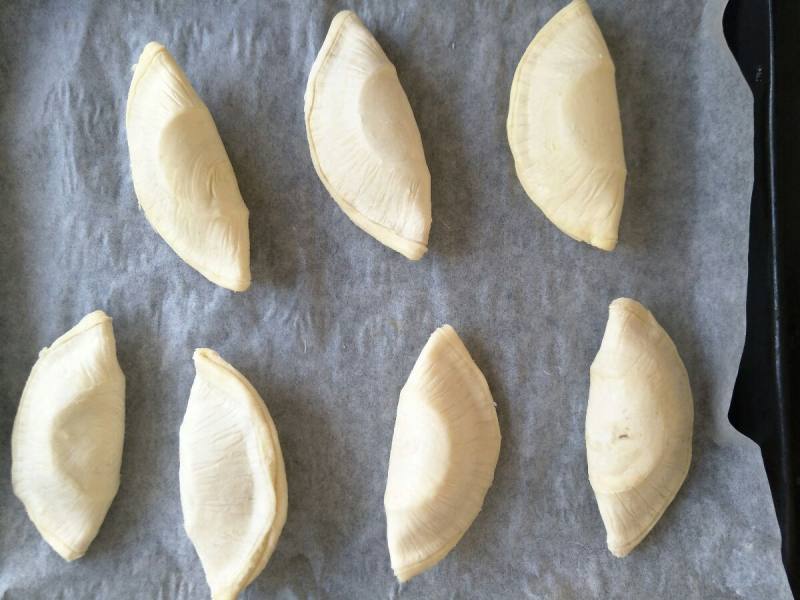
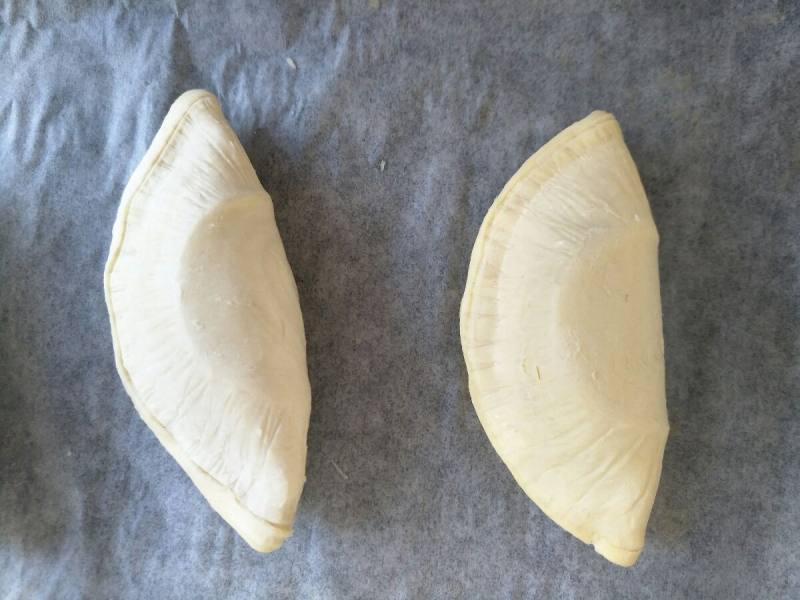
4.轻轻捏好,不是捏最外边,捏的是边缘稍稍往里的地方,这样烤出来边的酥层特别明显
5.牙签在每个上面扎2-3个眼,以免烘烤时涨破
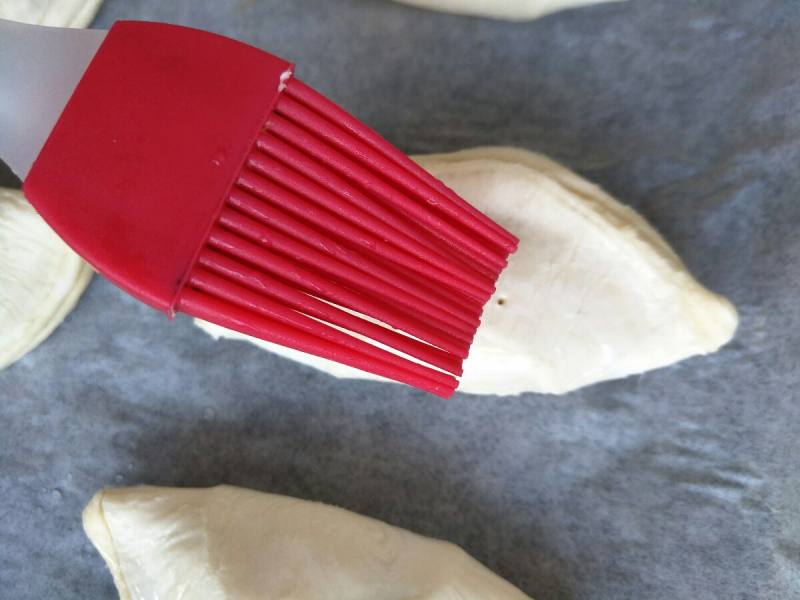
6.刷层水,或者蛋液
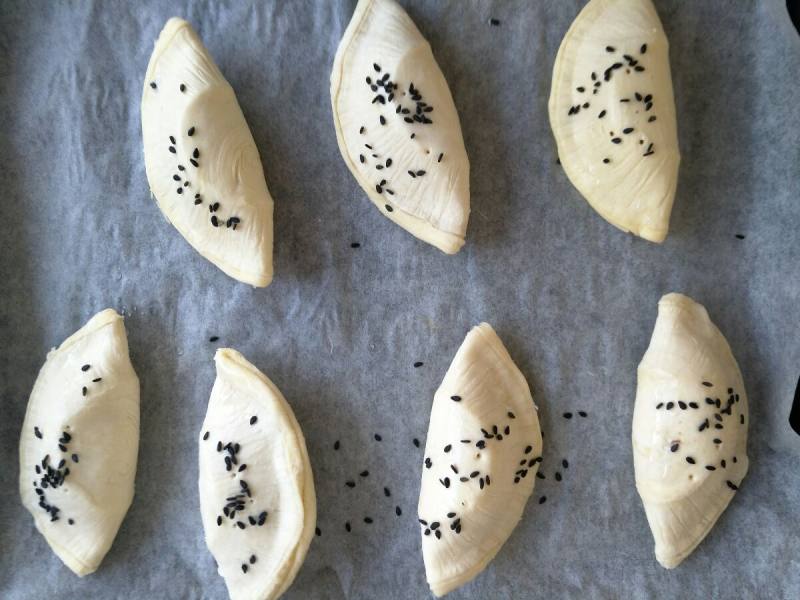
7.撒上芝麻
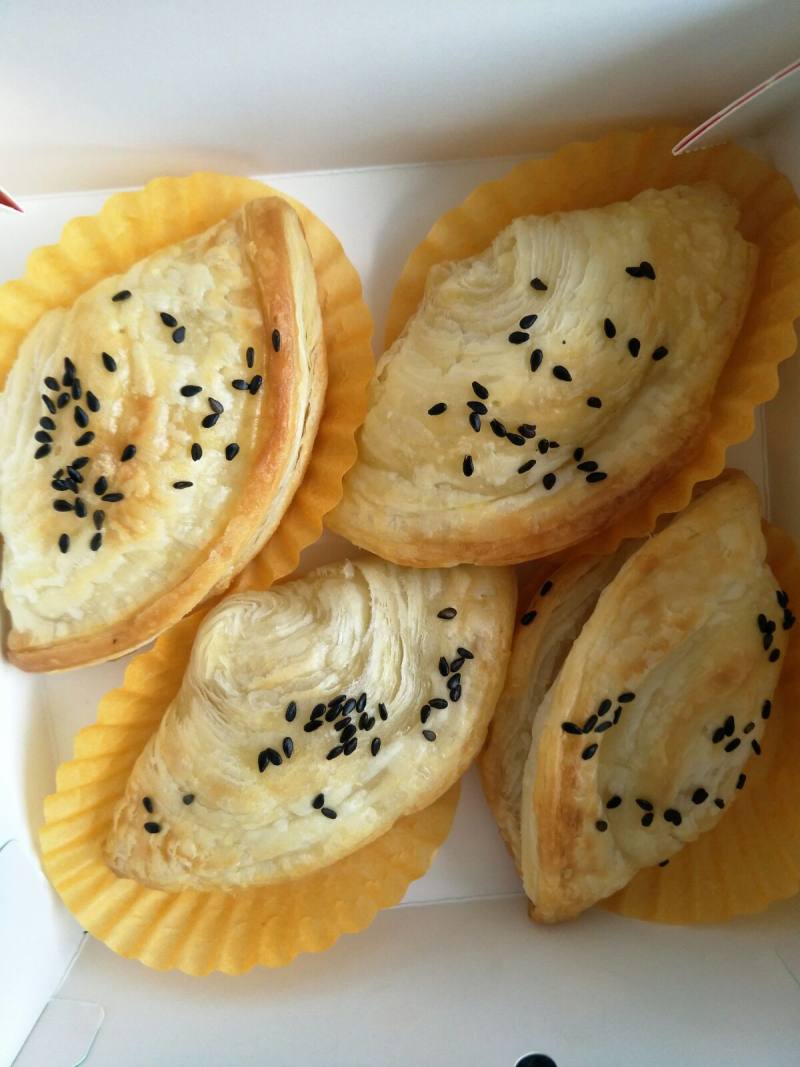
8.烤箱提前上下210度预热,放入中层,15分钟左右。看上色情况,后五分钟可调成200度
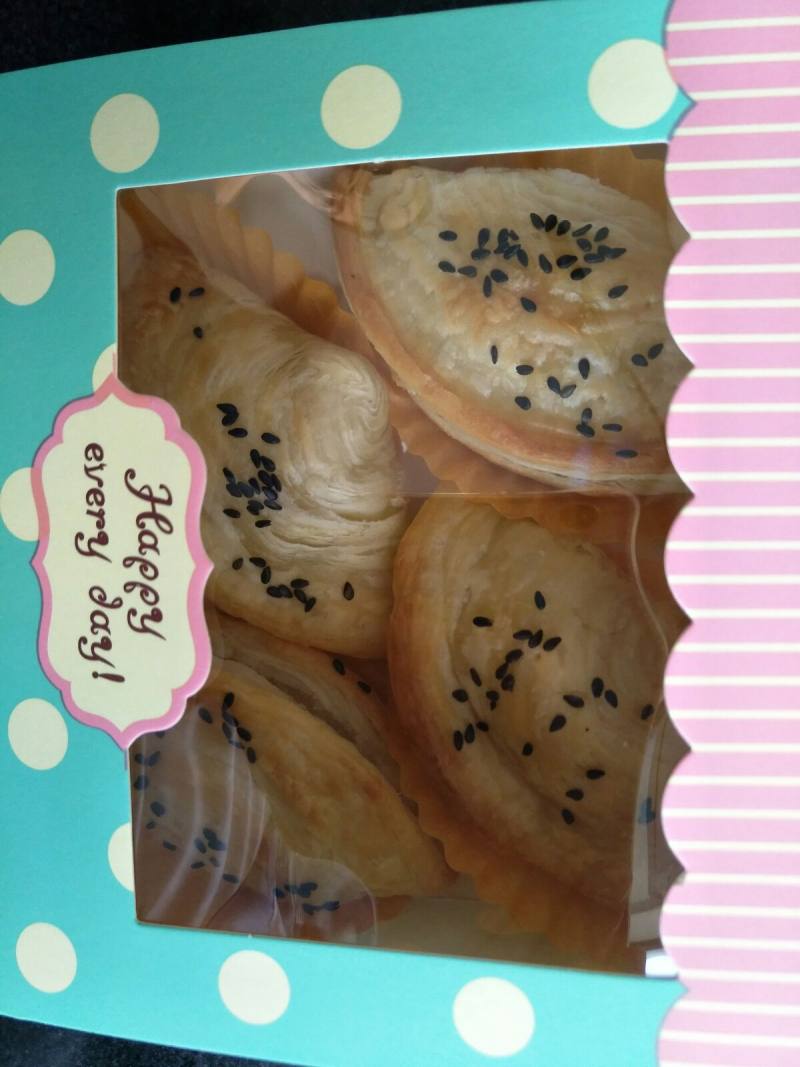
9.装入盒子,去野餐
TAGS:
烘焙 甜品 下午茶 泰国菜 学生 蛋挞皮
免责声明:本站部分文章转载自网络,图文仅供行业学习交流使用,不做任何商业用途。文章仅代表原作者个人观点,其原创性及文章内容中图文的真实性、完整性等未经本站核实,仅供读者参考。
上一篇: 番茄肉酱意面的做法,番茄肉酱意面怎么做,番茄肉酱意面的做法,番茄肉酱意面英文,番茄肉酱意面热量,番茄肉酱意面的营养价值
下一篇: 泰式冬阴功汤的做法,泰式冬阴功汤怎么做,泰式冬阴功汤放哪些食材,泰式冬阴功汤的做法,泰式冬阴功汤的好处,泰式冬阴功汤辣不辣
Deprecated: mysql_connect(): The mysql extension is deprecated and will be removed in the future: use mysqli or PDO instead in
/data/haozs.cc/xianguan.php on line
5
Deprecated: mysql_query(): The mysql extension is deprecated and will be removed in the future: use mysqli or PDO instead in
/data/haozs.cc/xianguan.php on line
7
