主料:
黄油,
50g,
花生酱,
70g,
白砂糖,
50g,
盐,
少许,
鸡蛋,
1个,
牛奶,
85g,
低筋面粉,
100g,
杏仁粉,
20g,
泡打粉,
1小勺烘焙用巧克力豆,30g
辅料:
花生酱,
100g,
全蛋液,
20g,
黄油,
60g,
白砂糖,
20g,
凉水,
10g香草荚,1/4花生酱奶油麦芬的做法步骤
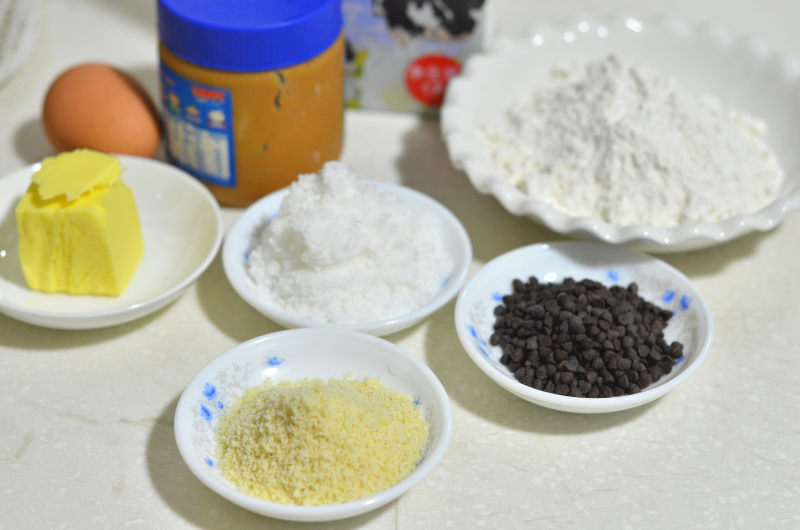
1.准备好所需材料.
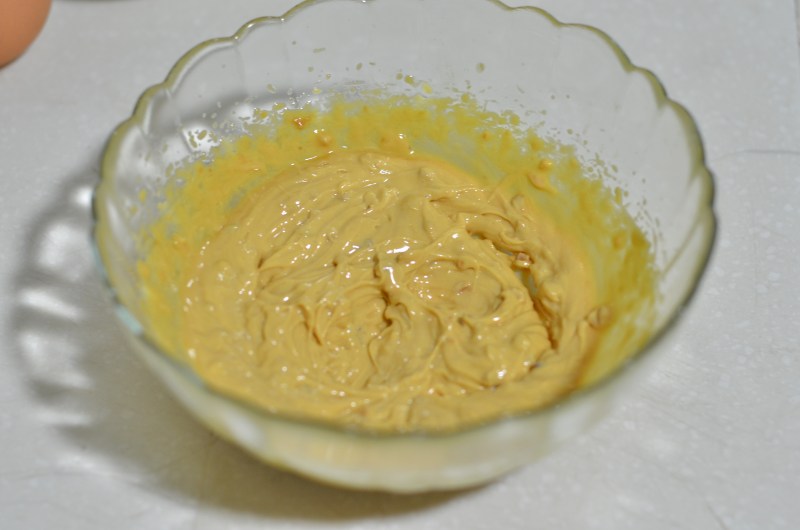
2.将软化好的黄油放在大碗中和花生酱,白砂糖一起搅打成均匀的黄油糊。
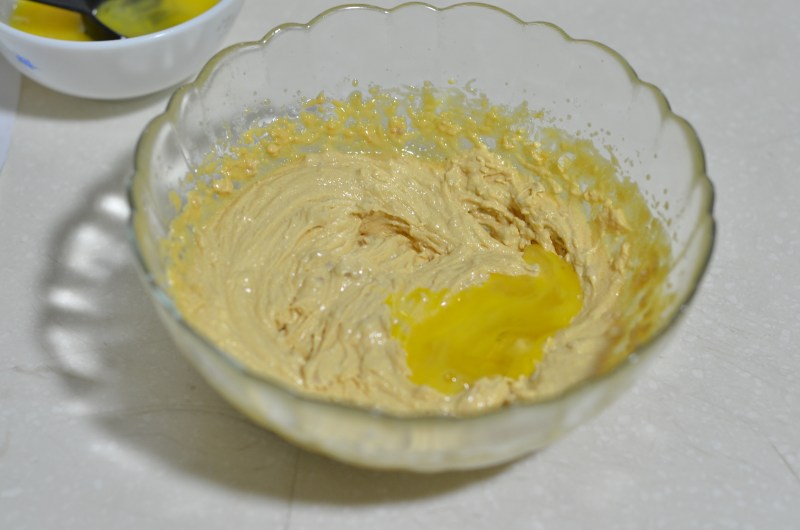
3.将打匀的鸡蛋液多次少量的加入,直至完全搅打均匀。
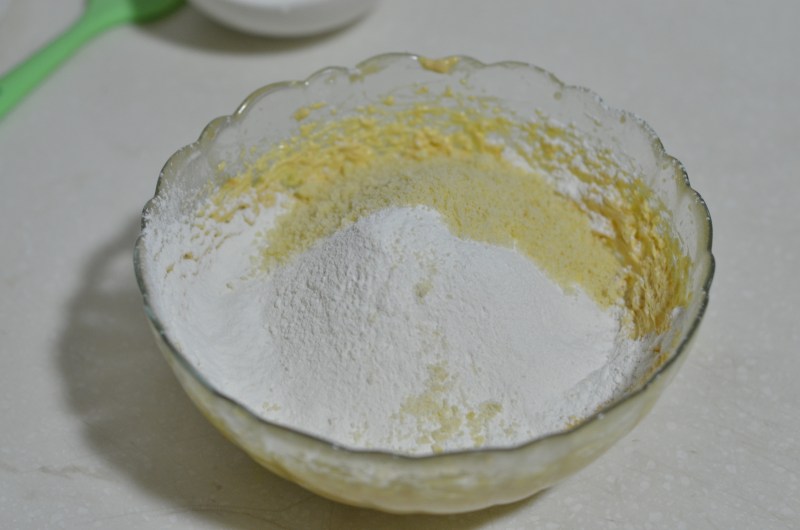
4.加入过筛后的低筋面粉,杏仁粉和泡打粉。
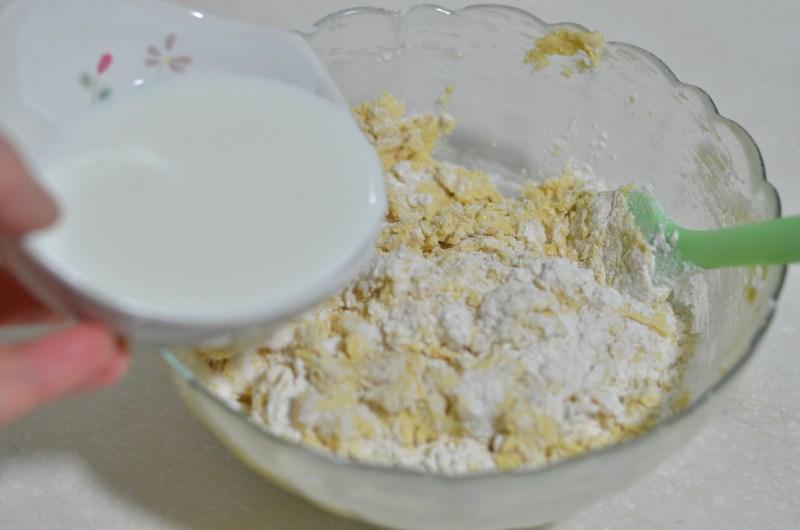
5.用橡胶刮刀以切拌的方式拌合,在粉类完全搅拌均匀前加入牛奶。
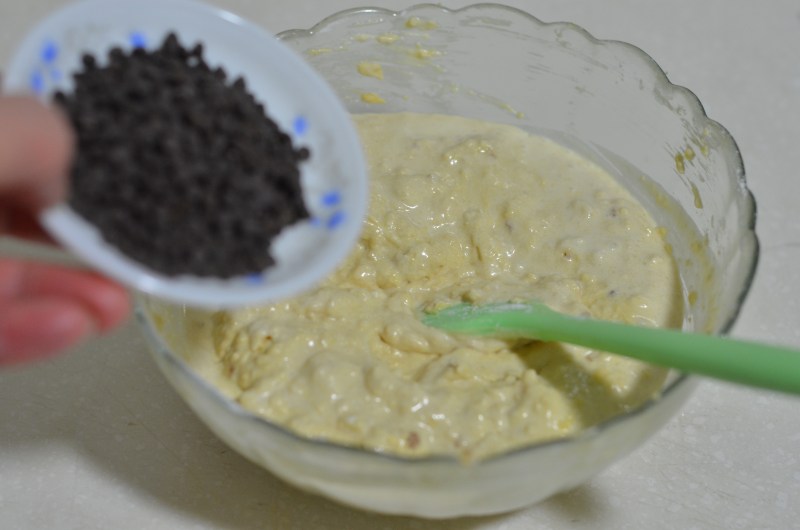
6.再加入烘焙用巧克力豆。
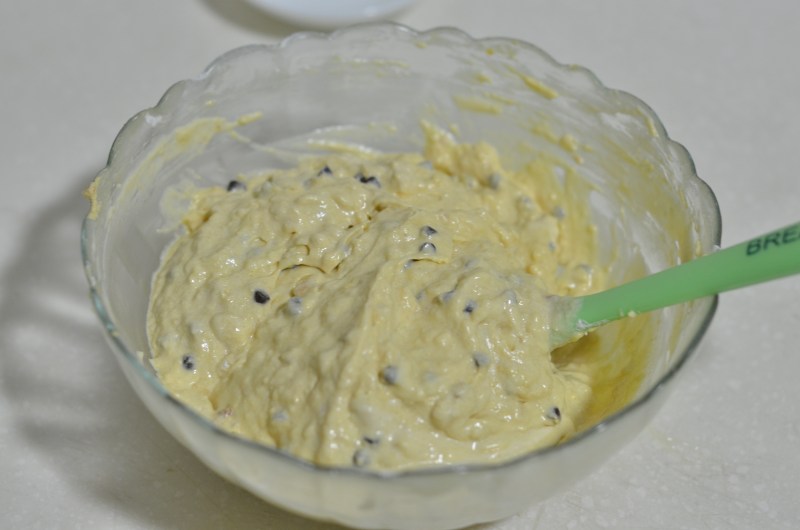
7.拌好的面糊。
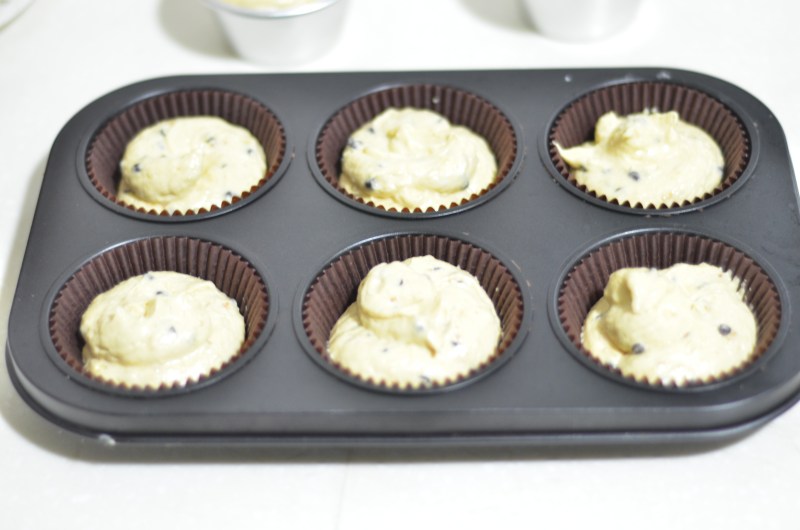
8.将面糊装到麦芬纸杯中,七八分满即可。
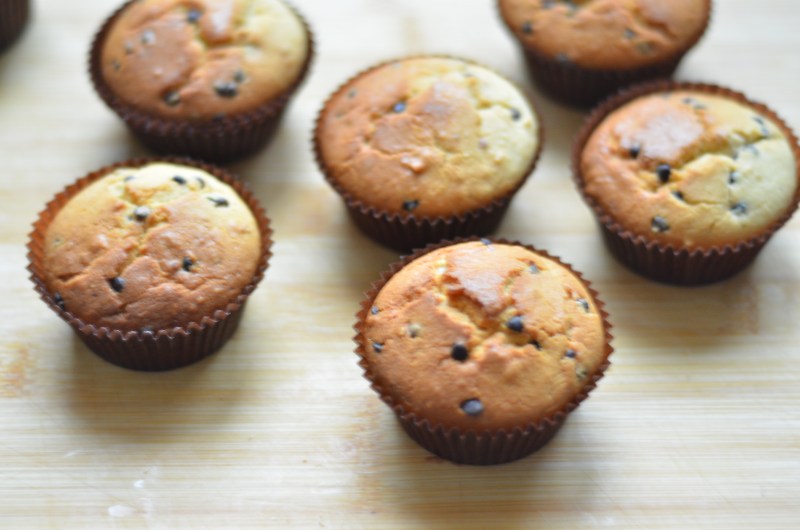
9.放入预热好180度的烤箱中,烤20分钟左右出炉。
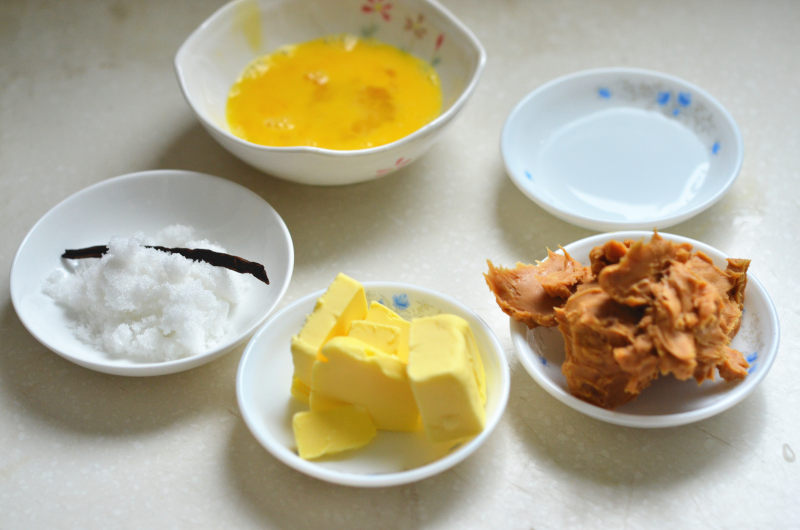
10.准备好花生酱奶油材料。
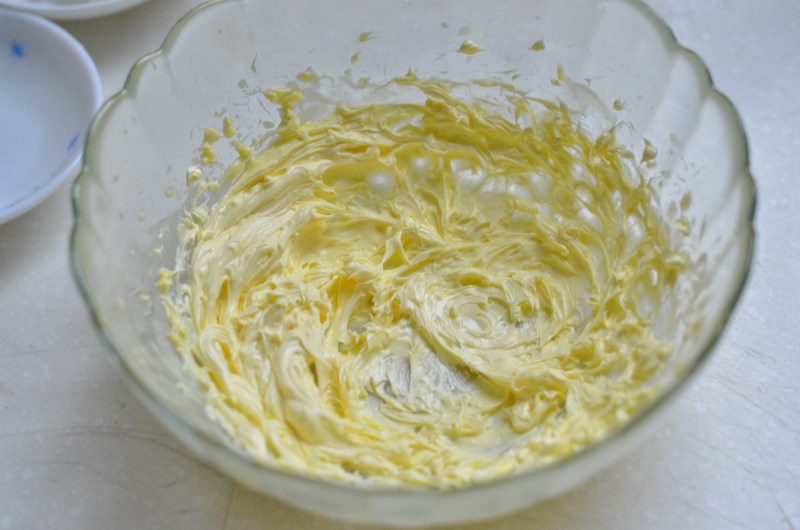
11.黄油软化后先搅打顺滑
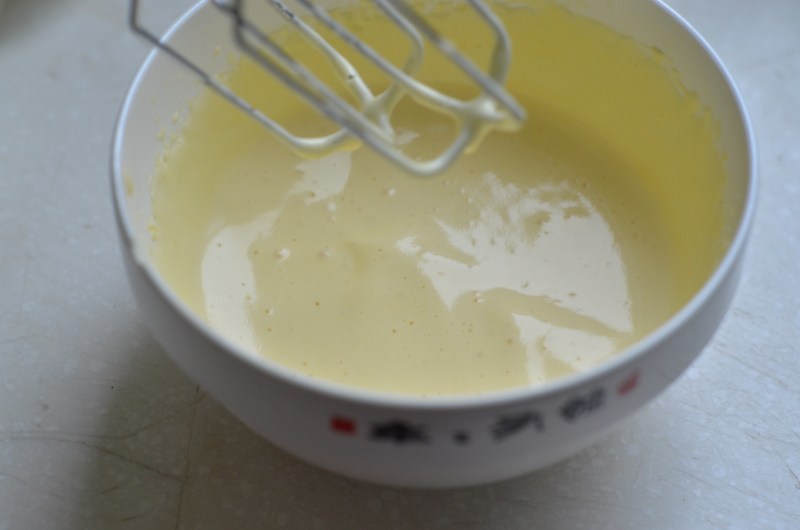
12.蛋液隔热水打至浓稠,颜色发白。
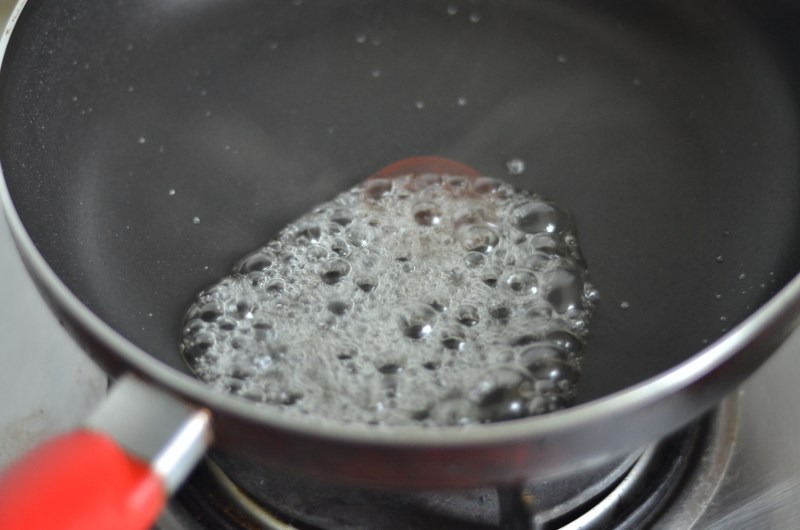
13.白砂糖和凉水放入锅中煮沸成糖浆。
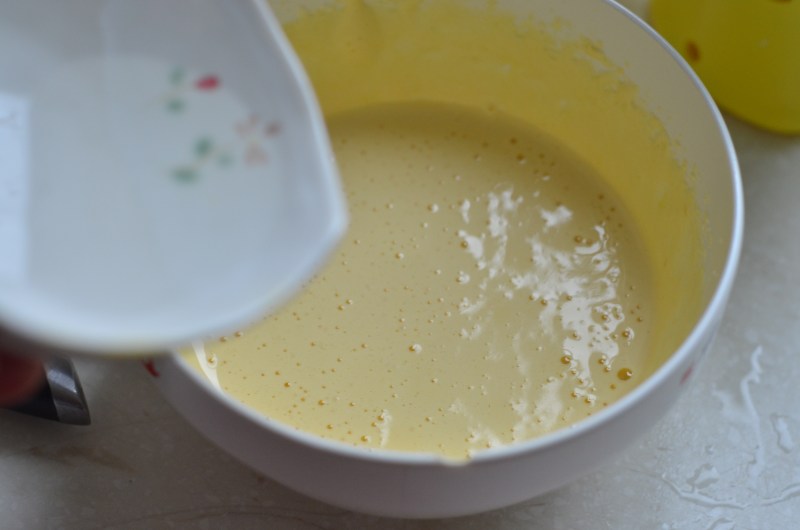
14.糖浆分次少量加入至鸡蛋糊中(不要一次性加入会将蛋液烫熟)
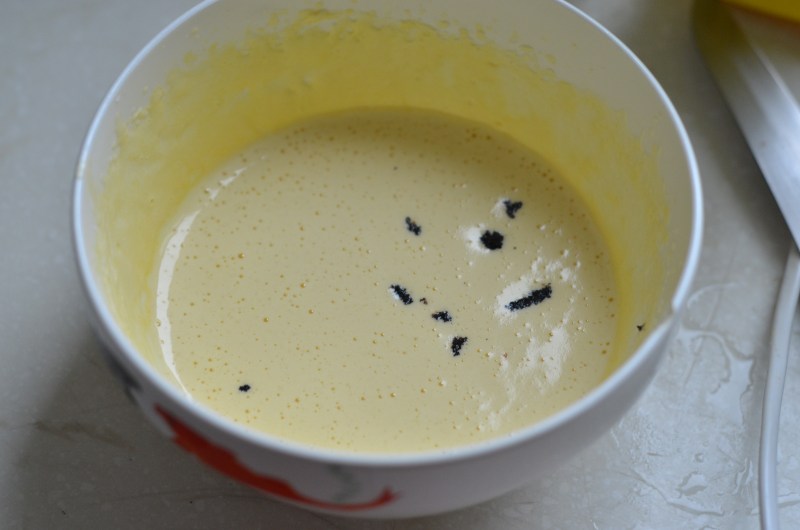
15.加入香草籽。
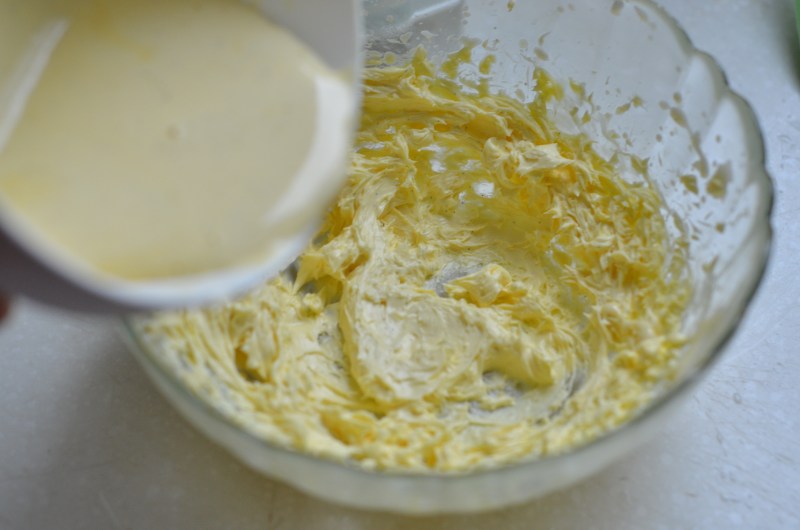
16.将鸡蛋糊分3-5次加入到黄油糊中搅打5分钟左右。
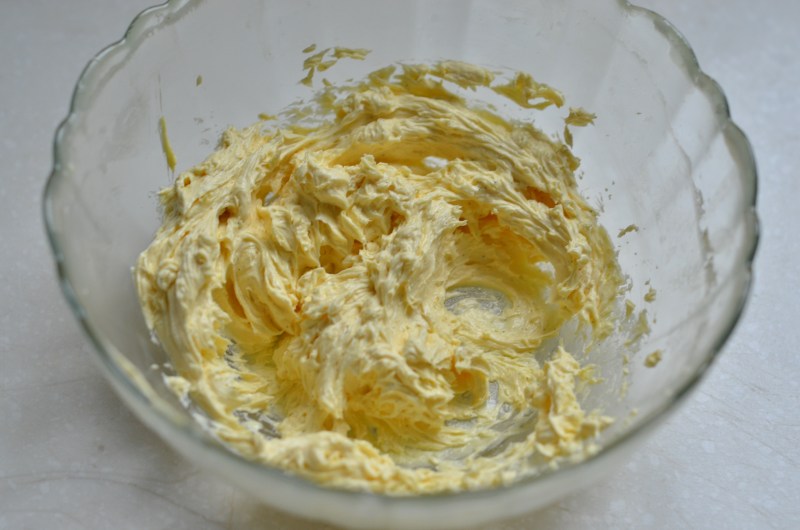
17.全部打好黄油鸡蛋糊。
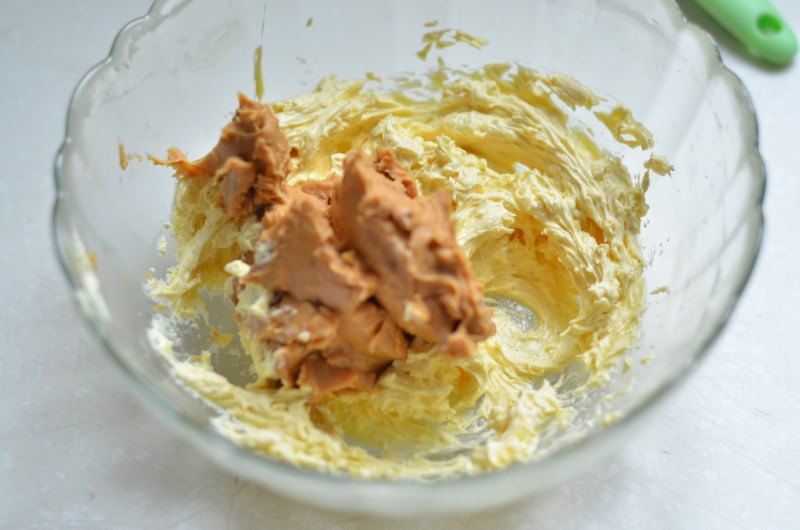
18.将花生酱加入黄油鸡蛋糊中.
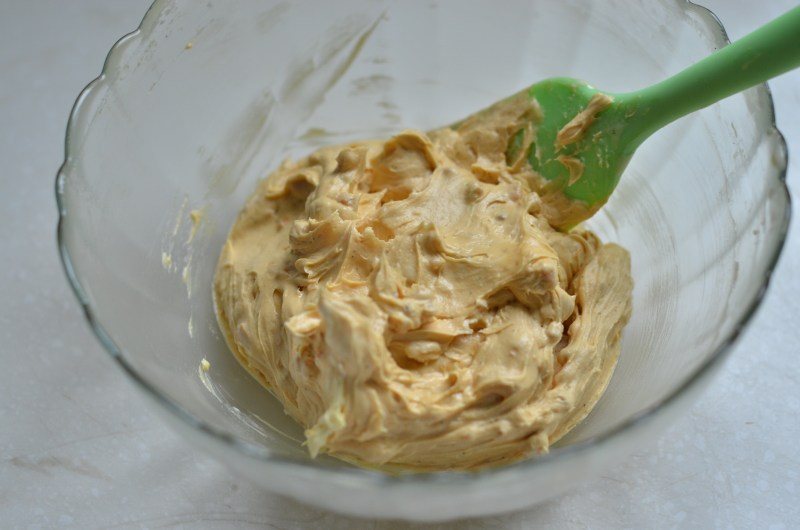
19.搅打均匀成花生酱奶油。
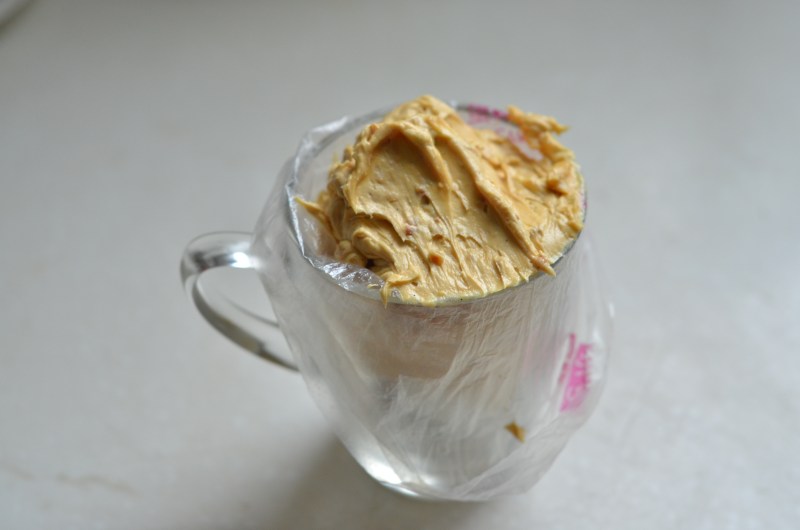
20.装入裱花袋中。
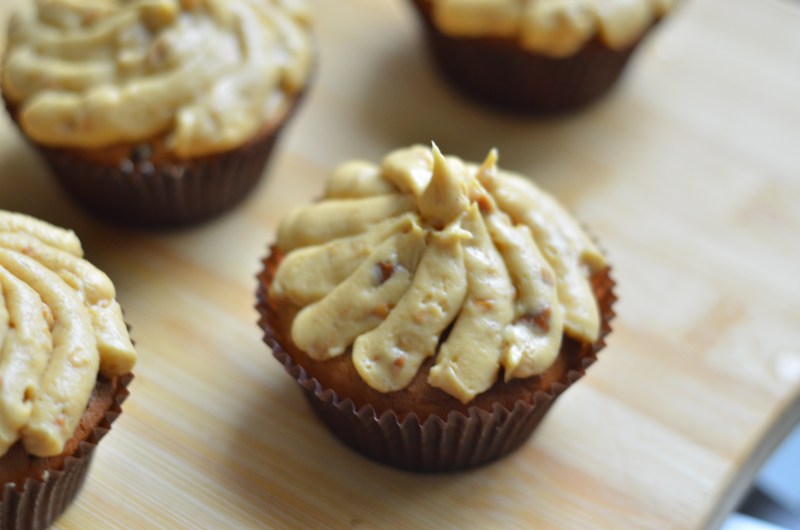
21.用圆形裱花嘴旋转着挤在蛋糕上,再用几颗巧克力豆装饰。
小窍门&温馨提示
1. 我用的是颗粒的花生酱,如果用细滑型的花生酱可以用曲奇花嘴挤出来会更漂亮。
2. 拌蛋糕面糊时,不要过度搅拌以免面粉起筋导致组织粗糙。
3. 烘焙用巧克力豆是耐高温的,没有也可以省掉。
TAGS:
烘焙 蛋糕 早餐 下午茶 Muffin玛芬 其他菜系 黄油
免责声明:本站部分文章转载自网络,图文仅供行业学习交流使用,不做任何商业用途。文章仅代表原作者个人观点,其原创性及文章内容中图文的真实性、完整性等未经本站核实,仅供读者参考。
上一篇: 波隆那肉酱笔管面
下一篇: 彩色蝴蝶面
Deprecated: mysql_connect(): The mysql extension is deprecated and will be removed in the future: use mysqli or PDO instead in
/data/haozs.cc/xianguan.php on line
5
Deprecated: mysql_query(): The mysql extension is deprecated and will be removed in the future: use mysqli or PDO instead in
/data/haozs.cc/xianguan.php on line
7
