主料:
鸡蛋适量,
虾仁适量,
温水适量
辅料:
红椒适量
配料:
生抽适量,
香油适量,
盐适量,
料酒适量虾仁蒸蛋的做法步骤
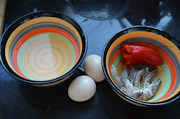
1.材料图
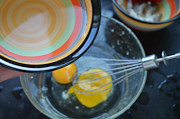
2.将鸡蛋打散,加两倍于鸡蛋的温水,边倒边将鸡蛋和水搅打均匀。根据自家口味儿,可以放一点儿盐。
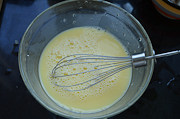
3.打好的鸡蛋均匀细腻。
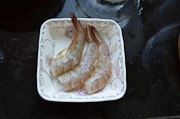
4.将虾去头开背,用一点儿料酒腌上。

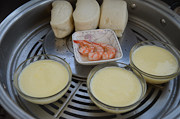
5.将蛋液分装在小碗中。
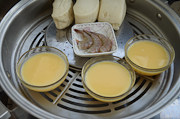
6.水烧开后入笼,将虾也一同放上。
7.大火蒸六至八分钟。

8.开锅后将虾仁放在蒸蛋上面,淋生抽和香油,上桌即可。
小窍门&温馨提示
1、 蒸蛋用温水,蒸出的蛋更细滑。
2、 蛋水比例控制在1:1至1:2之间,一定要将蛋水搅打均匀,边倒边打会更方便些。
3、 蒸蛋时间跟锅具和所用餐具有关系,时间只做参考。
TAGS:
热菜 家常菜 常见菜式 老人 早餐 幼儿 工作餐 鸡蛋
免责声明:本站部分文章转载自网络,图文仅供行业学习交流使用,不做任何商业用途。文章仅代表原作者个人观点,其原创性及文章内容中图文的真实性、完整性等未经本站核实,仅供读者参考。
上一篇: 豌豆胡萝卜煎鸡蛋
下一篇: 火麻双蛋长寿面
Deprecated: mysql_connect(): The mysql extension is deprecated and will be removed in the future: use mysqli or PDO instead in
/data/haozs.cc/xianguan.php on line
5
Deprecated: mysql_query(): The mysql extension is deprecated and will be removed in the future: use mysqli or PDO instead in
/data/haozs.cc/xianguan.php on line
7
