主料:
面包粉,
200g,
奶粉,
20g,
食用盐,
2g,
白砂糖,
18g,
酵母,
3g
辅料:
艾草汁,140g黄油,
20g调料
红豆沙馅,120g艾草红豆饼的做法步骤

1.食材大集合。
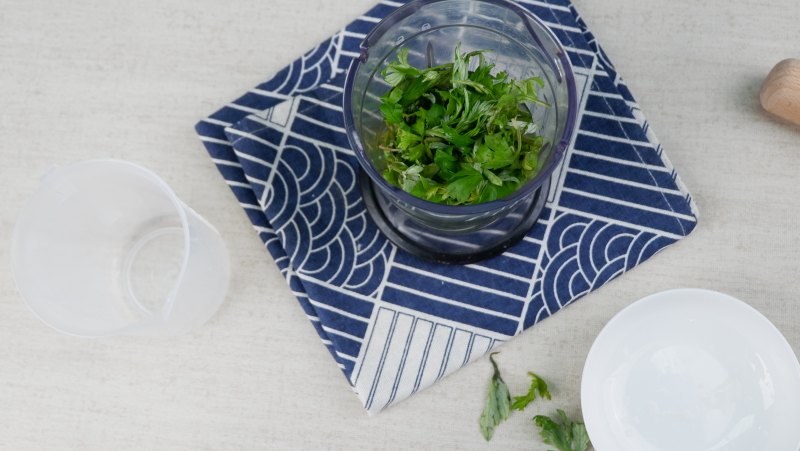
2.清洗艾草放入料理机。

3.快速启动料理机。

4.将艾草叶搅拌碎泥状。

5.过滤艾草渣子。

6.将干性食材称量一起。

7.加入过滤后的艾草液。
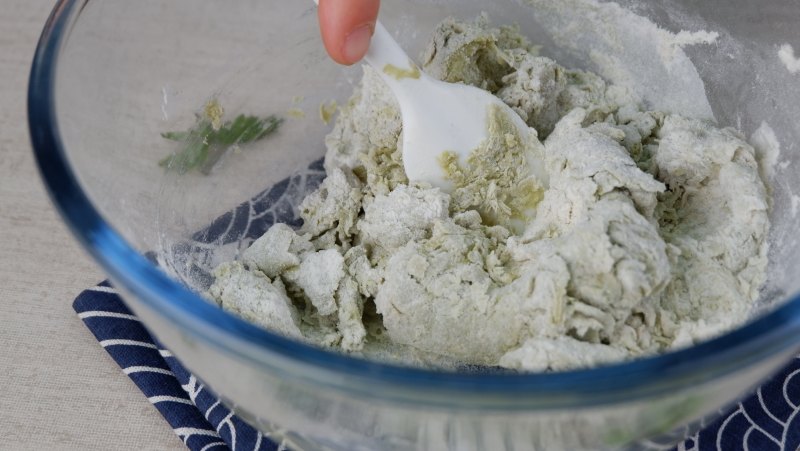
8.搅拌面团至形成粗膜。

9.包裹黄油。
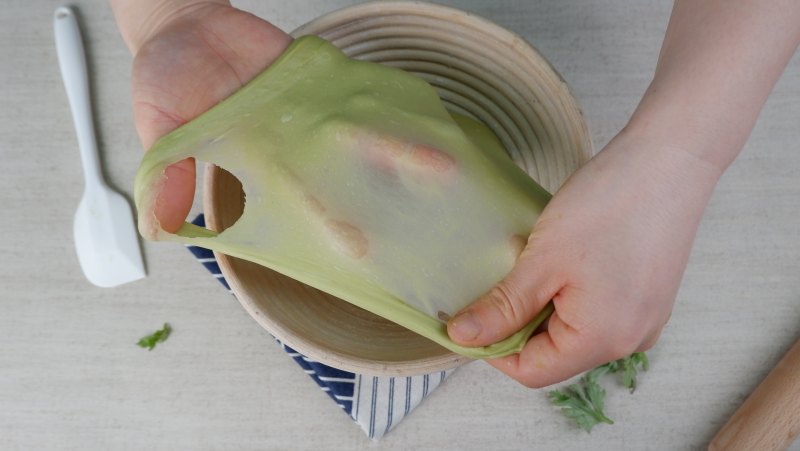
10.揉至面团形成较薄的膜。

11.制作白色面团部分,称量相同的干性物料,加入牛奶进行揉至,形成粗膜。
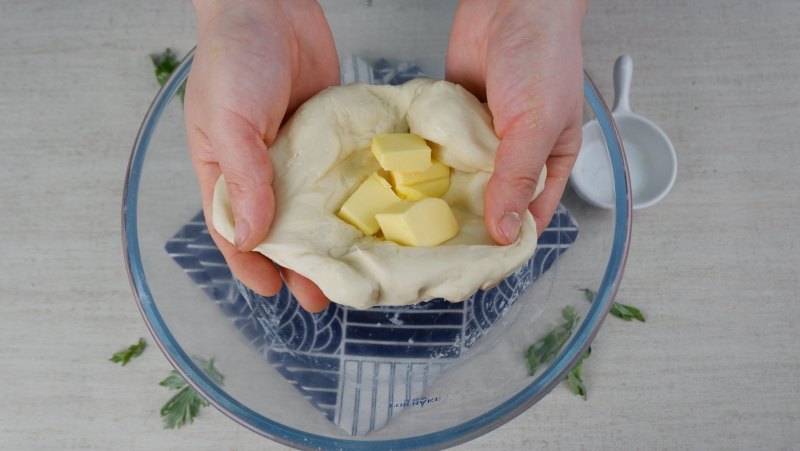
12.包裹黄油进行揉至面团。
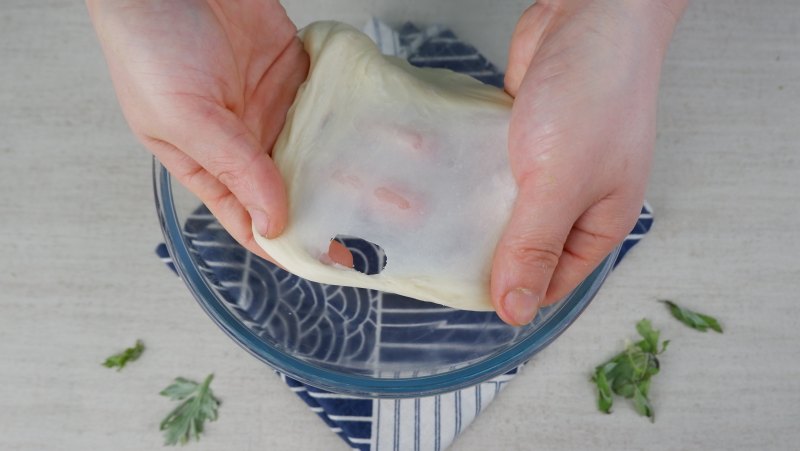
13.揉至面团至手套膜。
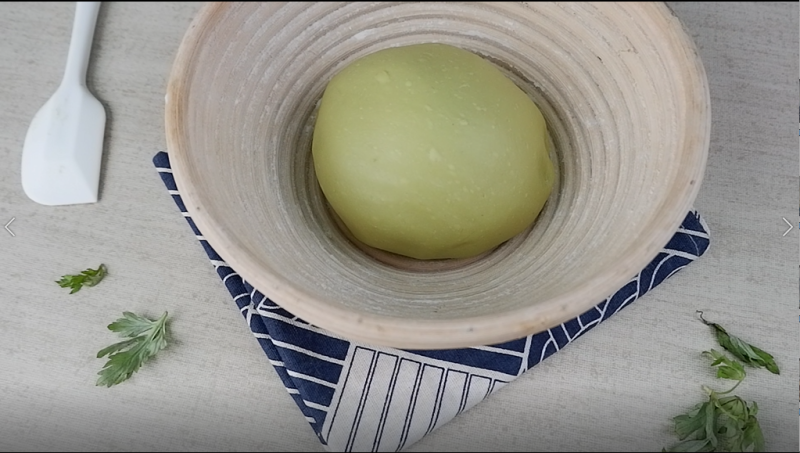
14.放入模具中进行一发松弛。
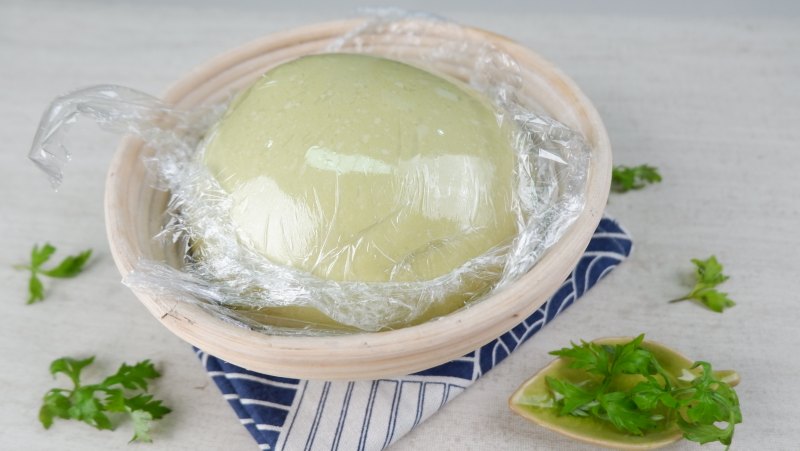
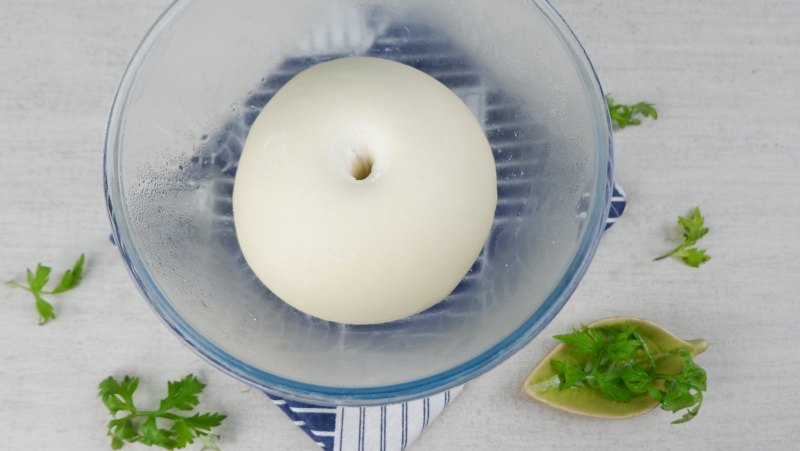
15.取出发酵两倍大的面团。
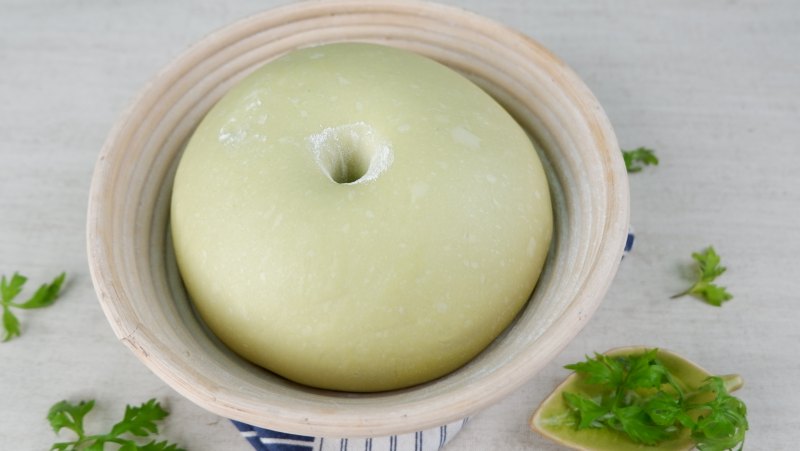
16.手指沾面粉戳洞没有回弹。
17.原色面团于绿色面团发至一样大。
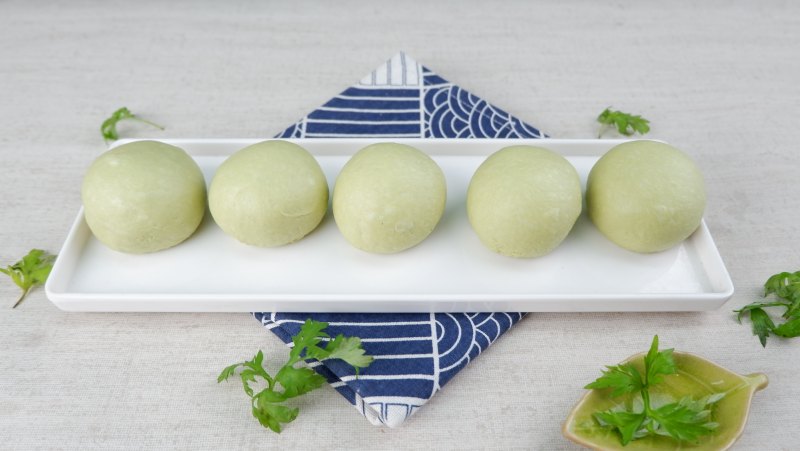
18.分割面团每个50g。
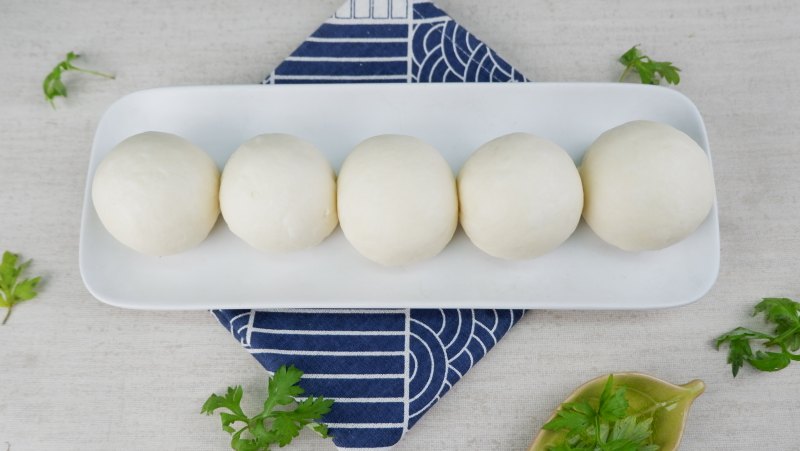
19.白色面团分割每个50g。

20.分割豆沙馅料每个20g。

21.准备包制馅料。

22.擀制面团。
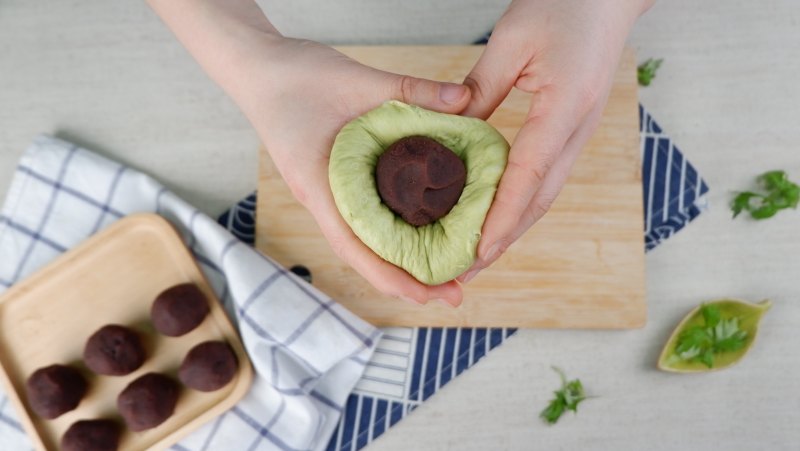
23.包裹豆沙馅。

24.团圆收紧底部。
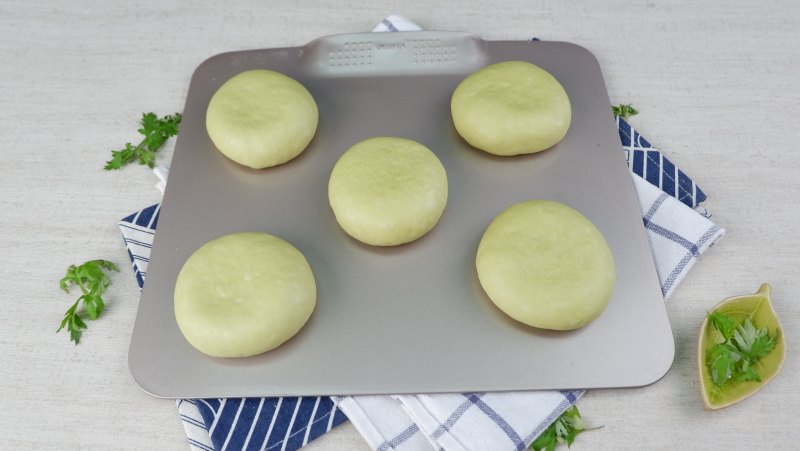
25.压扁成型放入烤盘。

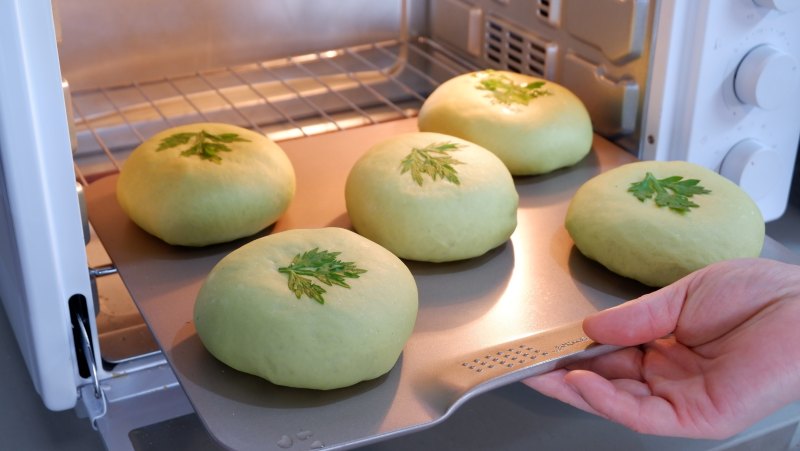
26.表面沾上艾草叶进行最后的发酵。

27.原色表面撒上黑芝麻进行最后的发酵。

28.发酵一倍大进行烤焙。

29.绿色发酵一倍大进行烤焙。
30.上火170度下火180度烤焙25分钟。

31.烤焙时上部烤盘压制。
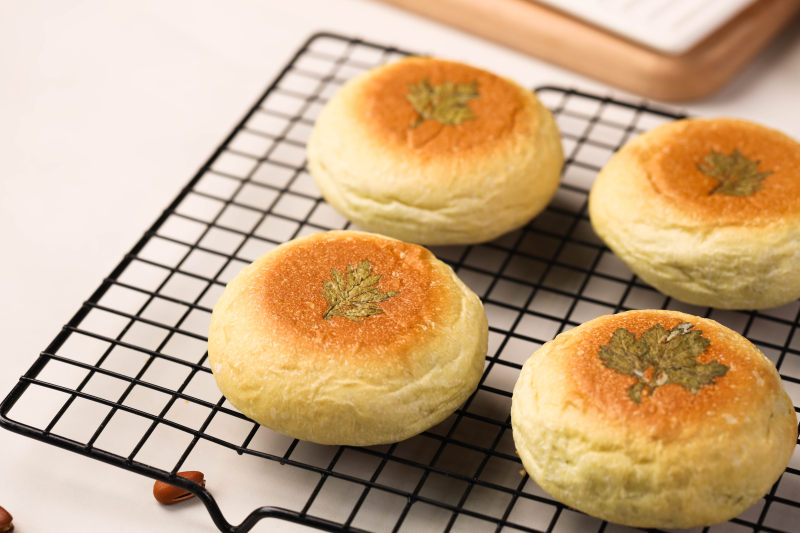
32.软糯香甜的艾草红豆饼就做好了。
小窍门&温馨提示
面团不易发太大,烤焙时上面压制烤盘。
TAGS:
烘焙 早餐 下午茶 其他菜系 面包粉
免责声明:本站部分文章转载自网络,图文仅供行业学习交流使用,不做任何商业用途。文章仅代表原作者个人观点,其原创性及文章内容中图文的真实性、完整性等未经本站核实,仅供读者参考。
上一篇: 日式昆布高汤荞麦面
下一篇: 荞麦鸡丝冷面的做法,荞麦鸡丝冷面怎么做,鸡丝荞麦凉面,鸡西荞麦冷面,荞麦 冷面,荞面鸡丝凉菜
Deprecated: mysql_connect(): The mysql extension is deprecated and will be removed in the future: use mysqli or PDO instead in
/data/haozs.cc/xianguan.php on line
5
Deprecated: mysql_query(): The mysql extension is deprecated and will be removed in the future: use mysqli or PDO instead in
/data/haozs.cc/xianguan.php on line
7
