主料:
蛋黄,
5个(蛋黄糊),
玉米油,
80克,
牛奶,
80克,
低筋面粉,
100克,
抹茶粉,
20克,
蛋白,
5个(蛋白糊),
细砂糖,
90克,
柠檬汁,
几滴
辅料:
淡奶油,
150克,
细砂糖,
15克,
草莓适量,
蓝莓适量抹茶奶油蛋糕的做法步骤
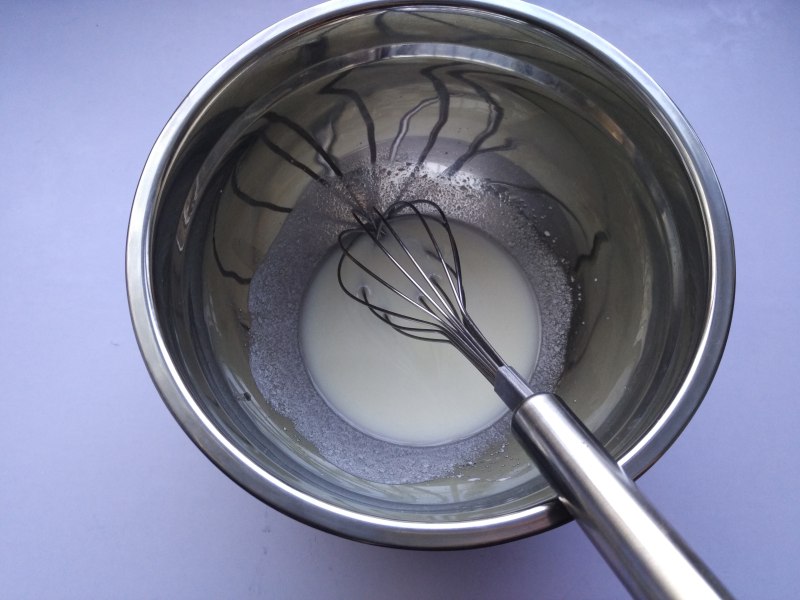
1.将牛奶和玉米油倒入搅拌盆里搅拌均匀;
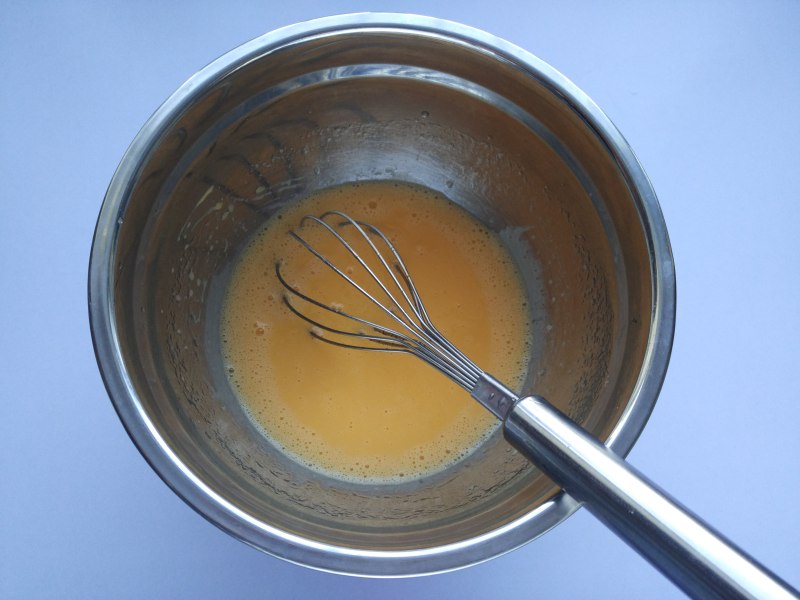
2.蛋黄蛋清分离,将蛋黄放入油奶混合溶液里,用手动打蛋器搅拌均匀;
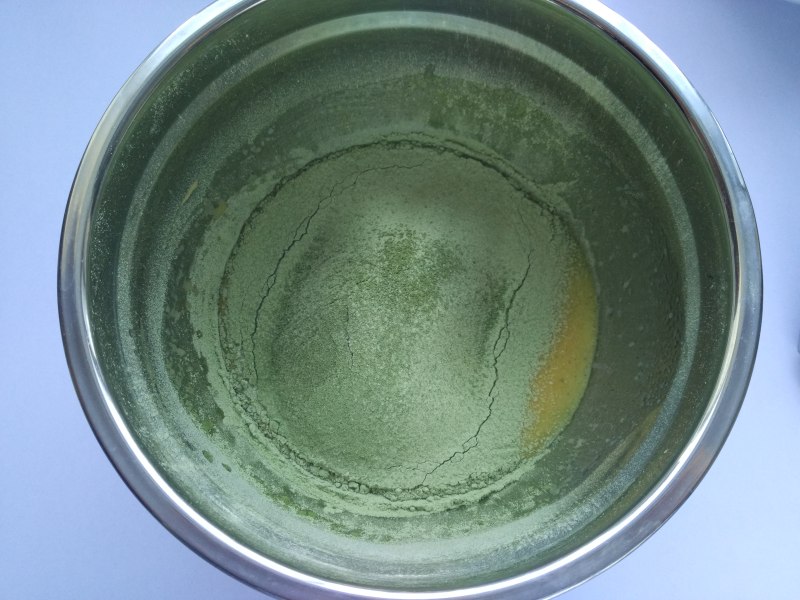
3.把低筋面粉和抹茶粉混合均匀后过筛入蛋黄液内;
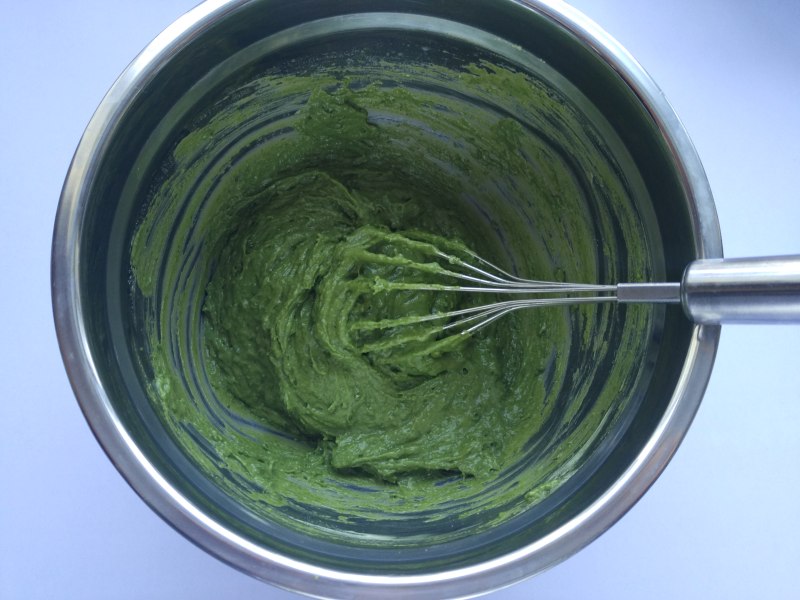
4.翻拌均匀成丝滑的状态;
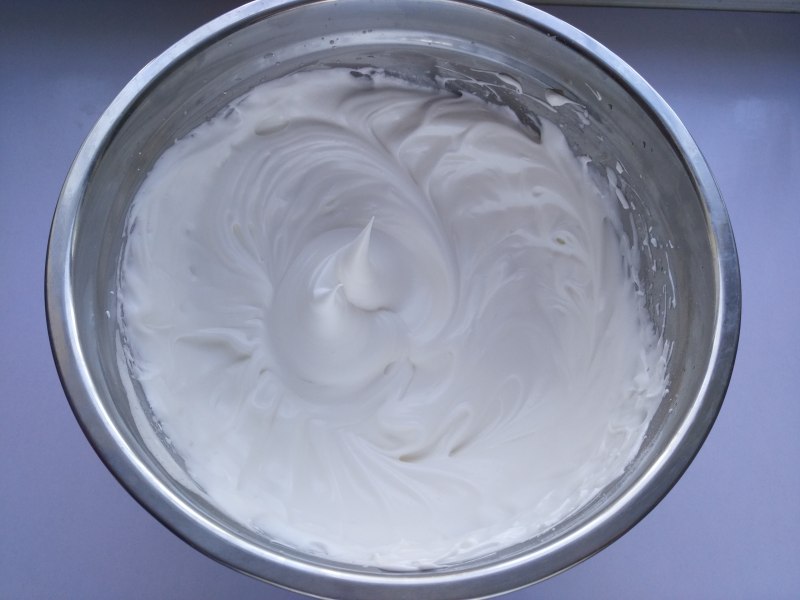
5.90克细砂糖分三次加入蛋清内打发到出短小尖角,烤箱上下火180度开始预热10分钟;
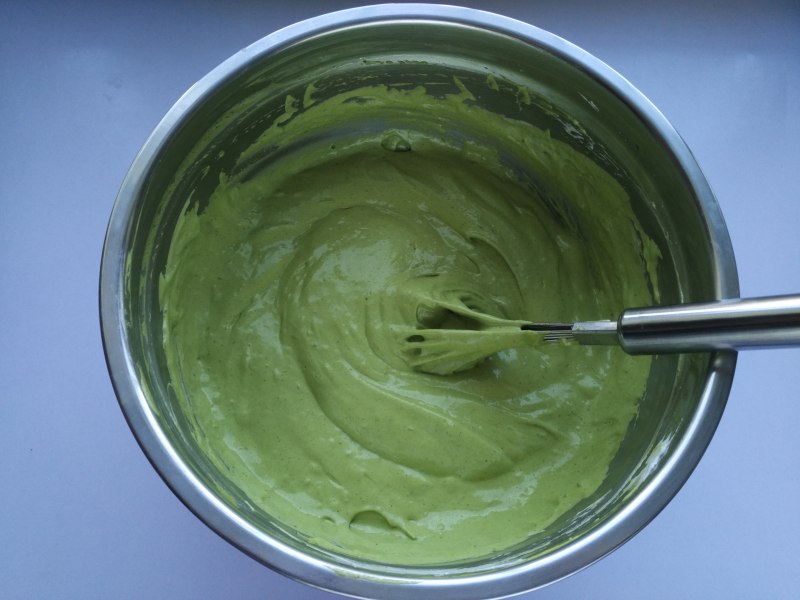
6.盛1/3蛋白到蛋黄糊中。用橡皮刮刀轻轻翻拌均匀(从底部往上翻拌,不要划圈搅拌,以免蛋白消泡)。翻拌均匀后,把蛋黄糊全部倒入盛蛋白的盆中,用同样的手法翻拌均匀,直到蛋白和蛋黄糊充分混合;
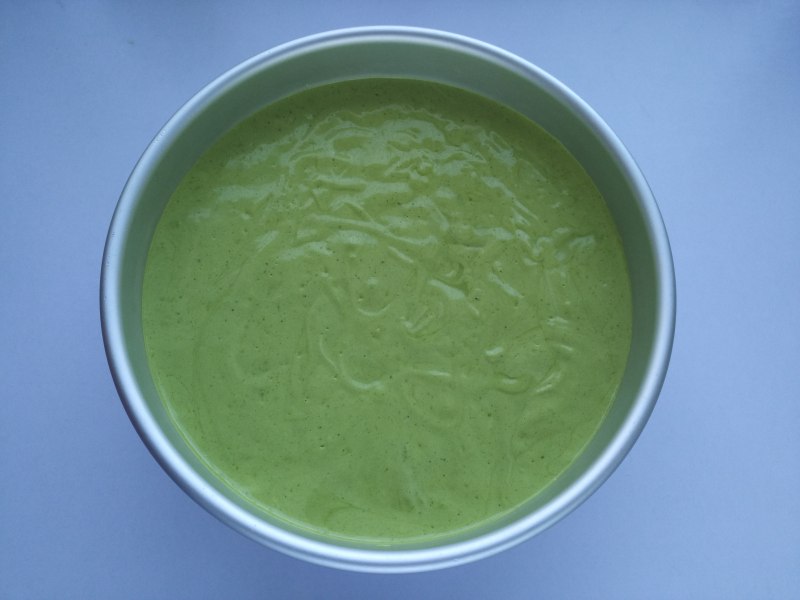
7.将混合好的蛋糕糊倒入模具,抹平,用手端住模具在桌上用力震两下,把内部的大气泡震出来;
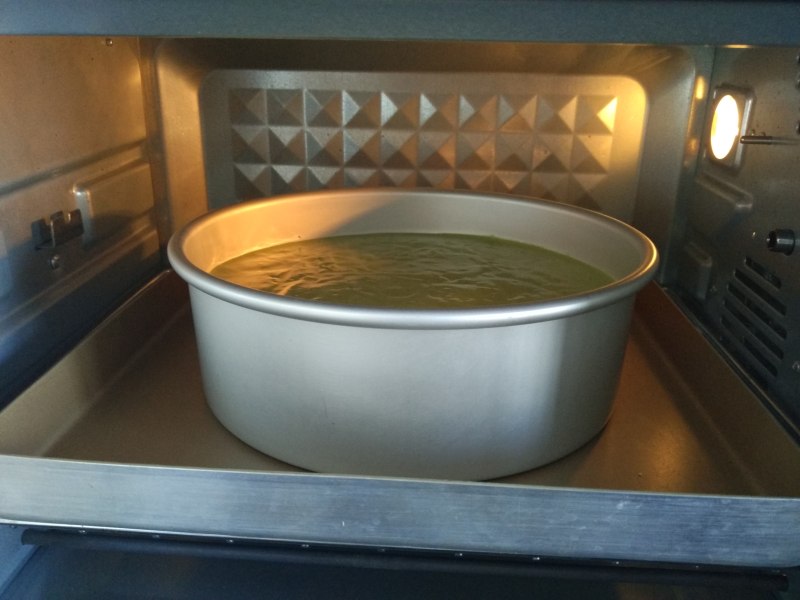
8.放进预热好的烤箱,上下火150度中下层,烘烤50分钟左右;
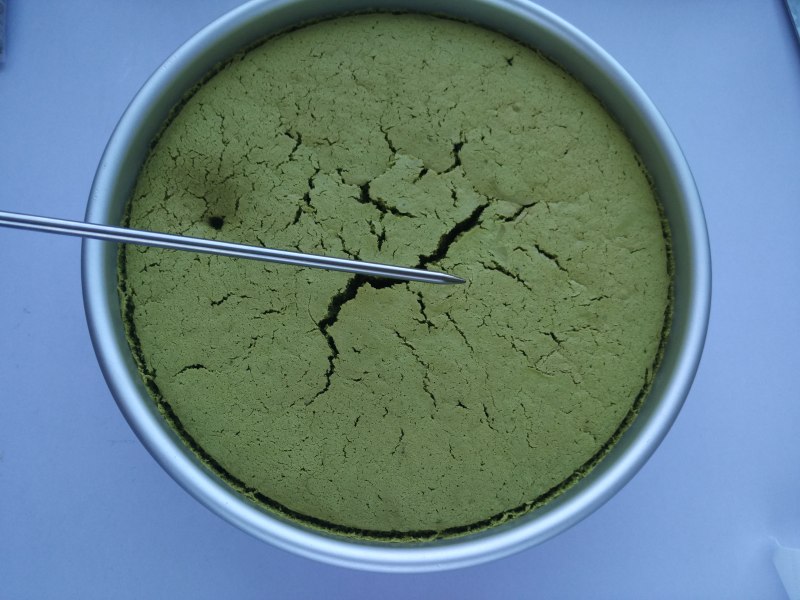
9.轻拍会反弹,或用竹签插进去测试,不带出蛋糕糊即为烤熟;
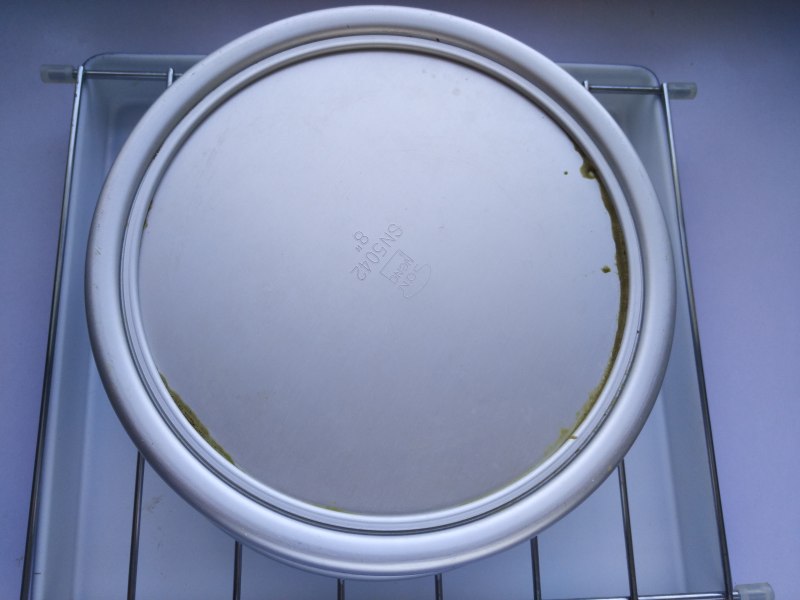
10.倒扣在冷却架上直到冷却,然后,脱模,切成3片;
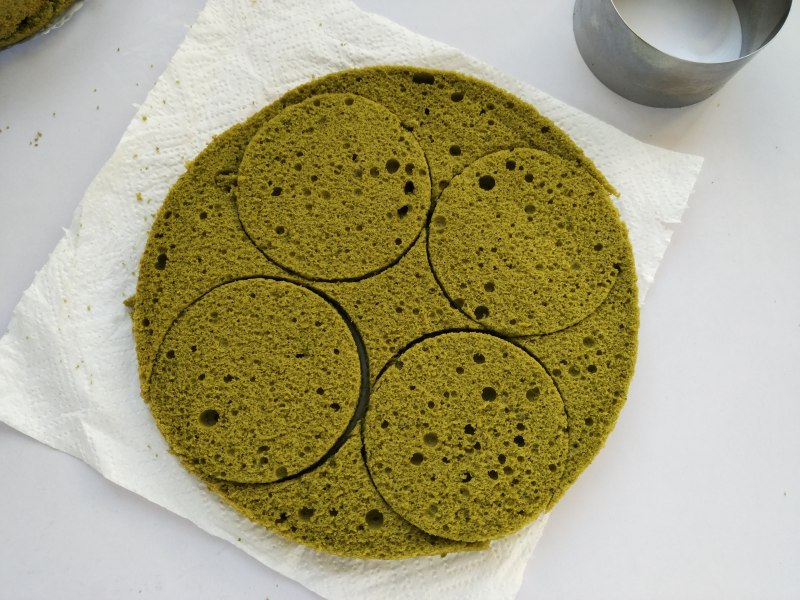
11.取其中1片,用圆形慕斯圈扣出4个小圆片;
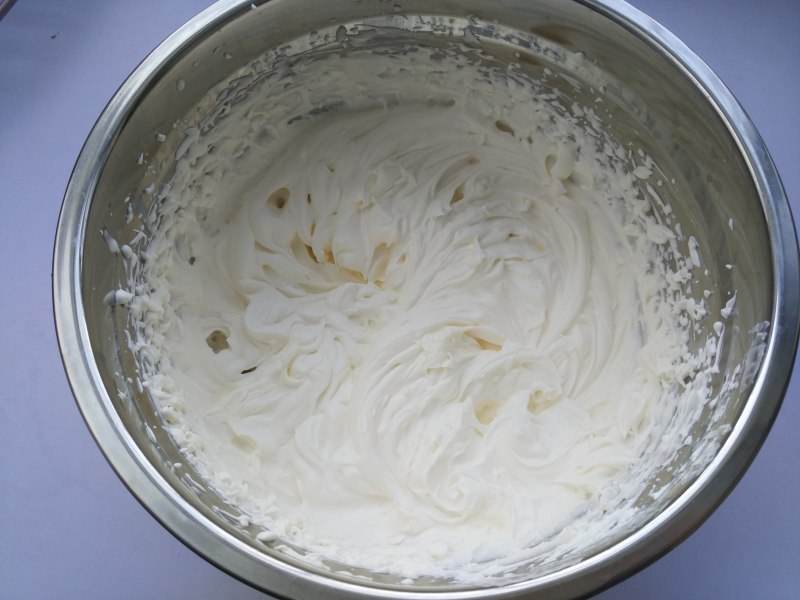
12.150克淡奶油加入15克细砂糖打发;
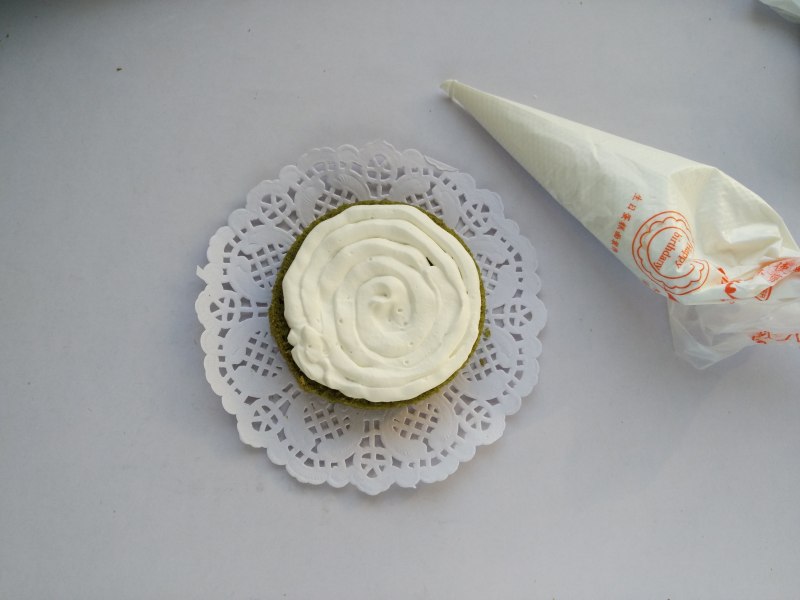
13.奶油装入裱花袋内,剪一个小口,取一片蛋糕片,均匀的挤上奶油,依次挤完3层;
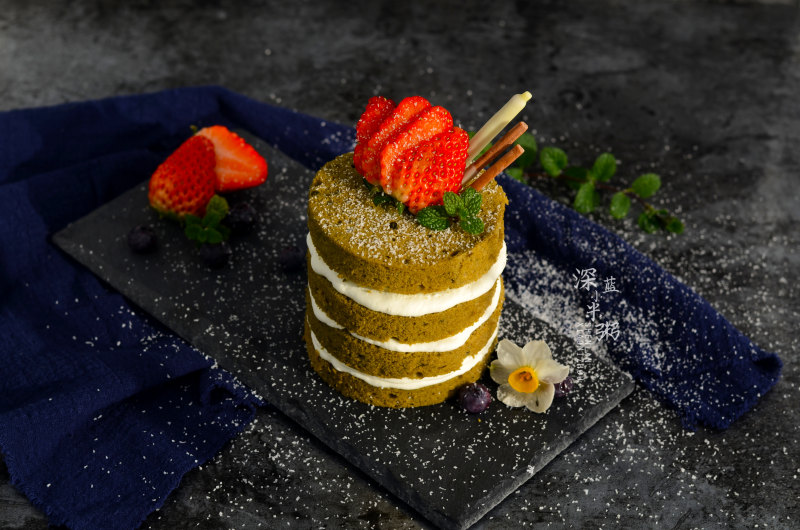
14.最后盖上一片抹茶蛋糕片,装饰上水果即可。
小窍门&温馨提示
水果可以替换,抹茶蛋糕胚是提前一天做好的,所以有点变色哈!
TAGS:
烘焙 其他菜系 蛋黄
免责声明:本站部分文章转载自网络,图文仅供行业学习交流使用,不做任何商业用途。文章仅代表原作者个人观点,其原创性及文章内容中图文的真实性、完整性等未经本站核实,仅供读者参考。
上一篇: 西瓜皮炒肉的做法,西瓜皮炒肉怎么做,西瓜皮炒肉的做法,西瓜皮炒肉丝,西瓜皮炒肉的正宗做法,西瓜皮炒肉的作用与功效
下一篇: 燕麦葡萄干排包
Deprecated: mysql_connect(): The mysql extension is deprecated and will be removed in the future: use mysqli or PDO instead in
/data/haozs.cc/xianguan.php on line
5
Deprecated: mysql_query(): The mysql extension is deprecated and will be removed in the future: use mysqli or PDO instead in
/data/haozs.cc/xianguan.php on line
7


