主料:
紫薯泥,
50g,
细砂糖,
50g,
蛋白,
2个,
低筋面粉,
30g,
奶粉,
20g,
椰蓉,
90g
辅料:
植物油适量紫薯蛋白椰丝球的做法步骤
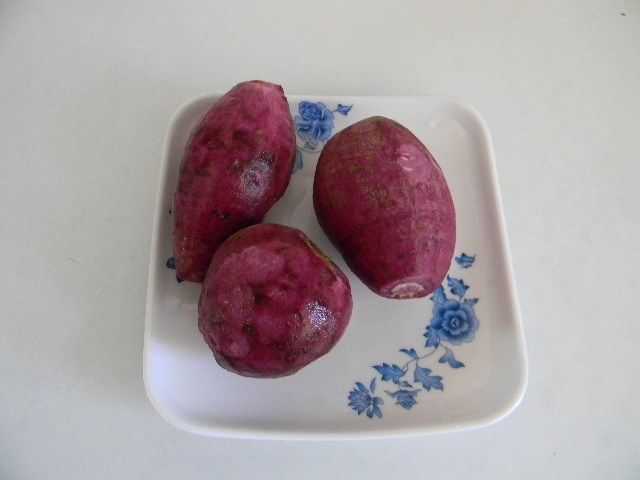
1.紫薯洗干净,用微波炉打熟,趁热碾成泥。
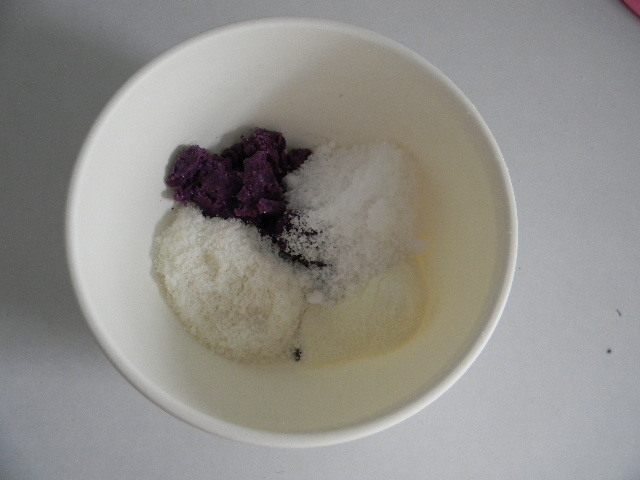
2.取50g紫薯泥,80g椰蓉(留下10g沾椰蓉球表面用),20d奶粉,30g低筋面粉,50g砂糖,收放在一起。
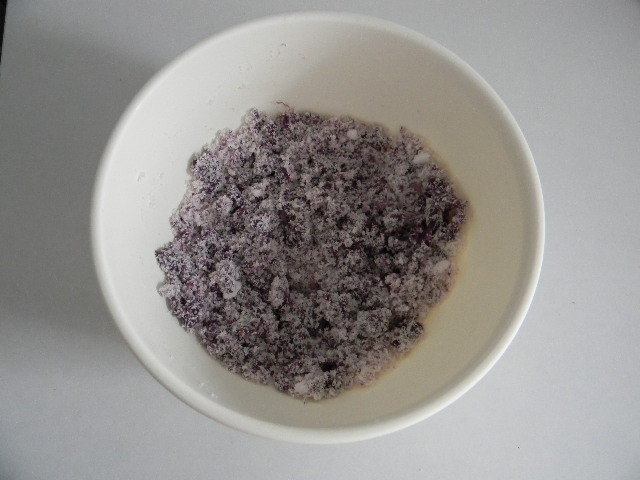
3.混合均匀。
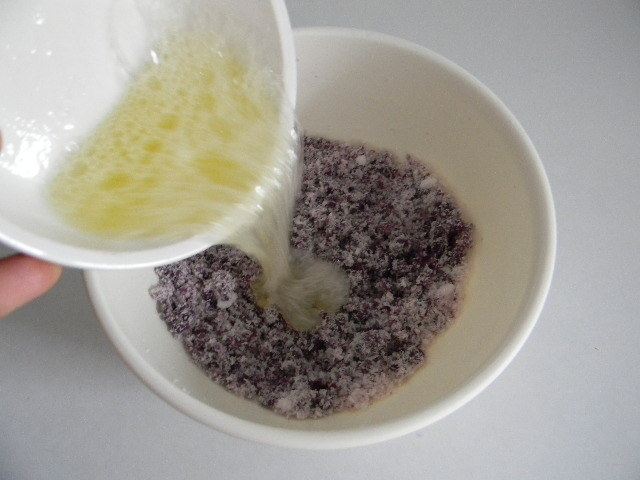
4.将蛋白打散倒入混合材料的盆中。
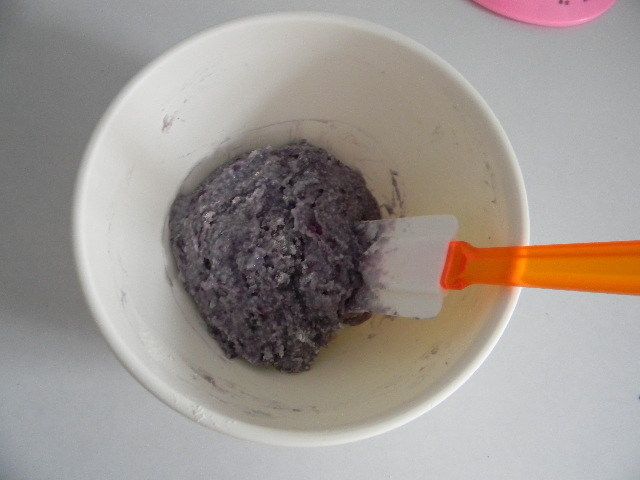
5.用刮刀拌匀成团。
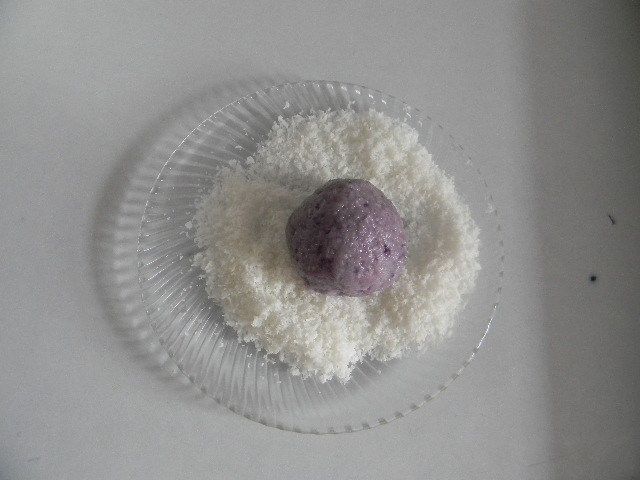
6.取一块面团,团成直径约3cm的小圆球,放到剩余的10g 椰丝上滚一下,让小球的表面均匀地粘上椰蓉。
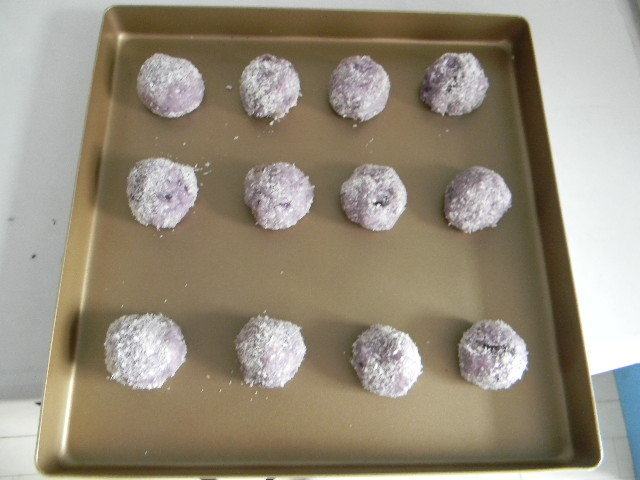
7.全部搓好放在烤盘上。
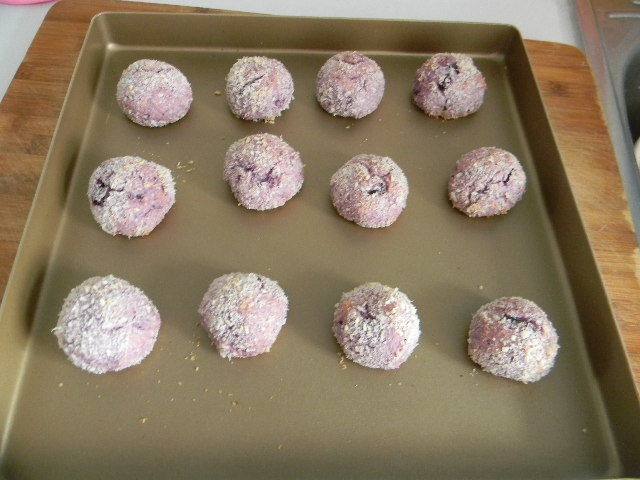
8.烤箱预热,上下火160度,中层,25分钟,烤好取出。
小窍门&温馨提示
蛋白打匀就行,不要过分搅打,免得产生过多的气泡。
烤箱时间根据自家烤箱性能设定。
TAGS:
烘焙 小吃 其他菜系 紫薯泥
免责声明:本站部分文章转载自网络,图文仅供行业学习交流使用,不做任何商业用途。文章仅代表原作者个人观点,其原创性及文章内容中图文的真实性、完整性等未经本站核实,仅供读者参考。
上一篇: 伪樱花粉的做法,伪樱花粉怎么做,樱花粉是啥,日本樱花粉,纯樱花粉图片,樱花 花粉
下一篇: 圣诞印刷饼干的做法,圣诞印刷饼干怎么做,圣诞印刷饼干怎么做,圣诞 饼干,圣诞烘焙饼干,圣诞节 饼干
Deprecated: mysql_connect(): The mysql extension is deprecated and will be removed in the future: use mysqli or PDO instead in
/data/haozs.cc/xianguan.php on line
5
Deprecated: mysql_query(): The mysql extension is deprecated and will be removed in the future: use mysqli or PDO instead in
/data/haozs.cc/xianguan.php on line
7


