主料:
奶酪,
250g,
芒果,
2个,
饼干,
100g,
黄油,
20g,
酸奶,
200ml
辅料:
糯米纸适量调料
牛奶,
100ml芒果芝士蛋糕的做法步骤

1.大部分的食材(橙子本来想用来做镜面的,后来没用)。
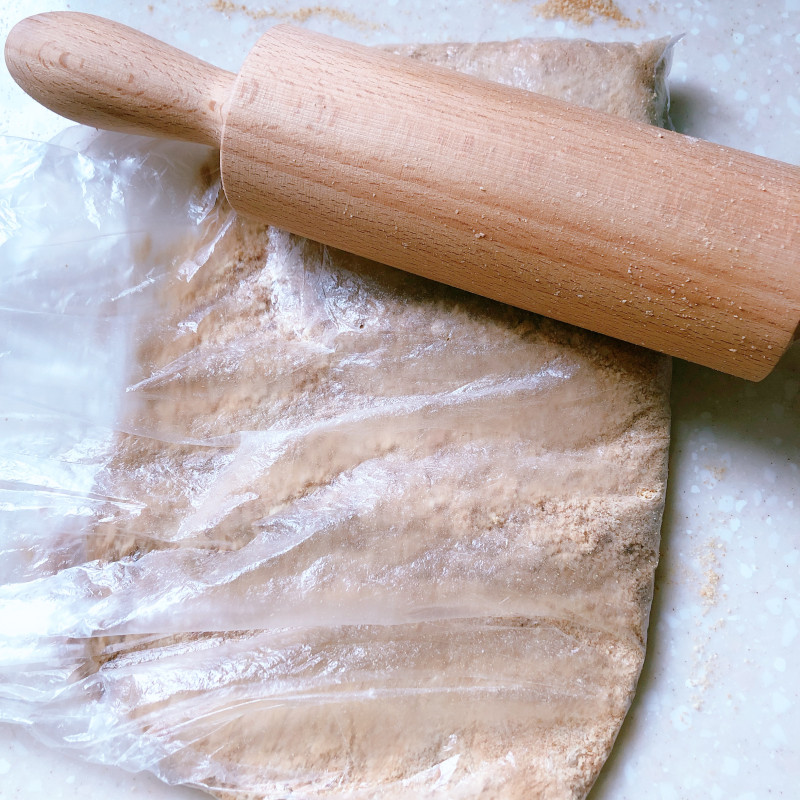
2.取一半的饼干约100g,装入保鲜袋中,用擀面杖碾碎。
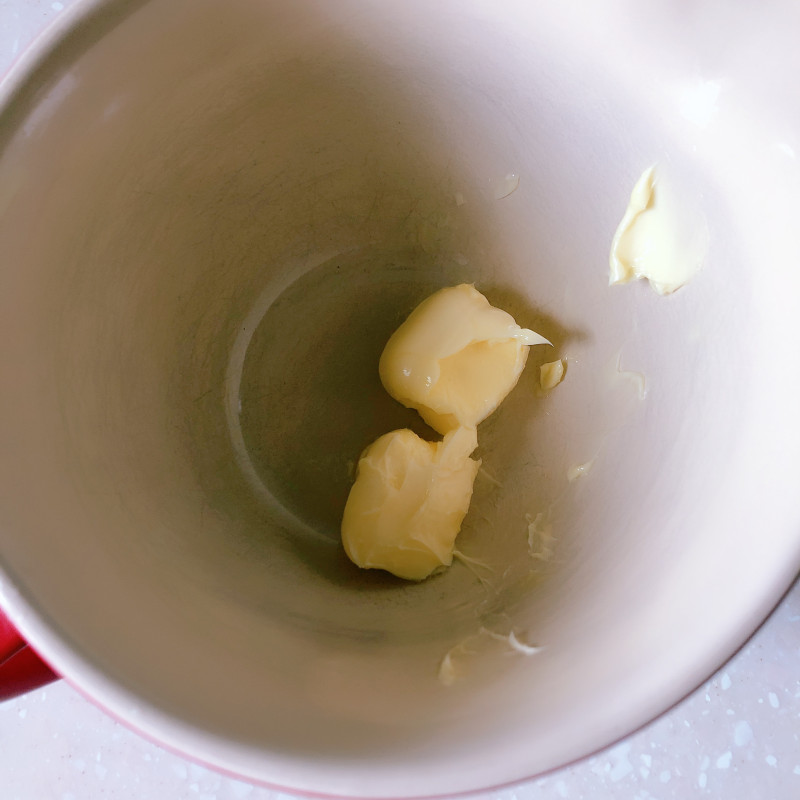
3.20g黄油微波加热30秒溶化。
4.成为液体。
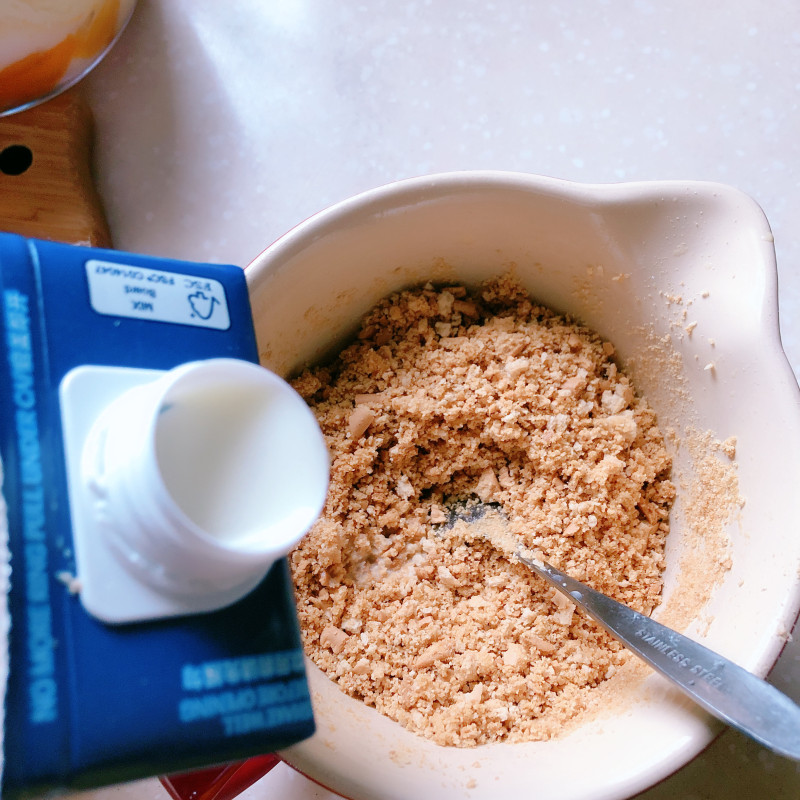
5.把饼干碎加入,太干的话可以加些牛奶(我怕油所以减少黄油的量用牛奶代替,差不多30-50ml够了)。
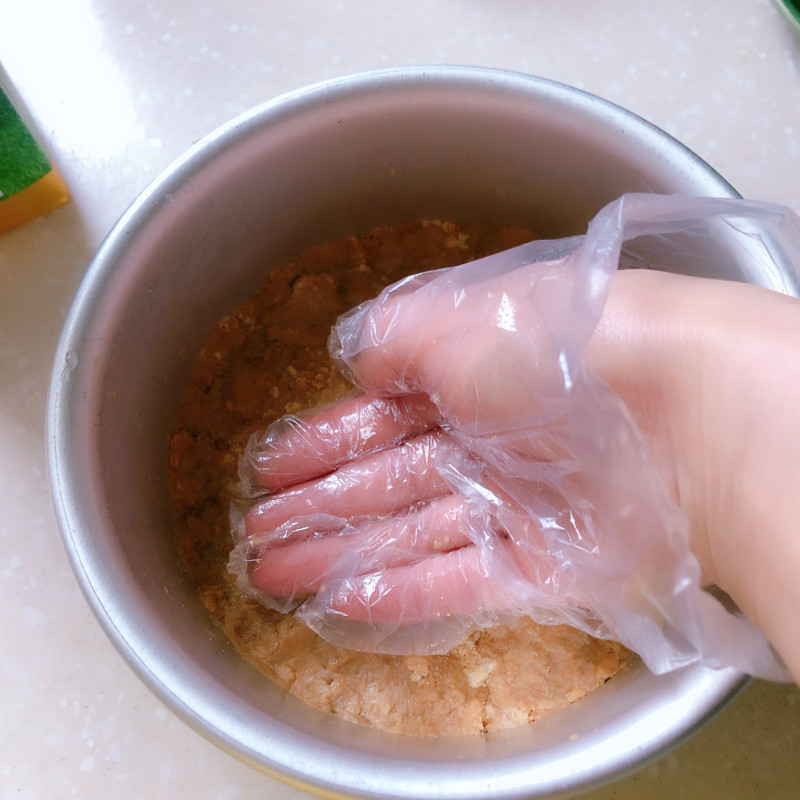
6.戴上一次性手套,把饼干在蛋糕模底中压实(我用6寸活底模),放入冰箱冷藏着。
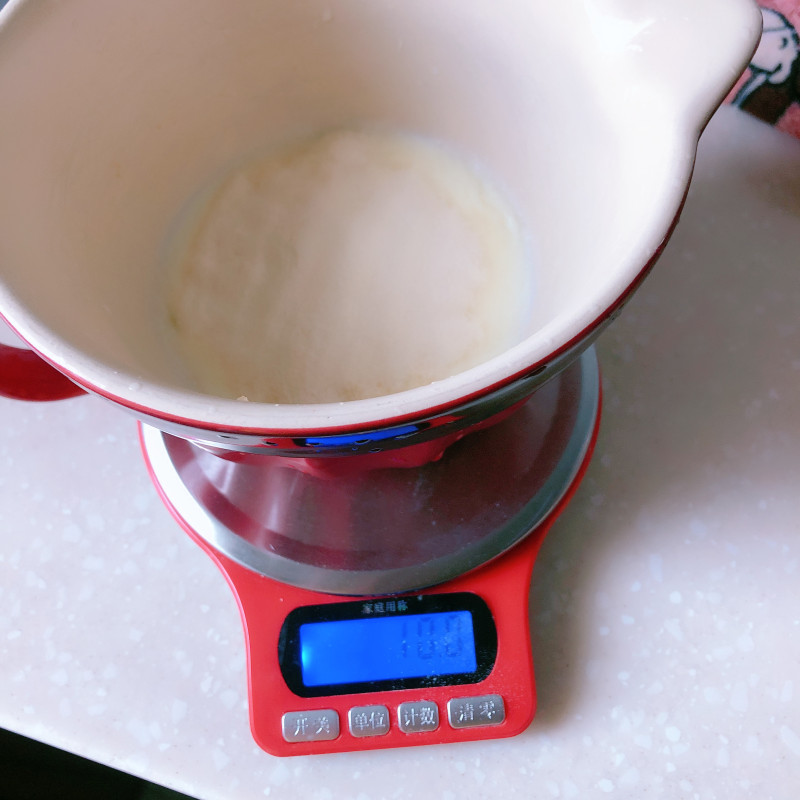
7.100ml牛奶里加入10g鱼胶粉。
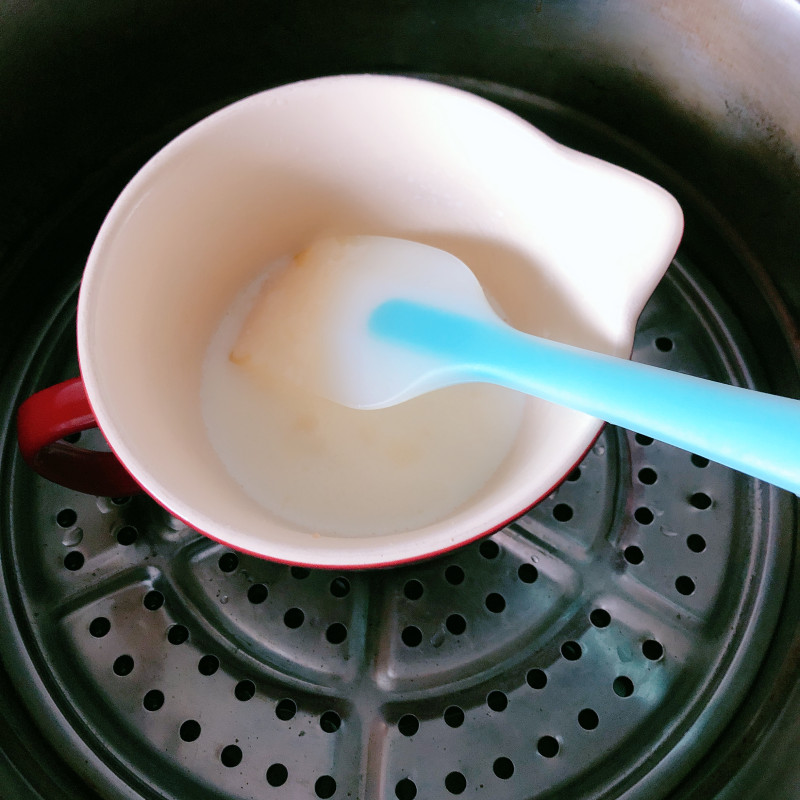
8.上蒸锅隔水蒸着。
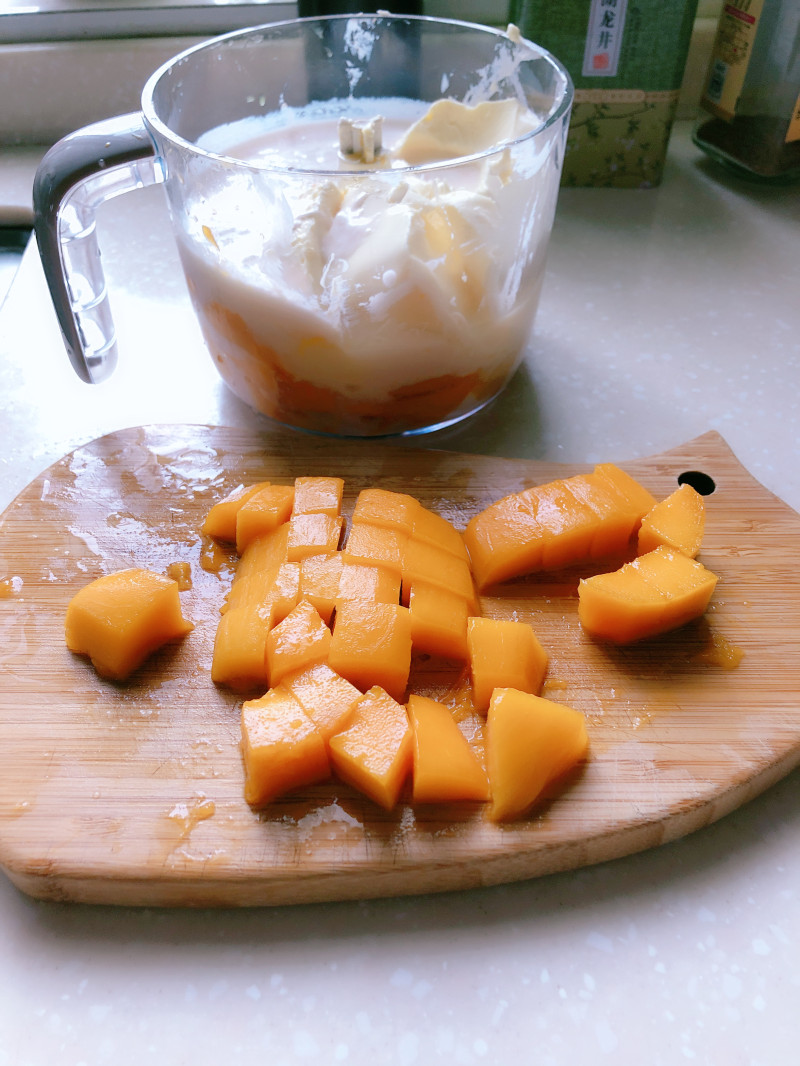
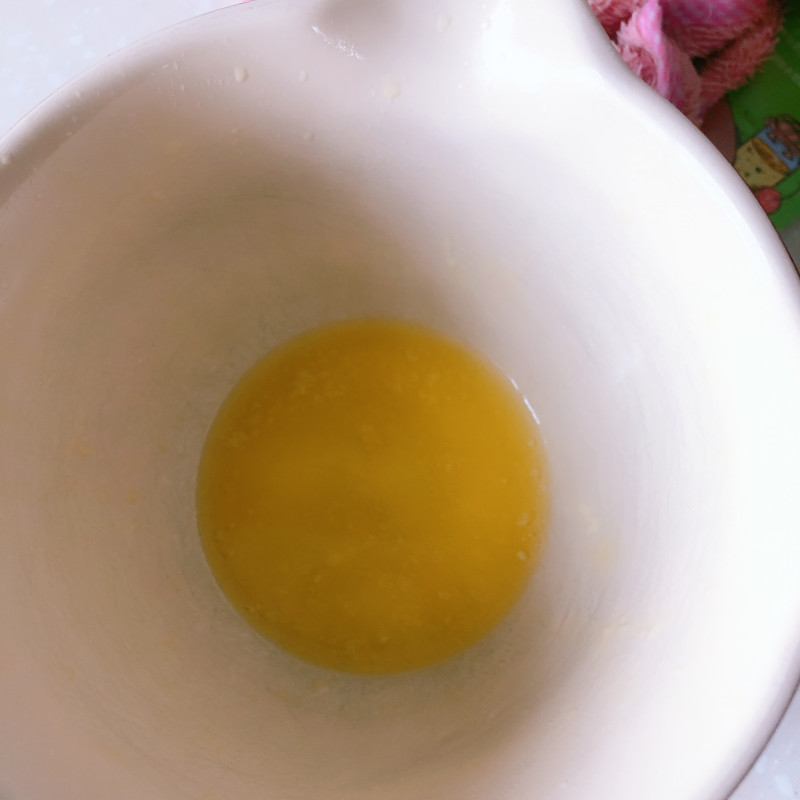
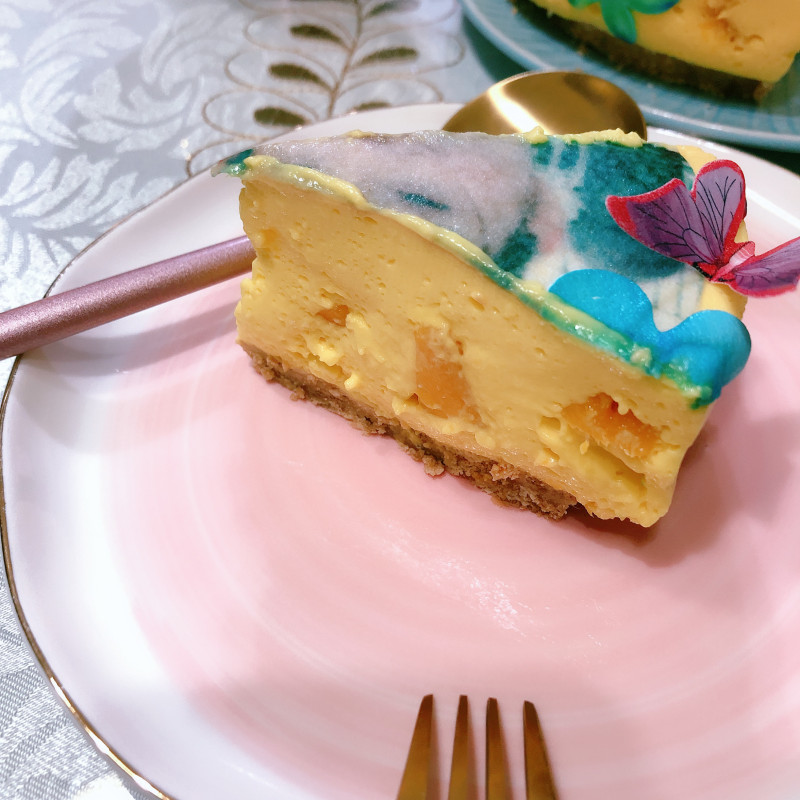
9.一边来处理芒果和奶酪,两个芒果切块,留出至少四分之一的果粒。
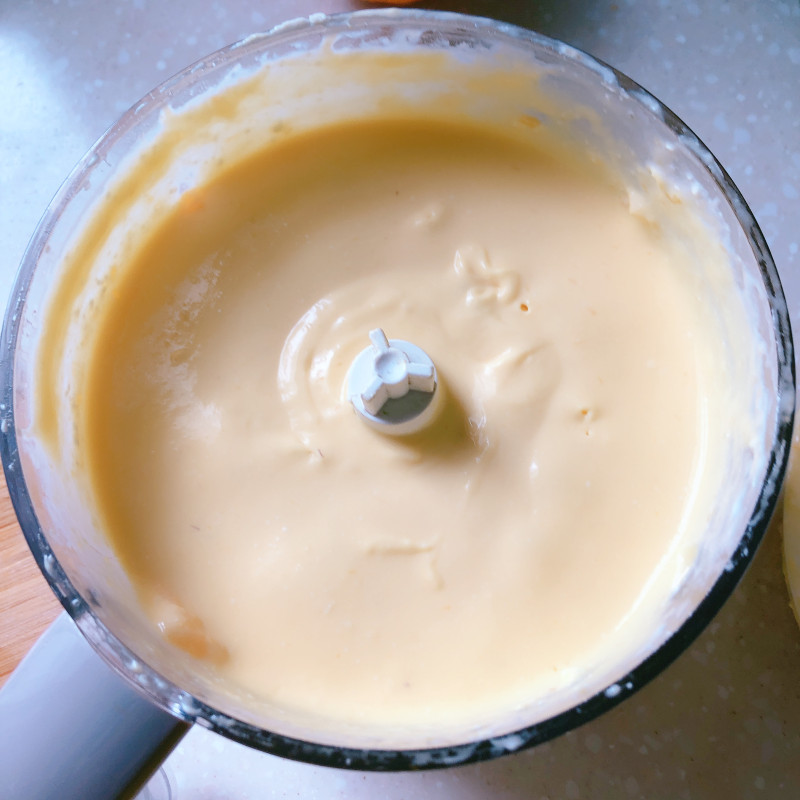
10.芒果+奶酪+酸奶,在料理机里打碎成如图细腻的泥状(我怕甜觉得芒果的甜味够了,如果喜欢甜的这步里可以加入糖)。
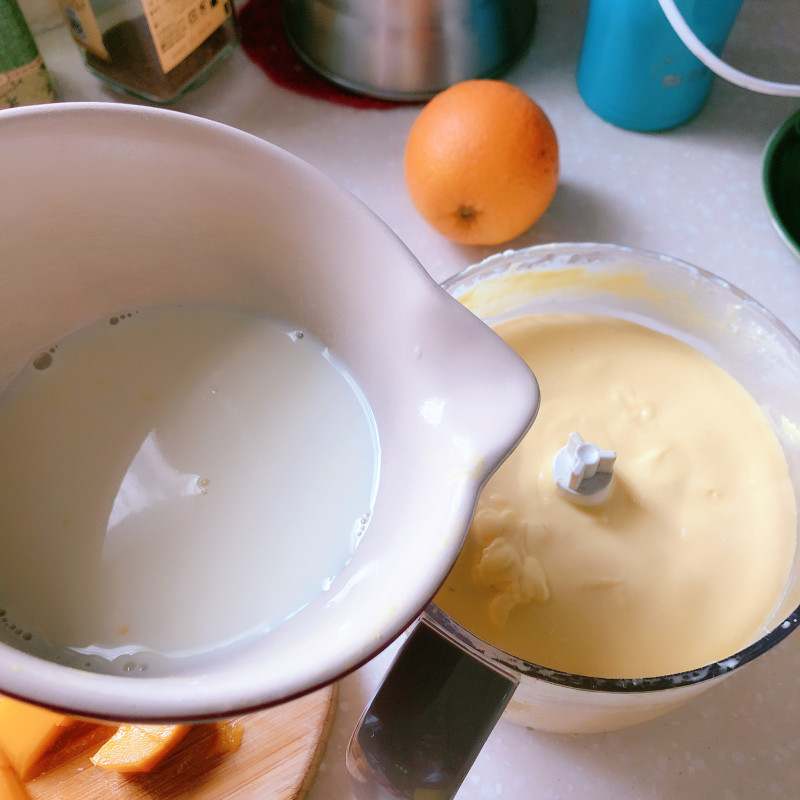
11.隔水熔化的鱼胶倒入奶酪糊中,再也次搅拌均匀。
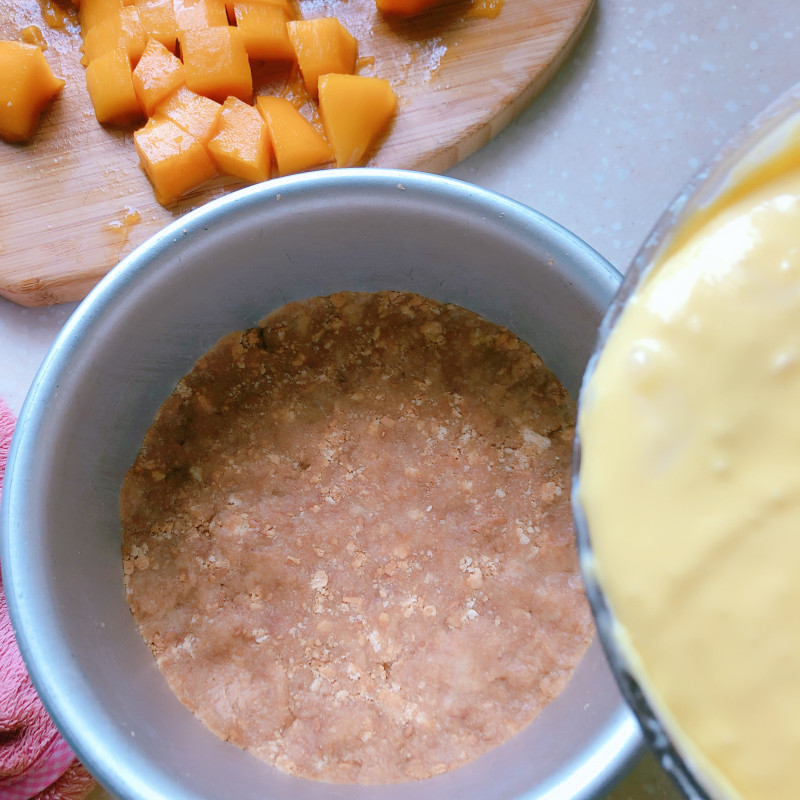
12.把搅拌好的糊倒入模具中,先倒一半。
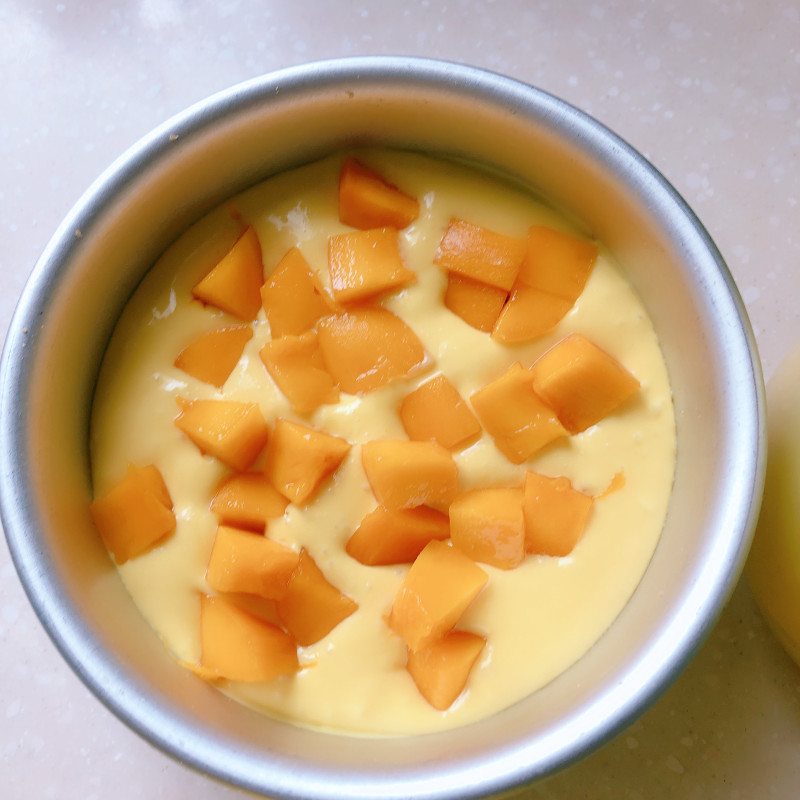
13.放入芒果。
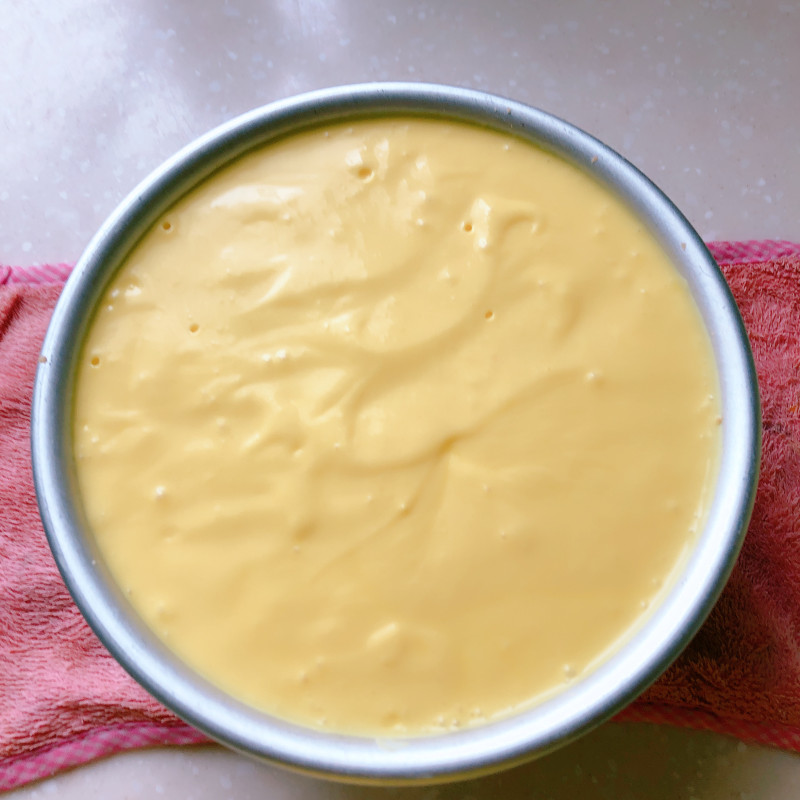
14.再倒满,整出气泡。

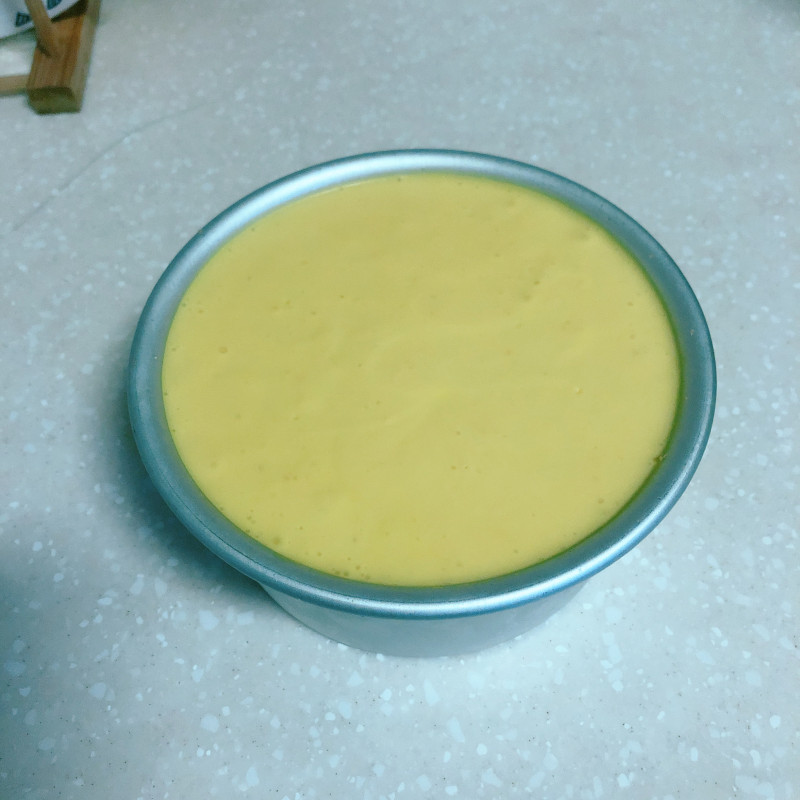
15.多余的装了两个杯。
16.放冰箱冷藏四小时以上后取出。
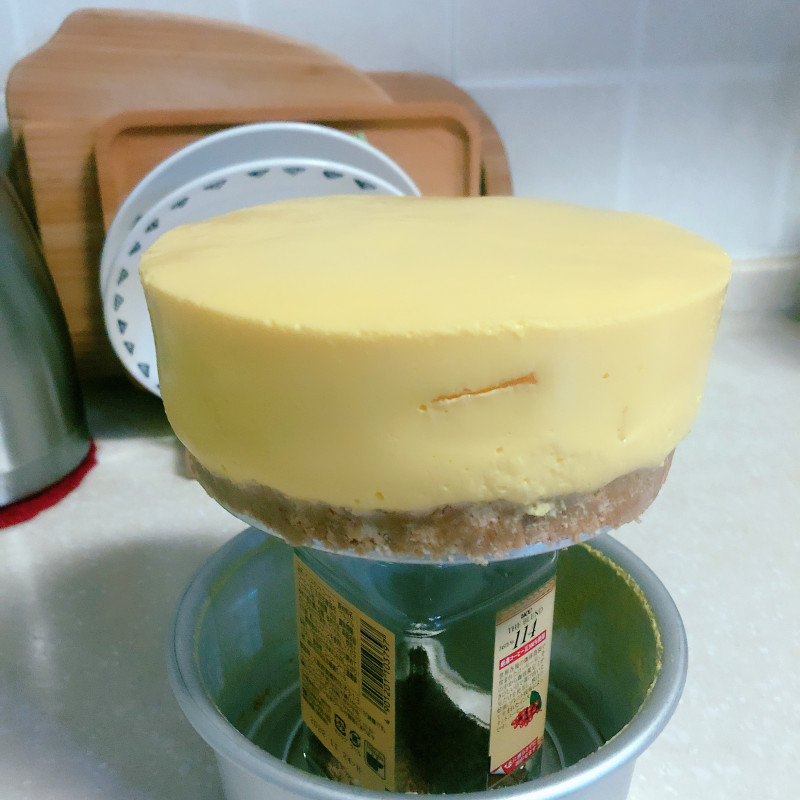
17.利用一个瓶子,轻松脱模。
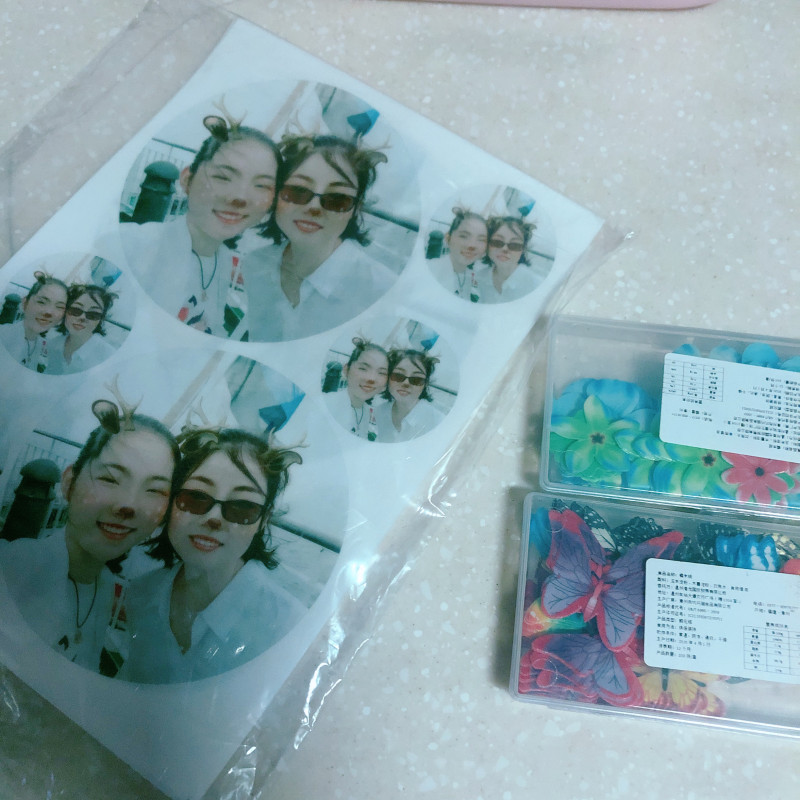
18.准备好的糯米纸。
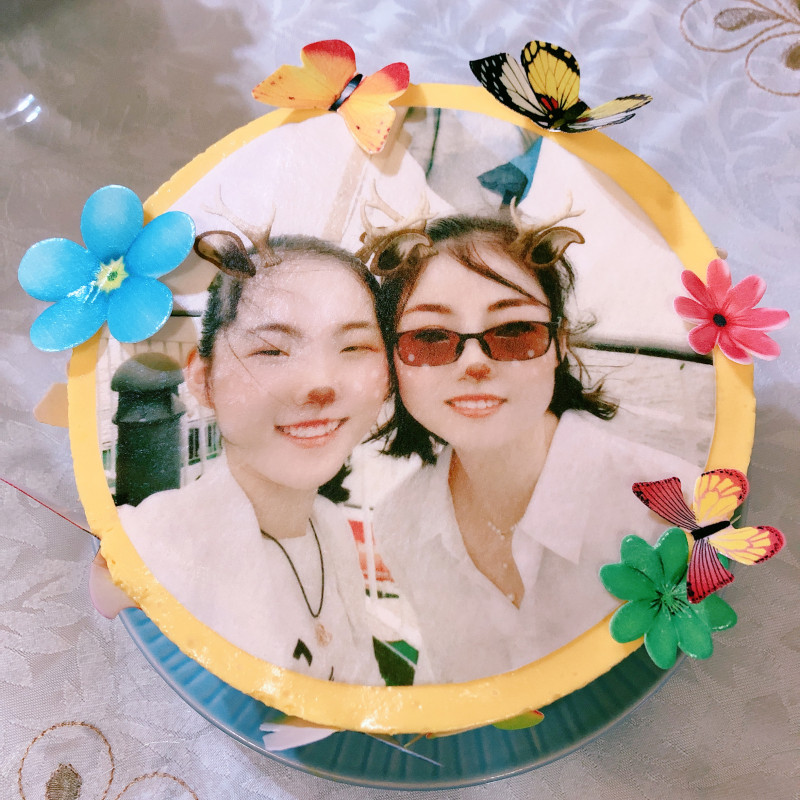
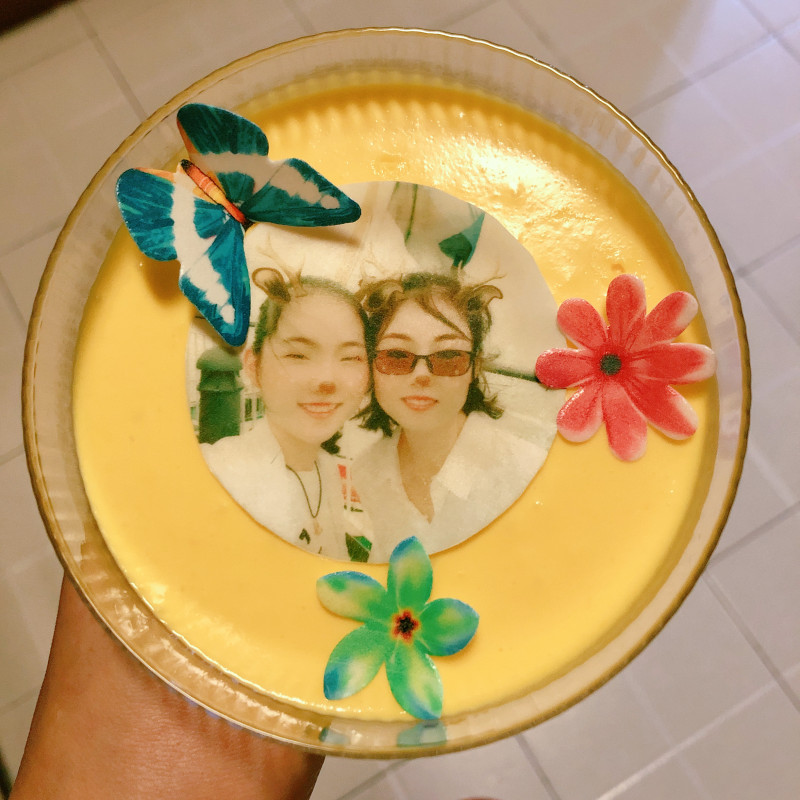
19.是我和女儿的照片,让人用可食用的糯米纸做的,剪下来贴上,再放上同样是糯米纸的的花朵??和蝴蝶装饰。

20.多余的杯。
21.另外一杯。
22.开吃吧。
TAGS:
甜品 母亲节 其他菜系 奶酪
免责声明:本站部分文章转载自网络,图文仅供行业学习交流使用,不做任何商业用途。文章仅代表原作者个人观点,其原创性及文章内容中图文的真实性、完整性等未经本站核实,仅供读者参考。
上一篇: 草莓蛋糕卷的做法,草莓蛋糕卷怎么做,草莓蛋糕卷图片,草莓蛋糕卷做法,草莓蛋糕卷使用的是,草莓蛋糕卷的做法和材料
下一篇: 紫薯蛋卷的做法,紫薯蛋卷怎么做,紫薯蛋卷的简单做法,紫薯蛋卷的做法,紫薯蛋卷图片,紫薯蛋卷的做法最简单窍门
Deprecated: mysql_connect(): The mysql extension is deprecated and will be removed in the future: use mysqli or PDO instead in
/data/haozs.cc/xianguan.php on line
5
Deprecated: mysql_query(): The mysql extension is deprecated and will be removed in the future: use mysqli or PDO instead in
/data/haozs.cc/xianguan.php on line
7
