主料:
高粉,
225g,
蜂蜜,
30g,
酵母,
3g,
蛋液,
20g,
牛奶,
110g,
黄油,
20g
辅料:
蛋液适量
配料:
黄油,
25g,
砂糖,
20g,
全蛋,
25g,
椰蓉,
25g椰蓉卷的做法步骤
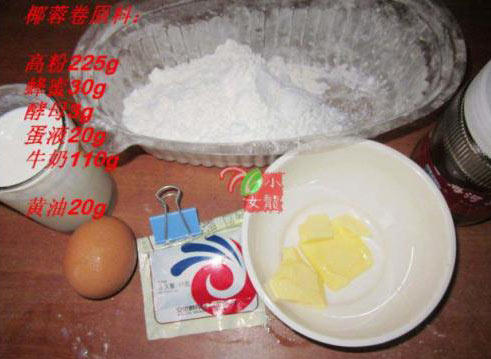
1.面团材料:高粉225g,蜂蜜30g,酵母3g,蛋液20g,牛奶110g,黄油20g。
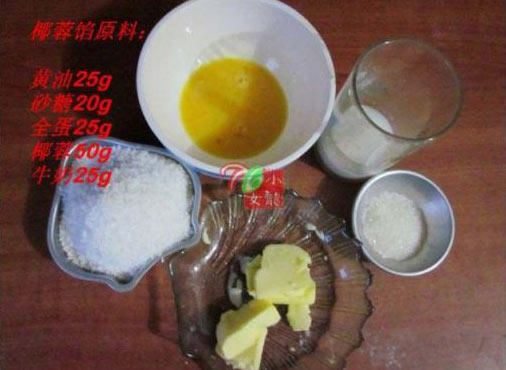
2.馅料:黄油25g,砂糖20g,全蛋25g,椰蓉50g,牛奶25g,表面装饰:蛋液少许。
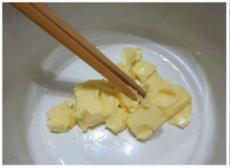
3.黄油室温软化。
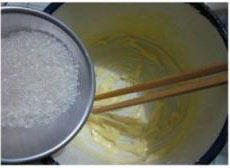
4.加入砂糖搅拌均匀。
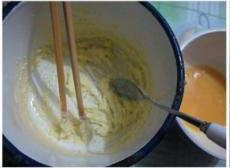
5.分次加入蛋液,搅拌均匀。
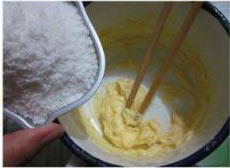
6.加入椰蓉拌匀。
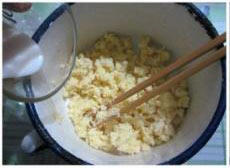
7.加入牛奶拌匀。
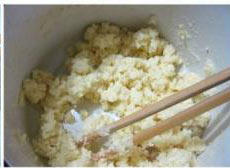
8.做好的椰蓉馅,已经很香啦。
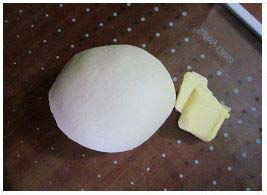
9.面团材料(除黄油)混合揉成光滑的面团。
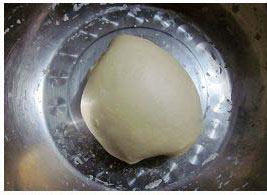
10.加入软化的黄油揉成光滑的面团(此方和成的面团比较软,我是摔成面团的,根据自家面粉调整牛奶用量)。
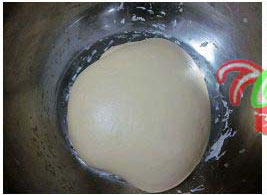
11.基础发酵至2倍大。
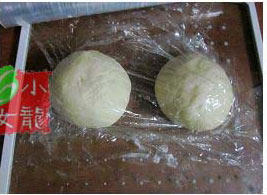
12.分成两份,滚圆松弛10分钟(不分也行,可俺家面板小整个的擀不开)。

13.取一份面团擀成长方形(面团软需要在面板上铺一层薄粉放粘),均匀的铺上椰蓉,从下至上卷起来。
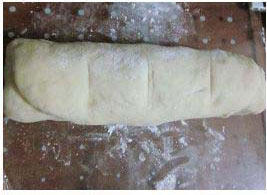
14.分成均匀的4粉用利刀切开。
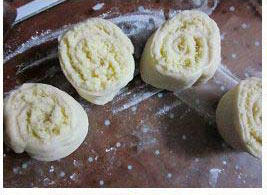
15.切面冲上排入烤盘。
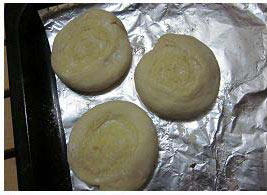
16.用手按扁些。

17.二次发酵后表面刷蛋液。
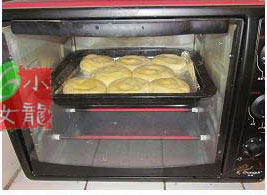
18.放入预热烤箱175度18分钟,表面色泽金黄并飘出浓浓的椰香就ok啦~。

19.出炉喽,晾凉密封保存。
小窍门&温馨提示
1.此方的面团比较软,请根据面粉吸水量调整牛奶用量。
2.算上刷表面的蛋液,用一个鸡蛋正好。
3.椰蓉馅甜度适中,喜欢甜的可再增加20g糖。
TAGS:
烘焙 儿童 面包 下午茶 儿童节 其他菜系 高粉
免责声明:本站部分文章转载自网络,图文仅供行业学习交流使用,不做任何商业用途。文章仅代表原作者个人观点,其原创性及文章内容中图文的真实性、完整性等未经本站核实,仅供读者参考。
上一篇: 咖喱牛肉饭的做法,咖喱牛肉饭怎么做,咖喱牛肉饭的家常做法,咖喱牛肉饭的做法 最正宗的做法,咖喱牛肉饭怎么做好吃又烂,咖喱牛肉饭的牛肉选哪里的牛肉
下一篇: 咖喱土豆的做法,咖喱土豆怎么做,咖喱土豆怎么做,咖喱土豆牛肉怎么做,咖喱土豆鸡肉,咖喱土豆鸡块怎么烧好吃又简单
Deprecated: mysql_connect(): The mysql extension is deprecated and will be removed in the future: use mysqli or PDO instead in
/data/haozs.cc/xianguan.php on line
5
Deprecated: mysql_query(): The mysql extension is deprecated and will be removed in the future: use mysqli or PDO instead in
/data/haozs.cc/xianguan.php on line
7


